Best Cameras for Shooting Wildlife in 2026: Which Type Is Right for You?
Disclosure: We may earn a commission when you buy through links on this page, at no extra cost to you. As an Amazon Associate I earn from qualifying purchases. Learn more
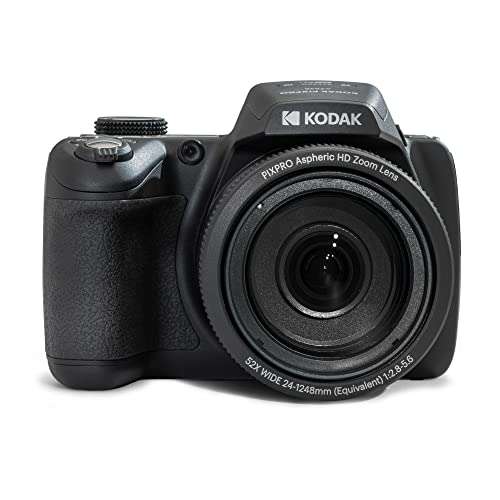
Compare the best cameras for shooting wildlife by type: bridge superzoom reach, crop sensor telephoto kits, and full frame setups with long lenses.
Wildlife rarely cooperates. Your subject is far away, moving, and most active when the light is weakest, so the camera that delights on a city walk can fail completely at the edge of a marsh. Shoppers comparing the best cameras for shooting wildlife face three genuinely different types, and the right choice depends on subject distance, working light, and how much weight your shoulders accept.
This guide compares those types side by side, then walks through the specifications that decide results in the field. The comparison table below lays out the three classes at a glance, with typical prices, before the detailed sections explain where each one wins and where it gives up.






Three Types of Wildlife Camera, Three Different Tradeoffs
Every wildlife camera is a bargain struck between reach, light gathering, and weight, and the three types below strike that bargain in different places. None of them wins on all three counts. All three are digital designs, and our broader guide to best digital cameras covers the general market; this page narrows the field to wildlife work.
| Type | Best For | Strengths | Tradeoffs | Typical Price |
|---|---|---|---|---|
| Bridge superzoom | Travel and learning | Enormous zoom range in one light package | Small sensor struggles at dawn and dusk | about $400 to $900 |
| Crop sensor interchangeable | Regular field days | Strong reach per dollar, lens choice grows over time | Kit weight climbs with longer lenses | about $1,200 to $3,000 |
| Full frame with long primes | Dedicated low light work | Best high sensitivity quality and subject separation | Heavy, and the most expensive by a wide margin | about $4,000 to $10,000 |
Bridge Superzoom Cameras: All the Reach in One Package
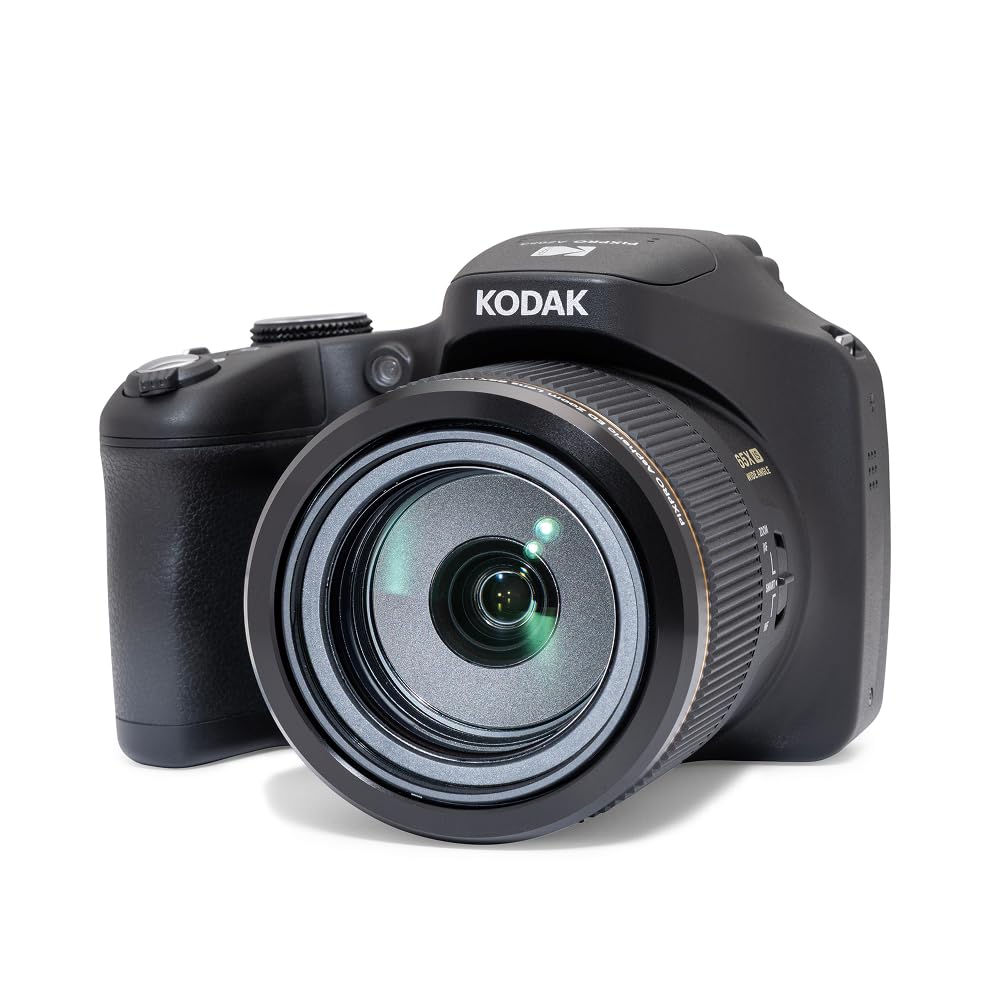
A bridge camera fixes one very long zoom lens to a small sensor body, and that single decision defines the class. You get framing flexibility that interchangeable systems only match at several times the price, with nothing to swap and no sensor exposed to dust in the field. This is the class most listings mean by best point and shoot cameras for shooting wildlife, because nothing detaches and nothing needs setting up between sightings. The cost arrives with the light: the small sensor and the slow lens at full zoom mean dawn and dusk sessions produce noisy files, and autofocus slows when contrast drops. For travel, learning, and bright midday subjects, the trade is often the smart one.
Crop Sensor Interchangeable Cameras With Telephoto Zooms
Crop sensor bodies pair a mid sized sensor with a mount that accepts telephoto zoom lenses, and the smaller sensor effectively narrows the field of view, so a given lens frames a distant animal tighter than it would on a full frame body. That is why this class dominates reach per dollar among serious hobbyists. You also gain a growth path: a starter telephoto zoom this season, then a faster and longer lens later, without replacing the body. The weight, however, is real, and a long zoom carried all morning changes how far you are willing to walk.
Full Frame Bodies With Long Prime Lenses
The top class pairs a full frame body with a long fixed focal length lens, usually called a prime. Primes gather more light at a given reach than zooms do, and the larger sensor holds image quality as sensitivity climbs, which is exactly what dawn patrols demand. Subject separation at distance is the other prize: backgrounds melt away and the animal stands clear of the reeds. The bill is weight and money together, since this glass is carried on a tripod or monopod more often than it is ever held.
Bridge Superzoom or Interchangeable: Which Route Should You Choose?
Judge the two routes on four things. Reach per dollar goes to the bridge camera, which frames distant birds on day one for less than the price of a single interchangeable lens. Low light performance goes to the interchangeable kit, whose larger sensor and faster lens options keep working after the bridge camera gives up. The upgrade path goes to the kit as well, because lenses outlast bodies and carry their value forward.
Weight and simplicity go to the bridge, which rides in a jacket pocket or a small sling and asks nothing of you between sightings. Choose the bridge if wildlife is one interest among many on your trips. Choose the interchangeable route if you return to the same reserves and wetlands often enough that better dawn results will repay the carrying, week after week.
The Specifications That Decide Wildlife Results
Reach Is Expensive, and Cropping Is Not Free Reach
Focal length is the honest reach specification, and it costs money and weight at every step upward. Cropping a frame in editing feels like free zoom, but it throws away pixels and magnifies noise and focus error along with the subject. A file cropped to a quarter of its area keeps a quarter of its detail, whatever the badge megapixels promise. Budget for the lens that fills your frame at your typical subject distance, and treat cropping as a rescue, not a plan.
Aperture Decides Dawn and Dusk
Animals feed and move at first and last light, so the widest aperture your lens keeps at full zoom shapes your results more than any body feature. A zoom that reaches its longest setting at a modest aperture forces slower shutter speeds or higher sensitivity, and both cost sharpness on a moving subject. Fixed aperture zooms and primes hold their light gathering across the range, which is one reason they cost more. When you compare types, compare the aperture at the long end, not the headline figure at the wide end.
Autofocus Detection Helps, Then Misses
Modern subject detection can find an animal eye through the viewfinder faster than most hands can, and it earns its keep on open ground and open water. It still misses in predictable places: heads tucked inside brush, backlit silhouettes, and birds against cluttered reeds all confuse the detection classes every maker offers. Learn the fallback of a single small focus point that you place yourself, because the photographer who can override automation keeps shooting while the automation hesitates. Maker speed figures are measured in each brand its own way, so treat them as rough class signals only.
Sensor Size and the Megapixel Myth
A bigger badge number is not better wildlife pictures. Small sensors pack their pixels tightly, which helps frame distant subjects but raises noise as the light falls; larger sensors spread pixels out and stay cleaner at dawn, at the cost of shorter effective reach from the same lens. What counts is the balance for your subjects: pixel density for reach on bright days, or pixel size for clean files in poor light. Every brand quotes its supporting numbers differently, so decide by sensor class and lens, not by competing claims.
Weather Sealing Only Works as a System
A sealed body behind an unsealed lens is a dry camera attached to a wet system, because moisture enters at the mount and along the moving zoom barrel. Sealing also assumes the port covers sit closed and the seals are intact, and no rating promises survival through hours of driving rain. Match a sealed body with a sealed lens, dry the kit before it goes back into the bag, and treat sealing as insurance against drizzle and dust rather than a license to shoot through a storm.
Matching the Type to Your Subjects
Roundups of the best digital cameras for shooting wildlife usually sort by sensor size first, but your subjects and their distances separate the types more honestly. Work through the three situations below and the right class usually names itself.
Backyard Birds and Park Wildlife
Short distances forgive almost everything. At feeders and park ponds, a bridge camera or a modest crop sensor kit frames songbirds and squirrels easily, and quiet operation near habituated animals matters more than extreme reach. Spend the savings on a comfortable viewing position, a beanbag rest, and time, because proximity beats equipment at this range. Our companion guide to the best cameras for wildlife photos looks at the same subjects from a results first angle.
Open Country and Safari Subjects
Distance rules open country. Antelope, raptors, and shorebirds at a hundred meters or more push every type hard, and this is where crop sensor kits with long zooms earn their reputation for reach per dollar. Vehicle based shooting softens the weight problem, since a window mount or beanbag carries the lens, while walking safaris punish the full frame prime class quickly. Heat shimmer at midday blurs long lens work in any class, so plan the serious shooting around the cool hours.
Forest and Wetland Subjects in Low Light
Under canopy and at marsh edges, light is the scarce resource, not reach. Fast apertures and the full frame class come into their own here, and shutter speeds still have to stay high enough to freeze a heron strike or an owl launch. This is also where video tempts people astray: if filming is the real goal, the models covered in guides to best cameras for shooting videos are a different purchase, chosen for recording stamina rather than burst depth and reach.
Field Habits That Get More From Any Type
Carry a spare battery, because cold mornings drain packs faster than the rating suggests, and a bridge camera with a dead pack is just luggage. Wipe lenses with a proper cloth, never a shirt, since grit dragged across a front element leaves permanent marks. Store the kit in a dry, padded bag, and let a wet camera air dry before the bag closes for the drive home.
Practice tracking a moving subject on gulls, dogs, or passing bicycles near home, so the panning motion is ready before the expensive trip. Arrive before the light changes rather than after, and give a new location one quiet session of watching before you expect photographs from it. Fieldcraft compounds quietly, and after a season it improves your results more than any upgrade on this page.
Frequently Asked Questions
How much zoom does a wildlife camera really need?
For most birds and mammals, a lens reaching the 400 mm class or its equivalent is the practical starting point, and longer is better for small or shy subjects. Subject size matters as much as distance: a deer fills a frame at ranges where a warbler is still a speck. If your subjects are large or approachable, spend on aperture instead of reach, because unused zoom only adds weight to every walk.
Is weather sealing worth paying for on a first wildlife camera?
It is worth having, but it should not consume the budget that buys reach. An inexpensive rain cover protects any class of camera through passing showers and costs very little, which makes it the smarter first purchase. Choose factory sealing when your field days regularly include drizzle, sea spray, or blowing dust, and remember that the lens needs the same treatment before the system counts as sealed.
Can I keep my current camera and only buy a longer lens?
Often yes, and it is usually the cheapest real upgrade available to you. A longer lens changes your framing more than a new body does, provided the mount matches and the lens is not so heavy that you start leaving it at home. One caution: pairing a demanding high resolution body with an older budget telephoto shows the lens limits clearly, so rent the lens for a weekend before you commit.
Why do my dawn wildlife photos look noisy with a good camera?
Because dawn offers very little light, and every camera pays for that somewhere. You can accept noise from higher sensitivity, motion blur from a slower shutter speed, or a missed shot while you wait for better conditions. Between those, noise is the only flaw that editing can reduce later, so most field photographers protect shutter speed first and let sensitivity climb. A faster lens lowers the whole bill, which is why aperture dominates dawn results.
Should a beginner start with a bridge camera or a crop sensor kit?
Start with the bridge camera if you are still learning whether wildlife holds your interest, because it delivers real reach immediately and resells cleanly without a system of parts to unwind. Start with the crop sensor kit if you already spend regular mornings in the field, since its lenses remain useful when you later upgrade the body. Either way, patience, position, and local knowledge will improve your results faster than the next tier of gear.
The Bottom Line
Match the type to your subjects: bridge superzoom for reach on a budget and on the move, crop sensor kits for the best balance of reach and light, and full frame primes when dawn quality justifies the carrying. Compare your shortlist with the product table above, read our broader guide to best cameras for wildlife photography for wider craft context, and choose the best cameras for shooting wildlife that your typical morning, not your dream safari, demands.