Best Cameras for Wildlife Photography Made Simple: A Clear Buying Guide for 2026
Disclosure: We may earn a commission when you buy through links on this page, at no extra cost to you. As an Amazon Associate I earn from qualifying purchases. Learn more

Shopping for the best cameras for wildlife photography? Learn the terms, compare camera types, and choose with confidence using this first time buyer guide.
Shopping for best cameras for wildlife photography for the first time can feel confusing, because wildlife subjects move fast, light changes quickly, and distances are often long. This guide starts with the basics, explains the specs in plain language, and then helps you match a camera type to the way you plan to shoot. The comparison table below gives you a quick overview before you read the details.
Wildlife photography rewards patience, reach, and a camera that can keep focus on a moving subject. It does not require the most expensive body on the market, and it does not require you to learn every technical term before your first outing. Focus on reach, autofocus, low light ability, handling, and weather protection, and let those five factors guide your short list.





Cameras 101: The Basics
A camera for wildlife work is a complete system, not just a body. The body holds the sensor and the processor, the lens controls reach and light gathering, and the autofocus system decides what stays sharp. When you press the shutter, light passes through the lens, the sensor records the scene, and the processor turns that information into a photo or a video file.
For wildlife, three ideas matter more than brand names. Reach lets you fill the frame without getting close enough to disturb an animal. Autofocus speed and tracking help the camera stay locked on a bird in flight or an animal moving through brush. Stability matters because long lenses magnify shake, so a steady hold, good stabilization, and a sensible shutter speed all work together.
You also need to think about how you will carry and use the camera in the field. A heavier setup can be tiring on a long walk, while a very small setup can feel cramped if you have large hands or wear gloves. Try to balance reach and comfort, and check local wildlife rules before you shoot in a park, refuge, or reserve. Keep a respectful distance, stay on marked paths where required, and never bait or disturb animals for a photo.
Key Specs Explained in Plain English
The specs below sound technical at first, but each one answers a simple field question. Read them as a checklist, not as a test, and note which factors matter most for your subjects, your light, and your walking distance.
Features That Matter for Wildlife Photography
Wildlife subjects rarely pose in bright light at close range, so reach, focus tracking, burst speed, and low light performance shape results more than minor differences in megapixels. A camera that finds an eye quickly, holds focus through movement, and records clean detail at dawn or dusk will serve you better than a camera with a long feature list you never use. Look for animal eye detection where available, a burst rate that suits birds in flight, and controls you can reach without looking away from the viewfinder.
Sensor Size and Image Quality
Sensor size affects detail, low light performance, and depth of field, but megapixels alone do not tell the whole story. A 1 inch sensor can suit a compact travel setup, an APS C sensor offers a useful balance of reach, size, and price, and a full frame sensor can give cleaner files in dim light. For wildlife, a smaller sensor can also extend effective reach with the same lens, which is one reason many field shooters value APS C bodies for distant subjects.
Size, Weight, and Ergonomics
Size and weight decide whether you will actually carry the camera on a long outing. A compact body with a built in zoom can be easy to pack and quick to raise, while an interchangeable lens system gives more reach and flexibility at the cost of weight and bulk. Check grip depth, button placement, and viewfinder comfort, and think about how the setup feels after an hour of walking. A neck strap, a shoulder strap, or a chest harness can spread weight, but the basic balance of body and lens matters most.
Low Light Performance
Many animals are most active at dawn, at dusk, or under tree cover, so low light performance deserves close attention. Look at the usable ISO range, the maximum aperture of the lens, and how clean files look when you raise ISO to keep shutter speed high enough to freeze motion. Image stabilization helps with still subjects and slow shutter speeds, but it cannot freeze a moving animal, so shutter speed still matters.
Durability and Weather Sealing
Field conditions include dust, rain, humidity, and temperature swings, so build quality and sealing are practical concerns. Weather sealing helps keep moisture and dust out of joints and controls, but it does not make a camera fully waterproof unless the maker states a waterproof rating. Check the maker guidance for rain use, battery care, and storage, and carry a simple rain cover for heavy rain.
Video Capabilities
Video can be a useful bonus if you want short clips of behavior, sound, and movement alongside still photos. Look for 4K video where you need extra detail for cropping, a microphone input if you plan to record clean sound, and a flip screen if you film yourself or shoot from low angles. Video also uses battery power quickly and fills memory cards fast, so carry a spare battery and extra cards. If video is only an occasional extra, do not let it outweigh reach, focus, and low light performance.
Picking the Right Cameras for Different Uses
Different wildlife styles call for different trade offs. The groups below describe who each style suits best, so you can narrow the field before you compare prices and specs in detail.
Best Compact Cameras for Wildlife Photography
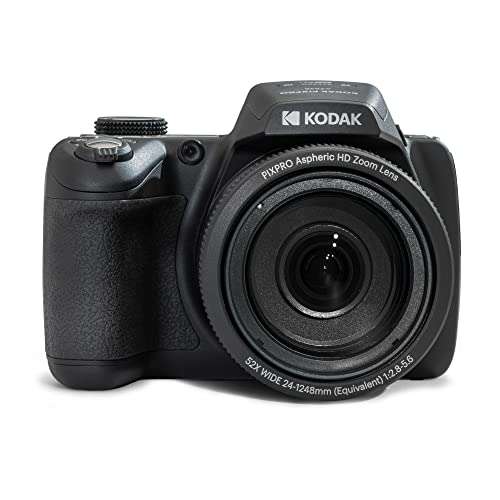
Compact cameras suit walkers, travelers, and new shooters who want reach without carrying extra lenses. A built in zoom keeps the setup simple, and a smaller body fits easily in a day pack or a jacket pocket. The trade off is usually less low light flexibility and less control than an interchangeable lens system, so check zoom range, stabilization, and burst speed carefully. If you value simplicity and portability above maximum reach, this style is a strong starting point.
Best Entry Cameras for Wildlife Photography: Tips for First Time Buyers
Entry cameras suit new shooters who want room to learn without a steep learning curve or a very high price. Look for clear auto modes, helpful guides on screen, and a kit zoom that covers everyday wildlife distances. A camera that feels friendly on day one will encourage practice, and practice matters more than advanced menus you may not use for months. If you want to learn manual controls later, choose a body that offers them, but do not pay for professional features before you need them.
Best Cameras for Wildlife Photography with Zoom
Long zoom range suits bird watchers, safari visitors, and anyone who shoots shy subjects from a distance. A longer zoom fills the frame with distant detail, but it also magnifies shake and usually needs more light or higher ISO. Check how sharp the lens stays at full zoom, how fast focus locks at long range, and whether stabilization works well at that focal length. For more on general camera buying, see our guide to best cameras for photography and compare its advice with your wildlife needs.
Best Point and Shoot Cameras for Wildlife Photography: Tips for First Time Buyers
Point and shoot cameras suit casual shooters who want quick operation, automatic exposure, and a simple path from seeing an animal to taking a photo. They work well for daylight walks, garden visitors, and family trips where speed matters more than fine control. The limits usually appear in very low light and at extreme distances, so check zoom range and burst speed before you buy. If you want a camera you can hand to a friend and use right away, this style keeps the learning curve short.
Best Full Frame Cameras for Wildlife Photography
Full frame cameras suit shooters who prioritize clean low light files, fine detail, and flexible cropping. The larger sensor can help at dawn and dusk, and it pairs well with long lenses for distant subjects. The trade offs are usually higher price, larger lenses, and heavier bags, so think about how far you walk and how much weight you will carry. For a broader view of landscape and wildlife shooting together, see our guide to best cameras for landscape and wildlife photography before you settle on a sensor size.
Rookie Mistakes to Avoid
New wildlife shooters often make the same avoidable errors. Watch for these five mistakes as you shop and as you shoot.
- Buying maximum zoom without checking focus speed, stabilization, and sharpness at full zoom.
- Judging image quality by megapixels alone while ignoring sensor size, lens aperture, and low light performance.
- Choosing a heavy lens and body combination that stays home because it is tiring to carry on long walks.
- Forgetting spare batteries and memory cards, which can end a good outing far sooner than expected.
- Getting too close to wildlife for a better frame instead of using reach and patience to protect the animal.
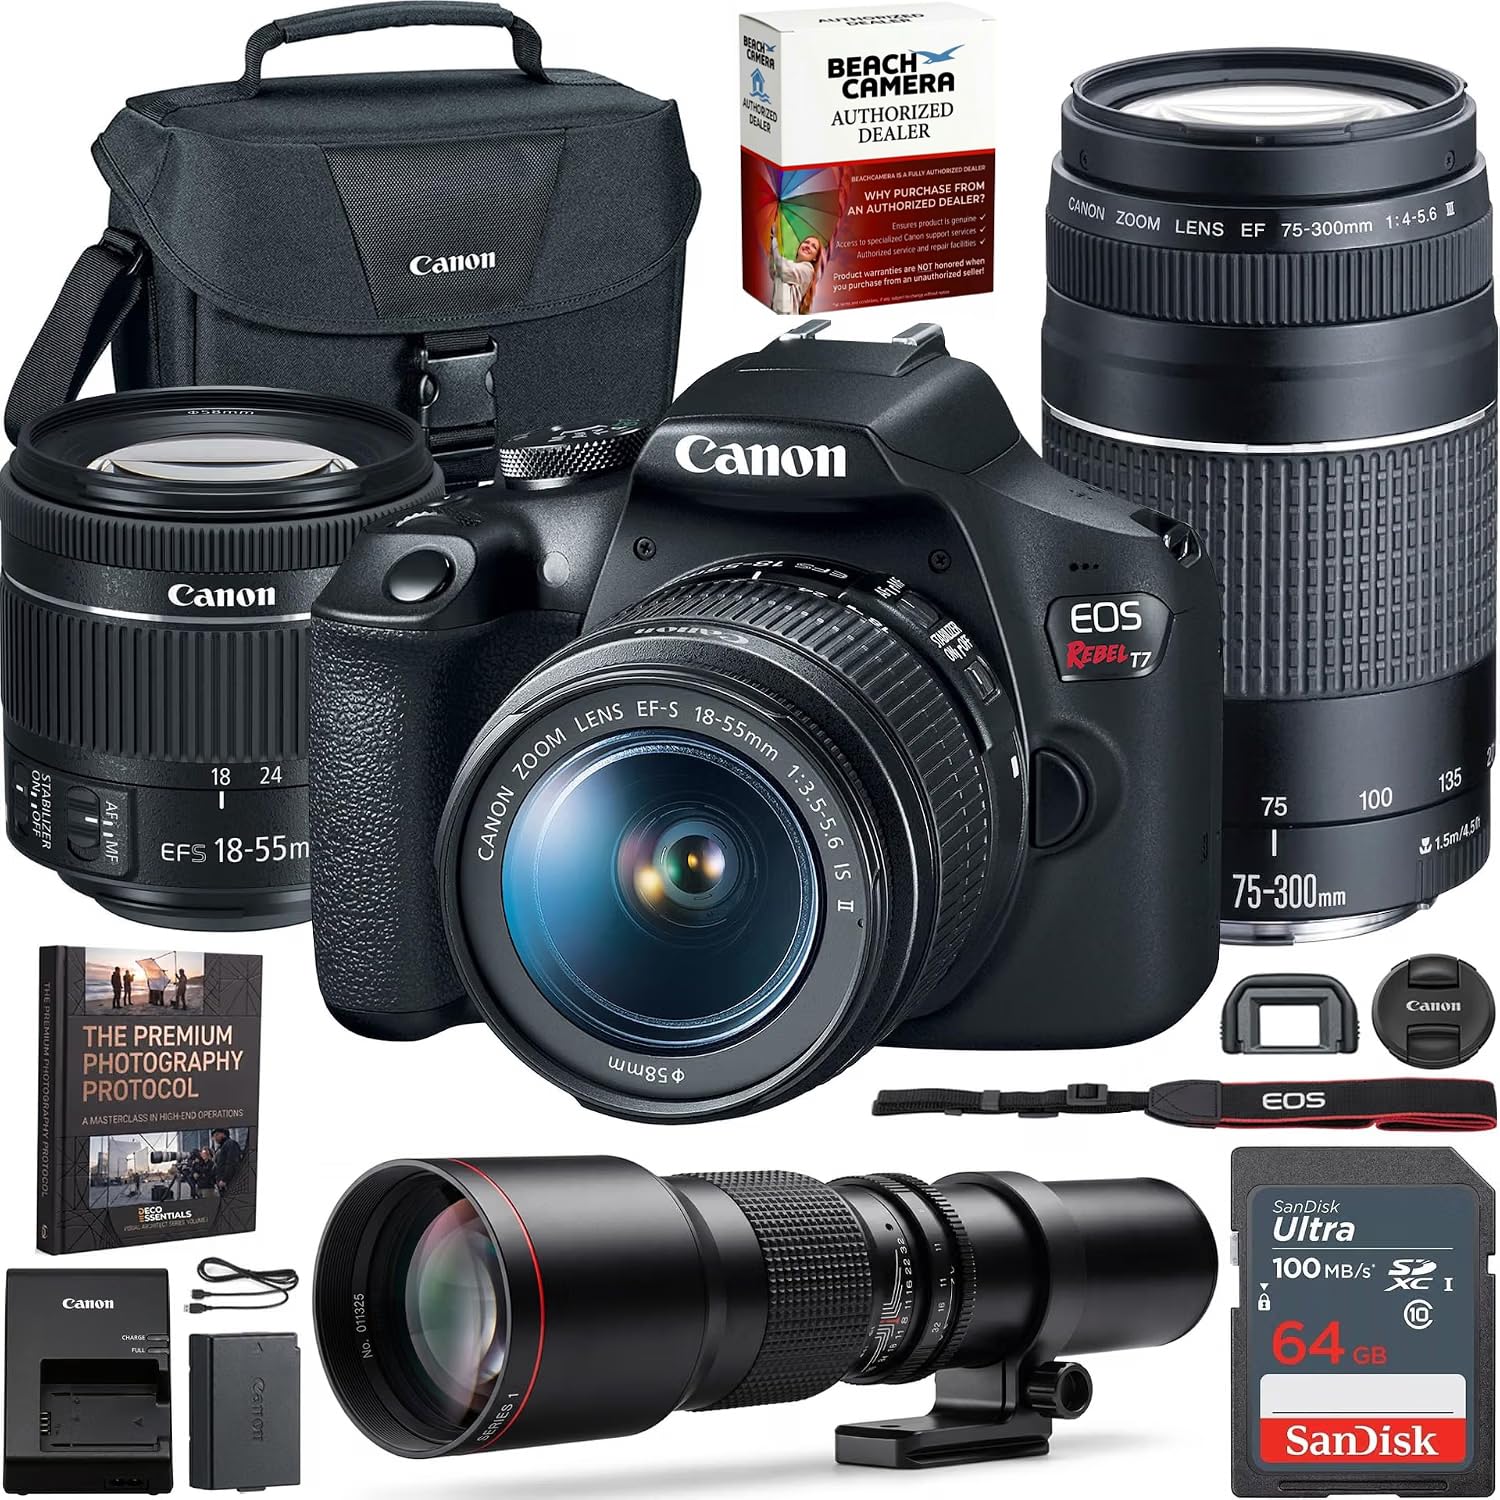
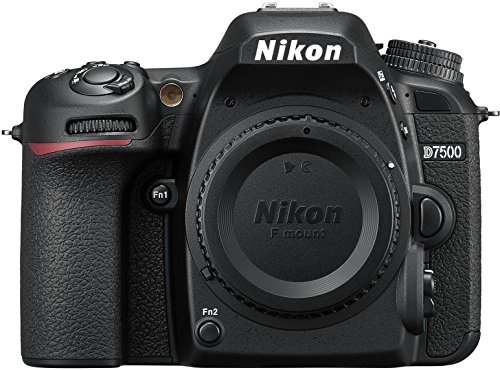
For a closer look at one common wildlife system, see our guide to best dslr cameras for wildlife photography and note how its handling and lens choices differ from a compact setup. If you prefer a simpler digital path, see our guide to best digital cameras for wildlife photography and compare its ease of use with an interchangeable lens system.
Getting Started: Setup and First Use
After you unbox a camera, set the date and time, format a memory card in the camera, and charge the battery fully before your first outing. Set focus to a wildlife friendly mode, such as animal eye detection or continuous autofocus where available, and practice tracking a moving subject in your garden or a local park. Use a lens cloth, not your shirt, to clean the front element, because fabric can trap grit and scratch coatings over time.
Carry a spare battery, because cold weather, video, and long bursts drain power faster than casual shooting. Store the camera in a dry, padded bag, keep silica gel packs fresh if you use them, and wipe down the body after rain or dust. Follow maker guidance for firmware updates, battery charging, and cleaning, and check local rules for the places you plan to visit. A short practice session before a big trip will teach you more than any manual chapter.
FAQs
What features matter most in cameras for wildlife photography?
Reach, autofocus tracking, burst speed, and low light performance matter most, because wildlife moves fast and often appears in dim light at a distance. A long zoom helps you fill the frame, while animal eye detection helps the camera stay locked on a subject through movement. Burst speed gives you more chances to catch a sharp wing position or a turn of the head. Battery life and weather sealing also matter in the field, since a dead battery or a rain soaked camera can end an outing early.
What specs matter most for beginners?
Beginners should focus on usable zoom range, reliable autofocus, and a sensor and lens combination that handles dawn and dusk light without excessive noise. A friendly auto mode and clear menus matter just as much, because a camera you understand will get used more often. Megapixel count is less important than lens sharpness and stabilization at long range. Start with a setup that covers common distances well, then upgrade lenses or bodies later once you know which subjects you shoot most.
Is a smartphone enough instead?
A smartphone can work for nearby, well lit wildlife, such as garden birds, ducks at a pond, or animals at a sanctuary viewing area. Its limits appear quickly with distant, fast, or dimly lit subjects, because digital zoom loses detail and focus tracking is less reliable at long range. A dedicated camera adds optical reach, faster bursts, and better low light files. If most of your subjects are close and still, a phone may be enough, but serious bird and safari work benefits from a dedicated system.
How much should I spend on my first one?
First time buyers often find a useful range from about $500 to $1,500 for a compact or entry interchangeable lens setup, depending on zoom range and features. Spending less can still work for daylight shooting, while spending more usually buys better low light performance, faster focus, and stronger sealing. Set a total budget that includes a spare battery, memory cards, and a bag, because those extras add up quickly. Buy the best lens and focus system you can afford within that total, rather than stretching for a body alone.
Which is better for low light?
A larger sensor, a wider maximum aperture, and effective stabilization usually give the best low light results, because they let in more light or allow slower shutter speeds for still subjects. Full frame bodies often lead here, but a bright lens on an APS C body can also perform well at dawn and dusk. Remember that stabilization cannot freeze a moving animal, so shutter speed still matters for birds in flight. Test how files look at higher ISO settings before you buy, and favor clean detail over a headline ISO number.
Wrapping Up
Start with your subjects, your walking distance, and your light, then choose reach, focus, and low light ability to match. A compact setup suits simple travel and daylight walks, an entry interchangeable system suits learning and growth, and a full frame setup suits low light and heavy cropping. Check the product table above once more, compare total costs including batteries and cards, and follow local wildlife rules on every outing.
With a clear short list and a little practice, best cameras for wildlife photography becomes a practical choice rather than a confusing one. Prices and availability can change, so check the product page before ordering.