
Best Carbon Fiber Mountain Bike Handlebars: Matching the Right Model to Your Routine for 2026
Disclosure: We may earn a commission when you buy through links on this page, at no extra cost to you. As an Amazon Associate I earn from qualifying purchases. Learn more

Choose the best carbon fiber mountain bike handlebars for your riding routine by comparing width, rise, sweep, clamp size, and carbon layup quality.
There is no single bar that suits every rider, because your hands, shoulders, trails, and riding routine all shape what feels right. A wide, high rise bar that feels calm on steep descents can feel awkward on tight cross country climbs. This guide helps you match the best carbon fiber mountain bike handlebars to the way you actually ride, instead of copying someone else setup.
The comparison table below shows current options side by side. Use it after you know your target width, rise, and clamp diameter, because a bar that misses those basics will never feel right no matter how light it is.
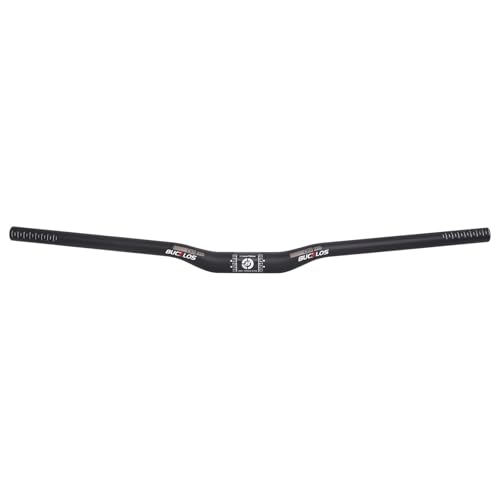
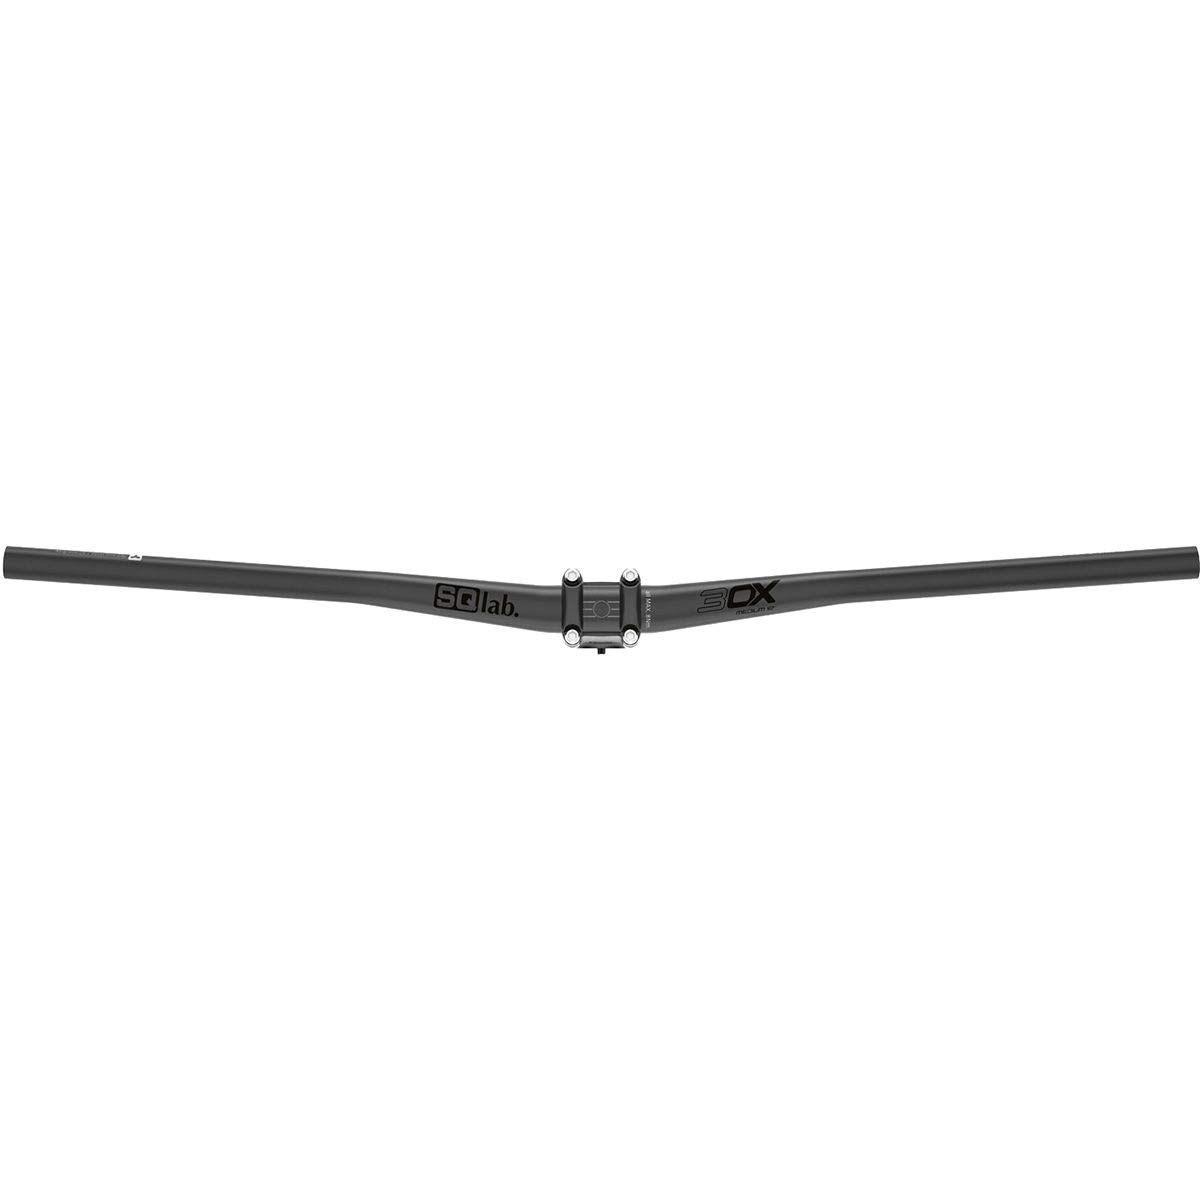



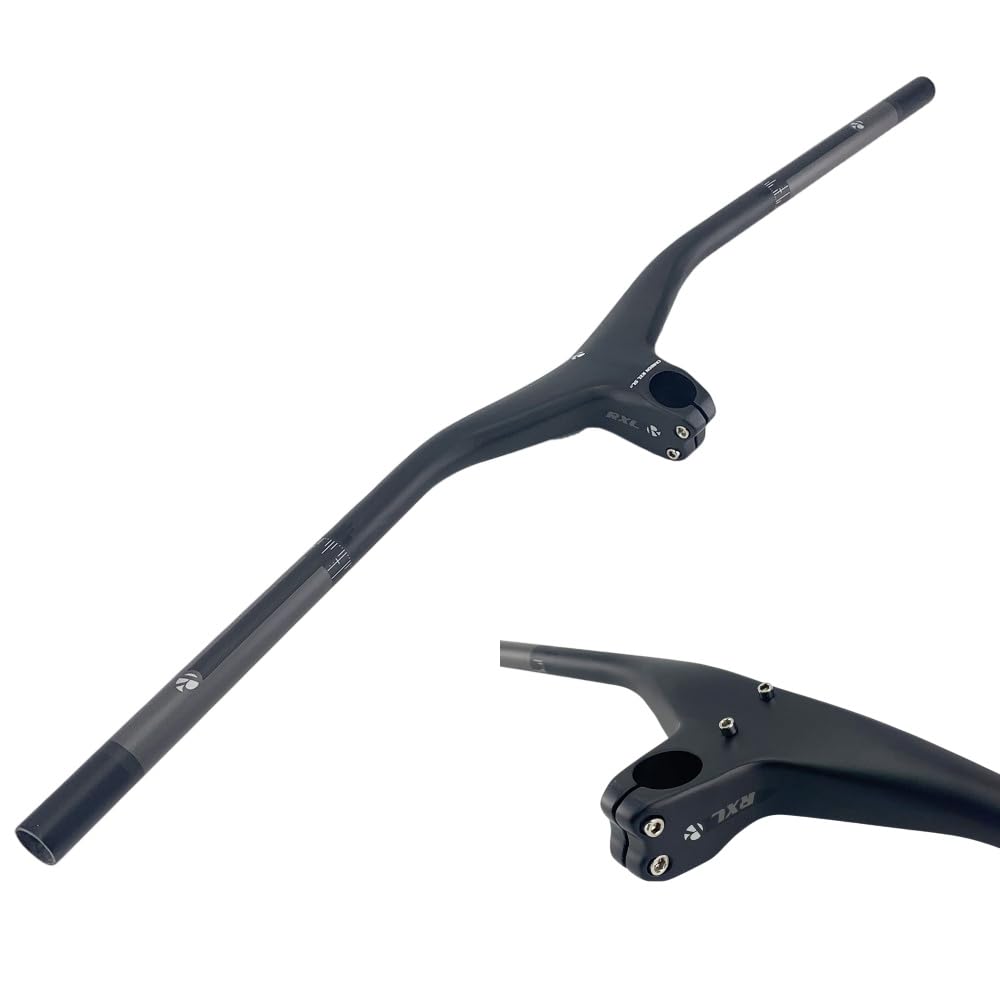
Who Should Buy Which Carbon Fiber Mountain Bike Handlebars?
For Small Spaces and Easy Storage
If your bike lives in an apartment, a van, or a crowded garage, a narrower bar in the 720 to 760 mm range passes through doorways and trail gates with less drama. Carbon helps here because it trims weight when you carry the bike up stairs. Look for clear cut marks on the bar ends, since many riders in this group trim a wider bar down for storage and handling.
Storage also means frequent handling, so choose a bar with a durable finish rather than the lightest raw layup. A tougher clear coat resists the small knocks that happen when a bike leans against walls or other bikes. Those knocks matter more on carbon than on alloy, so protection is a practical feature, not a cosmetic one.
For Frequent or Serious Users
Riders who train several days a week should value fatigue strength, a clear rider weight limit, and a solid warranty over a few saved grams. A slightly heavier trail rated bar usually holds up better to repeated rock strikes and shuttle racks. Check whether the maker publishes test standards and torque values for the stem and controls, because serious use means repeated setup changes.
Comfort over long rides is the other priority. A bar with a sweep that keeps your wrists neutral reduces hand numbness on two hour rides. If numbness is a current problem, changing sweep by a few degrees often helps more than changing grips, so treat bar shape as a fit tool, not just a steering part.
For Bad Weather and Tough Conditions
Wet, muddy riding calls for a bar with a textured or generous clamping area for controls, so brake levers and shifters stay put when everything is slick. Carbon itself does not rust, which is a real advantage over some steel parts in coastal or winter conditions. Still, the hardware bolts can corrode, so stainless or coated bolts are worth looking for.
Tough conditions also mean crashes are more likely. Choose a bar with a clear crash replacement policy and inspect it after any hard impact, even when you see no damage. Carbon can hide internal harm, and a bar is the last part you want to fail on a descent. When in doubt, replace it and keep the old one out of service.
For Weekend Beginners
Newer riders do best with a moderate width around 760 mm, a gentle rise, and a price that leaves room in the budget for a proper torque wrench. You do not need the lightest layup to feel the main carbon benefit, which is reduced vibration through your hands on rough trails. A mid priced bar from a maker with clear setup instructions is the sensible starting point.
Forgiveness matters too. A bar rated for trail use rather than pure cross country racing tolerates the occasional over tightened bolt or minor tip over better. As your skills grow you can move to a wider or lower setup, and the first bar becomes a useful spare or moves to a second bike.
Key Features to Compare
Value and Warranty
Value in a carbon bar is mostly about risk. Prices run from around $60 to well over $200, and the higher end mainly buys lower weight, more size choices, and better support. A written warranty of at least two years and published crash replacement pricing tell you the maker expects the bar to survive real use. Vague terms are a warning sign at any price.
Also look at what the warranty covers in practice. Some cover only defects, while others offer a discount after crash damage. Since bars are safety critical parts, support quality should rank alongside weight when you compare two similar shapes. Keep your receipt and note the install date so any claim is simple.
Materials and Weight
Carbon bars typically weigh around 180 to 260 grams, while comparable alloy bars weigh around 280 to 350 grams. The saving is useful, but the bigger gain is vibration damping, since carbon layups can be tuned to flex slightly in the vertical plane while staying stiff side to side. That tuned flex is what your hands feel as comfort on long descents.
Layup quality matters more than raw weight. A very light bar built for cross country racing may carry a low rider weight limit and a narrow intended use. Match the rating to your riding: cross country, trail, or downhill categories exist for a reason, and using a race bar for bike park days shortens its safe life.
Compatibility With Your Bike or Gear
Start with clamp diameter, either 31.8 mm or 35 mm at the stem. The bar and stem must match exactly, and 35 mm setups feel stiffer while 31.8 mm setups often feel a touch more forgiving. Then check control fit: brake levers, shifters, dropper remotes, and grips all need room once the bar is cut to your width.
Riders building a full carbon cockpit often pair the bar with a matching front end. Our guide to the best carbon fiber mountain bike helps you judge whether a complete bike already includes a suitable bar, and our notes on the best carbon fiber mountain bike frame explain how head tube angle and reach change the bar height you need.
Performance Specs
The specs that matter are width, rise, backsweep, and upsweep, and each changes fit in a plain way. Width controls steering leverage and stability, rise sets hand height, backsweep sets wrist angle, and upsweep fine tunes elbow position. Change one at a time when you can, so you know which change helped or hurt.
A practical method is to ride your current setup, note hand pressure and shoulder tension after an hour, then adjust. Too much weight on your hands suggests more rise or a shorter stem, while vague steering on climbs suggests a lower front end. Specs become useful when you tie them to a feeling you want to change.
Common Mistakes to Avoid When Buying Carbon Fiber Mountain Bike Handlebars
- Buying by weight alone, then discovering the rider weight limit or intended use does not match your trails.
- Ignoring clamp diameter, so the new bar does not fit the stem already on your bike.
- Cutting the bar to final width on day one instead of riding it slightly wide first and trimming in small steps.
- Using a standard wrench instead of a torque wrench, which can crush carbon at the stem clamp.
- Skipping the warranty check, even though crash support is a major part of value on a safety critical part.
Setup and Care Tips
Install with a torque wrench and carbon assembly paste where the maker advises it, and tighten stem bolts evenly in small turns. Check fit and tightness before each ride with a quick pull on the controls and a firm twist test on the grips. Never use bar ends or clamp on accessories outside the zones the maker marks as safe, because clamping the wrong area can damage the layup.
Care is mostly inspection. After any crash, remove the grips and look for cracks or soft spots, and run a fingertip along the bar for changes in feel. Replace the bar after a hard impact if you have any doubt. Also replace your helmet after any crash, charge lights after every long ride, and treat those habits as one pre ride and post ride routine that keeps the whole cockpit safe.
Wheel and rim choices change how much vibration reaches the bar in the first place. If hand fatigue persists, look at our guide to the best carbon fiber mountain bike wheels and our guide to the best carbon fiber mountain bike rims before buying a second bar, because tire volume and rim width may be the real cause.
Frequently Asked Questions
How do I choose the right handlebar size?
Start with width close to your shoulder width plus the leverage your trails demand, often 760 to 800 mm for trail riding. Then set rise so your hands sit level with or slightly above your saddle for general use. Ride for a week before cutting, because a bar that feels wide in the driveway often feels calm and correct at trail speed.
How often should I replace a carbon handlebar?
Replace it after any crash with visible damage, any impact that leaves you unsure, or when the maker stated service life ends. Many riders on rough trails replace proactively after a few seasons of heavy use. There is no safe visual test for hidden damage, so when age, crashes, and hard use stack up, a new bar is cheaper than the risk of a failure.
What certifications should I look for?
Look for bars tested to recognized bicycle component standards and sold with a stated category of use, such as cross country, trail, or downhill. Makers should publish maximum torque values and rider weight limits as well. A helmet you ride with should carry its own safety certification, and features such as MIPS are helmet topics, not bar topics, so keep each product standards separate when you shop.
Is a carbon handlebar safe for mountain biking?
Yes, when it is rated for your riding style, installed with a torque wrench and replaced after any damage. Carbon bars have to meet recognized component standards, but they dislike over tightened clamps and sharp impacts, so inspect the bar regularly.
Should I use carbon assembly paste on a carbon bar?
Many makers recommend it because the paste adds friction so you can use a lower clamping torque. Follow the instructions for your bar and stem, tighten the bolts evenly and never exceed the printed torque limit.
Wrapping Up
Choose your bar by fit first: width, rise, and sweep that keep your hands and shoulders relaxed. Then check rating, rider weight limit, and warranty before you compare weight. When those pieces line up, the comparison table above can confirm price and availability, and the best carbon fiber mountain bike handlebars for your routine will be the ones you stop noticing because your hands stay comfortable all ride long.


