Best Cameras to Take Pictures of Stars in 2026: Everything to Know Before Your First Purchase
Disclosure: We may earn a commission when you buy through links on this page, at no extra cost to you. As an Amazon Associate I earn from qualifying purchases. Learn more

Shopping for the best cameras to take pictures of stars for the first time? Learn the terms, compare options, and avoid rookie mistakes with this easy guide.
Your first clear night far from city lights can disappoint if your camera turns the Milky Way into a faint gray smudge. The good news is that the best cameras to take pictures of stars are not exotic or rare. They are mirrorless and DSLR models with the right mix of sensor, lens and manual control, explained here in plain language for first time buyers.
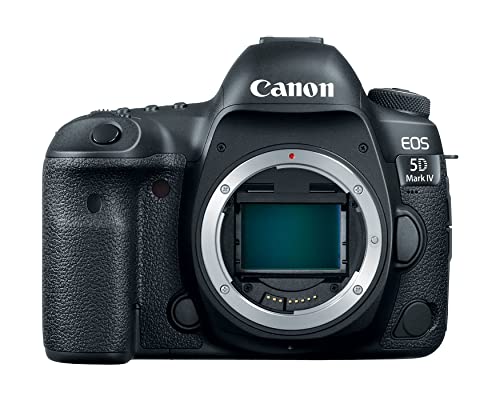
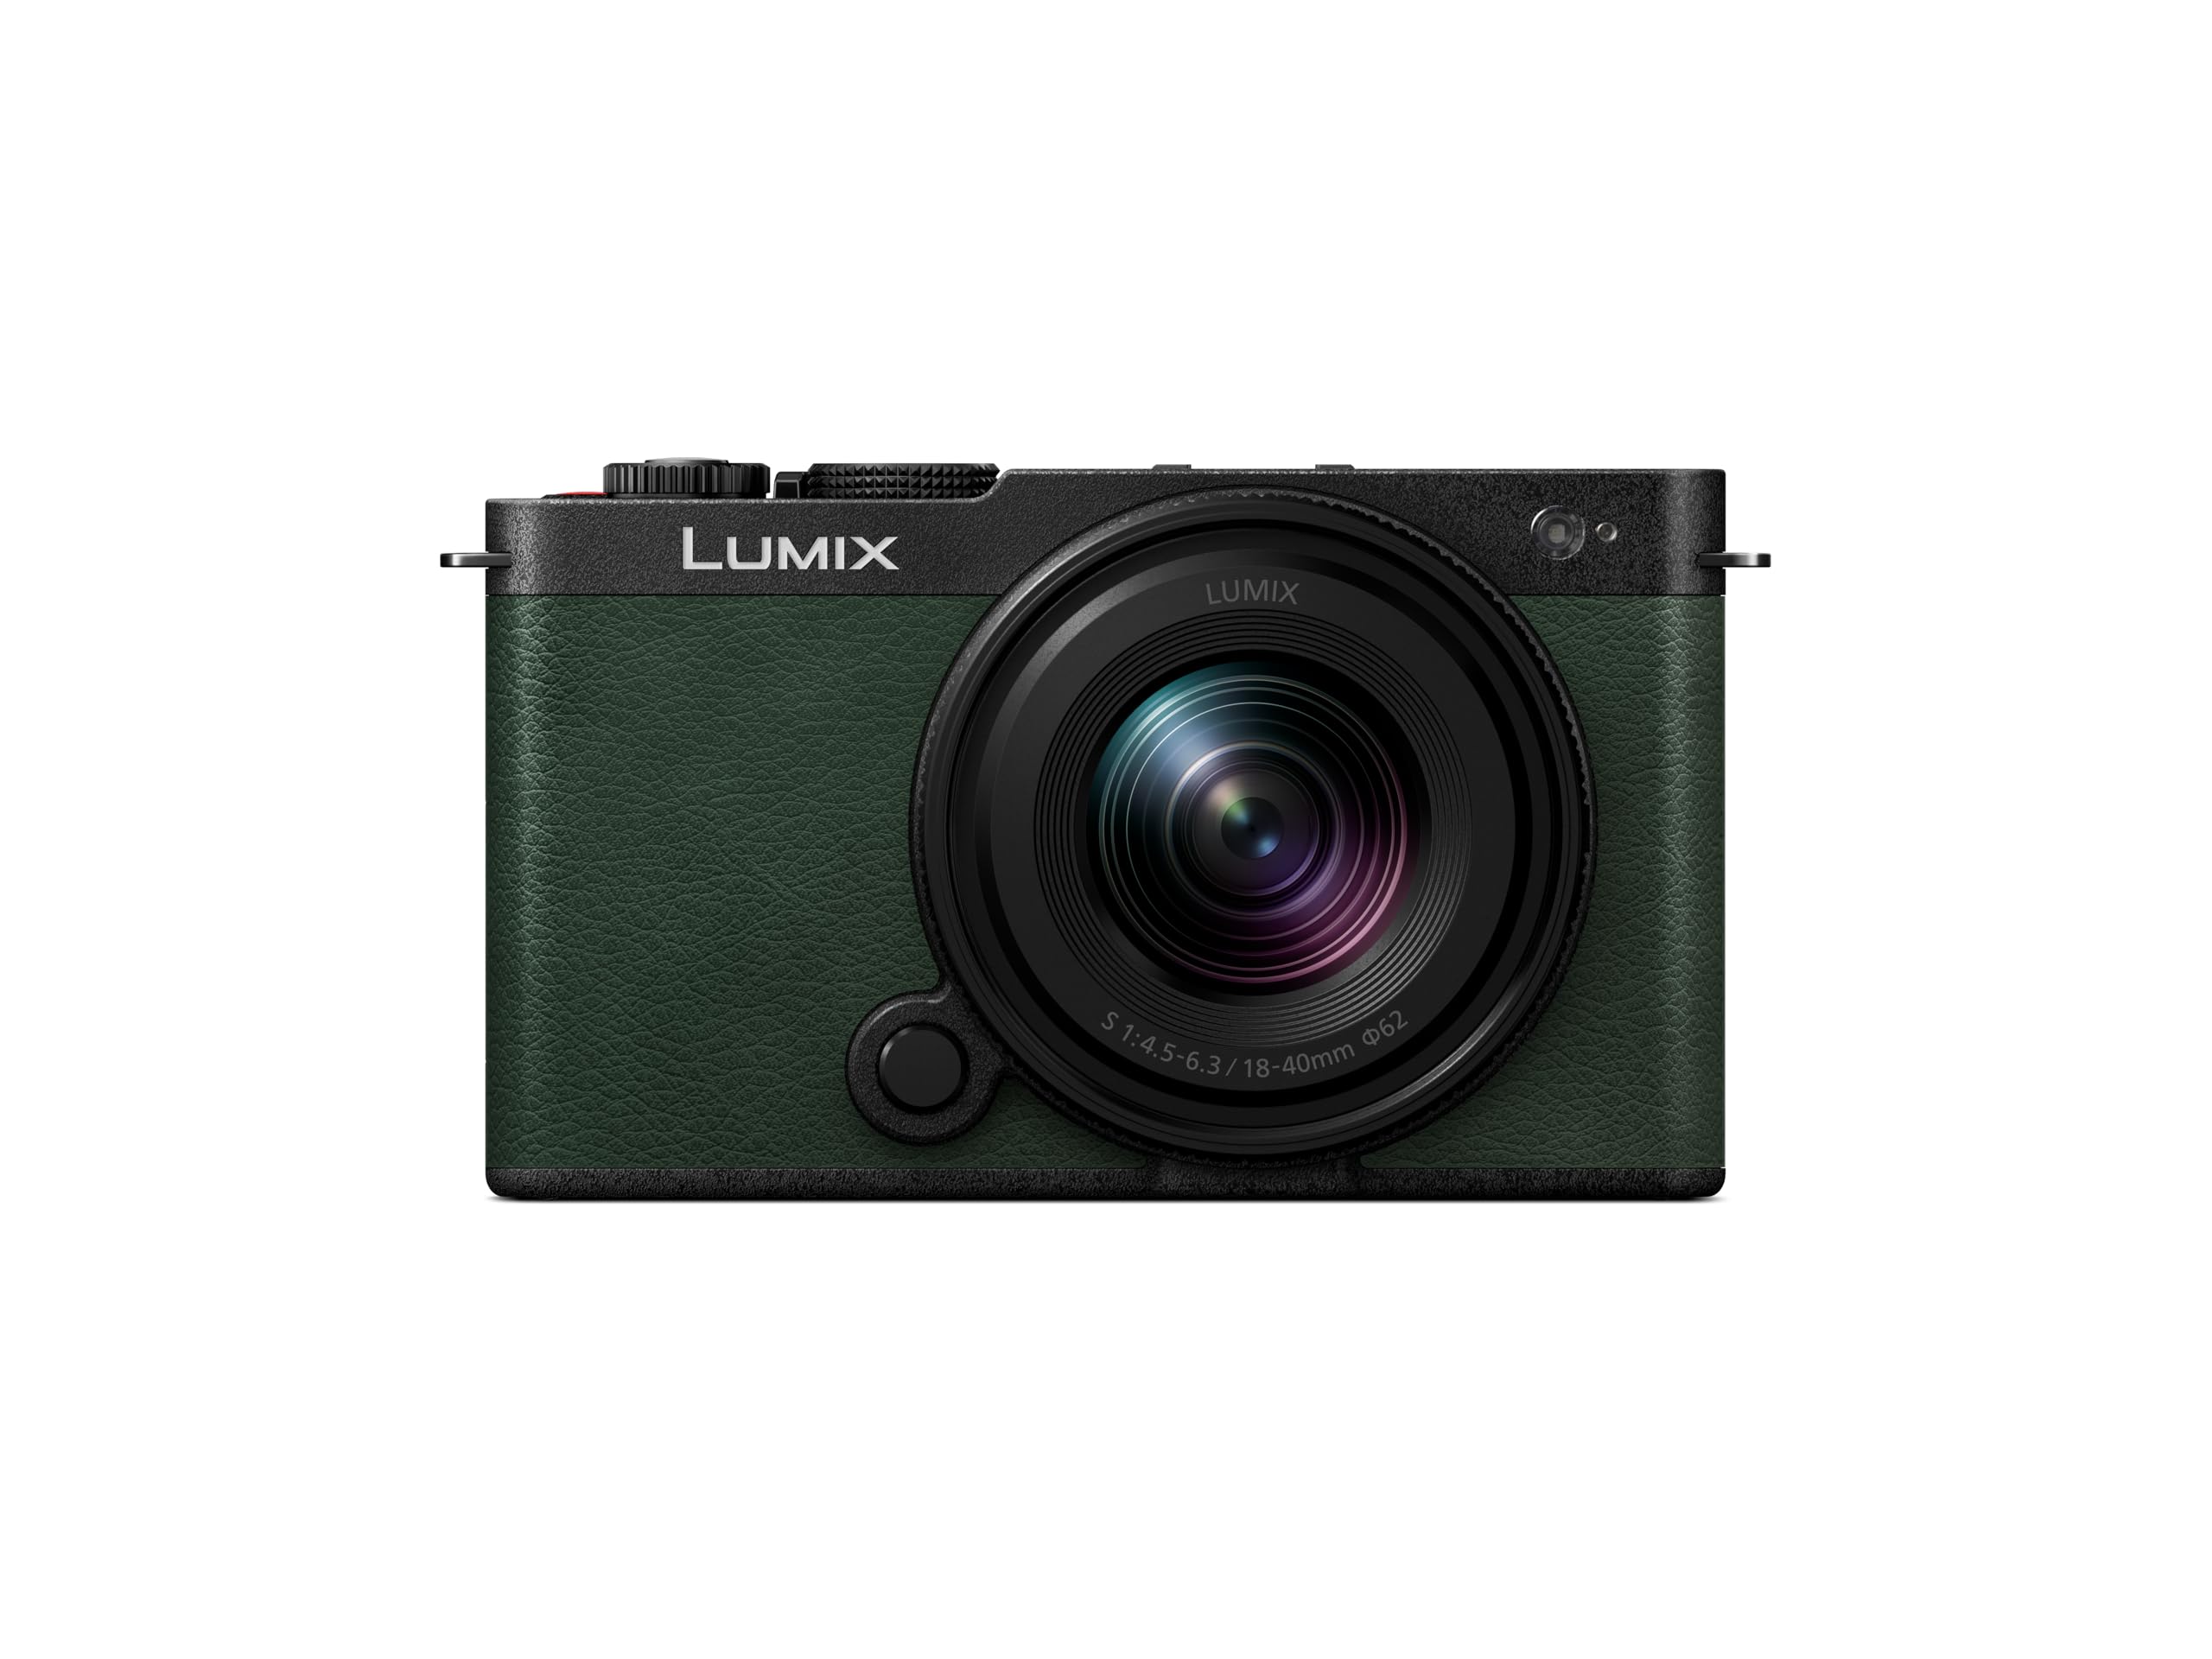
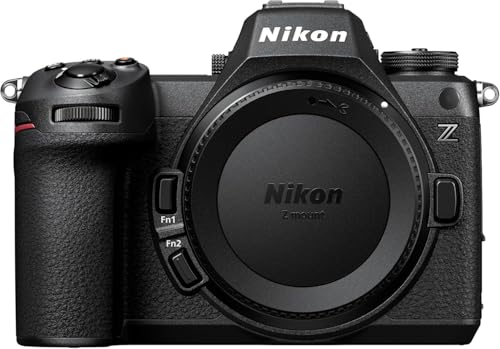
We start with how star photos work, then cover the buyers each camera type suits, the features to compare, the mistakes that ruin first attempts, and setup for your first night out. Use the comparison table below to weigh current models once you know which specs deserve your money.


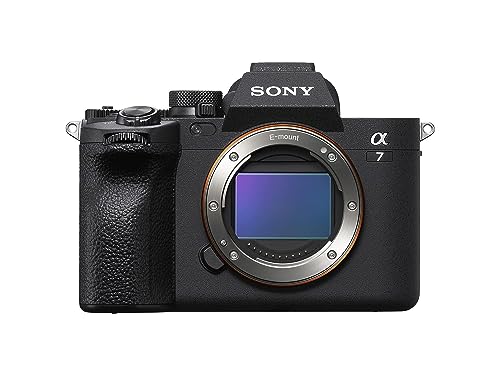

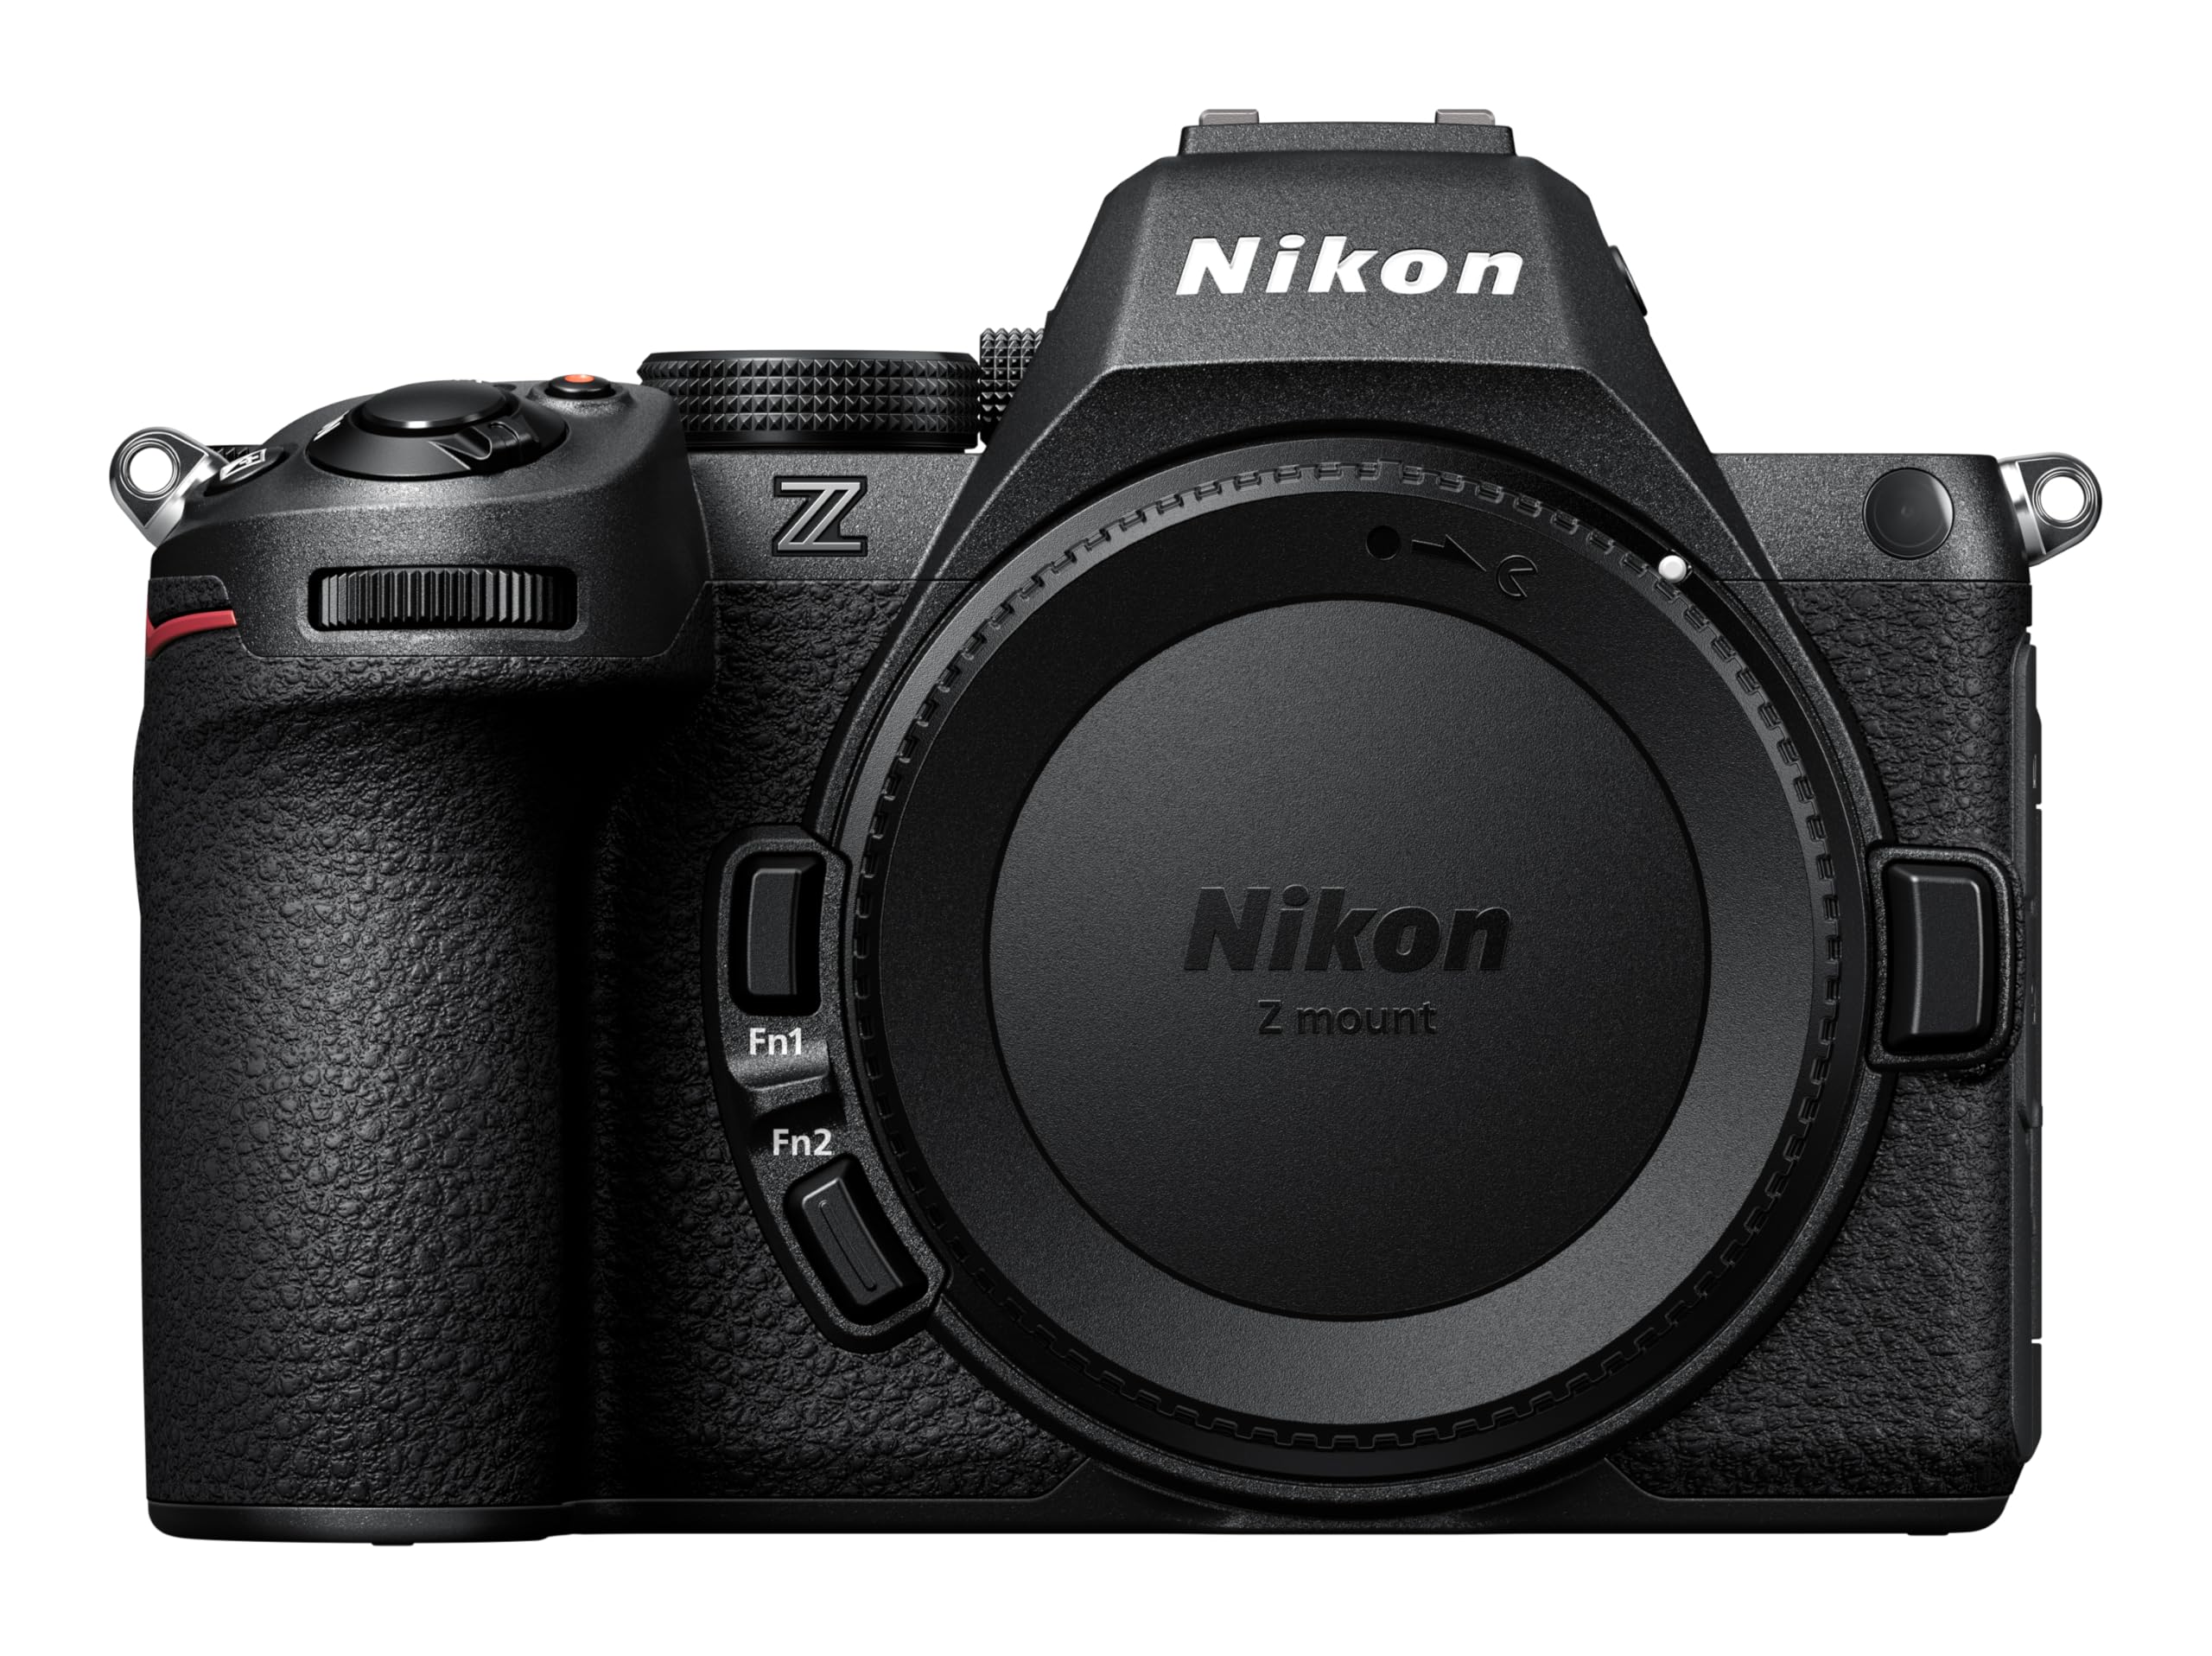


Star Photography Basics for First Time Buyers
A star photo is a long exposure taken in near darkness. The shutter stays open for about 15 to 25 seconds while the sensor gathers faint light, so the camera must sit perfectly still on a tripod. Because Earth keeps turning, longer exposures stretch stars into trails, and most beginners use the 500 rule to pick the longest exposure that keeps stars as points.
Three settings do most of the work. Aperture controls how much light the lens lets in, ISO sets how strongly the sensor amplifies that light, and shutter speed sets how long the sensor gathers it. That balance is why the best cameras to take pictures of stars pair a generous sensor with full manual control instead of relying on an automatic night mode.
Who Should Buy Which Camera for Star Pictures?
Campers and Hikers Who Chase the Milky Way
You plan trips around dark skies, carry your kit on foot, and shoot for hours once the sky turns fully black. A full frame or APS C body with a fast wide lens suits you best. If you shoot nothing but the night sky, see our guide to the best cameras for stars for a narrower night only shortlist.
Backyard Beginners Learning Manual Settings
You will practice from a yard or a quiet road outside town. An affordable APS C body is plenty, because your early limits will be technique and location, not the sensor. Guided menus make those first sessions less frustrating, and the money saved buys the tripod and faster lens that improve your results far more.
Travelers Who Want Stars and Landscapes in One Kit
You shoot coastlines, old towns and mountain trails by day, then stay out when the same scene turns dark. A compact mirrorless body with one wide lens covers both jobs without filling your bag. If daytime scenes matter as much as the night sky, see our guide to the best cameras to take pictures for a broader shortlist.
Key Features to Compare
Sensor Size and Clean High ISO Files
Star photos are usually shot at ISO 1600 to 6400, so how a sensor behaves at high ISO matters more than its megapixel count. Full frame sensors spread their pixels over a larger area, which keeps noise lower and preserves faint stars a smaller sensor buries. APS C sensors run close behind and cost less. Our guide to the best cameras for taking pictures of stars compares sensor formats side by side.
Lens Aperture and Wide Focal Lengths
The lens decides how much starlight reaches the sensor in the short seconds before trails appear. A widest aperture of f/1.4 to f/2.8 gathers far more light than a kit lens at f/3.5 to f/5.6, letting you lower the ISO for cleaner files. Focal lengths of about 14 to 24 mm in full frame terms fit broad Milky Way arcs into one frame.
Manual Exposure and Focus Aids
Automatic settings give up in darkness, so look for full manual mode, shutter speeds out to 30 seconds, and a bulb setting for longer work. A built in interval timer is a quiet bonus, since it fires the repeated frames used for stacked sequences and time lapse work without extra gear. Focus aids matter just as much. A magnified live view and focus peaking let you shrink a bright star to a sharp point by hand.
Autofocus and Stabilization After Dark
Autofocus hunts in a black sky and rarely settles on a star, so you will focus manually for this work no matter what you buy. Judge autofocus instead by your shooting at dusk, when there is still contrast for it to find. Stabilization earns its keep for handheld twilight landscapes, but a tripod does the real work for stars, and stabilization should be switched off once the camera is mounted, because its small corrections can drift during a long exposure.
Battery Life for Long Cold Nights
Ratings in shots per charge assume quick single frames in mild weather, and a night session breaks every one of those assumptions. Long exposures, a glowing rear screen and cold air all drain a battery much faster than the rating suggests. Choose a camera that charges over USB C so a power bank can top it up between sequences, and budget for at least one spare battery from the start.
Size, Weight and Weather Sealing
Dark locations are rarely beside a parking lot, so the kit has to ride in a backpack and come out again in cold fingers. Mirrorless bodies are generally smaller and lighter than DSLRs of the same sensor size. A weatherproof body and lens pairing shrugs off the heavy dew that forms on clear nights, while an unsealed kit needs a rain cover or a quick retreat.
Setting Up at Home Before a Night in the Field
Your first session goes better if the fiddly parts happen at home in daylight. Charge the battery and format a card in the camera before you stand in a cold field.
- Mount the camera on the tripod, switch stabilization off, and set manual mode with manual focus.
- Set the widest aperture, a shutter speed near 20 seconds, and ISO 1600 to 3200 as a starting point.
- Focus by magnifying a bright star on the rear screen and turning the focus ring until it shrinks to its smallest point.
- Trigger each frame with the self timer or a remote, so your hands never touch the camera during the exposure.
Review the first frame zoomed in. If stars look like short dashes, shorten the exposure a little; if the sky looks thin and dark, raise the ISO one step and shoot again.
Common Mistakes to Avoid
- Buying on megapixel count alone leaves you with noisy star files, because pixel size and lens aperture matter more in the dark.
- Shooting handheld or on a wobbly travel tripod turns every star into a short streak instead of a point.
- Trusting autofocus after dark leaves stars soft, because focus systems have almost no contrast to lock onto in a black sky.
- Leaving stabilization switched on while the camera sits on a tripod can add a slow drift that blurs long exposures.
- Expecting Milky Way detail from a bright suburban yard leads to washed out frames, because street lighting overwhelms faint starlight.
Care and Maintenance for Cameras Used at Night
Dew is the main enemy of night gear, because it forms on the front lens element as temperatures fall and softens every frame until you notice. Wipe the glass gently with a clean lens cloth, never your shirt. At the end of a session, put the camera in a sealed bag before bringing it indoors, so condensation forms on the bag instead of inside the lens. Between trips, store the body in a dry place with the cap on, and leave sensor cleaning to a professional if spots keep showing against plain sky.
Frequently Asked Questions
What specs matter most in a first camera for photographing stars?
Manual control, a fast lens and raw file support matter most in a first camera for photographing stars. Raw files hold extra detail in the faint parts of the sky, which gives editing software far more to work with. A camera that only saves compressed files locks in its own noise reduction early, smearing the smallest stars before you ever see them.
How much should a first time buyer spend on a camera for star photos?
Most first time buyers land between about $600 and $1,200 all in. Spend roughly a third of that outside the camera itself, because a firm tripod and one fast wide lens change your results more than a pricier body does. A used body from a reputable seller is a sensible shortcut, since the savings can go straight into the lens.
Is full frame or APS C better for pictures of stars?
Full frame is better for pictures of stars when the lenses are equal, but at a starter budget the lenses rarely are equal. An APS C body behind an f/1.8 lens gathers more light than a full frame body behind a slow f/4 kit lens, and its files will look cleaner for it. Buy the sensor size that still leaves money for fast glass.
Can a smartphone replace a dedicated camera for pictures of stars?
A smartphone can record bright constellations and a hint of the Milky Way, but it cannot fully replace a dedicated camera for star pictures. Phone night modes stack many short frames automatically, yet the small sensor limits fine detail and print size. A dedicated camera also lets you choose the lens, which opens up compositions a fixed phone lens cannot frame.
What lens should a beginner use first for pictures of stars?
Start with the widest and fastest lens you already own, set to its widest aperture and widest zoom setting. One practical trick is to stop down a single step from wide open once your settings feel familiar, because many lenses draw noticeably sharper stars in the corners there.
The Bottom Line
Three things decide your first star photos: a sensor that stays clean at high ISO, a fast wide lens, and manual controls you can run in the dark. Match those to your buyer group above, compare your shortlist in the product table above, and remember that the best cameras to take pictures of stars for you is the one whose lens and controls you will happily carry out on cold, clear nights.