
Best Camera Backpack for 2 Cameras: Reviews and Buying Guide for 2026
Disclosure: We may earn a commission when you buy through links on this page, at no extra cost to you. As an Amazon Associate I earn from qualifying purchases. Learn more

Choose the best camera backpack for 2 cameras with guidance on fit, dividers, access, weather protection, and comfort for travel, events, and daily shoots.
Carrying two camera bodies solves real problems, such as keeping a wide lens and a telephoto ready or having a backup at a wedding. It also doubles the weight and the cost of a mistake if padding or access fails. The best camera backpack for 2 cameras protects both bodies while keeping them fast to reach and comfortable to carry.
This guide covers layout, fit, and protection in plain terms. Use the comparison table below to compare sizes and access styles, then lay out your exact kit to check what will truly fit.


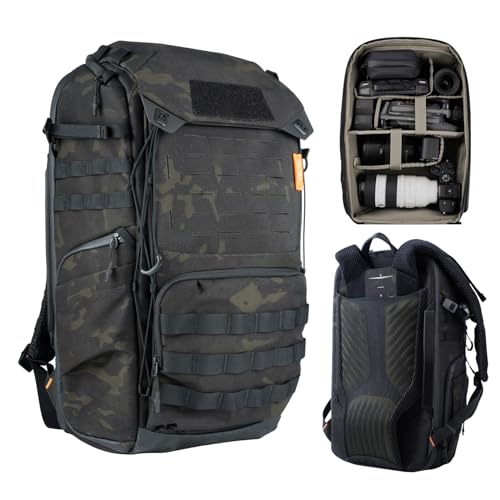


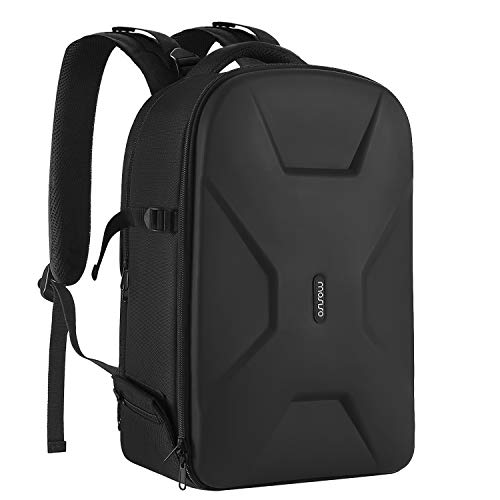
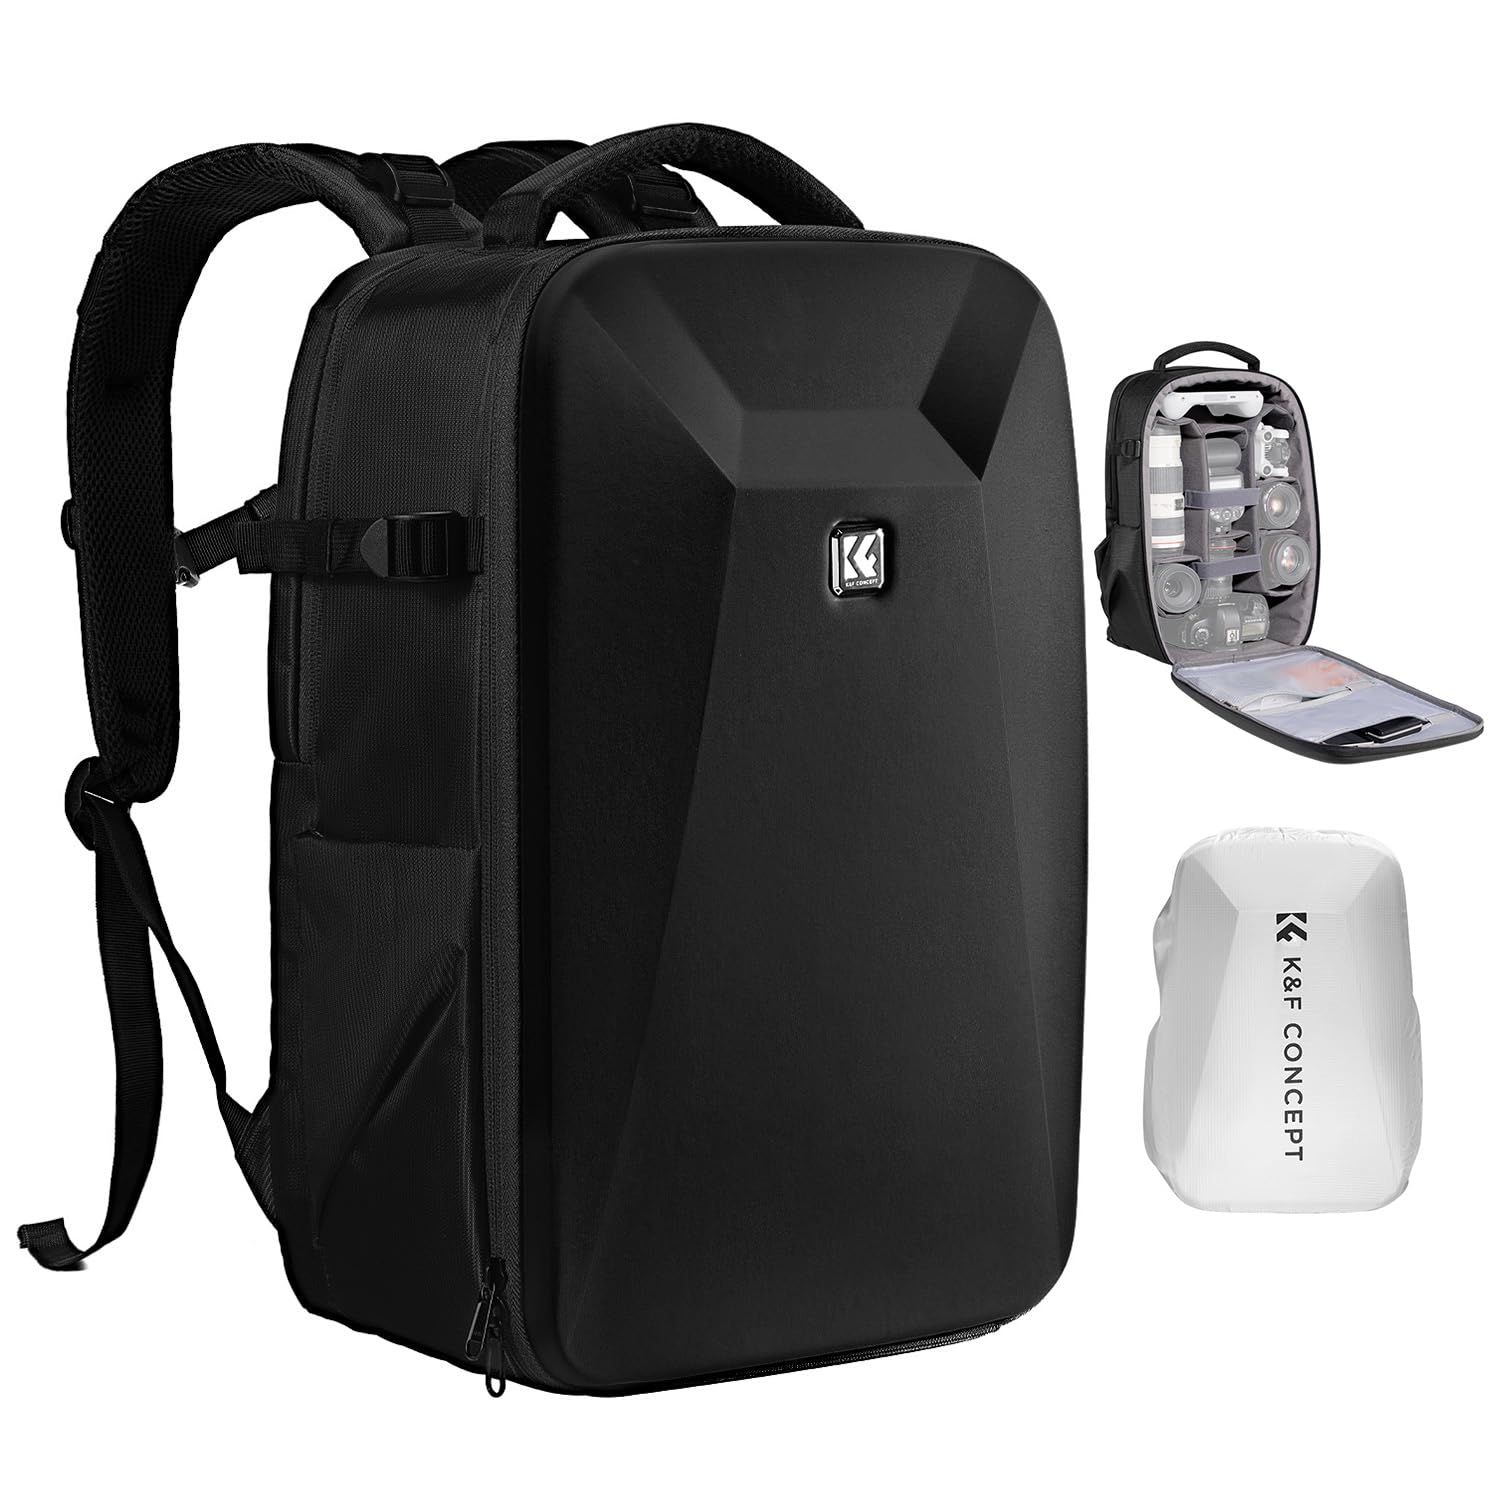


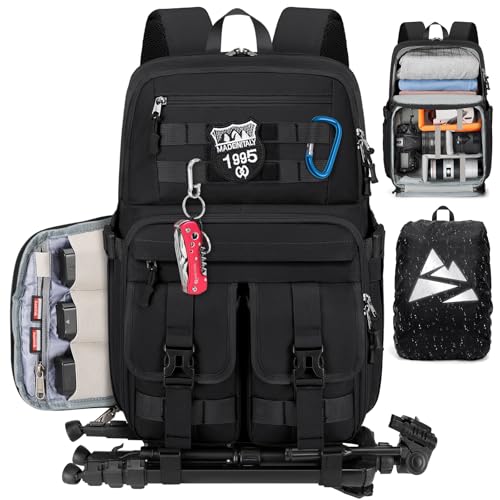
Price Tiers and What to Expect at Each Level
Entry Tier for a Light Two Body Kit
Entry packs, often under $100, suit two smaller mirrorless bodies with compact lenses. Expect basic dividers, lighter padding, and fewer weather features. They work for local shoots and short walks where loads stay modest. The limits show in shoulder comfort on long days and in zippers that feel less robust. If your second body is a true backup that rarely leaves the bag, this tier can make sense, provided the divider layout keeps bodies from pressing against each other.
Mid Tier for Working Photographers
Mid tier packs, about $100 to $250, add stronger frames, better harness systems, and configurable interiors that hold two bodies with lenses attached. Side access, lockable zippers, and a separate laptop sleeve are common gains. For event, travel, and portrait work, this range usually gives the best balance of protection and daily comfort. Check sternum strap and hip belt quality here, because two bodies plus lenses can reach 12 to 18 lb, and harness design decides whether that load feels manageable.
Premium Tier for Travel and Heavy Kits
Premium packs, often above $250, focus on durable fabrics, weatherproof construction, and refined access for frequent flyers and professionals. You may get expandable volume, hidden pockets, and harness systems that transfer weight to your hips. These packs earn their cost when you travel often, carry long lenses, or work in rain and dust. They are heavier when empty, so confirm the empty weight fits your airline and stamina limits. Buy this tier for durability and comfort, not for status.
How to Choose the Best Camera Backpacks: Buying Guide
Features That Matter for 2 Cameras
Two bodies need true separation, not just a large empty cavity. Look for thick movable dividers that create two body bays, each able to hold a body with a lens attached, plus slots for spare lenses, batteries, and cards. Total internal volume around 20 to 30 liters suits most two body kits. Measure your longest lens and confirm depth, because a body with a grip or a long telephoto can exceed slim packs even when liter ratings sound generous on paper.
Layout and Access Speed
Access style shapes your shooting rhythm. Rear access protects gear in crowds and lets the pack act as a work surface, but it is slower for lens changes. Side access lets you swing the pack around and grab one body without setting it down, which helps at events. Top access suits a ready camera for street and travel use. Decide which body is your main tool and configure its bay for the fastest path, then place the backup where it stays safe but reachable.
Comfort and Fit for Your Body
Try the pack loaded, not empty. Shoulder straps should curve without digging at the neck, the back panel should sit flat, and a padded hip belt should carry much of the weight on longer walks. Adjustable torso length helps smaller and taller photographers alike. Ventilated back panels reduce sweat on summer shoots but can push the load slightly farther from your body. Walk, climb steps, and twist while testing, because event and travel days involve far more than standing still in a store.
Protection, Weather, and Security
Padding should surround bodies on all sides, with a firm base that resists impact when you set the pack down. Weatherproof fabrics and sealed zippers help, but a built in rain cover still matters in sustained rain. For travel, lockable zippers, hidden pockets, and rear access reduce theft risk in busy places. Check whether the pack holds its shape when half empty, since collapsing sides can press on screens and dials. Good protection is quiet and consistent, not just thick foam in one spot.
If you also carry a computer every day, compare our guide to the best camera laptop backpacks for sleeve sizing details. A laptop adds weight and stiffness, so a combined kit needs even more careful fit testing.
Tripod, Laptop, and Extra Gear
Extra gear decides whether a pack stays balanced. A center tripod mount keeps weight aligned, while a side mount can pull on one shoulder over time. Confirm laptop sleeve size by your actual machine, including its power supply if you carry it. Small pockets for cards, batteries, filters, and cleaning tools prevent loose items from scratching screens. Avoid filling every spare space on normal shoots, because a little empty room makes packing faster and reduces pressure on delicate controls.
Size, Airline Limits, and Daily Use
Check external dimensions against airline personal item and cabin bag limits if you fly, since rules vary by carrier and ticket type. A pack that fits under a seat keeps your cameras with you even when overhead bins fill. For daily local work, a slightly larger pack may be fine and more comfortable. Think about doorways, car trunks, and venue security checks too. The most usable pack is the one that fits your transport routine without constant repacking or worry.
Travel photographers who split gear between bags may also find our guide to the best backpacks for travel useful for general packing trade offs. Camera packs protect better but weigh more, so plan total luggage weight as one system.
Types of Camera Backpacks
Compact Daypacks
Compact daypacks hold two small bodies and a few lenses in a low profile shape for city and short travel days. They blend in and fit tight spaces, but long lenses and bulky grips often do not fit. Choose this type for mirrorless kits and discreet work where speed and light weight matter more than maximum capacity or a large laptop.
Full Size Touring Packs
Full size packs carry two bodies, several lenses, a laptop, and layers for long days or trips. Strong harnesses and hip belts make heavy loads bearable, though the packs themselves look technical and take more storage space at home. Choose this type for weddings, travel assignments, and landscape work where you must carry everything at once and still move comfortably between locations.
Sling and Side Access Packs
Sling and side access designs favor speed. You rotate the pack, open one bay, and shoot without setting gear on wet or dirty ground. They suit events and street photography where moments pass quickly. The compromise is uneven weight on one shoulder and less room for a second body with a large lens. If your backup is compact and your main body does most work, this trade off can be very practical.
Roll Top and Expandable Packs
Roll top packs expand for a jacket, supplies, or a longer lens on some days and compress on lighter days. They suit photographers whose kit changes by assignment and travelers who buy items along the way. Access is usually slower than a clamshell opening, and organization depends on pouches you add. Choose this type for flexibility, but rehearse your layout at home so expansion does not turn into a deep pile where small items vanish.
If a shoulder carry suits some jobs better, see our guide to the best camera bag for 2 cameras for non backpack options. Comparing carry styles honestly can prevent back strain on short urban shoots.
Care and Maintenance Tips
- Use a lens cloth, not your shirt, and keep a cloth in an outside pocket so you actually follow that habit in the field.
- Carry a spare battery for each body and rotate batteries, because two bodies that share one spare can both stop at a bad moment.
- Store the pack in a dry, padded place with zippers partly open for airflow, and dry it fully after rain before closing it up.
- Vacuum crumbs and grit from the interior monthly, since sand and dust work into zippers and can reach sensor caps and lens mounts.
- Check divider stitching and zipper pulls each season and repair small damage early before a failure drops or exposes gear.
- Update firmware for autofocus improvements on your cameras and note which body has which settings, so the backup matches the main body.
FAQs
What features matter most in camera backpacks for 2 cameras?
Separation, access, and harness comfort matter most. Each body needs its own padded bay with room for an attached lens, and you need a fast path to the body you use most. Measure your longest lens combination before buying. A pack that forces you to detach lenses for storage slows you down and raises drop risk during changes, which defeats much of the reason for carrying two ready bodies in the first place.
What specs matter most for beginners?
Beginners should focus on internal dimensions, divider quality, and loaded comfort rather than liter ratings alone. Bring your gear list, including future lens plans, and leave some growth room without buying an oversized pack you will leave at home. Simple access you understand beats clever systems you fumble under pressure. Start with the main body bay, then arrange the backup and lenses, and practice changes at home before a real shoot.
How much should I spend on my first one?
Most beginners do well around $100 to $200, where padding, zippers, and harness quality become reliable for two bodies. Cheaper packs can work for light mirrorless kits used locally, but test comfort carefully. Spending more buys durability, weather protection, and travel features rather than image quality. Put the pack in context of total kit value, since protecting two bodies and lenses with a weak bag is a poor place to save a small amount.
Is a smartphone enough instead?
A smartphone is enough for casual snapshots, but it does not replace two bodies with different lenses ready for changing light and distance. The second body is about readiness and backup, not just image quality. If your work involves paid events, fast action, or low light where a missed or failed camera has real cost, a proper two body setup earns its weight. For relaxed travel with no deadlines, one small camera or a phone may be the happier choice.
Which is better for low light?
The camera and lens decide low light results, but the pack affects whether that gear is with you and ready. A comfortable pack means you bring the faster lens instead of leaving it home. Inside the bag, keep the low light body configured with your fastest lens attached and its bay easiest to open. That small layout choice saves time when light drops at an event and you need to switch without searching through dividers.
Our Verdict
Measure your full kit, choose access that matches your shooting pace, and test the loaded pack on your body. Those three steps matter more than brand or extra pockets. Review the product table above with your lens lengths and laptop size beside you. The right best camera backpack for 2 cameras will keep both bodies protected, reachable, and comfortable enough that you bring the full kit when it counts.


