Best Electric Vehicle Home Chargers: A Buying Guide
Disclosure: We may earn a commission when you buy through links on this page, at no extra cost to you. As an Amazon Associate I earn from qualifying purchases. Learn more
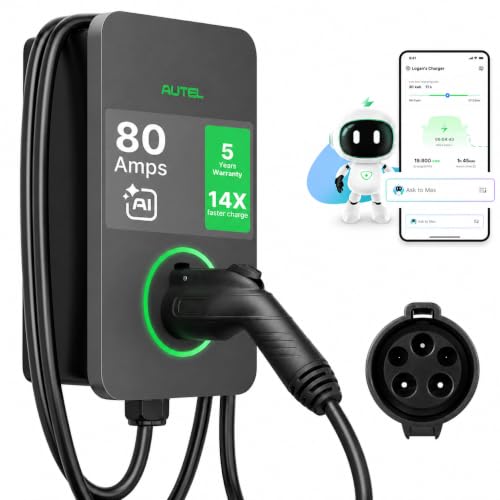
Bringing home a new electric car is exciting right up until you stand in your garage wondering how you're actually going to keep it charged every day. The dealer hands you a basic cord and calls it a day, and suddenly you're comparing specs you've never had to think about before. Choosing the right electric vehicle (EV) home charger comes down to a handful of decisions: how fast you need to charge, how much power your panel can spare, and how the unit physically connects to your home. In this guide, you'll learn how to weigh charging speed, amperage, installation method, connector compatibility, and mounting details so you can pick a setup that actually fits your driveway and your driving habits.
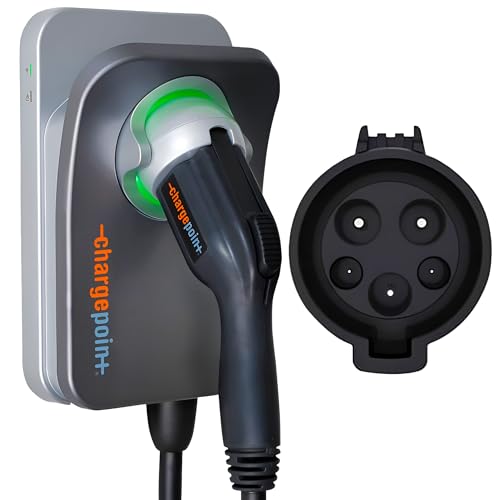
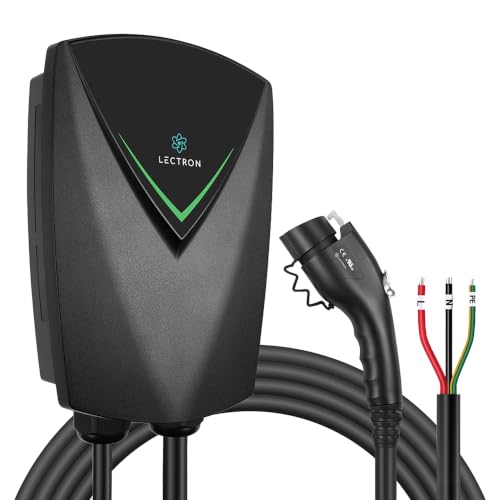
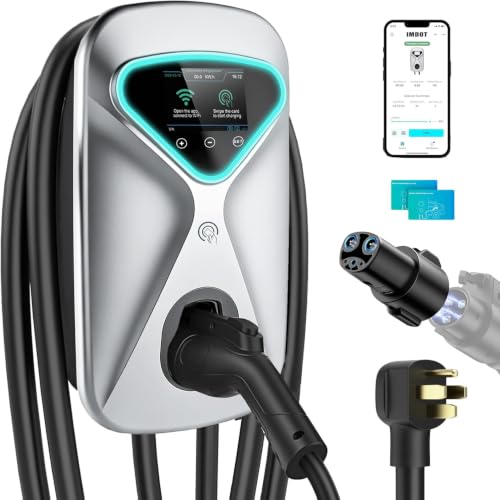
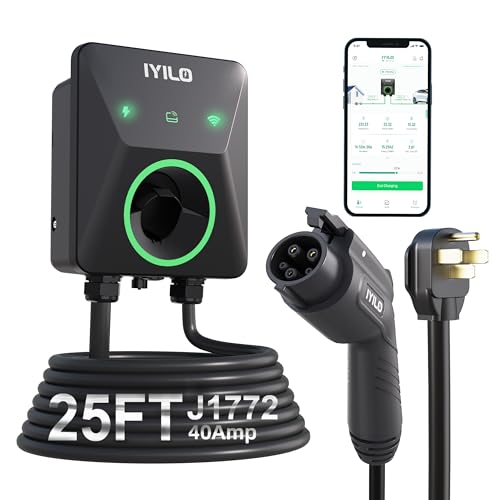
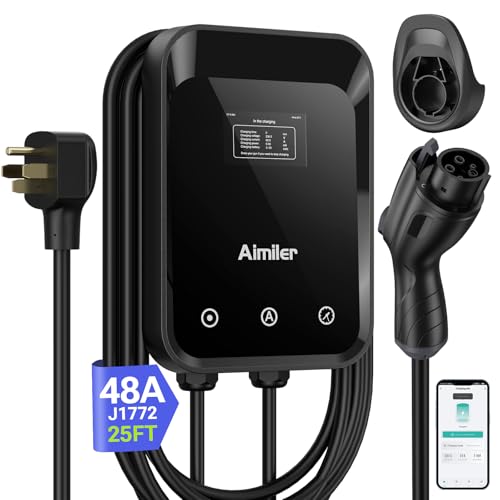
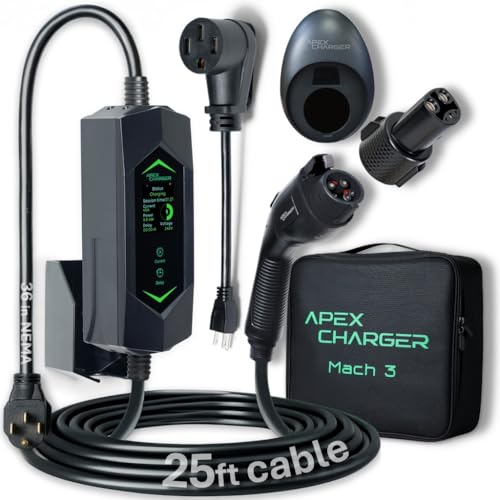
Level 1 or Level 2: How Fast Does Your Home Charging Actually Need to Be?
Every home charging conversation starts with the same fork in the road. Level 1 charging uses a standard 120-volt household outlet, the same kind you'd plug a lamp into. Level 2 charging uses a 240-volt circuit, the same voltage as an electric dryer or range, and typically charges four to eight times faster. That difference sounds huge on paper, but it only matters if your daily driving actually outpaces what Level 1 can replace overnight.
When a standard outlet (Level 1) is genuinely enough
If your daily commute is short, say under 30 miles round trip, a Level 1 setup can often replace that mileage overnight without any electrical upgrades at all. It's also the cheapest way to start: no dedicated circuit, no panel work, just an existing outlet. The tradeoff is that a full charge from a low battery can take a full day or more, which becomes a problem the moment you have a longer trip or a busy week.
When it's time to move up to a 240-volt Level 2 setup
Once you're driving 40, 60, or more miles a day, or you simply want the peace of mind of a full charge every single morning regardless of how much you drove, Level 2 stops being a luxury and starts being the practical choice. It's also the better fit if more than one household driver shares the vehicle, since there's less waiting between charging sessions. Most homeowners who commit to an EV long term end up here eventually, so it's worth planning for even if you start on Level 1.
How Many Amps Your Home EV Charger Should Actually Pull
Once you've settled on Level 2, the next decision is amperage, and this is where a lot of buyers overspend or underbuy without realizing it. A 32-amp charger delivers roughly 7.7 kW, a 40-amp unit delivers about 9.6 kW, and a 48-amp unit delivers around 11.5 kW. Higher numbers sound better, but the charger is only half the equation.
Matching charger output to what your car can accept
Every electric vehicle has an onboard charger with its own maximum intake rate, and that number caps your real-world charging speed no matter how powerful the wall unit is. A car limited to 32 amps won't charge any faster on a 48-amp charger, so check your vehicle's specifications before paying extra for capacity you can't use. If you drive a vehicle with a large battery and a high acceptance rate, though, the extra headroom on a 48-amp unit can genuinely shave time off a low-to-full charge.
What your electrical panel needs to support it
Amperage also determines the circuit your electrician needs to run: a 32-amp charger typically needs a 40-amp circuit, a 40-amp charger needs a 50-amp circuit, and a 48-amp charger needs a 60-amp circuit. If your panel is already close to capacity, a lower amperage charger can mean the difference between a straightforward install and a full panel upgrade. It's worth having an electrician check your panel's available capacity with a proper multimeter reading before you settle on a charger, rather than guessing and finding out mid-installation.
If you're leaning toward a Wi-Fi-connected model for scheduling or monitoring, it's also worth confirming your home network actually reaches the garage or driveway. A mesh router built for larger homes can solve dead zones that would otherwise make the charger's app unreliable.
Hardwired or Plug-In: Choosing How the Charger Connects to Your Panel
Beyond speed and amperage, you'll need to decide how the unit physically ties into your electrical system. This choice affects both your upfront cost and how much flexibility you keep down the road.
The case for hardwiring
A hardwired charger connects directly to a dedicated circuit with no plug in between, which means fewer moving parts and generally longer service life. It also supports higher continuous loads more reliably, which matters if you're running 48 amps or more. Current electrical code guidance leans toward hardwiring for loads above 40 amps, and many electricians will recommend it by default once you're in that range.
The case for a plug-in outlet
A plug-in setup, most commonly using a heavy-duty 240-volt outlet, costs less to install and lets you unplug and take the charger with you if you move. That flexibility appeals to renters and anyone who isn't certain they'll stay put. The downside is that repeated plugging and unplugging wears on the outlet over time, and some owners report the circuit's safety breaker tripping occasionally under continuous high loads, an annoyance that hardwired installs simply don't have.
Connector Compatibility: J1772, NACS, and Making Sure It Fits Your Car
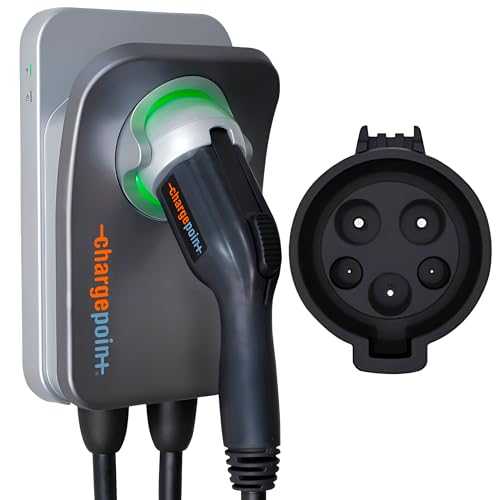
The last piece of the puzzle is making sure the charger's plug actually fits your vehicle's charging port. Two connector standards dominate the US market right now. J1772 has been the standard Level 2 connector for years and still ships on many current models. NACS, originally developed by one automaker, has since been adopted industry-wide and is becoming the connector of choice on newer vehicles.
Both deliver identical charging performance at Level 2 speeds. Neither one charges faster than the other; the difference is purely about which plug shape matches your car's port. If you're not sure which one you need, check your owner's manual or the charging port itself before buying. Adapters between the two standards exist and are relatively inexpensive, so choosing "wrong" today isn't a permanent problem, but your home's wiring and panel capacity are the expensive part to change later, so get those right the first time.
Cable Length, Mounting Spot, and Weatherproofing
Where the charger physically lives matters just as much as its specs. Measure the distance from your likely mounting spot to where your car's charging port sits when parked, then add a few extra feet for slack so you're not stretching the cable taut every night.
- Garage installs near the parked car generally do fine with a shorter cable, since the mounting point and the port are close together.
- Driveway or wall-mounted setups where the car parks further out usually call for a longer cable to reach comfortably without strain.
- A well-lit mounting spot makes daily plugging in easier, and pairing the install with better garage lighting is a small upgrade that pays off every evening.
Weatherproofing matters if the unit isn't fully protected from the elements. A garage-mounted charger that stays dry doesn't need a high ingress rating, but anything exposed to direct rain or snow should carry at minimum a rating built for wet locations, and a higher-rated enclosure is worth the small premium if it sits fully outdoors. Skipping this detail is one of the more common regrets among owners who mounted their charger somewhere exposed without checking the rating first.
Frequently Asked Questions
What is the difference between Level 1 and Level 2 home chargers?
Level 1 uses a standard 120-volt outlet and charges slowly, often overnight for modest daily mileage. Level 2 uses a 240-volt circuit and charges four to eight times faster, making it the better fit for longer commutes or households sharing one vehicle.
How many amps do I need for a home EV charger?
It depends on your vehicle's onboard charger limit and your panel's available capacity. Most drivers do well with 32 to 40 amps, while larger batteries or heavier daily use can justify 48 amps if the car can actually accept it.
Do I need an electrician to install a home EV charger?
In almost all cases, yes. Most homes aren't pre-wired for a 240-volt circuit in the garage or driveway, so a licensed electrician needs to evaluate your panel and run the new circuit safely.
Should I choose a hardwired or plug-in EV charger?
Hardwiring suits higher amperage loads and long-term homeowners who want a permanent, low-maintenance setup. A plug-in outlet suits renters or anyone who wants the flexibility to take the charger along if they move.
What connector type do I need, J1772 or NACS?
Check your vehicle's charging port or owner's manual. Both connectors charge at the same Level 2 speeds, and adapters are available if your needs change later, so getting your electrical setup right matters more than the connector choice.
Can I install an EV charger outdoors?
Yes, as long as the unit carries a weatherproof rating appropriate for its exposure. A covered spot can typically get by with a basic wet-location rating, while a fully exposed driveway mount needs a higher-rated enclosure.
Making the Right Call for Your Setup
There's no single "best" configuration for an electric vehicle (EV) home charger, only the one that matches your driving distance, your electrical panel, and where the car actually parks. Start by being honest about your daily mileage, get an electrician's read on your panel capacity, and let the connector and mounting details follow from there. Get those fundamentals right and the charger itself becomes the easy part of the decision.