
Best Cold Weather Mountain Bike Gear: What Each Budget Buys for 2026
Disclosure: We may earn a commission when you buy through links on this page, at no extra cost to you. As an Amazon Associate I earn from qualifying purchases. Learn more

Plan the best cold weather mountain bike gear by budget, with guidance on layers, insulation, waterproof shells, gloves, boots, and winter trail safety.
Winter trail gear ranges from a single pair of warm socks to full waterproof kits costing several hundred dollars, and it is hard to know where money actually buys warmth. This guide breaks down the best cold weather mountain bike gear by budget tier, so you can protect your hands, feet, and core first and skip the extras that add cost without adding comfort.
Compare your shortlist with the product table as you read. Cold riding rewards a system: layers that manage sweat, a shell that blocks wind and rain, and insulation where your body meets the wind.



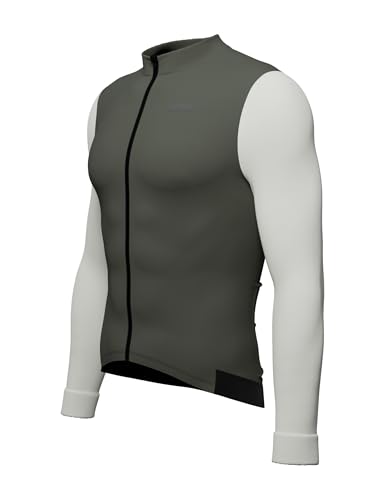
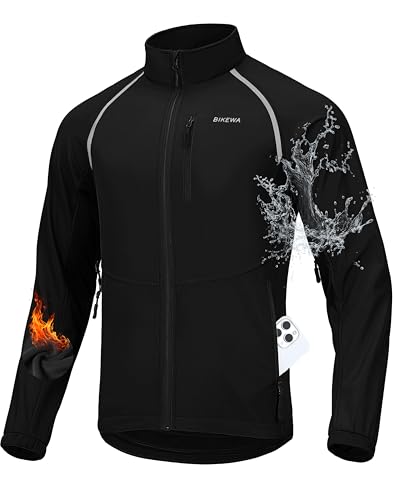
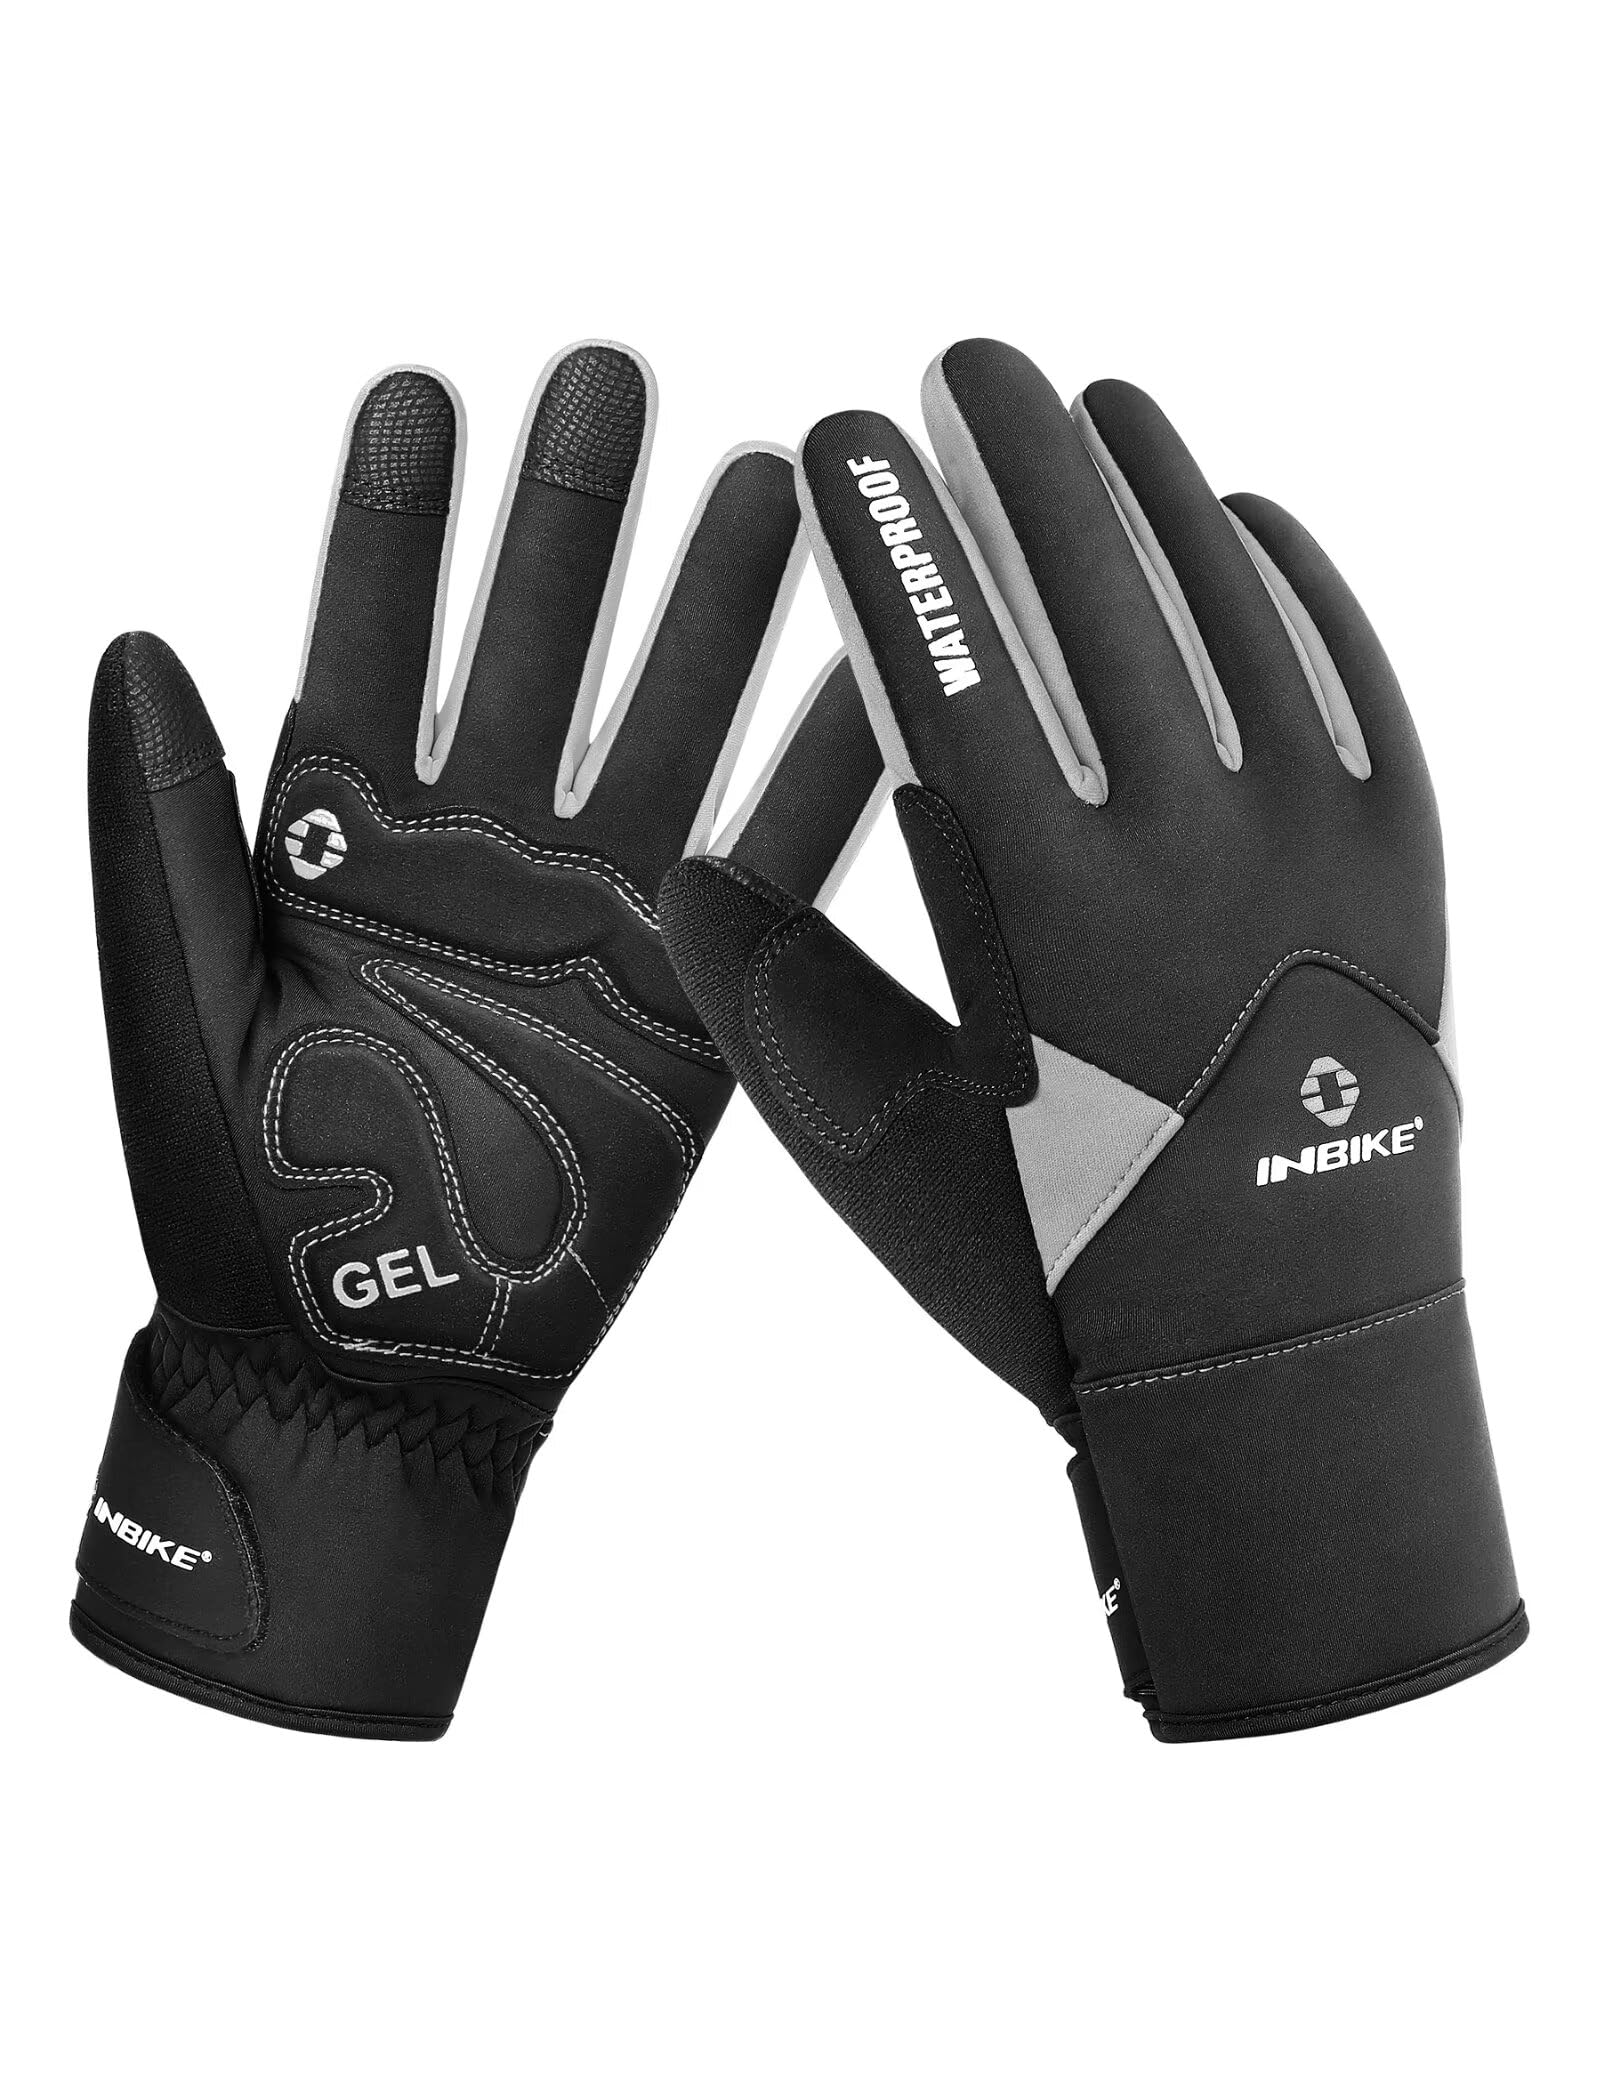
Three Kit Styles by Budget
This section describes the kit style worth choosing at each level. Match these descriptions against your local winter temperatures.
A Budget Kit for Hands, Feet and Neck
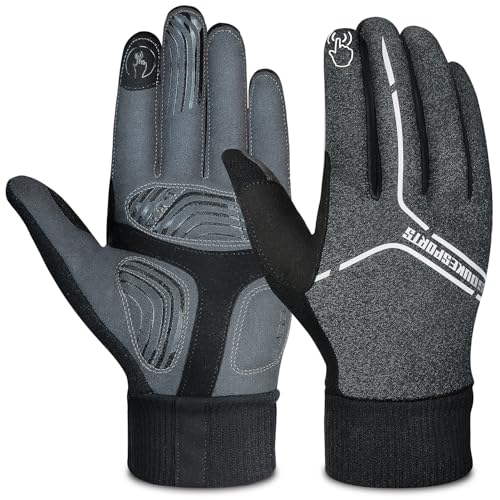
The smart budget kit covers the three cold spots that end rides early: hands, feet, and neck. A pair of insulated riding gloves, wool blend socks with shoe covers, and a simple fleece neck warmer cost about $60 to $120 together. You give up fully waterproof construction and rely on layering clothes you already own. The trade off is bulk and faster wear, but this kit genuinely extends your season. Prioritize fit at this tier, because a loose glove or tight shoe cover ruins warmth faster than a modest fabric does.
A Midrange Kit With Jacket and Thermal Pants
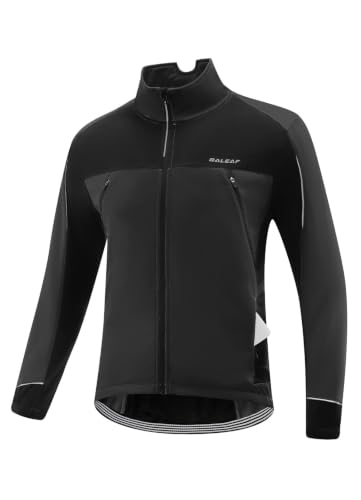
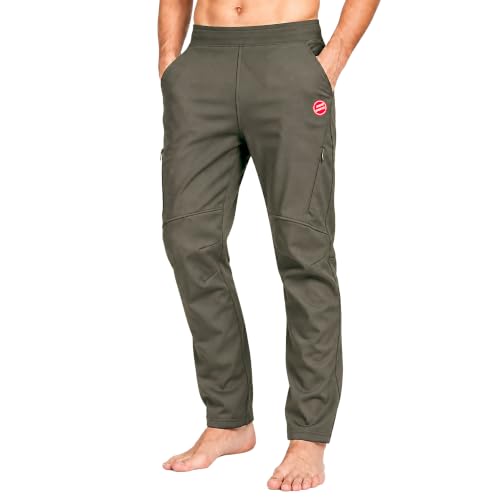
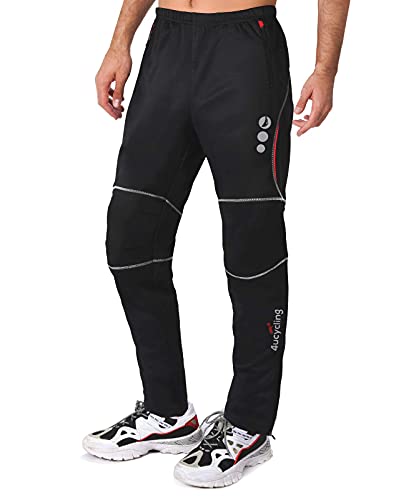
The midrange kit adds a breathable insulated jacket and thermal tights or pants, bringing the total to about $200 to $400. This is where most winter riders should land, because fabrics get lighter, zips and vents manage climbing heat, and gloves gain real grip and padding. Our guide to the best cold weather mountain bike jacket explains shell choices in depth. The limitation is extreme cold: below freezing with wind, you will still add your thickest base layer and warmest socks.
A Premium Kit With Waterproof Shells and Winter Boots
A premium kit, about $450 to $800, buys waterproof breathable shells, winter specific riding boots, and low bulk insulation that stays warm when damp. The gains are real for riders who go out weekly in rain, sleet, and deep cold: drier feet, easier temperature control, and gear that lasts several seasons. Winter boots deserve special attention, and our guide to the best cold weather mountain bike shoes covers sizing with thick socks. Buy premium only if your riding calendar justifies it.
What Your Money Gets You at Each Price Tier
Budget Tier: What to Expect
Expect basic fleece and softshell fabrics, simple closures, and insulation that works well in dry cold down to around freezing. Budget gloves and socks warm up fast but wet out in rain, so plan shorter rides. Fit ranges are wider and less precise, which means trying sizes carefully matters. This tier suits riders testing whether winter riding appeals to them at all. Spend the savings on lights and a good base layer, two items that improve winter rides more than a costly shell worn over cotton.
Midrange Tier: The Sweet Spot for Most Buyers
Midrange gear adds windproof panels where you face the airflow, water resistant coatings, and vents you can open on climbs. Gloves gain shaped palms and touchscreen friendly fingertips, and pants gain articulated knees for pedaling. For pants specifically, see our guide to the best cold weather mountain bike pants. Durability improves noticeably, with stronger stitching and fabrics that survive brush contact. For riders out once or twice a week all winter, this tier delivers the best warmth per dollar.
Premium Tier: When Spending More Pays Off
Premium spending pays off in waterproof membranes that still breathe on climbs, sealed seams, and insulation that keeps working after hours in wet cold. Winter boots with insulated, sealed uppers replace the sock and cover workaround entirely. Zips, cuffs, and hoods adjust with one gloved hand, a detail you appreciate at a windy trailhead. If your winters are mostly dry and mild, these advantages shrink, and midrange gear plus smart layering will feel nearly as good for half the money.
Features Worth Paying For (and Ones to Skip)
Layering That Matches Your Riding Style
Your layering system should match how hard you ride. Cross country riders who climb hard need breathable layers and vents, because sweat soaked insulation chills you on descents. Trail and enduro riders who pause at trailheads need warmer stationary insulation. A practical rule: dress to feel slightly cool in the parking lot, since you will warm up within ten minutes of pedaling. Pay for a quality base layer in merino wool or synthetic fabric, and skip cotton entirely, because it holds cold moisture against your skin.
Shell Fabrics and Weather Protection
Windproof fronts matter more than full waterproofing for most winter riders, since blocking airflow stops the biggest heat loss. Fully waterproof shells earn their price in wet climates but breathe less, so look for pit zips or back vents. Taped seams and a durable water repellent finish separate a true rain shell from a shower resistant jacket. Try the shell over your thickest mid layer before buying; a shell that fits in summer will bind in January when you layer under it.
Gloves and Grip in the Cold
Hands steer, brake, and shift, so gloves deserve a large share of any budget. Look for insulation concentrated on the back of the hand, a grippy palm that works when wet, and enough dexterity to use a brake lever without squeezing. Split finger and lobster style designs trade some dexterity for real warmth on the coldest days. Our dedicated guide to the best cold weather mountain bike gloves compares warmth levels by temperature range, which helps you avoid buying twice.
Weight and Freedom to Move
Warmth that restricts pedaling or reaching the bars will sit unused in a drawer. Check that knees bend freely in thermal pants, that jacket sleeves cover your wrists in riding position, and that boot cuffs seal against tights or pants to stop cold air and trail spray. Lightweight insulation has improved greatly, so heavy gear is rarely the warmest option anymore. When two items promise equal warmth, the lighter and less bulky one almost always rides better over a full season.
Visibility and Safety Extras
Winter light fades early, so reflective panels and bright colors are safety features, not styling choices. Pay for reflective details on moving parts like legs and gloves, where drivers notice motion first. Also budget for lights front and rear even for daytime rides, since low sun and tree shadow hide riders on road links between trails. Skip fashion driven extras such as oversized logos or matching color kits; that money serves you better in a second pair of gloves drying at home.
Long Term Costs to Factor In
Winter gear costs continue after purchase. Water repellent finishes need refreshing each season, and waterproof membranes last longer when washed with suitable cleaners rather than standard detergent. Gloves and shoe covers wear fastest, so expect to replace them more often than a jacket. Drying gear properly after muddy rides prevents odor and fabric damage: open vents, remove insoles, and air dry away from direct heat. Finally, shorter winter daylight may add a light set and extra tubes to your kit, since cold rubber and hidden debris raise flat risk on winter trails.
Frequently Asked Questions
How much should I spend on my first cold weather kit?
Plan about $100 to $200 for a first kit that covers gloves, warm socks or shoe covers, a neck warmer, and a thermal base layer. That spending level transforms comfort in dry cold near freezing. Add pieces over the season as you learn which body part gets cold first on your trails. Borrowing or buying one premium item, usually gloves, beats spreading the same money thinly across every category at the lowest quality.
What size winter riding gear do I need?
Size winter gear to fit over your layers, not over a thin shirt. Boots and shoes should allow a thick sock plus toe movement, since tight footwear restricts circulation and feels colder. Jackets need room for a mid layer while still sealing at the waist and cuffs. Gloves should reach the fingertips without pressing them, because compressed insulation loses warmth. When between sizes, choose the larger one for outer layers and the closer fit for base layers.
How cold is too cold to ride safely?
There is no single cutoff, but ice is the real limit rather than air temperature alone. Frozen ruts, icy bridges, and shaded corners can end a ride abruptly, so scout conditions and shorten routes on freeze and thaw days. Wind chill on descents can push exposed skin toward frostbite risk in extreme cold, which is a signal to cover all skin and shorten the outing. If your brakes or shifter feel sluggish from the cold, head home rather than forcing the ride.
How do I keep my feet warm on winter rides?
Start with dry feet and fresh wool blend socks, then block wind with shoe covers or winter boots. Leave toe room for circulation and add disposable toe warmers on the coldest days, placed on top of the toes inside the shoe. One point riders miss: a cold core steals blood flow from the feet, so adding a warmer jacket layer often warms your toes more effectively than a second pair of socks squeezed into the same shoes.
Softshell or waterproof shell for winter mountain biking?
Choose a softshell for dry, cold conditions, where breathability and wind blocking matter most and rain is unlikely. Choose a waterproof shell when rides regularly include rain, wet snow, or slushy trail spray, and accept slightly less breathability in exchange for staying dry. Many frequent winter riders own one of each over time. If you can buy only one, match it to your most common winter weather rather than your worst day, and layer insulation underneath accordingly. For a broader kit view, see our guide to the best gear for mountain bike.
Final Thoughts
Warm hands, warm feet, and a managed core decide whether winter riding feels fun or punishing, so fund those first at whichever tier fits your budget. Most riders get the best value from a midrange kit, adding premium pieces only where their local weather demands them. Choose the best cold weather mountain bike gear for your temperatures and trail style, compare your picks in the product table, and enjoy trails that feel empty and quiet all winter.


