
Best Co2 Bike Pumps at Every Price: What Your Money Really Gets You for 2026
Disclosure: We may earn a commission when you buy through links on this page, at no extra cost to you. As an Amazon Associate I earn from qualifying purchases. Learn more

Compare the best co2 bike pumps at every price point. Learn what you get at budget, midrange, and premium levels and where spending more pays off.
A CO2 inflator is the fastest way back on the road after a flat: pierce a cartridge, release the gas, and your tire is at pressure in seconds. Prices run from under $10 for a bare bones inflator head to around $50 for a precision model with a storage case and spare cartridges, and the differences are real but not always obvious. This guide to the best co2 bike pumps explains what each price level actually buys, which features deserve your money, and where you can safely save. Start with the comparison table below, then match a tier to the riding you do.





Choosing by Budget: Three Checklists
Judge any of the best co2 bike pumps against the checklist for its price level. Meeting the checklist means fair value; missing the safety or valve points means walk away at any price.
The Budget Checklist
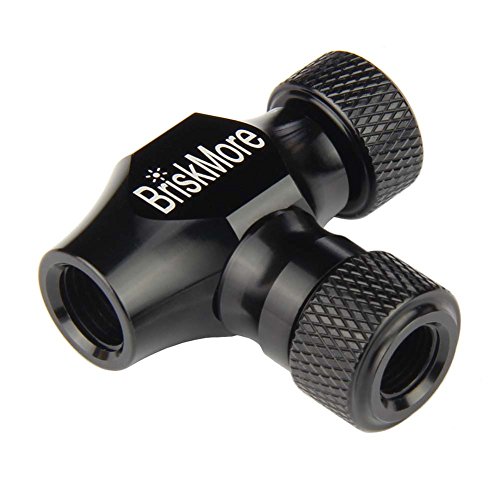
For around $10 to $18, expect a simple inflator head, one or two threaded cartridges, and basic Presta and Schrader compatibility. The right budget unit seals cleanly on the valve, releases gas without leaking at the threads, and feels solid rather than flexy in your hand. This level suits riders who flat rarely, mostly ride near home, and want insurance in the saddle bag more than speed. The limits are control and finish: cheap heads often dump the whole cartridge at once, which can overinflate a small tire or pop a poorly seated bead. Practice once at home with a cheap cartridge before trusting it on the road.
The Midrange Checklist
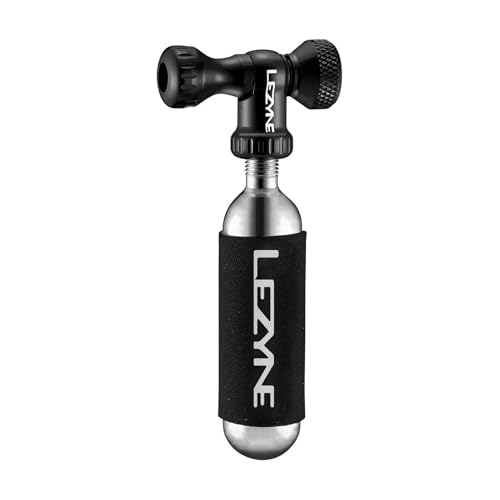
Around $18 to $35 buys the feature that matters most: a control valve. A twist or lever valve lets you release gas gradually, check pressure, and close the valve to save the rest of the cartridge. Expect a metal body, a foam sleeve that protects your hand from the freezing cartridge, and compatibility with both threaded and unthreaded cartridges on many models. This level suits regular riders, commuters, and anyone with tubeless tires who must seat a bead carefully. The remaining limits are small: no pressure gauge, and storage is usually a simple mount or bag rather than a fitted case.
The Premium Checklist
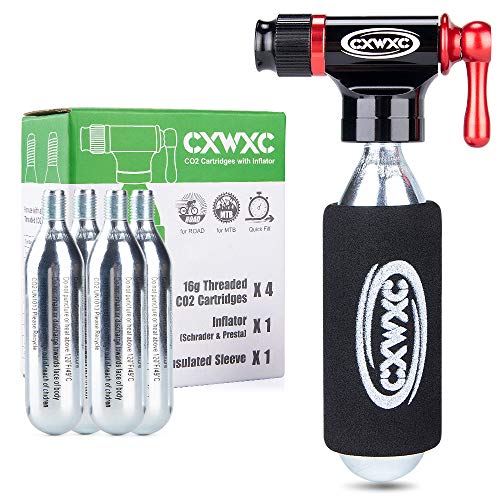
Around $35 to $60 adds refinement rather than a new function. Expect precision machining, a smooth and positive valve action, an insulated storage tube that protects cartridges and keeps them quiet, and sometimes a trigger design that works with cold or gloved hands. Some premium kits bundle several cartridges and a frame mount. This level suits racers, event riders, and high mileage cyclists who use their inflator often and value seconds and reliability. Be honest about the limit: a premium inflator fills a tire no more completely than a good midrange one, so you are paying for feel, durability, and control under pressure.
What Your Money Gets You at Each Price Tier
Budget Tier: What to Expect
Budget inflators are simple on purpose. Most are push on heads with no valve: you screw in the cartridge, push the head onto the valve, and the tire fills until the cartridge empties. That simplicity keeps weight near nothing and price low, and a spare cartridge costs only around $1 to $3. The risks are wasted cartridges from poor seals and no way to stop mid fill. Riders comparing all of their flat repair options can see how inflators sit beside our guide to the best mini bike pumps, which trade speed for unlimited air. For a first kit on a tight budget, a simple head plus three cartridges is a rational buy.
Midrange Tier: The Sweet Spot for Most Buyers
The midrange is where CO2 inflation becomes genuinely easy. A control valve transforms the process: crack the valve, add some gas, close it, check the bead and pressure, then finish the fill. That control is what tubeless riders need, because a bead that seats unevenly must be caught early. Metal construction survives years in a saddle bag, and insulated sleeves stop the frostbite nip a bare cartridge gives bare skin. Add a cartridge storage solution so spares do not rattle, and you have the kit most experienced riders actually carry. Trail riders will find mountain specific notes in our guide to the best co2 mountain bike pump setups, where larger tires change cartridge math.
Premium Tier: When Spending More Pays Off
Premium money pays off in three situations. First, racing: a trigger inflator you can operate with one gloved hand, first try, every time, is worth real money when a result is on the line. Second, volume: riders who flat often for work or training burn through cheap heads whose seals wear and threads cross. Third, integration: kits that mount cleanly on the frame with cartridges protected from road grime simply work better month after month. If none of those describe you, midrange money is enough. Riders who prefer powered convenience can compare our guide to the best electric bike pumps, which recharge by USB C and suit home and car use more than jersey pockets.
Features Worth Paying For (and Ones to Skip)
Compatibility With Your Bike and Valves
Compatibility comes first, because an inflator that does not fit your valve is dead weight. Confirm the head fits your valve type: most quality heads handle both Presta and Schrader by flipping a seal or screwing on differently, but check before a trip, not during a flat. Cartridge fit matters too: most inflators take threaded cartridges, while some accept unthreaded ones inside a chamber. Match cartridge size to tire size. A 16 gram cartridge fills a road tire to high pressure, while mountain and gravel tires with large volume often need 20 to 25 gram cartridges to reach riding pressure.
Control Valve and Ease of Use
The control valve is the single feature most worth paying for. Without it, every fill is all or nothing, and a mistake costs a whole cartridge. With it, you can top up a slow leak to reach home, seat a tubeless bead in stages, and save leftover gas in a partially used cartridge for a short trip. Judge the valve by how it works with cold hands: a knurled metal knob you can grip beats a tiny smooth dial. This is also a comfort and safety point, because a controllable fill keeps pressure where your tire and rim ratings allow.
Materials and Weight
Aluminum heads dominate the midrange and premium tiers because they shrug off drops and thread wear. Plastic heads keep budget weight and cost down but can crack in a crash or after years of temperature swings in a garage. Carbon and composite bodies exist at the top end and save only a few grams, which matters to racers counting everything and to nobody else. Cartridge weight dominates the kit anyway: each steel cartridge weighs far more than the head. Spend on valve quality before exotic materials, and your money tracks real world benefit.
Cartridges and Refills: What You Actually Use
Budget for cartridges as a running cost. A roadside flat typically uses one cartridge, and a tubeless repair gone wrong can use two, so carry at least two on any ride beyond walking distance from home. Buy cartridges in multipacks, where the per unit cost falls sharply, and store them dry so the seals stay sound. Note that you cannot fly with CO2 cartridges in most luggage, so touring riders plan to buy at the destination or carry a hand pump instead. Our broader guide to the best co2 pumps covers cartridge standards across inflator styles in more detail.
Long Term Costs to Factor In
The inflator itself can last a decade, so nearly all long term cost sits in cartridges and seals. A typical rider who flats three or four times a year spends only around $10 to $15 annually on cartridges bought in multipacks. Replace the rubber valve seal when fills start leaking at the head, a part that costs very little and restores like new performance. Keep one full spare kit at home so a used cartridge never leaves you unprepared for the next ride. For home inflation, a floor pump remains the economical workhorse; our guide to the best bike floor pumps covers gauges and bases for workshop use. Total cost of ownership for a CO2 setup stays modest, which is exactly why it pairs so well with a basic floor pump at home.
Co2 Bike Pumps: Your Questions Answered
How many CO2 cartridges do I need per tire?
One cartridge per fill is the normal plan: about 16 grams for a road tire and 20 to 25 grams for a wide gravel or mountain tire. Carry two cartridges on longer rides, because a pinched tube or an unseated bead can waste the first. A partly used cartridge with a control valve can top up a tire later the same day, but treat it as a bonus, not a plan, since gas slowly escapes once the seal is pierced.
Can a CO2 inflator damage my tire or rim?
It can if you ignore pressure limits, because a large cartridge can overinflate a small tire very quickly. Check the maximum pressure printed on your tire sidewall, fill in stages with a control valve, and confirm the bead sits evenly all the way around before riding. The gas also leaves the tire slightly softer by the next day, since CO2 passes through tube material faster than air, so top up with a floor pump at home after any roadside repair.
How do I choose the right size CO2 inflator and cartridge?
Match the cartridge to your tire volume first, then choose the head by valve control. Narrow road tires need about 16 gram cartridges; wider tires need 20 to 25 grams to reach working pressure. The inflator head itself has no rider size, but compact heads suit saddle bags while larger trigger designs suit frame mounts and gloved hands. When in doubt, buy the midrange head and the larger cartridge size your bag can carry.
Are CO2 inflators safe to carry and store?
Yes, with basic care. Cartridges are sealed steel and stable in a saddle bag, but keep them out of extreme heat such as a closed car in summer sun, and never puncture or incinerate an empty. The cartridge turns very cold during use, so hold the sleeve or a glove, not bare metal. Store spares dry, check them once a season for rust, and recycle empties with metal waste where your area allows.
How often should I replace my CO2 inflator?
Replace the inflator when seals leak despite a new rubber gasket, when threads feel gritty or crossed, or when the valve no longer closes fully. In practice a metal midrange or premium head lasts many years, while a plastic budget head may justify replacement after a few seasons of hard use. Cartridges themselves keep for years unopened; replace any that show rust or a damaged seal, and never carry a cartridge that has already been pierced as your only spare.
The Bottom Line
Buy the control valve first, match cartridge size to your tires second, and let materials and brand come third. Most riders should spend midrange money once and pennies per cartridge after that, while racers can justify premium control and integration. Compare the kits in the product table above against those three rules, and you will carry the best co2 bike pumps setup for your riding without overspending.


