
Best Carbon Mountain Bike Seatpost for 2026: Everything to Know Before Your First Purchase
Disclosure: We may earn a commission when you buy through links on this page, at no extra cost to you. As an Amazon Associate I earn from qualifying purchases. Learn more

Shopping for the best carbon mountain bike seatpost for the first time? Learn the terms, compare options, and avoid rookie mistakes with this easy guide.
The best carbon mountain bike seatpost for you matches your frame, your saddle position and your riding style. This guide starts with the basics, then explains each spec in plain language so you can read the product table with confidence and avoid a costly fit mistake.
You need to measure two things on your current bike, understand setback and clamp design, and learn the torque and care rules that keep carbon safe. The sections below follow that order.

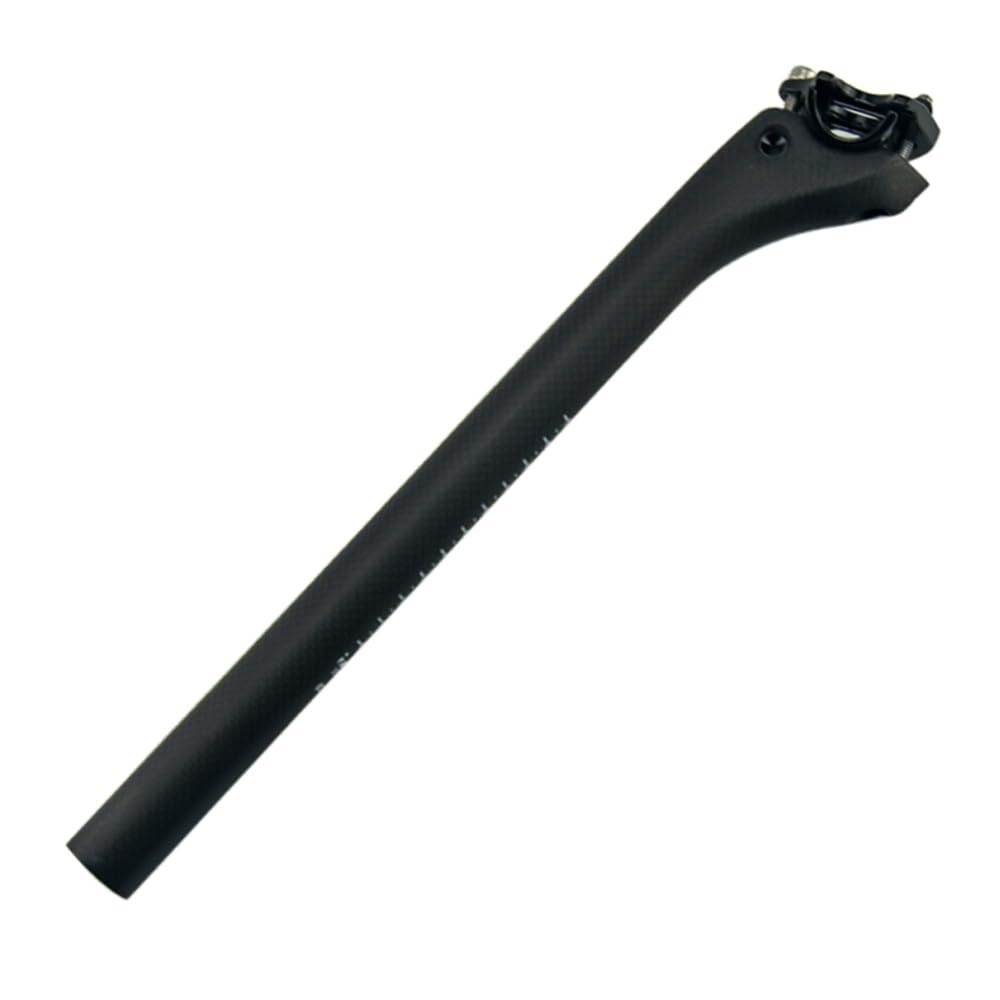

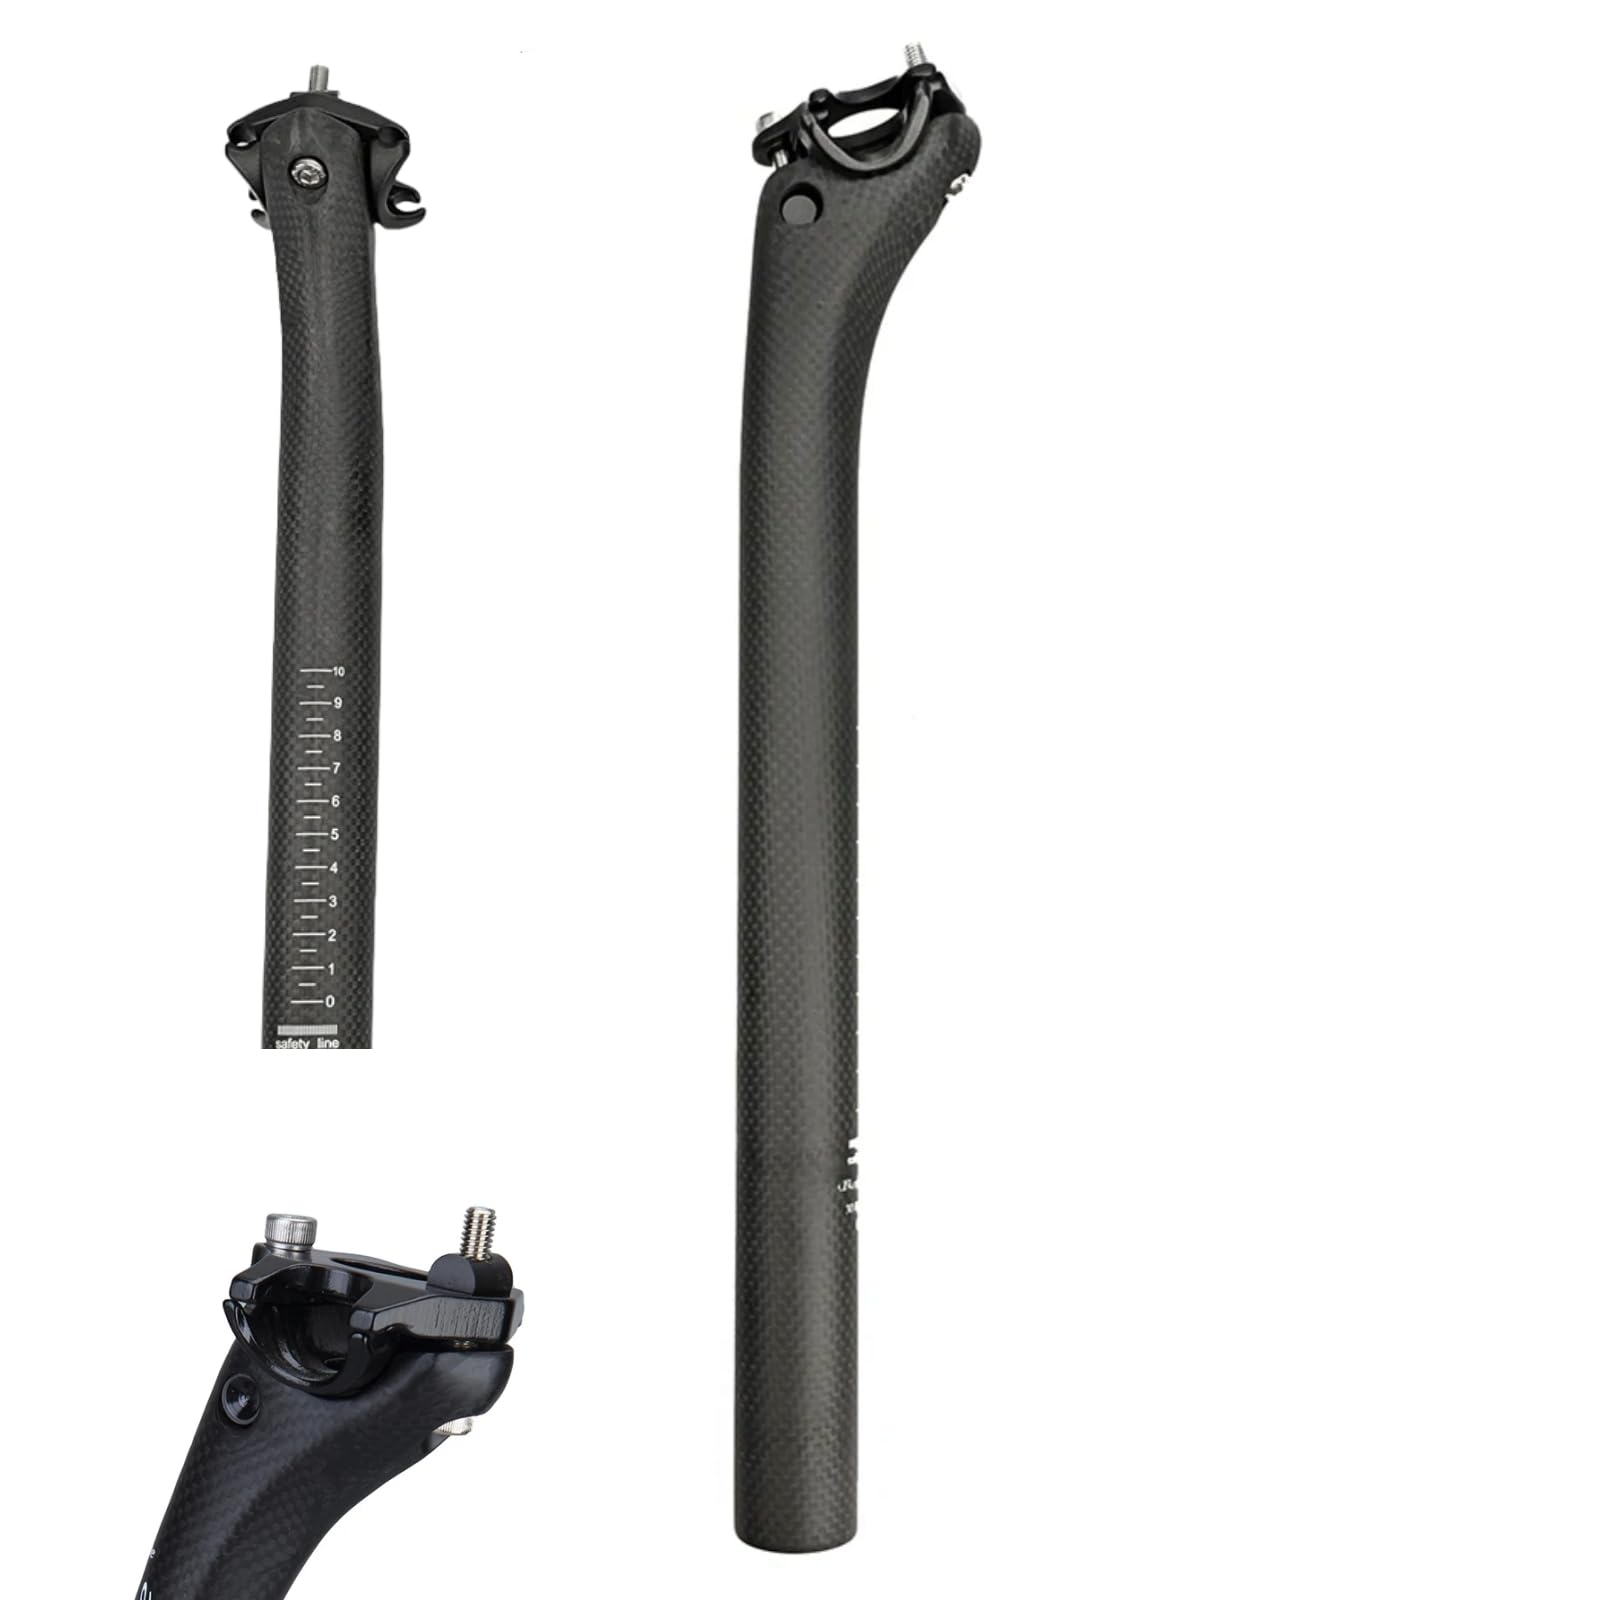

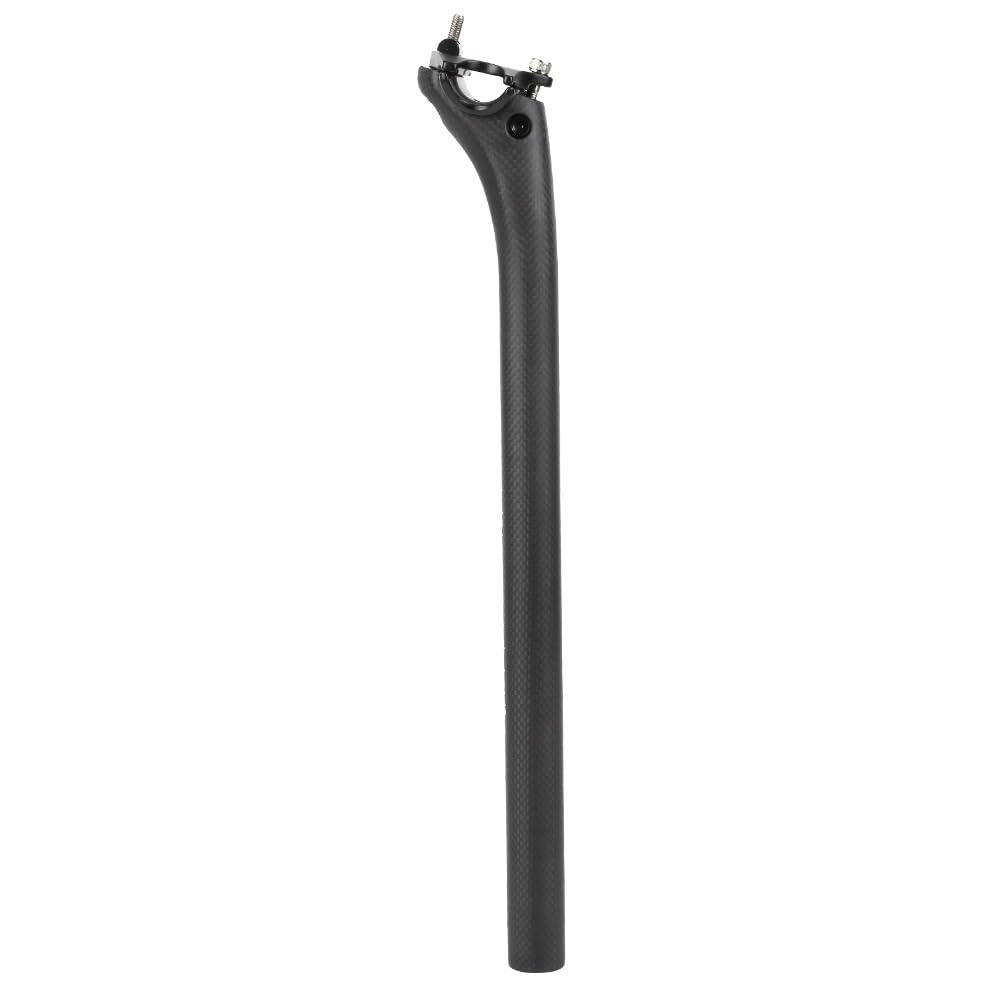
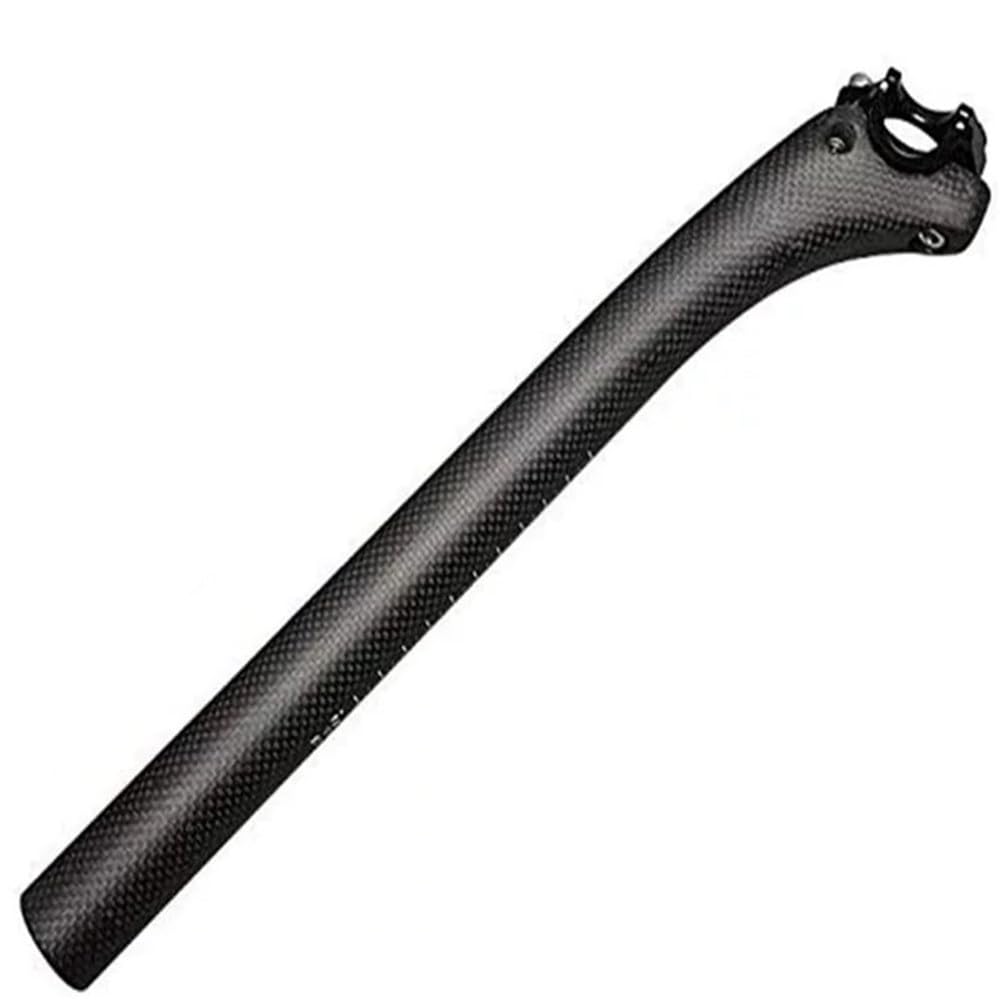


Carbon Mountain Bike Seatposts 101: The Basics
A carbon mountain bike seatpost is a rigid tube that slides into the seat tube, is held by a clamp, and holds your saddle at the height and angle you set. Carbon fiber lets makers tune the tube so it flexes a small amount over trail bumps. That small flex is the main comfort reason riders choose carbon over aluminum.
Most carbon posts are rigid, so they do not move like a dropper post. If you need to drop your saddle for steep descents, a rigid post is the wrong tool. If you ride mainly seated, it can cut weight and soften buzz from rough ground.
Who Should Buy a Carbon Seatpost for Mountain Biking?
Start with how you ride, because the same post can be a smart upgrade for one rider and a poor trade for another.
Cross Country Riders Who Climb for Long Stretches
You spend most of a ride seated, climbing and pedaling on rolling ground. A light rigid carbon post suits you because tuned flex can ease constant small hits over hours. Value comfort over the last few grams.
Hardtail Riders Who Want More Comfort Without More Weight
Your frame has no rear suspension, so your saddle passes trail vibration straight to you. A carbon post with a forgiving layup can take the edge off roots and washboard dirt. Pair it with a saddle that fits you, because a post cannot fix pain from the wrong saddle width.
Riders Who Should Choose a Dropper or Aluminum Post Instead
If you lower your saddle for steep trails, you need a dropper post, and most droppers are aluminum. If you crash often or exceed the weight limit of light carbon posts, a strong aluminum post is often safer and cheaper.
Diameter, Setback and Clamp: The Specs That Matter
Compare these factors in order. Fit and safety come first, then comfort and weight, then price.
Diameter, Length and Minimum Insertion
Diameter is the width of the post where it enters the frame, and it must match your seat tube exactly. Common sizes include 27.2 mm, 30.9 mm and 31.6 mm. A post that is even a fraction too small will slip, while one that is too large will not enter at all. Length is often about 350 to 400 mm. Keep at least the marked minimum insertion length inside the frame, because too little insertion puts high stress on the post and the frame. Measure your old post before you order.
Setback and Saddle Position
Setback, also called offset, is how far behind the center of the post the saddle clamp sits. A zero setback post puts the saddle more forward, while a post with about 20 to 25 mm of setback moves it back. Choose based on your position over the pedals and your reach to the bars. If your saddle is pushed fully back on its rails, you likely need more setback. If it is pushed fully forward, choose zero setback.
Head Design, Rail Clamp and Tilt Adjustment
The head holds the saddle rails, and its design decides how easy fine adjustment feels. A two bolt head lets you change tilt in tiny steps, which helps you stop saddle nose pressure. A single bolt head is simpler and often lighter, but tilt can shift as you tighten it. Check rail compatibility before you buy, because round metal rails and oval carbon rails need the correct clamp parts. A wrong clamp can crush a rail or let the saddle slip.
Safety, Torque Limits and Rider Weight Limits
Carbon needs the correct clamping force, not the most force you can apply. Posts and frame clamps have torque limits listed by the maker, often around 4 to 6 Nm, and you should use a torque wrench to stay within them. Use carbon assembly paste inside the frame, because its grit adds grip so you need less clamping force. Respect the rider weight limit as a hard ceiling. After any crash that bends the saddle or marks the tube, stop riding and have a shop inspect the post.
Price and Value and Warranty Cover
Simple carbon posts cost about $25 to $60, mid range options cost about $60 to $130, and premium posts can cost about $130 to $300. Higher prices should buy lower weight, easier tilt adjustment and clearer warranty terms, not just a famous logo. Check whether spare clamp parts are sold. If you are still weighing a general post against a carbon one, see our guide to the best seatpost for mountain bike options.
Choosing a Carbon Post for Specific Riding Needs
Once the size is right, narrow your choice by the one gain you want most. For many first time buyers that gain is weight, but the best carbon mountain bike seatpost for a light build can be a poor choice for a heavier rider on rough trails.
Choosing a Lightweight Carbon Seatpost
A truly light post often weighs about 140 to 200 grams, while a standard carbon post may weigh about 200 to 250 grams. Makers reach low weights with shorter lengths, simpler heads and thinner walls, so check insertion and the weight limit with your pack on. If you are building a light carbon bike as a whole, see our guide to the best carbon mountain bike choices.
First Installation: Paste, Torque and Saddle Height
Read the manual before first use, because torque values and clamp steps differ by brand. Clean the inside of the seat tube, apply a thin layer of carbon assembly paste, and slide the post in to your measured saddle height. Set the saddle level to start, tighten the clamp to the listed torque, then fit the rails and adjust tilt in small steps.
Tighten the head bolts evenly and recheck saddle height after your first short ride. Ask a shop to do the final tightening if you lack a torque wrench. The same care helps other carbon cockpit parts, so see our guide to the best carbon mountain bike bars.
Rookie Mistakes to Avoid
- Ordering by length alone and ignoring diameter leaves you with a post that slips or will not fit the frame.
- Tightening the seat clamp by feel instead of with a torque wrench can crush the post or crack the frame.
- Raising the post above its minimum insertion line weakens support and can damage the post and the seat tube.
- Using grease instead of carbon assembly paste makes slipping more likely and tempts you to add harmful extra torque.
- Choosing the lightest post without checking its rider weight limit risks a sudden failure on rough ground.
Care and Maintenance for a Carbon Mountain Bike Seatpost
Clean the post with plain water and a soft cloth, and keep strong solvents off the surface. Every few months, remove it, wipe off old paste and dirt, and apply fresh paste before you refit it. Dirt inside the seat tube acts like sandpaper, so a clean tube protects the finish.
Look for cracks, deep scratches and crushed spots near the clamp. Stop riding on a post with a crack and have a qualified shop check it, because carbon damage is not always visible. Carbon wheels need a similar routine, as our guide to the best carbon mountain bike wheels explains.
FAQs
How long does a carbon mountain bike seatpost last?
A carbon mountain bike seatpost can last many years if it is never crashed, clamped correctly and inspected often. There is no fixed expiry date, so condition matters more than age. Sun, dirt inside the frame and repeated slipping shorten its life. Retire it when you find damage or after a hard impact, even if it still looks straight.
How do I maintain a carbon mountain bike seatpost between rides?
Between rides, wipe the exposed post clean and check that your saddle has not twisted or slipped down. A small tape mark above the frame makes a slip easy to spot. Listen for new creaks on the first climb, because a sudden sound often points to a loose head bolt or dirt at the clamp.
Are expensive carbon mountain bike seatposts worth the extra cost?
Expensive carbon mountain bike seatposts are worth it only when the cost buys a feature you will use, such as finer tilt control. Weight savings at the top end are small, often only a few dozen grams over a mid range post. If your saddle position is already comfortable, that saving may matter less than better tires for your local dirt.
What features matter most when buying a carbon mountain bike seatpost for climbing?
For climbing, correct diameter, enough insertion and a head that holds tilt under hard seated efforts matter most. A post that slips a few millimeters changes leg extension and can cause knee ache on a long climb. Choose a clamp you can adjust at home, because small tilt changes are easier to test on your normal climb.
How much should I spend on a carbon mountain bike seatpost as a first time buyer?
As a first time buyer, plan on about $30 to $100 for a carbon mountain bike seatpost with clear torque and weight limit information. This range usually gets a proven clamp design and available spare parts. Keep budget for assembly paste and a torque wrench, because correct fitting protects the post more than a small step up in price.
Our Verdict
Choose diameter and insertion first, then setback and head design, then weight and price. Use the product table to compare posts that meet your measurements before you compare prices.
When you shop for the best carbon mountain bike seatpost with those checks in mind, the right choice is usually the post that fits your frame exactly, holds your saddle steady, and stays within its torque and weight limits.


