Best Cameras for Time Lapse Photography for 2026: Everything to Know Before Your First Purchase
Disclosure: We may earn a commission when you buy through links on this page, at no extra cost to you. As an Amazon Associate I earn from qualifying purchases. Learn more

Shopping for time lapse cameras for the first time? Learn how interval shooting works, which specs matter, and how to avoid rookie mistakes.
Choosing the best cameras for time lapse photography can feel confusing when you are new to the hobby, because the specs that matter for a single photo are not always the specs that matter for hundreds of frames stitched into one short clip. A time lapse camera needs to shoot steadily for a long stretch, keep exposure even from frame to frame, and survive hours outdoors without running out of power. The comparison table below can help you weigh the main types side by side before you spend anything.
This guide walks through the basics in plain language, explains the specs worth paying attention to, and flags the mistakes first time buyers make most often. You do not need a deep technical background to follow along, and you do not need the most expensive body on the shelf to make a clip you will be proud to share.



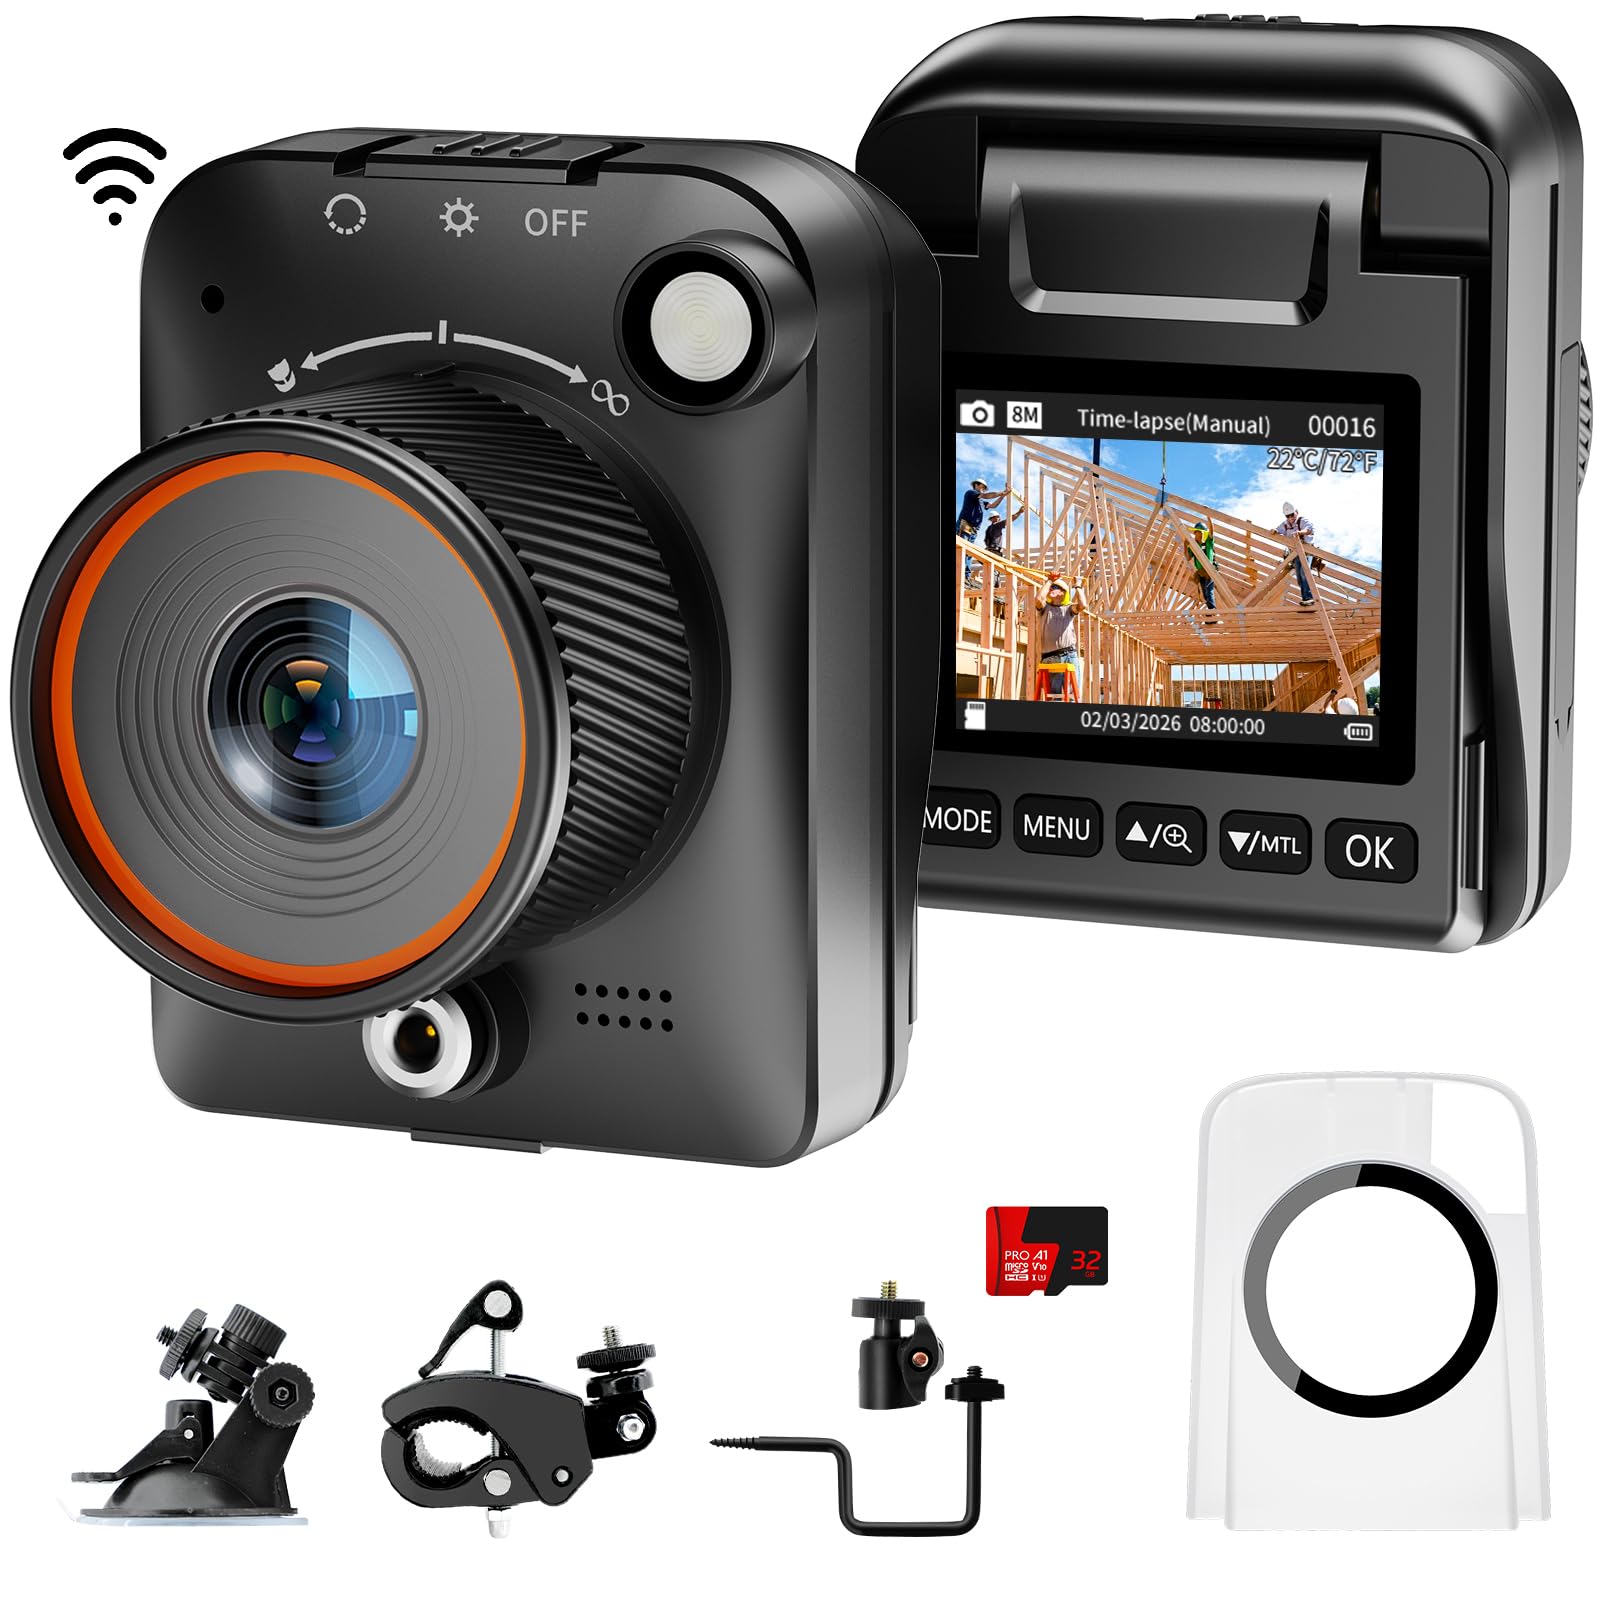


Cameras 101: The Basics
A time lapse is a video made from still photos taken at set intervals, such as one frame every five seconds, then played back quickly so slow change looks fast. Clouds cross the sky, shadows crawl across a room, and a flower opens in seconds. The camera does most of the work once you set the interval, but it must stay still, stay powered, and stay consistent while it works.
Most modern cameras can shoot a time lapse in one of two ways. Some have an interval timer built into the body, so you set the gap between shots and the total number of frames and let the camera run. Others need an external interval remote or a phone app that triggers each shot. Built in interval timers are simpler for beginners, so check for one before you buy, and confirm it can run for the full length of your planned shoot rather than stopping after a small number of frames.
A sturdy tripod matters as much as the camera itself. Even a tiny shift between frames shows up as a jump in the finished clip, so a solid tripod on firm ground beats a light travel tripod on a windy ledge. If you plan to shoot near the sea or on a cold morning, look for a body with weather sealing, and keep a lens cloth handy, since a single drop of water on the front glass can ruin a whole sequence.
Key Specs Explained in Plain English
Camera listings can read like a foreign language. The sections below translate the terms that actually affect time lapse results, and suggest sensible levels for a first purchase.
Features That Matter for Time Lapse Photography
Interval control is the single most useful feature for this kind of shooting, so confirm the camera lets you set both the gap between shots and the total frame count. Exposure smoothing, sometimes called flicker reduction, helps keep brightness steady when light changes slowly, which matters a lot for sunrise and sunset clips. A silent or electronic shutter option reduces wear on the mechanical shutter during very long sequences, and a way to power the camera from an external source lets you shoot for hours without swapping cells. For a closer look at general stills cameras, see our guide to best cameras for photography.
Sensor Size and Image Quality
Sensor size affects how much light each pixel gathers and how clean the image looks in dim conditions. A 1 inch sensor is a good starting point for compact bodies, while APS C sensors offer a clear step up in low light quality and detail for larger cameras. Full frame sensors give the best low light results but add cost, size, and weight that many beginners do not need. Megapixel count alone is a poor guide, since a modest sensor with good light gathering will beat a crowded sensor in a sunset clip.
For time lapse work, aim for at least a 1 inch sensor, and treat APS C as a sweet spot if your budget allows.
Battery Life and Charging
Long shoots drain power fast, especially in cold weather, so battery life deserves more attention here than it gets in ordinary stills buying. Check the rated shot count per charge, but remember that time lapse shooting uses power differently, with the camera waking for every frame over hours. USB C charging is a real advantage, since it lets you top up from a power bank in the field, and some bodies can run directly from USB power while shooting. Carry at least one spare battery, keep spares warm in a pocket on cold days, and follow maker guidance on charging and storage.
If you want a shorter interval focused option, see our guide to best cameras for time lapse.
Low Light Performance
Low light performance decides whether your dawn and dusk clips look smooth or grainy. The ISO range tells you how far sensitivity can be pushed, but the usable range matters more than the headline number, so look for sample clips shot at dusk rather than trusting the maximum figure. A lens with a wide maximum aperture gathers more light and helps keep ISO lower, which keeps noise down. Focus on sensor size, aperture, and usable ISO rather than marketing numbers.
For long evening sequences, a camera that handles ISO 1600 to 3200 cleanly is a sensible target.
Durability and Weather Sealing
Time lapse cameras often sit outside for hours, so build quality is a practical concern rather than a luxury. Weather sealing around buttons, doors, and lens mounts helps keep out rain and dust, but no consumer camera is fully waterproof unless it is rated as such, so use a rain cover in heavy rain. What matters is a sealed body, a lens hood to cut flare, and a habit of wiping the front glass before a long run. Follow maker guidance on operating temperature, and avoid leaving a camera in direct sun inside a closed case, where heat can build up fast.
Rookie Mistakes to Avoid
- Leaving exposure on full auto, which causes brightness to jump between frames as clouds pass or light changes.
- Using a flimsy tripod or bumping the setup mid shoot, which makes the finished clip shake or jump.
- Starting with a nearly empty memory card, since a long sequence can fill storage faster than expected.
- Forgetting a spare battery or a power bank, which ends a sunset shoot at the worst possible moment.
- Skipping a test run, which means discovering a wrong interval or a dirty lens only after hours of shooting.
Getting Started: Setup and First Use
Start with a short practice run in your own garden or from a window, using an interval of about five seconds and a total of 200 frames, which gives a short clip to review. Set focus manually once your subject is sharp, then lock it, since autofocus hunting between frames causes visible pulsing. Switch exposure to manual or use an exposure smoothing mode if your camera offers one, and take a few test frames to check brightness before committing to a long run.
Use a lens cloth, not your shirt, to clean the front glass, since fabric can smear or scratch coatings. Carry a spare battery and a second memory card, store the camera in a dry padded bag between shoots, and review your first clip on a larger screen before judging it. Small problems that are invisible on the rear screen, such as a slight tilt or a smudge, are easy to spot on a computer, and fixing them early saves a wasted afternoon.
Cameras: Your Questions Answered
What features matter most in cameras for time lapse photography?
Interval control, exposure smoothing, and a reliable power option matter most, because they decide whether a long sequence runs smoothly from start to finish. A built in interval timer keeps setup simple, while exposure smoothing reduces the flicker that ruins sunrise and sunset clips. Add a sturdy tripod and a spare battery to that list, and you have the core kit for good results. Resolution and frame rate choices matter less at first, since a steady 4K clip from a modest sensor beats a shaky 8K clip every time.
Is a smartphone enough instead?
A smartphone is enough for short, casual clips, and it is a fine way to learn whether you enjoy the technique before spending more. Phones handle interval shooting through apps, and their small sensors do well in bright daylight. Dedicated cameras pull ahead for long shoots, low light scenes, and situations where you need manual focus, interchangeable lenses, or external power for hours. If your clips will run longer than an hour or you plan to shoot at dawn, a dedicated camera is worth the step up.
Which is better for low light?
A larger sensor with a wide aperture lens is better for low light, because it gathers more light per frame and keeps noise lower at higher ISO settings. APS C bodies are a sensible middle ground, offering a clear gain over compact sensors without the cost of full frame. Manual exposure also helps, since it stops the camera from jumping between brightness levels as streetlights or clouds change the scene. A tripod is essential here too, because low light clips need steady framing over long stretches.
How much should I spend on my first one?
Most first time buyers do well in the range of about $400 to $900 for the camera body, plus a tripod and a spare battery. Below that range you may lose interval control or weather sealing, while above it you pay for features that matter more to professionals than to beginners. Spend the saving on a solid tripod and a fast memory card, which improve results more than a slightly larger sensor. If you are unsure, start near the lower end and upgrade only after you know which limits bother you most.
What specs matter most for beginners?
Beginners should weigh interval control, sensor size, battery options, and ease of use above headline megapixel counts or top frame rates. A camera that is simple to set up will get used far more than a complex body that stays in a bag, so clear menus and a good auto mode still matter. Weather sealing and a wide aperture kit lens are useful bonuses, and USB C charging makes field power much simpler. For a first camera aimed at stills learning, see our guide to best beginning photography cameras.
Wrapping Up
The best cameras for time lapse photography for a first time buyer combine a built in interval timer, a sensor of at least 1 inch, sensible low light ability, and a power setup that lasts the whole shoot. Add a solid tripod, a spare battery, and a habit of doing a short trial before long runs, and you will avoid most of the problems that spoil early clips. Check the product table above once more, match the strengths to the kind of scenes you plan to shoot, and choose the camera you will actually enjoy carrying and using.