
Best Camera for Mountain Bike Photography: A Buyer Checklist for 2026
Disclosure: We may earn a commission when you buy through links on this page, at no extra cost to you. As an Amazon Associate I earn from qualifying purchases. Learn more

Choose the best camera for mountain bike photography with a checklist on autofocus, weather sealing, stabilization, lenses and trail ready video.
Trail photos are hard to repeat. A rider clears a rock garden once, light under the trees changes in minutes, and dust hangs behind each wheel. Choosing the best camera for mountain bike photography means judging how a camera tracks movement, handles shade, and survives the ride out. This guide turns those demands into a checklist to use before you spend anything.
Work through the user groups, features, and camera types below, then match your short list against the comparison table below. A camera that fits your pack and your shooting style will serve you longer than a larger model left at home.


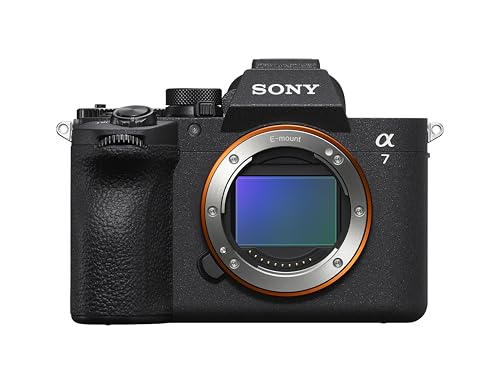
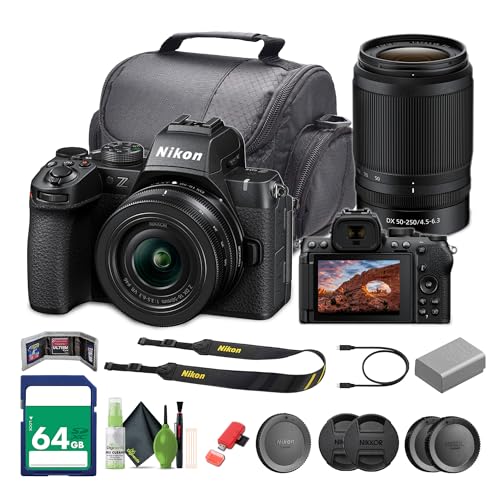
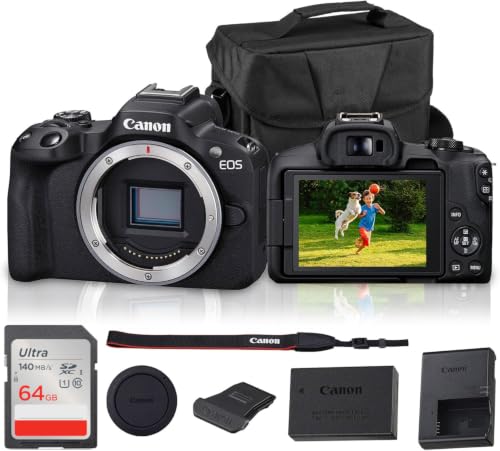
Who Should Buy a Camera for Mountain Bike Photography?
Riders Who Photograph Friends on Local Trails
You stop at features, shoot your group sessioning a jump or a berm, and ride on with the camera in a hip pack. Size and weight matter most, along with controls you can work quickly and a screen readable in bright sun. A compact body with strong automatic focus and one versatile lens beats a large kit that makes climbs feel longer.
Photographers Who Cover Races and Team Events
You stand in one place for hours while riders pass at speed, often in poor light. You need fast subject tracking, a rapid burst mode, and a longer lens that fills the frame from a safe spot beside the course. Battery swaps matter too, since a missed run cannot be recreated.
Creators Who Shoot Stills and Trail Video
You mix still photos with short clips of features, skills sessions, and trailhead interviews for a channel or club page. Look for clean 4K video, a flip screen for solo filming, and a microphone input for clearer speech. If most of your footage is filmed while riding rather than from the trail side, see our guide to the best bike cameras.
Key Features to Compare
Autofocus and Burst Speed for Moving Riders
Autofocus decides whether a rider is sharp at the moment the wheels leave the ground. Look for subject detection that locks onto a person and holds focus while the rider moves toward you, since closing speed defeats slower systems. A burst rate of about 10 to 20 frames per second gives you several frames through a jump, so you can pick the one with the best body position.
Sensor Size and Image Quality in Forest Shade
Sensor size shapes how clean your files look when trails run through deep shade. A one inch sensor in a compact camera can work well at midday, while APS C and full frame sensors gather more light and hold detail better at dusk or under thick canopy. Megapixels matter less than this light gathering ability, because a clean smaller file prints better than a huge file softened by high sensitivity settings.
Image Stabilization for Shooting From Rough Ground
Image stabilization steadies the small hand movements that come from standing on roots, leaning on a slope, or breathing hard after hiking to a viewpoint. It helps most at longer focal lengths and in low light, where slower shutter speeds would otherwise soften the shot. It cannot freeze subject movement, so pair it with a shutter speed fast enough for the descent.
Lens and Optical Zoom Range for Trail Subjects
Your lens decides how close the action feels. A zoom covering about 24 to 70 mm in full frame terms suits trailhead scenes and close riders, while 70 to 200 mm helps at races where you must stay behind tape. Optical zoom keeps full detail at every setting, unlike digital cropping. A wide maximum aperture, shown by a low f number, helps in shade and softens busy backgrounds.
Durability and Weather Sealing Against Dust and Spray
Trail cameras live around grit, drizzle, and spray thrown up by tires. Weather sealing around the body, dials, and lens mount helps keep moisture and dust away from moving parts and the sensor, and a solid grip matters when hands are damp. Sealing is not permission to shoot in a storm, so use a rain cover in heavy weather and dry the camera before changing a lens.
Battery Life and Charging on Long Ride Days
A rating of a few hundred shots per charge shrinks fast with burst mode, video, and a bright screen. Check whether the camera charges by USB C, since that lets you top up from the same power bank you carry for lights and a phone. Budget for one spare battery from the start, because the best camera for mountain bike photography is no use sitting dead in your pack by the final run.
Camera Types Compared for Trail Use
Mirrorless Cameras for Control and Lens Choice
Mirrorless cameras are the most flexible option for trail photography because you can change lenses as your shooting changes. One body can carry a wide lens for tight forest corners one weekend and a longer lens for a race the next. The trade off is kit weight, since each lens rides on your back. Riders who also shoot alpine scenery can see our guide to the best cameras for mountain photography.
Compact Cameras for Pack Friendly Shooting
A compact camera with a fixed lens suits riders who shoot often but pack light. You give up lens changes, yet you gain a camera that fits a small padded case and comes out fast at a viewpoint. Choose one with a useful optical zoom range and a sensor larger than a phone sensor, so files hold up when the trail drops into late day shade.
Video Setup for Trail Clips and Vlogging
For video, look for 4K recording at up to 60 frames per second for smooth slow motion of a rider through a rough section, plus a flip screen and microphone input if you speak to camera. A small microphone with a wind cover makes trailhead explainers easier to understand on a breezy ridge. For footage from the bars or a chest mount, see our guide to the best mountain bike action camera.
Trail Questions Before You Order
Answer these questions before you order, based on the riding you do most often.
- Can the autofocus track a person moving toward the camera at riding speed?
- Does the burst mode give you enough frames to catch the peak of a jump?
- Will the sensor stay clean and detailed in forest shade and at dusk?
- Does the lens range cover both close scenes and distant race action?
- Is the body sealed well enough for dust, drizzle, and spray?
- Does the whole kit, with a spare battery, fit your riding pack?
- Can you charge the camera by USB C during a trip?
If you answered no to two or more questions, keep comparing, and see our guide to the best mountain bike camera if your needs lean toward a dedicated on bike setup.
Common Mistakes to Avoid
- Buying on megapixels alone, so large files still fall apart in forest shade.
- Choosing a long zoom with a narrow aperture, so moving riders blur in low light.
- Ignoring total kit weight, so the camera stays home on long climbs.
- Changing lenses in blowing dust, so grit reaches the sensor and spots every photo.
- Skipping the spare battery, so the camera dies before the last race run.
- Trusting weather sealing in heavy rain without a cover, so moisture reaches the dials.
Care and Maintenance for Trail Cameras
Clean the front element with a lens cloth and blower, not your shirt, since grit on fabric can scratch the coating. Wipe the body down after wet or dusty rides, and let it dry before sealing it in its bag. Store the kit in a dry, padded bag away from damp garages, so seals and batteries stay in good condition.
Carry a spare battery and card in a sealed case, and format cards in camera only after backing up files in two places. Check for sensor dust before an event by photographing a plain bright sky at a narrow aperture, and use the in camera cleaning function first. A wrist loop guards against the most common trail accident, a dropped camera on rock.
FAQ
What features matter most in cameras for mountain bike photography?
Fast person tracking autofocus matters most, because a sharp rider is the point of the photo. After that, judge burst speed, shade performance, and sealing. One point buyers often miss is buffer depth, how many burst frames the camera records before it slows down. A deep buffer matters at races, where riders may pass seconds apart.
How much should I spend on a first camera for mountain bike photography?
Most first time buyers do well spending about $500 to $1,200 on a body with one general purpose lens. That range usually buys reliable tracking focus and a sensor that copes with shade, without pro level sealing you may not need. Keep part of the budget for a padded case, spare battery, and cards, since those decide whether the camera travels with you.
What camera specs matter most for mountain bike photography beginners?
Beginners should rank autofocus by how easy it is to set, not by how many modes the menu lists. A camera with a clear subject detection setting and a simple burst control beats an advanced model left on the wrong setting. Also weigh the body with its kit lens fitted, because beginners shoot more when carrying feels easy.
Which camera sensor is better for low light trail photography?
A larger sensor is generally better for low light trail photography, because it gathers more light and keeps shadow detail cleaner. Lens aperture can offset part of that gap, so a smaller sensor camera with a bright lens may match a larger sensor camera with a dim zoom. For indoor bike parks, look for a hot shoe that lets you add light.
Can a compact camera handle mountain bike photography on rough trails?
Yes, a good compact camera can handle trail photography if its autofocus is quick and its zoom suits your viewpoints. Compacts work best when you stand close to the feature and frame the shot before the rider arrives. Their fixed lens removes the risk of dust entering during a lens change. Choose a viewfinder in harsh midday sun, since rear screens wash out in glare.
Wrapping Up
Start with autofocus you can trust, a sensor and lens pairing that copes with shade, and sealing that matches your home trails. Then check that the kit fits your pack and budget, spare battery included. Chosen that way, the best camera for mountain bike photography becomes the camera you carry on ordinary rides, so compare finalists in the product table above.


