Best Bike Cameras: A Buying Guide for 2026
Disclosure: We may earn a commission when you buy through links on this page, at no extra cost to you. As an Amazon Associate I earn from qualifying purchases. Learn more

Compare the best bike cameras by mount type, battery life, stabilization and video quality, with clear price bands for commuting, road riding and trails.
A bike camera has one main job: keep a faithful record of your ride, from the close pass on the way to work to the descent you want to watch again at home. Choosing among the best bike cameras starts with an honest point about what that record can do. Footage can help show what happened in a dispute or an insurance claim, but it never decides fault by itself, and it is no substitute for riding defensively.
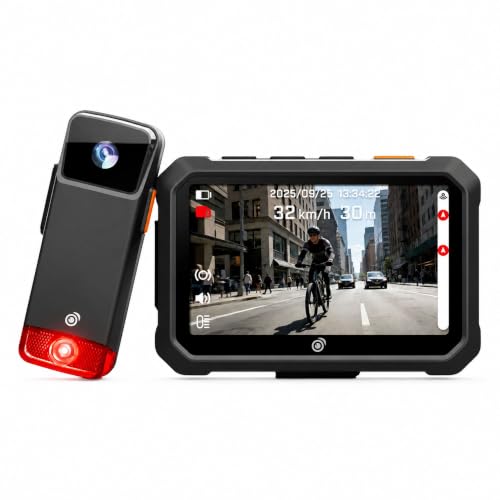
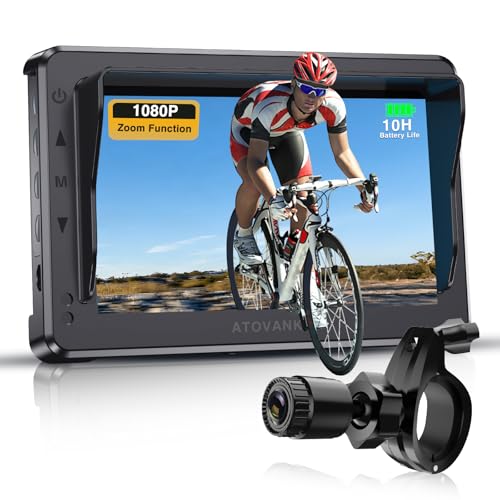
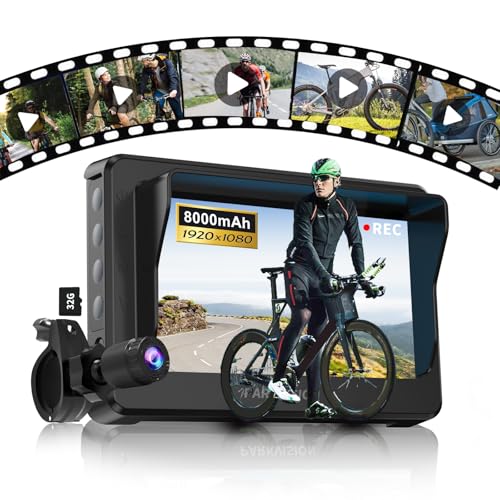
This guide works through the choices in the order they matter on the road: where the camera mounts, how long it records, and how steady the picture stays. The product table near the top lets you compare the available options, and the sections after it explain which type fits commuting, road riding, and trail use.

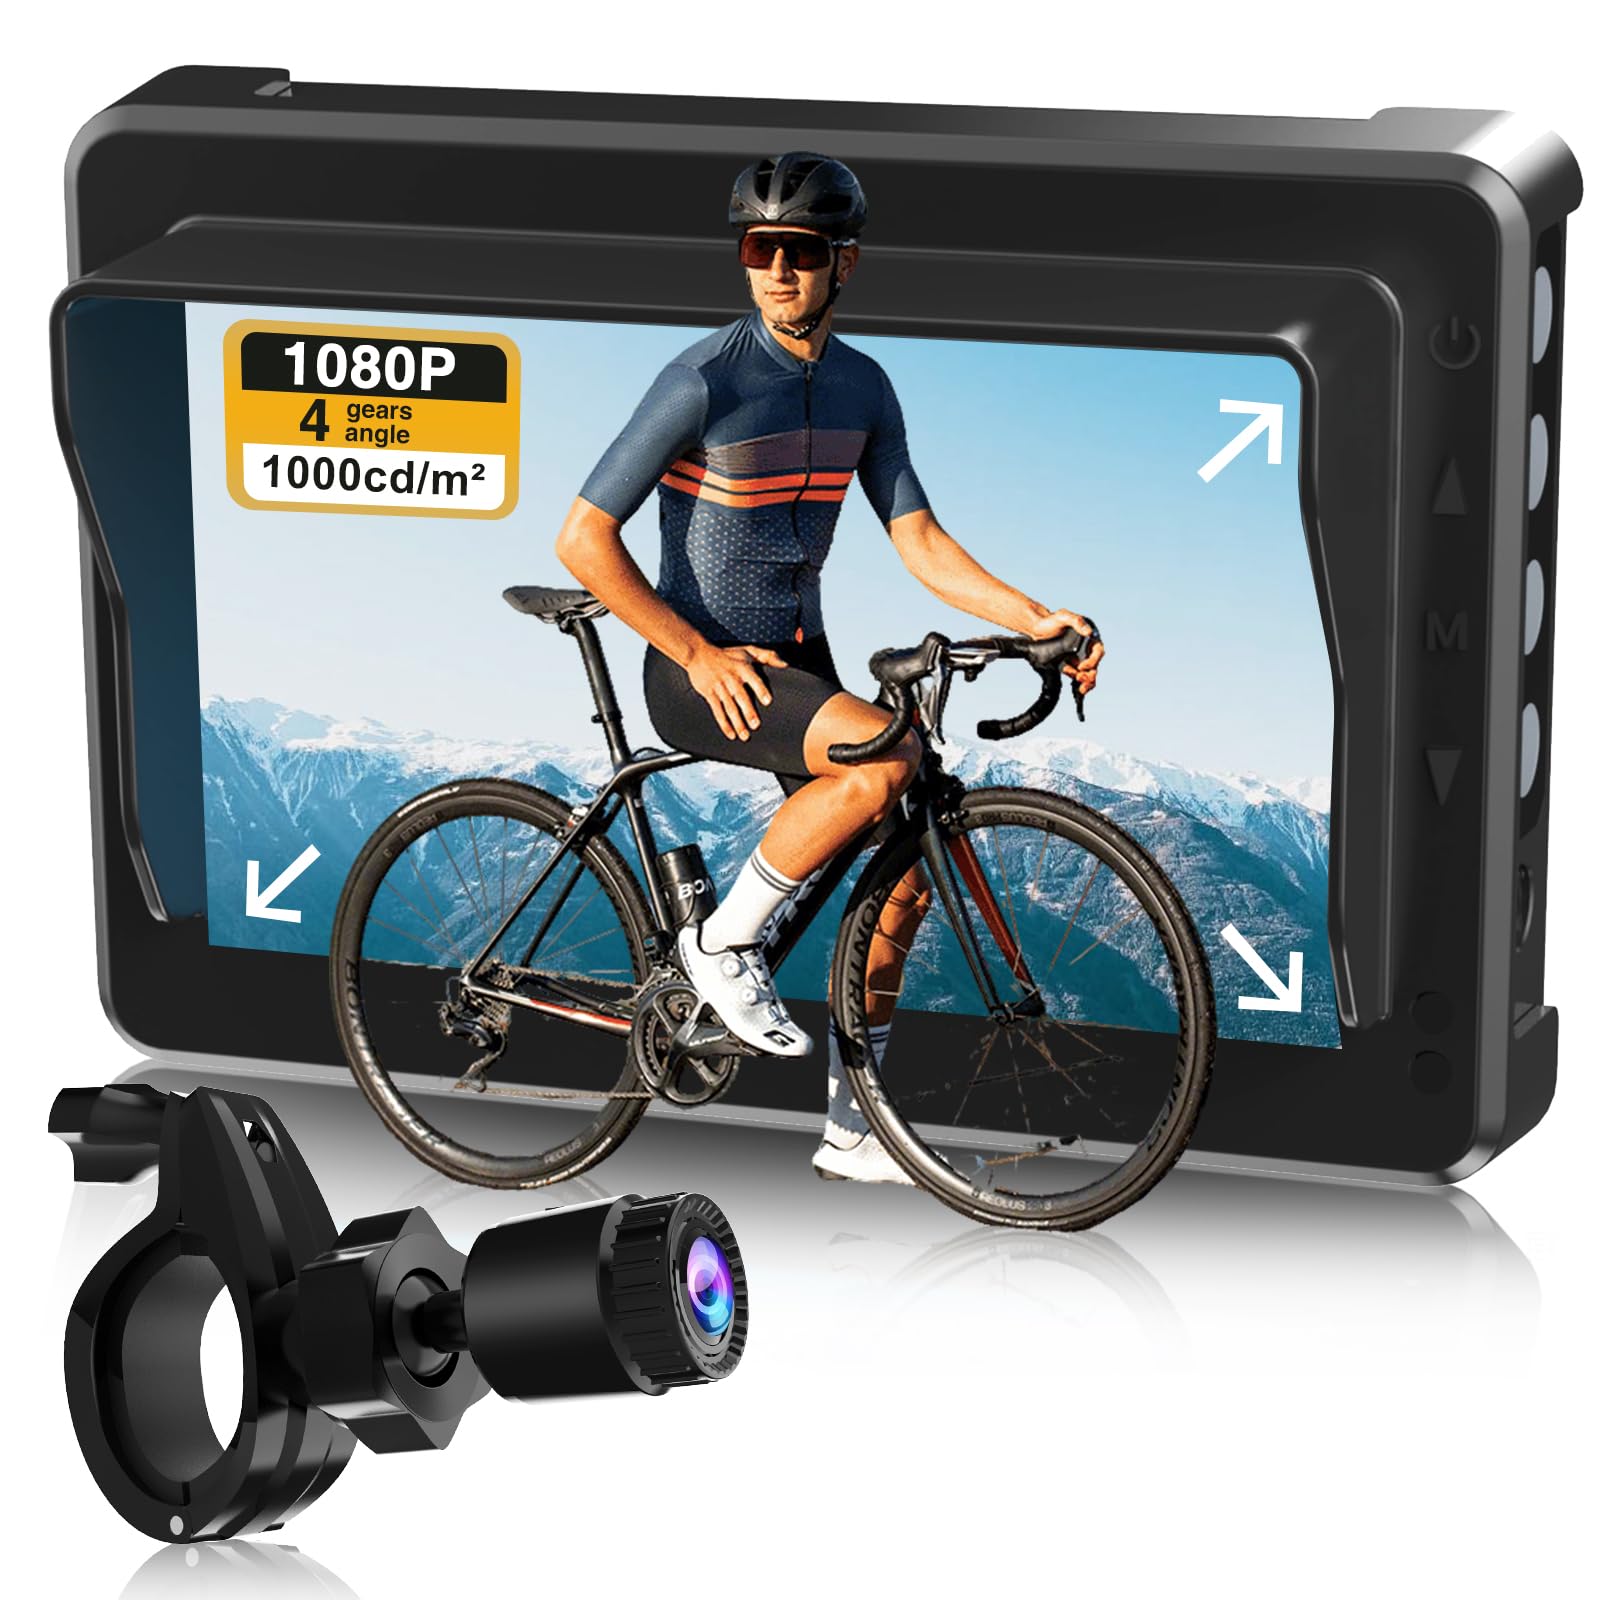
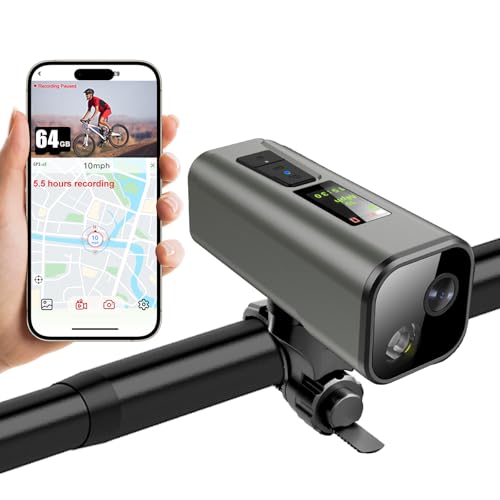
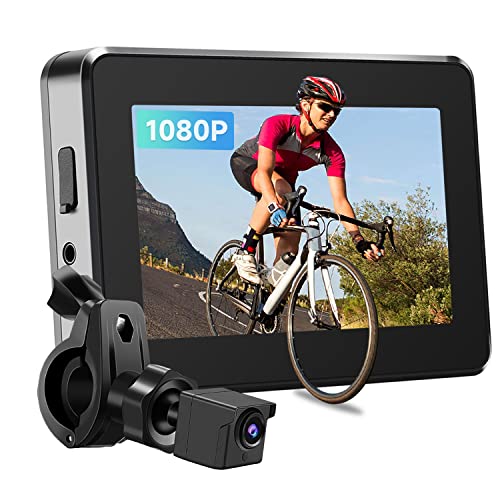
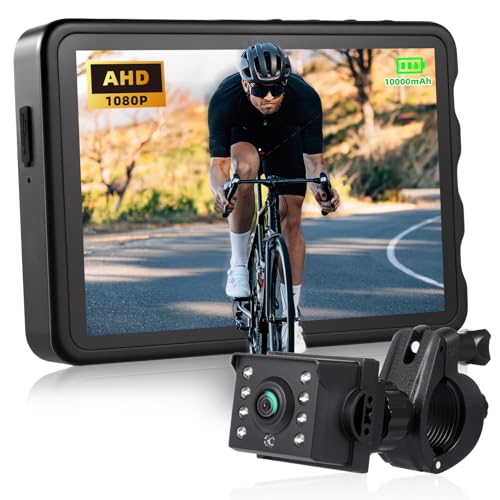
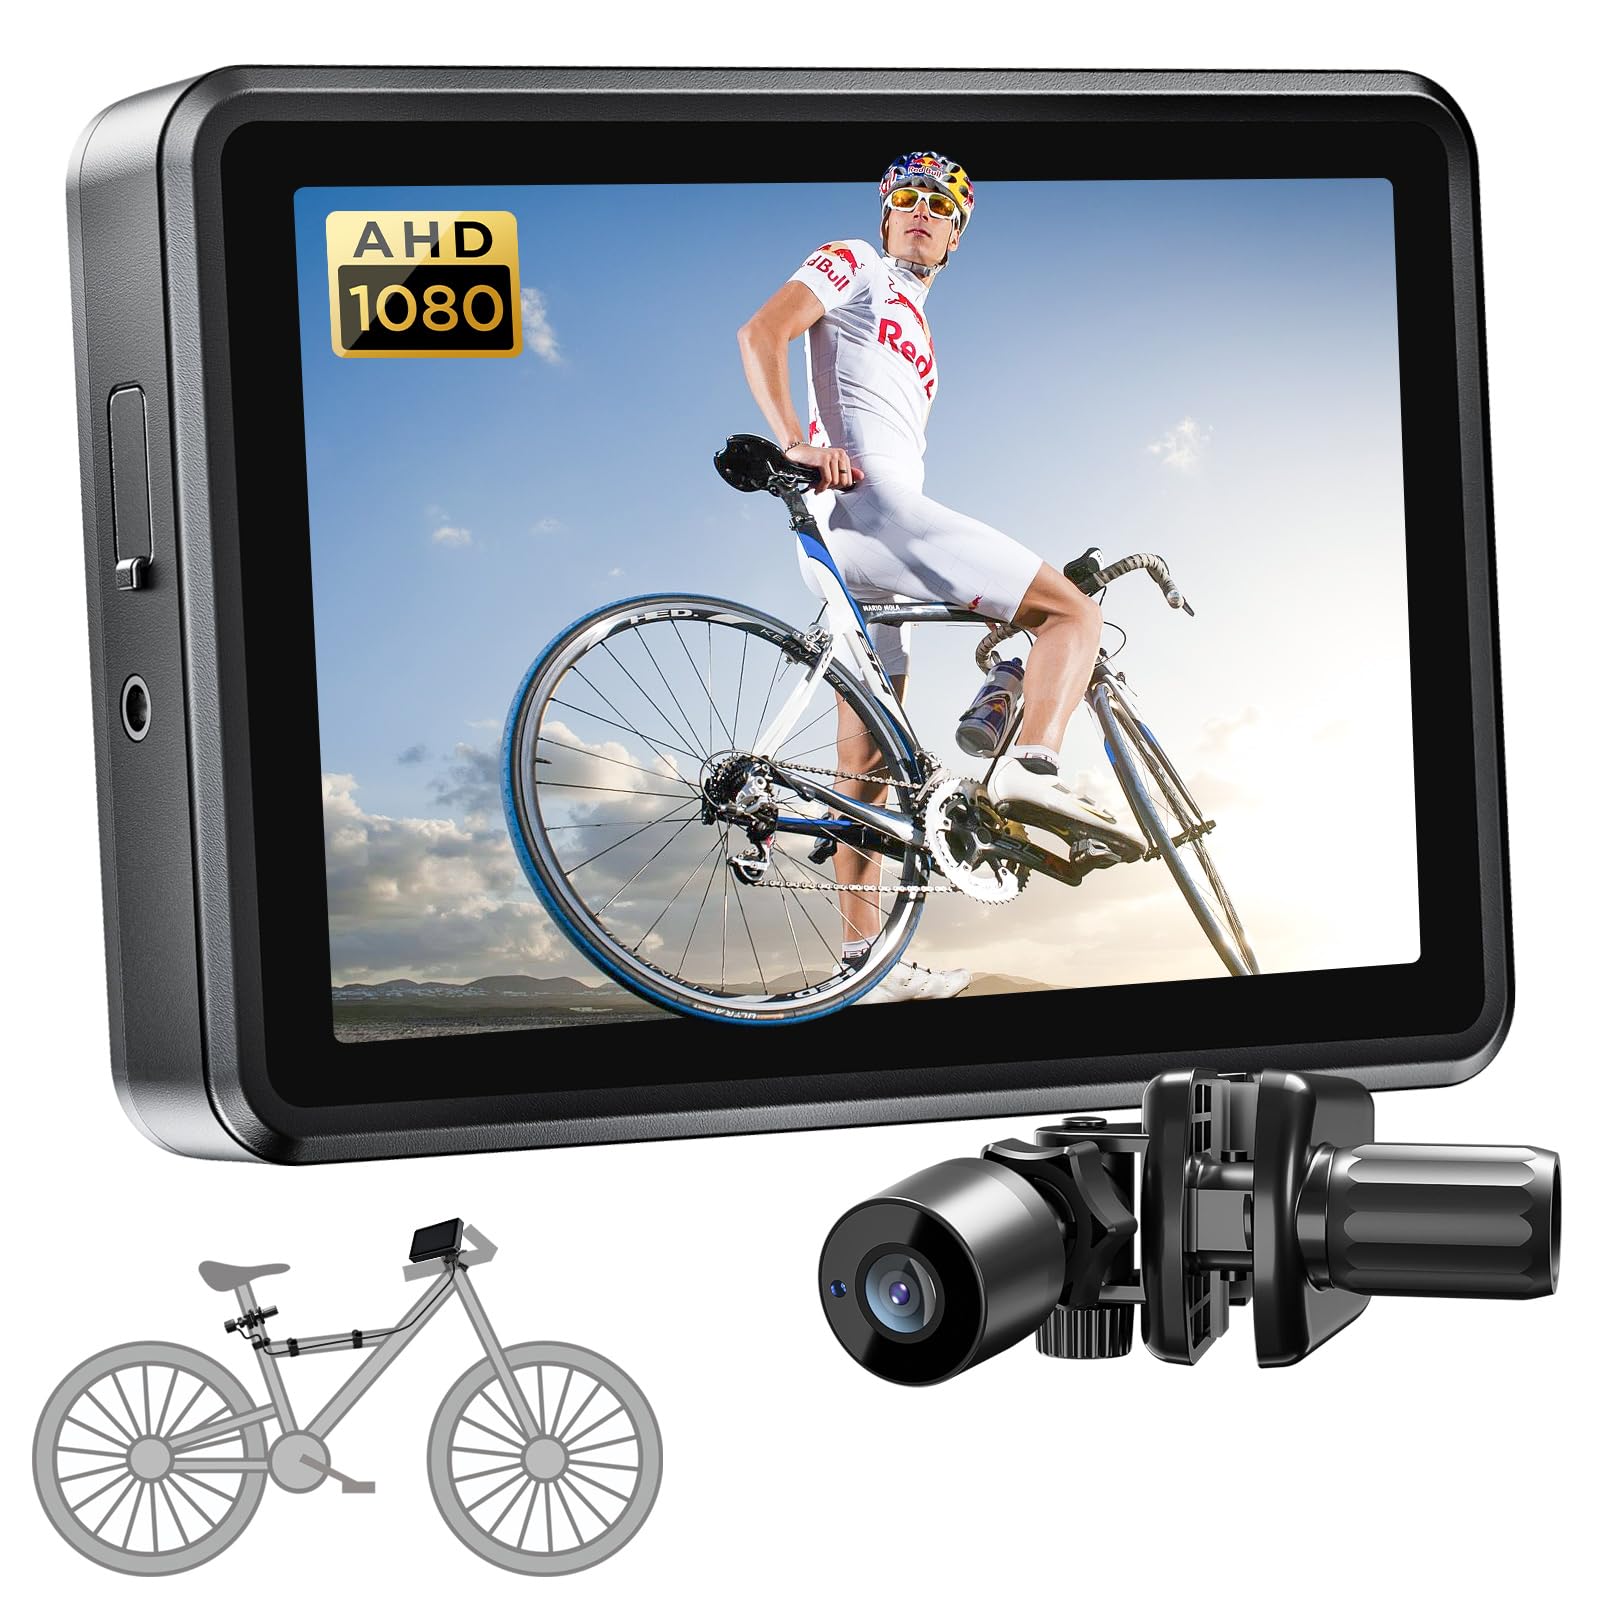
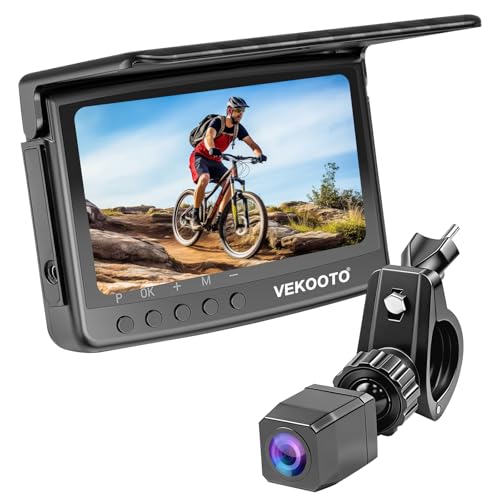

Start With the Mount: Where the Camera Sits
The mount decides more than any figure on the box, because the mount class decides steadiness. A modest camera clamped firmly to the frame records a calmer picture than a stronger camera wobbling on a loose strap, so settle the mounting position before you compare video specifications.
Handlebar and Stem Mounts
A bar mounted camera gives the classic forward view: the road ahead, junctions, and the traffic you are riding with. It sits within reach for charging and card swaps, and it stays put if the clamp matches your bar diameter and is tightened evenly. The trade is vibration, since every ripple in the road surface travels straight up the fork and bars into the lens. A mount with a short, rigid arm shakes less than a tall flexible one, and a camera with good stabilization earns its keep most in this position.
Helmet Mounts
A helmet mounted camera looks where you look, which makes it the strongest position for recording a driver turning across you or a hazard off to the side. The view also moves constantly, so footage can feel restless on long rides, and the added weight sits high where your neck feels it after an hour. If this position appeals, the dedicated guide to best bike helmet cameras covers the vent, strap, and adhesive options in detail. Whatever mount you choose, follow the helmet maker guidance on attachments and keep the total added weight modest.
Rear Facing Cameras and Seatpost Mounts
A rear facing class of camera watches the traffic behind you, clamped to the seatpost and often combined with a rear light in one unit. It records vehicles approaching from behind, which is the angle a front camera cannot cover and the one many commuters worry about most. Running two cameras doubles the charging and card routine, so riders who add a rear unit usually pick one with a long runtime and a simple one button start. Check that the mount clears your saddle bag and that the lens sits clear of a mudguard or rack.
Who Rides With a Camera, and Why
Riders buy cameras for different reasons, and the reason decides which features matter. Match your main reason to the group below before you spend on resolution you may never use.
Commuters Who Want a Record
For daily riding in traffic, the priorities are loop recording, a quick start, and a mount you can remove in seconds when you park. You want the camera running on every trip without thought, overwriting old footage until an incident makes you save a clip. Weather sealing matters more than maximum resolution here, because the camera earns its place on wet November mornings as much as dry ones. A compact unit that charges from a desk cable keeps the routine painless.
Road and Group Riders Who Film the Ride
Riders who film for enjoyment care about picture quality, smooth stabilization, and enough battery for the longest ride of the week. Frame rate matters because fast descents and sprint finishes look far better with more frames per second. Weight and profile count too, since a bulky camera on the bars is one more thing catching the wind. If you also shoot still photographs at tour stops, that is a separate purchase, and the guide to best cameras for photography covers the stills side of the kit.
Trail Riders and Rough Surfaces
Off road, the camera takes knocks, mud, and constant shaking, so a tough housing and a mount that cannot rotate on the bar come first. A wide field of view suits singletrack, where the interest is close on both sides of the trail. The trail focused guide to the best mountain bike camera goes deeper on chest and chin mounting positions. For this guide, the key point is that stabilization and mount security outrank resolution once the surface gets rough.
What to Compare in the Best Bike Cameras Before You Buy
Comparing the best bike cameras on headline figures alone misleads, because every maker quotes the best case number. Work through the six factors below and judge each one against your own rides.
One classification point before the details: a bike camera is a small action camera built to live on a bicycle, which is a different class of product from the stills first models covered by the best digital cameras guide.
Video Resolution and Frame Rate
Higher resolution records finer detail, which is what lets a viewer pause a clip and read a plate or a street sign. It also fills cards faster and drains batteries sooner, so it is a trade rather than a free win. Frame rate decides how smooth fast motion looks: higher rates suit descents and traffic moving at speed. Many riders settle on a middle setting for daily commuting and save the highest setting for rides they plan to keep.
Image Stabilization
Electronic stabilization smooths the shake that every bike mount passes to the camera, and it is the feature that most separates watchable footage from a jittery mess. It works by cropping the frame slightly, so a stabilized picture is a touch narrower than the raw one. On smooth tarmac almost any camera looks steady, while cobbles, gravel, and broken back roads show the real differences. If your riding is mostly rough, treat stabilization as the first specification to compare.
Battery Life Against Ride Length
Match the rated runtime to your longest regular ride, then leave a margin, because maker figures come from steady conditions at moderate settings. Cold weather, high resolution, and a bright rear screen all shorten the real number. A swappable battery suits riders who film all day tours, since a spare in a pocket resets the clock at a cafe stop. Sealed units with larger internal cells suit commuters who charge at a desk and never ride beyond a couple of hours.
Weather Sealing and Build
A camera that lives on a bike will get rained on, so look for a sealed body that shrugs off road spray and steady rain rather than one that needs a separate housing for wet rides. Water droplets on the lens blur the picture long before water harms the electronics, and a lens you can wipe with a glove at a red light is a practical advantage. Check that port covers close positively, since a loose cover is where spray gets in. Metal mounting points outlast plastic ones under daily clamping.
Storage, Loop Recording, and Incident Saving
Bike cameras record to a memory card and loop, overwriting the oldest files once the card is full, so the camera never stops mid ride because it ran out of room. Card size decides how many hours of history you keep before the loop erases it, and fast cards keep up with high resolution recording. Many models lock the current clip when an impact sensor feels a knock, protecting that file from the loop. Make a habit of copying any clip you need to a computer the same day.
Controls You Can Reach, and the Safety Rule
One rule governs every control discussion: set the camera before you move, and never work the camera while moving. Looking down to hunt through a menu in traffic is a risk no feature justifies. Choose large buttons you can find by feel with gloves, a clear recording light or beep you can confirm at a standstill, and an auto start option if your mount supports it. If a setting needs changing, stop somewhere safe and change it there.
Two Mounting Styles Worth a Closer Look
Two buying patterns come up again and again, and each one shifts the priorities above in its own way.
Best on Bike Cameras
The best on bike cameras stay fixed to the bicycle rather than clipping to your clothing or helmet, so the view is consistent and the camera is always in the same place when you set off. The fixed position makes charging and card checks part of your normal bike routine, and a hard mount gives the steadiest footage of any style. The costs are that the camera goes where the bike goes, including being left on a parked bike unless you remove it, and one camera covers one direction only.
Best Road Bike Cameras
The best road bike cameras trade a little toughness for low weight and a slim profile that suits drop bars and crowded cockpits. Long rides put battery life at the top of the list, since a camera that dies at hour three misses the part of the ride you most wanted. Smooth tarmac forgives modest stabilization, so road riders can put more of the budget toward resolution and frame rate. A low mount under the bars keeps the camera out of the wind and out of your grip positions.
Price Bands: What Each Step Buys
The product table above is a good starting point, and the bands below explain what the money actually changes. Prices are approximate, since listings move around through the year.
Entry level cameras at under $100 cover the commuting basics: loop recording, a sealed body, and video that is clear in daylight. Stabilization is basic and night footage is grainy, but as a daily record they do the core job. This is the sensible starting band if you are deciding whether a camera fits your routine.
The middle band, about $100 to $250, is where stabilization becomes genuinely smooth, batteries stretch to cover long rides, and screens and controls get easier to live with. Most riders should shop here, because the gains are things you notice on every ride rather than in rare cases. Rear facing units with lights also sit mostly in this band.
Upper band cameras at about $250 to $450 add the finest detail, the steadiest processing, and the toughest builds. They suit riders who publish footage or who want plates readable at the greatest distance. Readers whose main interest is top end imaging across camera types will find the guide to best quality cameras a useful companion. Spend at this level only when your riding gives the extra quality somewhere to show.
Common Mistakes to Avoid
- Leaving a mount slightly loose, so the camera slowly tilts and records the front wheel for an hour.
- Judging a camera by resolution alone, then finding the battery cannot cover your longest ride.
- Buying a slow memory card that cannot keep up with high resolution recording and drops frames.
- Trying to change settings or review footage while rolling through traffic.
- Leaving the camera mounted on a bike locked outside, where it can be taken in seconds.
- Expecting footage to settle a dispute by itself, when it only shows one angle of what happened.
Setup and Care Tips
- Wipe the lens with a clean cloth before rides, since road film builds up and softens every clip.
- Format the memory card in the camera after copying clips, which keeps the file system healthy.
- Check mount bolts and straps weekly, because vibration works fixings loose over time.
- Store the camera dry and indoors, and let a wet unit dry fully before charging it.
- Charge after long rides rather than before short ones, so the battery is never caught empty.
- Fit firmware updates at home while the bike is parked, never as you are about to set off.
Bike Camera Questions Answered
Can a bike camera read a license plate at night?
Sometimes, but night plates are the hardest challenge a bike camera faces. Reading a plate needs the vehicle close, your own speed low, and enough street light for the sensor to work with, and a fast pass in the dark will often blur beyond reading. Riding a touch slower near junctions and keeping the lens clean improves your chances. Treat any night plate capture as a bonus rather than the reason you bought the camera.
How long will a bike camera record before the battery runs out?
Most bike cameras record for about two to five hours per charge, depending on settings. High resolution and a bright screen pull the figure down, while lower settings stretch it. One factor riders forget is temperature: a battery on a frosty morning delivers noticeably less than the same battery in summer. If your longest ride sits near the limit, pick a model with a swappable battery or plan a cafe stop charge.
Is a rear facing bike camera worth adding?
A rear facing camera is worth adding if close passes from behind are your main concern. It covers the one direction a front camera misses entirely, and combined units add a rear light you would carry anyway. The extra cost is a second charging routine and a second card to manage. Many commuters start with the front camera, then add the rear unit once the habit is established and the worry is still there.
Will a bike camera fit any handlebar?
Most bike cameras fit standard handlebars, but not every bar and stem combination works. Clamps are sized for common bar diameters, and aero bars, flat topped bars, and crowded cockpits with lights and computers can leave no clean round section to clamp. Measure the free space on your bars before ordering, and consider a mount that shares the out front bracket for your cycling computer. A mount that fits properly also vibrates less, which improves every clip.
How do I stop a bike camera being stolen when I park?
The reliable answer is to take the camera with you, since any mount can be defeated given time. Choose a quick release mount that lets you unclip the camera in one motion and drop it in a pocket. If you must leave it, a secondary tether stops a casual grab but not a determined thief. Recording where you park, under cover and in view of people, lowers the risk more than any lock sold for cameras.
Final Thoughts
The right camera is the one whose mount suits your bike, whose battery covers your longest ride, and whose stabilization matches your roads. Start with the mount, check the runtime honestly, and only then compare resolution figures. The product table above gives you a place to start comparing. Chosen that way, the best bike cameras for your riding will record every trip without asking for attention, which is exactly what a ride record should do.