Best Solar Driveway Lights: A Complete Buying Guide
Disclosure: We may earn a commission when you buy through links on this page, at no extra cost to you. As an Amazon Associate I earn from qualifying purchases. Learn more
A complete guide to choosing solar driveway lights, covering brightness, weatherproofing, battery quality, types, and installation tips.
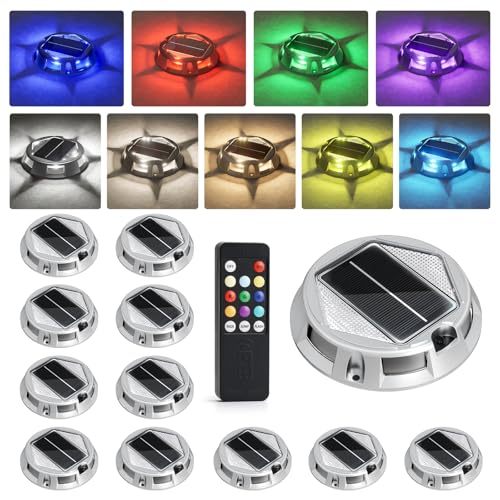
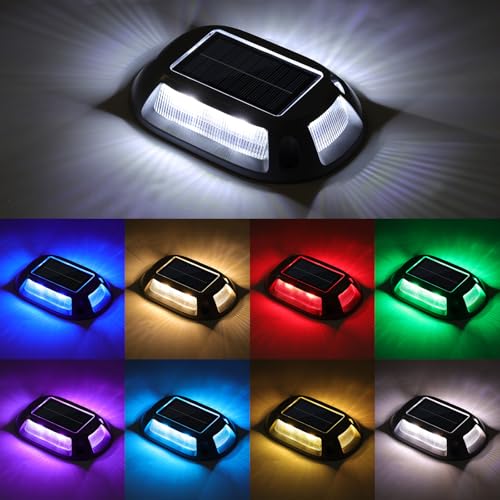

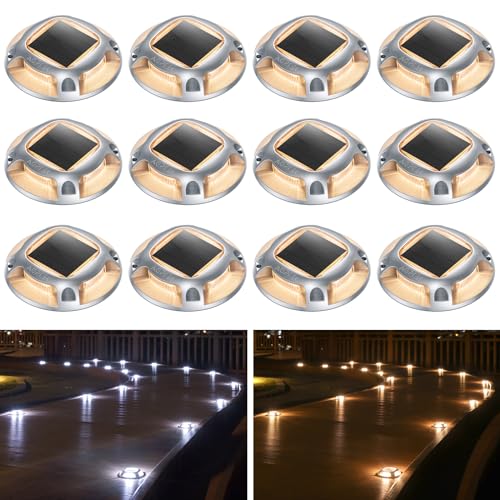
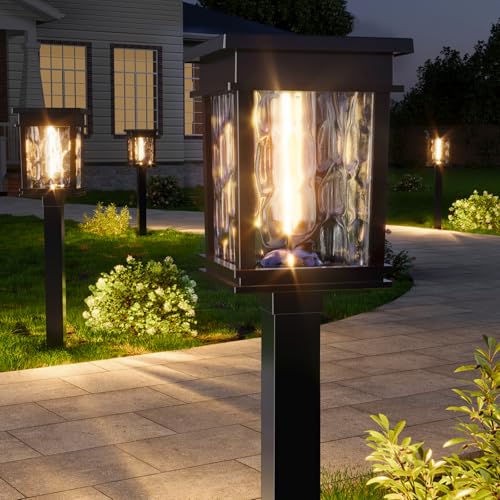
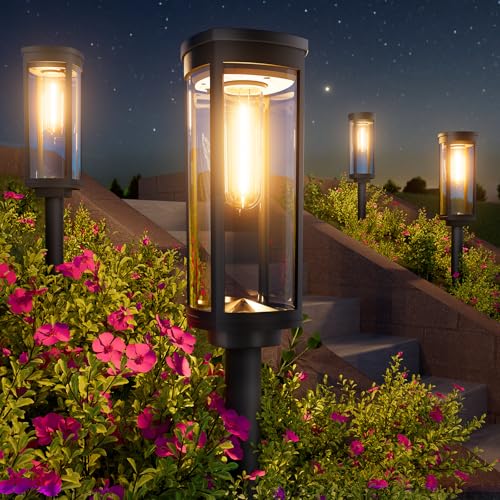
Why Driveway Lighting Plays by Different Rules
A driveway is not a garden bed and it is not a footpath. Cars roll over the edges, tires clip the border when someone backs out in the dark, and snow shovels or plow blades scrape along the same strip every winter. Solar driveway lights have to survive that environment while still doing their main job: giving a driver a clear read on where the pavement ends and the lawn begins.
A stake light built for a flower bed will crack the first time a tire brushes it, and a dim path light rated for foot traffic often disappears against headlights. The sections below focus on what changes next to a driving surface, so the choice fits the job rather than a generic checklist.
Flush-Mount vs. Surface-Stake vs. Post-Cap: Picking a Mount That Survives Tire Traffic
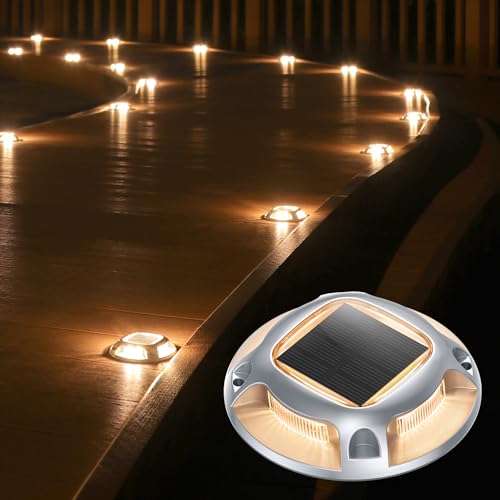
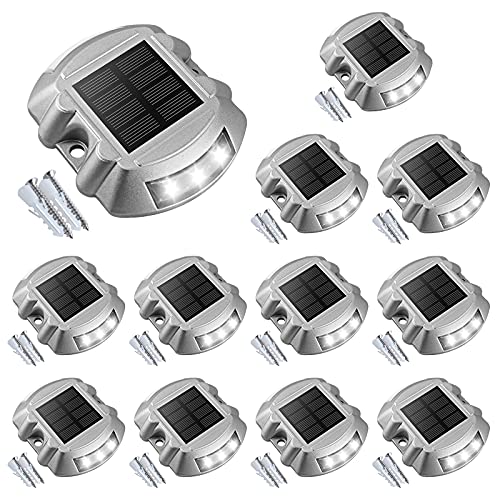
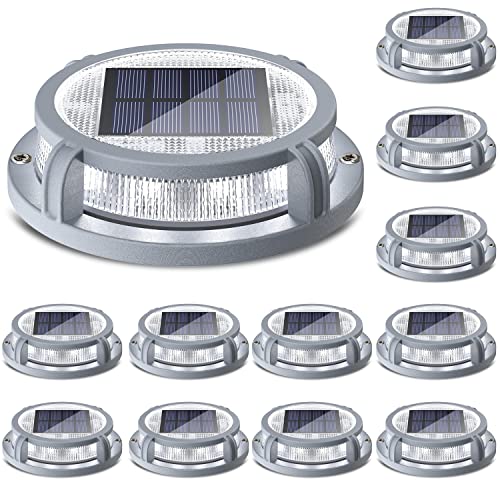
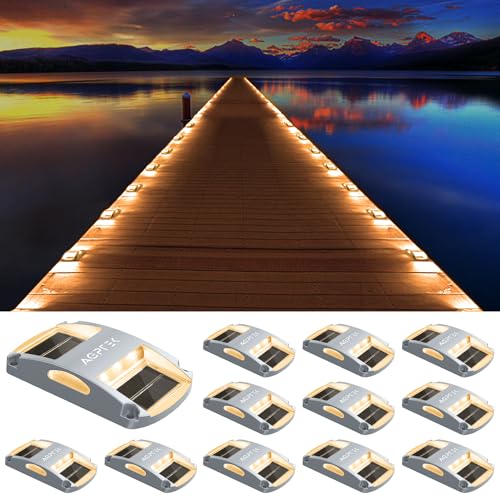
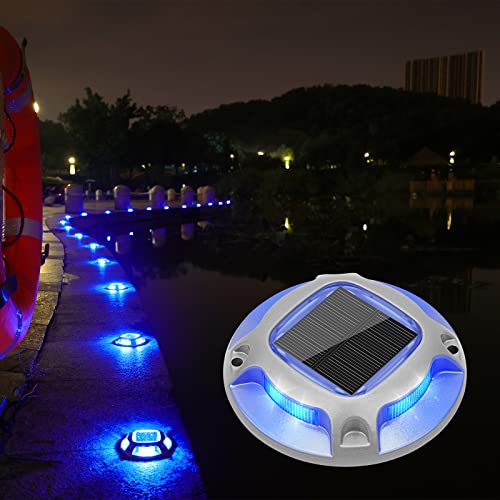
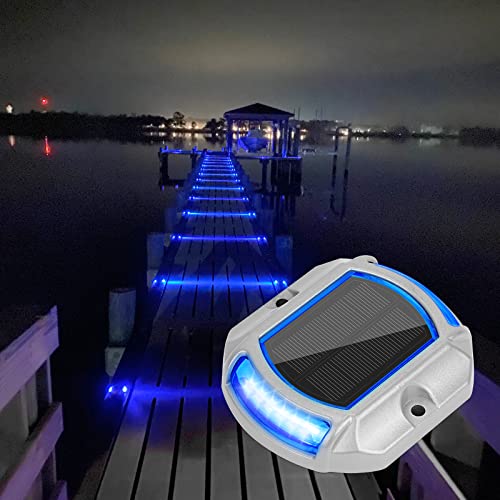
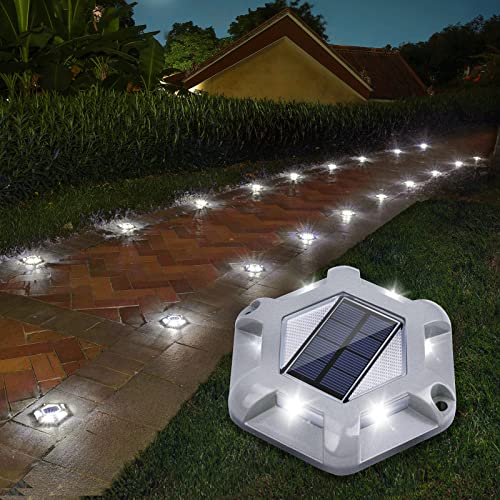
Mounting style is the first real fork in the road, and it depends almost entirely on how close the light sits to the tire path. Flush-mount or in-ground disc lights sit level with the pavement or a paver joint, so a wheel can roll directly over them without doing damage. They cost more to install, since they need a shallow recess or a slot cut into asphalt or concrete, but they are the only style rated for repeated direct contact.
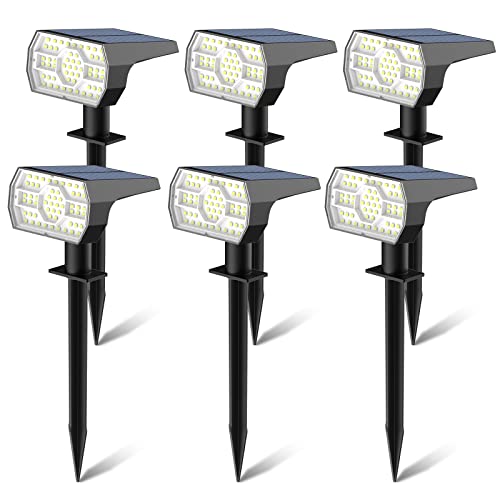
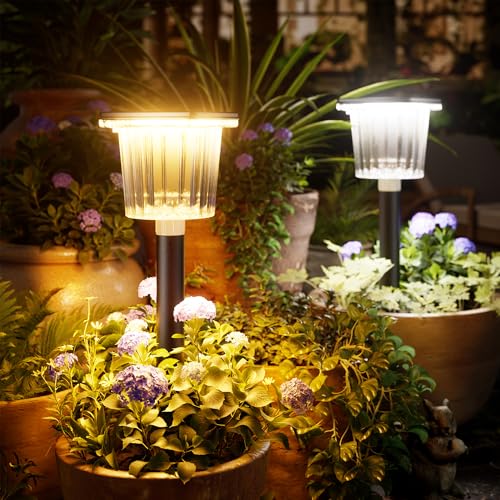
Surface-stake lights push into soil or mulch along the border and are by far the cheapest and fastest to set up. They work well with a few inches of buffer between the light and the tire line, such as a curved edge or a planting strip. A stake driven into loose or sandy soil can lean or snap after a season of freeze-thaw cycles, so firmer ground or a small gravel base under each stake extends their life.
Post-cap fixtures mount on top of a fence post, a low retaining wall, or a pillar flanking the driveway entrance. They never touch the driving surface at all, which removes the impact-resistance question entirely, but they only make sense where a structure already exists. Anyone weighing that option against a stake-based approach can compare the two in this solar post cap lights guide, which covers mounting hardware and post compatibility.
Brightness and Spacing for Marking a Driveway, Not Just a Path
Driveways need more light output than a garden path because a driver is judging distance and width at speed, not strolling at a slow walk. Fixtures in the 30 to 60 lumen range work fine for a short, straight driveway with good ambient light nearby. Longer or curved driveways without any other nearby light source do better with 100 lumens or more per fixture so the edge stays visible from the far end.
Spacing follows brightness. Dimmer marker lights generally need to sit every 6 to 8 feet to keep the edge continuous in a driver's peripheral vision, while brighter fixtures can space out to 10 or even 15 feet without leaving dark gaps. The goal is an unbroken visual line along both edges, so a sharp curve or narrow pinch point deserves closer spacing even if the rest of the run uses wider gaps.
Walking the driveway after dusk with a flashlight held at headlight height before finalizing a layout reveals blind spots a daytime measurement never will, especially where a retaining wall or hedge casts a shadow across part of the edge.
Built to Take a Hit: Impact Resistance and Weatherproofing
A light mounted near a driving surface eventually gets clipped, whether by a tire that drifts a few inches wide, a snow shovel, or the corner of a plow blade. Polycarbonate or ABS housings hold up far better than the thin acrylic domes used on decorative garden lights, since they flex under impact instead of shattering. Metal stakes also resist bending better than plastic ones in regions where the ground freezes and heaves each winter.
Weatherproofing matters just as much, since runoff, road salt, and splashback from passing tires hit these fixtures harder than lights tucked into a flower bed. Look for an IP65 rating or higher, which confirms the housing is sealed against dust and pressurized water, not just light rain.
Snow removal is the biggest wildcard. Flush-mount or post-mounted fixtures set back from the blade's path avoid the issue entirely, while stake-based driveway edge lights sitting in the plow's direct line rarely survive a full winter. Pulling those stakes before the first heavy snow and resetting them in spring is a reasonable compromise where flush fixtures are not in the budget.
Planning Your Layout Before You Buy
Before ordering anything, walk the driveway at solar noon on a clear day and note which sections sit in shade. A tree canopy, garage overhang, or neighboring fence can cut a panel's sun exposure to a couple of hours a day, and that alone explains most complaints about lights that barely glow by midnight. Fixtures with a separate panel on its own short cable are worth the extra setup time here, since the panel can be angled toward open sky independently of where the light sits.
Measure the total edge length on both sides and decide on spacing before checking pack sizes, since buying a fixed count first often leads to gaps or overlap. Anyone comparing a stake-based layout against a broader whole-yard lighting plan can look at general placement guidance in this outdoor solar lights overview for context on panel orientation and battery runtime.
Rechargeable lithium batteries generally outlast nickel-based batteries in cheaper sets, both in runtime per charge and in charge cycles survived before dimming.
Where Driveway Light Installations Go Wrong
The most common failure with solar driveway lights is treating a driveway like a garden path and buying decorative stake lights meant for soft mulch. They lean within weeks in compacted gravel and rarely survive a single tire clip. Matching mount style to how close the light sits to the tire line heads off most of this before it happens.
A second frequent mistake is spacing lights evenly without accounting for curves or a driveway that narrows near the garage. A wide, straight run tolerates generous gaps, but the same spacing on a curve leaves the outside edge invisible right where a driver needs it most.
Skipping the shade check is the third repeat offender. Installing an entire run of solar driveway markers along a section that gets two hours of filtered sun a day guarantees dim or dead lights by midnight, regardless of how good the fixture is.
Frequently Asked Questions
Can these lights survive being driven over occasionally?
Flush-mount or in-ground disc lights are built for that; standard stake or surface lights are not and typically crack or shatter under a tire's weight, even briefly.
How far apart should driveway lights be spaced?
Roughly 6 to 8 feet apart for lower-output fixtures, or up to 10 to 15 feet for brighter units, with closer spacing at curves or narrow points along the edge.
Do solar lights work well in a driveway that gets partial shade?
Partial shade reduces charging significantly. Models with a separate, positionable solar panel handle this far better than lights with a built-in panel facing a fixed direction.
Will they survive snow plowing in winter?
Most stake-based lights in the plow's direct path do not. Flush-mount fixtures or post-mounted lights set back from the blade's route hold up much better through the season.
What brightness is enough for a long driveway?
Longer or curved driveways generally need 100 lumens or more per fixture, while a short, well-lit driveway near a porch light can work with 30 to 60 lumens.
Do these lights need any wiring?
No. Solar fixtures charge during the day and switch on automatically at dusk, so there is no trenching or connection to household power required for a stake or flush-mount install.
How long do the batteries in driveway lights typically last before replacement?
Quality lithium batteries commonly hold a usable charge for one to two years of regular use before output noticeably drops, though heavy winter use tends to shorten that window.
Getting the Most Out of Your Driveway Lights
A good setup for solar driveway lights comes down to matching the mount to how close the light sits to the tire line, choosing brightness for the driveway's actual length, and confirming the housing can take a stray tire clip or a plow pass without cracking. None of that requires a bigger budget; it mostly requires picking the right category of fixture for a hard-surface edge instead of a soft flower bed.
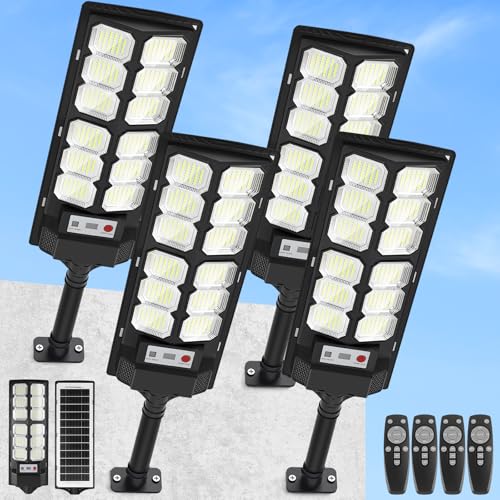
A quick shade check, a walk-through after dark before finalizing spacing, and a housing rated for real weather exposure solve most complaints homeowners run into with driveway-edge lighting. Anyone who wants a brighter option for the stretch nearest the garage or street can also look at a dedicated solar flood light as a complement to edge markers rather than a replacement for them.