Best Seedling Heat Mat and Thermostat: A Complete Buying Guide
Disclosure: We may earn a commission when you buy through links on this page, at no extra cost to you. As an Amazon Associate I earn from qualifying purchases. Learn more

Seeds that sit in cold soil take their time waking up, and some barely wake up at all. A seedling heat mat and thermostat solves that problem by warming the root zone to a range most vegetable and flower seeds actually prefer, instead of leaving germination at the mercy of a drafty windowsill or a chilly basement. The mat itself is only half the equation; the thermostat is what keeps that warmth steady instead of swinging hot and cold with the room around it.
Below is a practical look at how to size a mat, when a thermostat earns its keep, and how to run the combo without cooking roots or wasting power. None of this depends on a specific brand or a particular model number, since the mechanics of soil heating work the same way across the category.
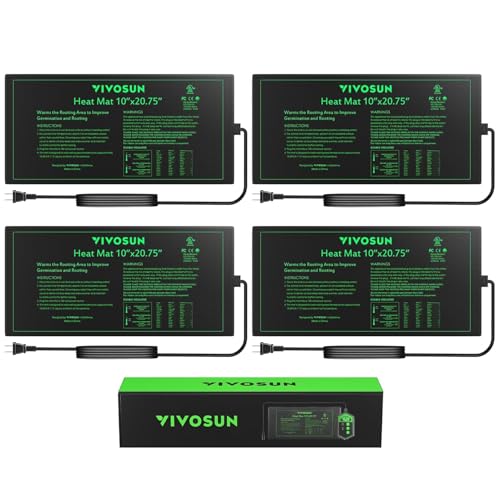
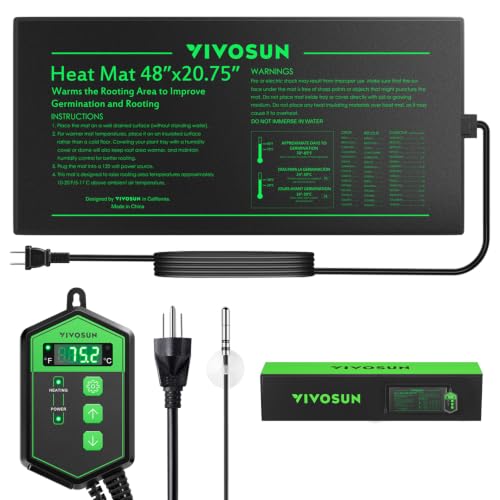
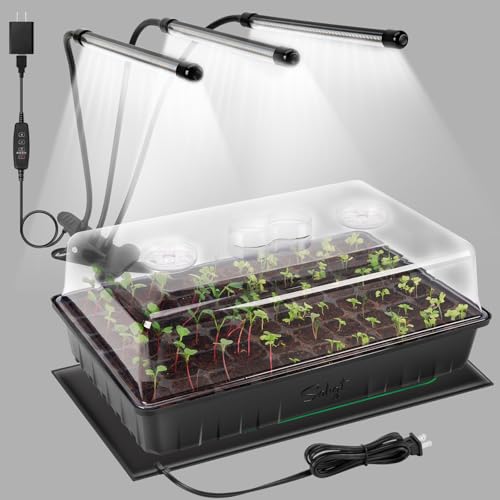
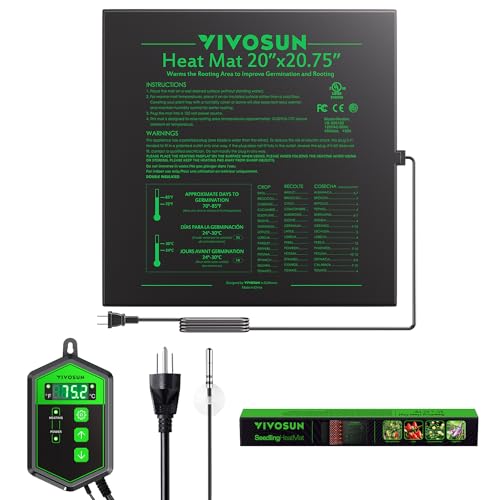
Sizing a Heat Mat and Thermostat to Your Seed-Starting Setup
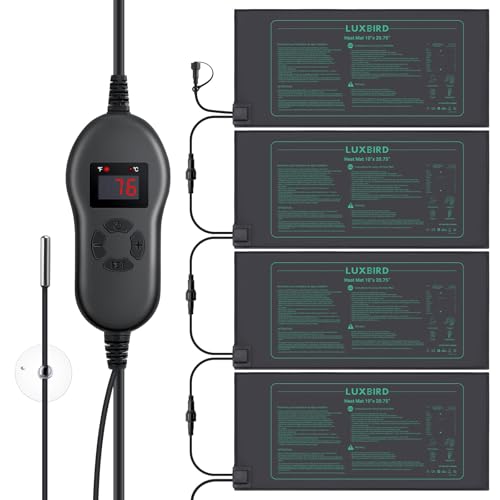
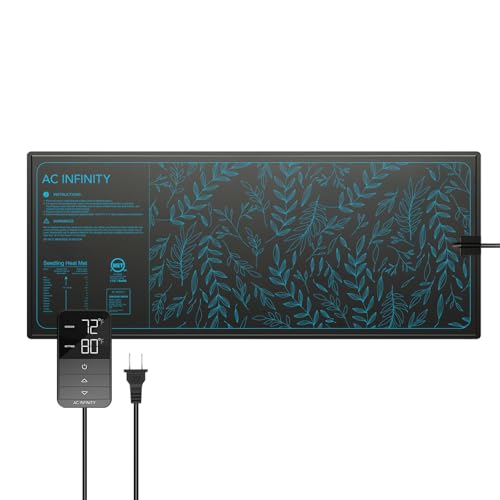
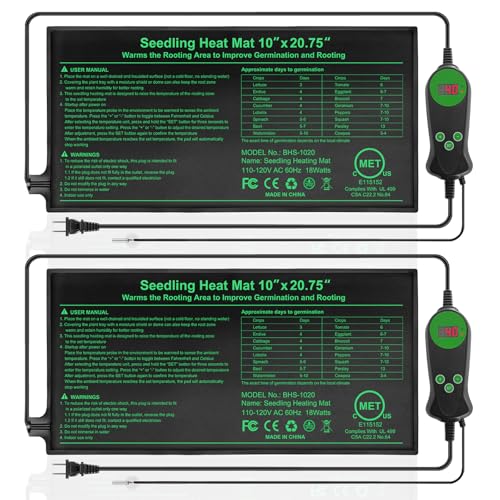
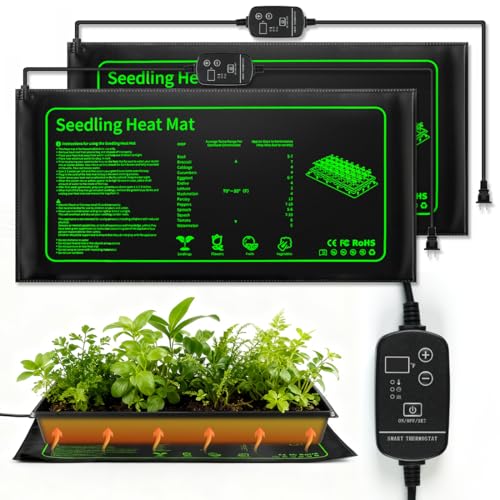
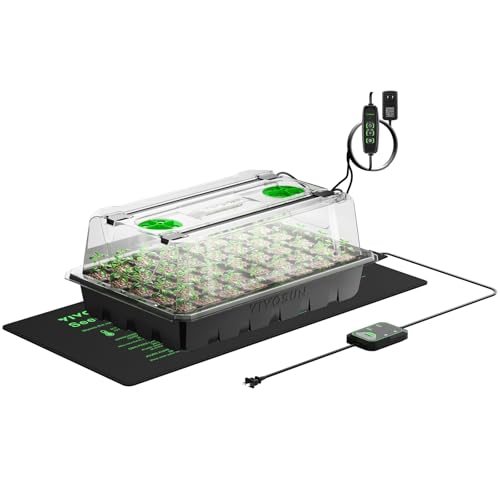
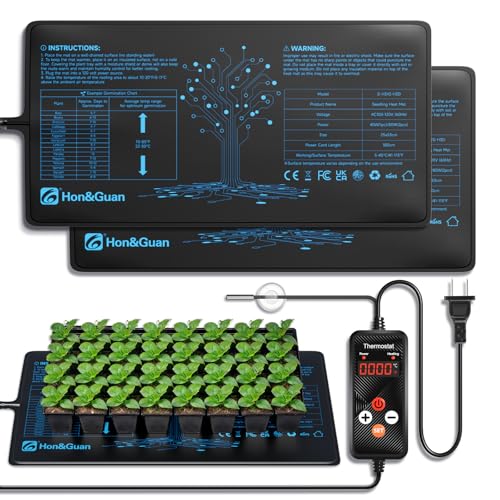
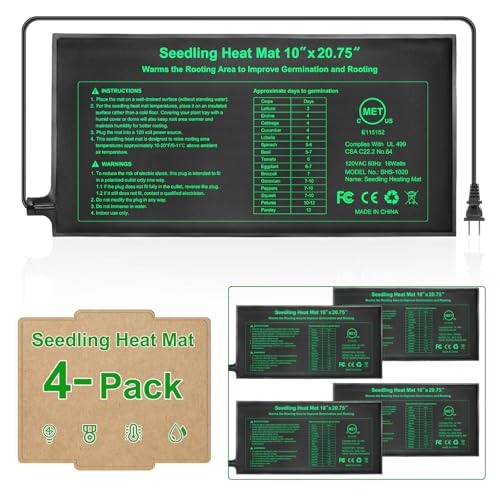
Mats are sold by footprint, and matching that footprint to your trays matters more than most buyers expect. A mat built for a single standard tray typically draws somewhere in the high-teens to low-twenty watt range, while a mat sized for two or four trays climbs well past that to keep the larger surface warm. Buying a mat that is too small for your tray count just leaves the edges cold, which shows up as patchy, uneven germination.
Space also shapes the decision. Gardeners running a dedicated indoor grow tent often stack more trays than a windowsill setup allows, so it pays to measure the shelf or tent floor before ordering anything. Leave a small margin around the mat's edges rather than covering every inch of the surface, since airflow around the tray helps prevent excess condensation from pooling.
Thermostat-Controlled Mats vs. Plug-In Warming Pads
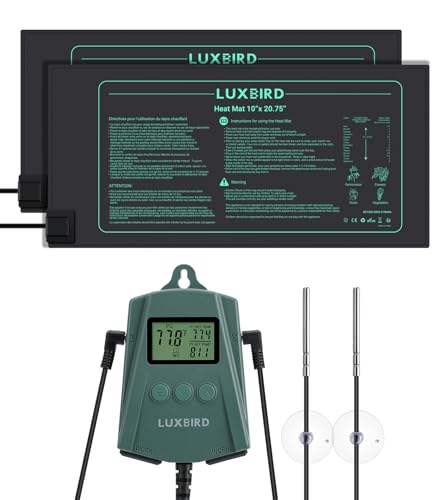
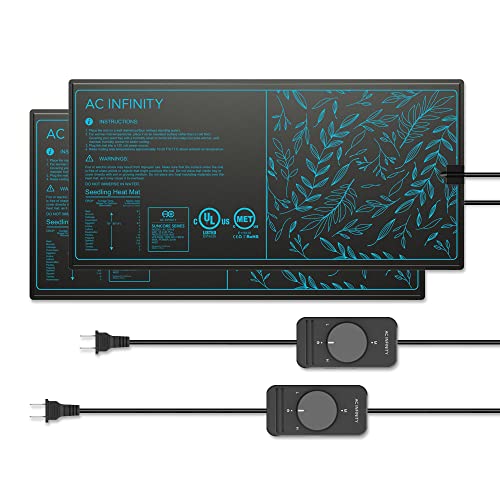
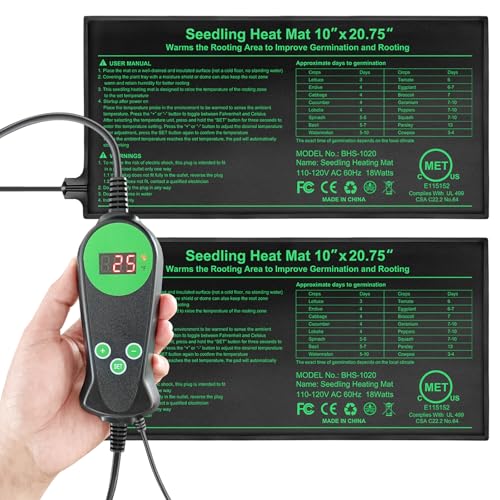
Not every heat mat ships with a built-in controller, and the difference between the two styles is bigger than it looks on paper. A plain warming pad plugs straight into an outlet and stays at a fixed output, which means its actual soil temperature rises and falls with the room around it. A model paired with a proper thermostat instead reads soil or air temperature and cycles power to hold a set point, so a swing in room temperature does not translate into a swing at the roots.
For anyone starting seeds in a space that also runs an overhead LED grow light, the added heat from the light fixture can push soil temperature higher than expected, and a thermostat is what catches that before it becomes a problem. A separate plug-in thermostat controller can be added to almost any mat that lacks one built in, so this upgrade does not require replacing existing equipment.
Dialing In the Right Soil Temperature for Different Seeds
Most common vegetable and flower seeds germinate fastest with soil sitting between roughly 70 and 85 degrees Fahrenheit, and a heat mat generally raises soil temperature 10 to 20 degrees above whatever the surrounding air already is. Warm-season crops such as tomatoes and peppers tend to want the upper half of that range, while many greens and herbs sprout well nearer the lower end.
A simple soil probe thermometer is worth keeping on hand even with a thermostat installed, since it confirms what is actually happening at seed depth rather than at the mat's own sensor. Soil temperature a couple of inches down can lag behind the mat's surface reading by a few degrees, especially in a deep tray or dense seed-starting mix.
When to Run the Mat and When to Switch It Off
Heat mats do their most useful work before germination, not after. Running the mat continuously until seeds break the surface gives them the steady warmth they respond to best, and there is little benefit to cycling it on and off during that window. Once a majority of seedlings have emerged, though, continued bottom heat tends to push soft, leggy growth rather than sturdy stems.
The practical move is to unplug the mat, or lower the thermostat's target, within a day or two of emergence and let ambient room temperature take over. Seedlings that finish growing without extra bottom heat generally develop thicker stems and handle the transition to a windowsill or outdoor hardening-off period better than ones left on a warm mat too long.
Keeping a Warm, Damp Setup Safe
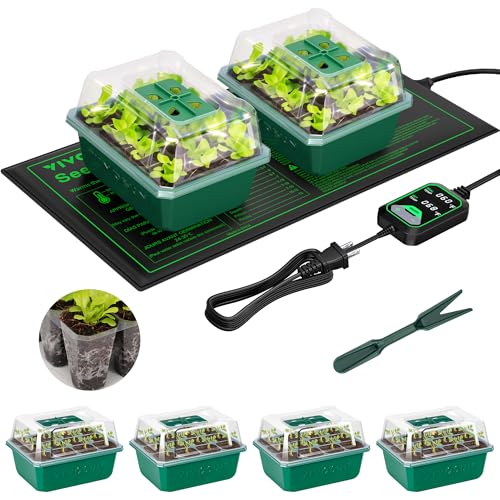
Water and electric heating elements sitting a few inches apart calls for a bit of care. Look for a mat with a sealed, water-resistant surface, and always route the power cord and thermostat probe away from spots where a spilled watering can or overflowing tray could reach them. Setting the mat on a waterproof tray liner or a plastic seedling dome base adds a buffer between any moisture and the heating element underneath.
Keeping watering consistent also reduces the odds of a soaked mat surface in the first place. A gardener using an automatic watering system for indoor plants can dial in smaller, more frequent doses instead of the occasional heavy pour that tends to overflow a shallow tray. A mat plugged into a grounded outlet, ideally through a GFCI-protected circuit, adds one more layer of protection in a space that is inherently a little damp.
Setup Habits That Waste a Heat Mat's Potential
A surprising number of underperforming setups trace back to placement rather than equipment quality. Setting a mat directly on a cold concrete floor without any insulating layer underneath lets a large share of the heat bleed downward instead of into the tray above. A thin foam board or towel beneath the mat redirects more of that warmth where it is needed.
- Skipping a dedicated thermostat controller and guessing at outlet timing instead, which usually overshoots or undershoots the target range.
- Stacking trays two deep to save space, which blocks heat from reaching the top tray evenly.
- Leaving the mat running for weeks after seedlings are already established, which encourages weak growth.
- Ignoring the mat's rated wattage when covering it with a tray that is significantly larger than its surface.
Having the right basic gardening hand tools for beginners nearby also makes it easier to transplant seedlings promptly once they outgrow their starter cells, rather than leaving crowded roots to compete for space and moisture longer than necessary.
Cost and Value: What Actually Moves the Price
Price differences for a seedling heat mat and thermostat mostly track three things: mat size, whether a thermostat is built in, and build quality of the waterproof seal. A single-tray mat without a controller sits at the budget end, while a multi-tray mat bundled with a digital thermostat commands a premium because it adds both surface area and a second piece of electronics. Buying a larger mat than needed rarely pays off, since an oversized mat with too few trays on it just wastes electricity heating empty space.
A separate thermostat controller purchased on its own can often be reused across several future mats, which makes it a reasonable one-time investment even if the first mat purchased does not include one. Warranty length and the availability of a stand-alone probe replacement are worth checking too, since the probe is the part most likely to need replacing over years of seasonal use.
Frequently Asked Questions
Do seeds actually need a heat mat to germinate?
Most seeds will eventually sprout without one, but germination is slower and less reliable in a cool room. A mat mainly helps in spaces that stay below the mid-60s Fahrenheit.
Should the heat mat stay on overnight?
Yes, running it continuously until seeds emerge gives the most consistent results. Seeds respond to steady warmth better than a cycle of warm days and cool nights.
Can a heat mat get too hot without a thermostat?
A mat without temperature control can climb well above the ideal range in a warm room or under grow lights, which can scorch roots or dry out soil too quickly. This is the main reason a thermostat is worth adding.
How long should seedlings stay on a heat mat after sprouting?
Most growers remove or unplug the mat within one to two days of germination. Extended bottom heat after emergence tends to produce weaker, leggier stems.
Is a bigger heat mat always better?
No, a mat sized well beyond the actual tray count wastes power and heats empty surface area. Matching the mat to the number of trays in use gives better, more even results.
Can one thermostat control multiple heat mats?
Many stand-alone thermostat controllers can switch several mats at once as long as the combined wattage stays within the controller's rated limit. Checking that rating before connecting multiple mats prevents overloading the unit.
Getting Seedlings Off to a Steady Start
A seedling heat mat and thermostat combination is a small investment that pays off most clearly in the first two weeks after sowing, when consistent soil warmth is doing the heavy lifting for germination. Matching mat size to tray count, adding real temperature control rather than guessing, and switching everything off once seedlings are established covers most of what separates a strong batch of starts from a patchy one. The rest comes down to routine: checking soil temperature occasionally, keeping the setup dry, and giving seedlings room to grow sturdy once the mat's job is done.