Best Rainfall Shower Head: A Complete Buying Guide
Disclosure: We may earn a commission when you buy through links on this page, at no extra cost to you. As an Amazon Associate I earn from qualifying purchases. Learn more
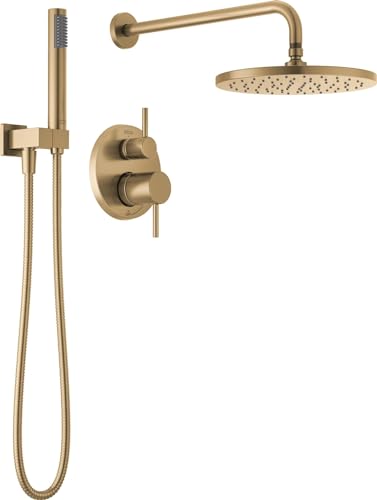
A standard shower head can feel more like a light drizzle than an actual reset to your day, especially in a stall with mediocre pressure. The best rainfall shower head solves that by trading a narrow, forceful jet for a much wider face that showers your whole body evenly, more like standing under warm rain than aiming at a single spray point. Picking the right one comes down to matching head size and flow rate to your home's actual water pressure, then choosing a mounting style, ceiling, wall, or extension arm, that fits your existing plumbing without a full remodel. This guide covers what to check before you buy, the different mounting types you will run into while shopping, how to install one yourself, and the habits that keep it clog-free for years.

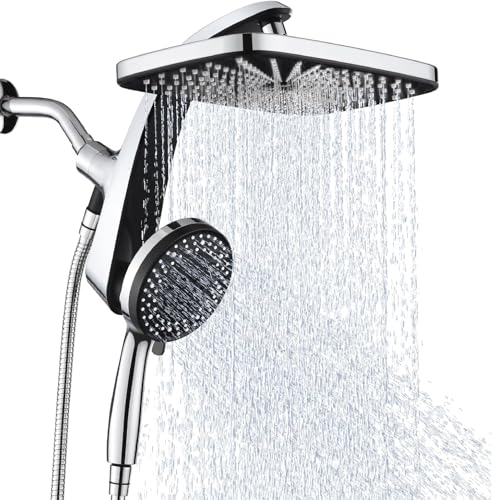
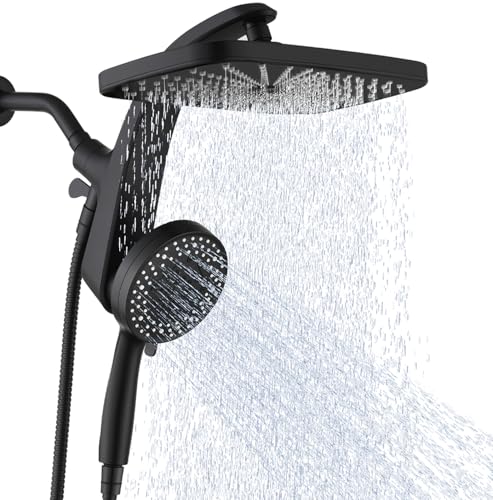
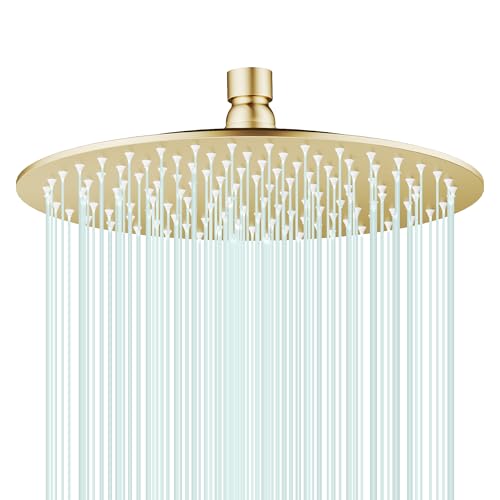
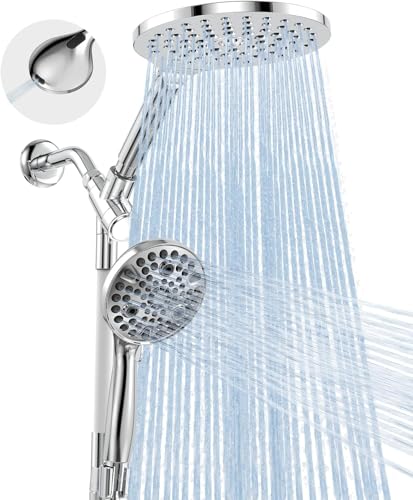
What to Look for in a Rainfall Shower Head
A rainfall shower head is defined mostly by its face, so understanding how size, flow, and material interact will save you from buying one that looks great in photos but disappoints in the stall.
Head Size and Spray Coverage
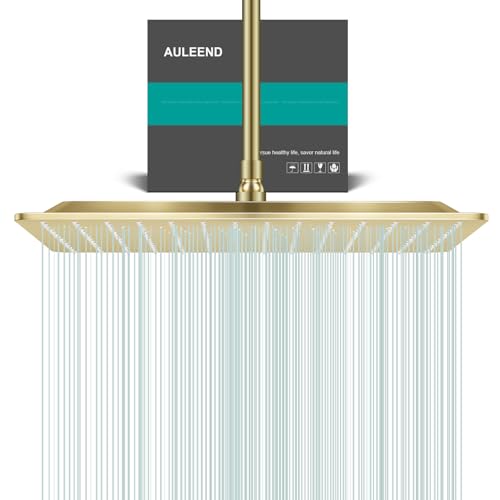
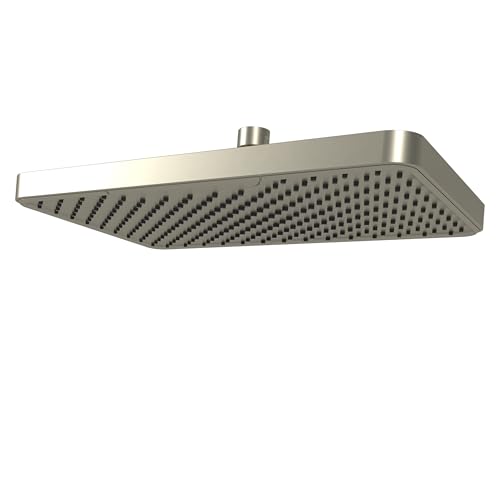
Rainfall shower heads typically range from about 6 inches across on the small end up to 12 inches or more for oversized ceiling panels, and the size you choose should roughly match your shower stall's width. A head that is too large for a small stall wastes water spraying the walls and curtain, while one that is too small in a spacious walk-in shower will not give you the full-body coverage that makes this style appealing in the first place. Measure your stall before shopping and leave a few inches of clearance on each side.
Flow Rate and Water Pressure
Flow rate is listed in gallons per minute, and most fixtures sold in the US top out around 2.5 GPM to meet federal water-efficiency rules, with WaterSense-certified rainfall shower heads capped closer to 2.0 GPM. Because a wide rainfall face spreads the same amount of water across dozens or even hundreds of small nozzles, it can feel noticeably weaker than a compact shower head at the identical GPM rating. If your home already runs on the lower end for pressure, look for a model specifically described as pressure-compensating or designed for low-flow systems rather than a standard wide-face head.
Material and Finish
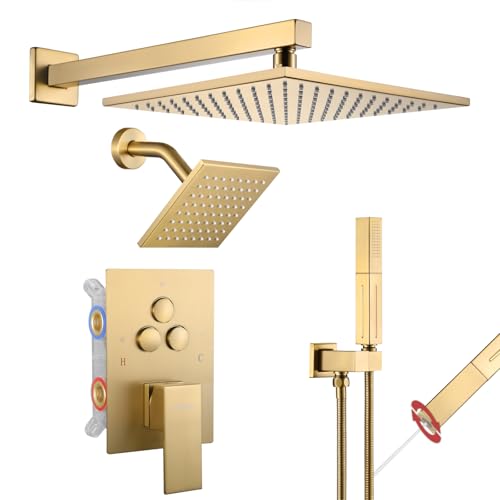
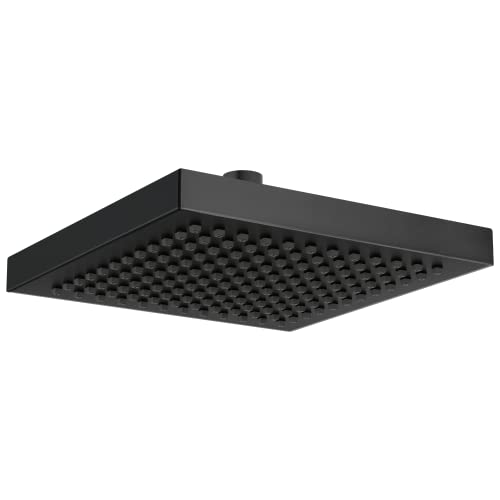
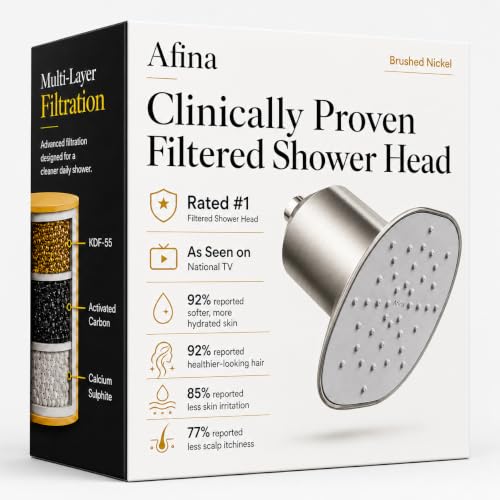
Solid brass or stainless steel construction holds up best over years of daily use and resists corrosion from hard water far better than ABS plastic, though plastic bodies with a chrome or brushed nickel finish are lighter and more affordable. Matte black and brushed gold finishes have become common too, so it is worth matching the finish to your existing faucet hardware rather than choosing the head in isolation. Whatever the finish, check that it is rated for wet, humid conditions so it does not pit or discolor within the first year.
Number of Spray Settings
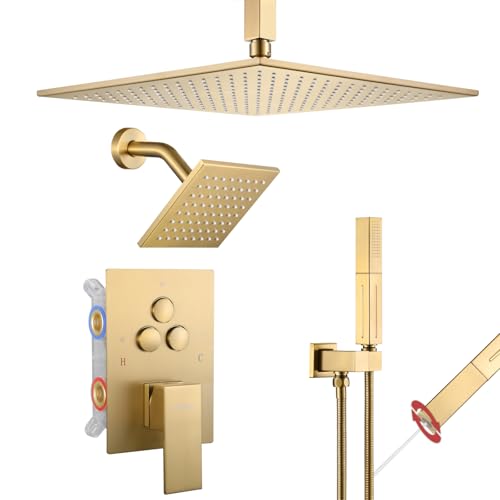
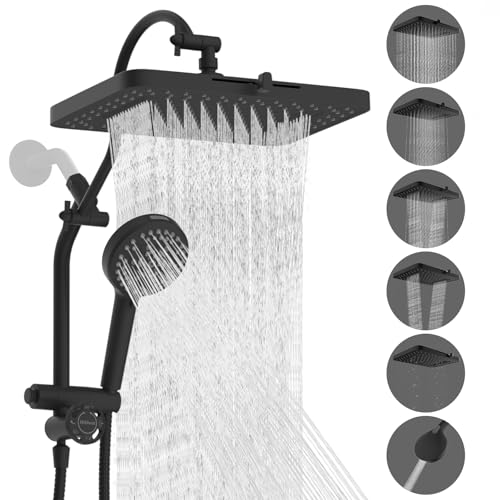
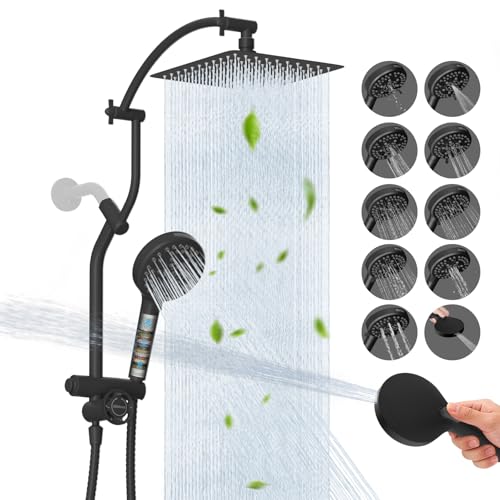
Basic rainfall shower heads offer a single, fixed rain-style spray, while some panel-style systems add a mist setting or built-in body jets for a more spa-like experience. More settings mean more internal valves and moving parts, which is fine if you will actually use the variety but is also one more place for mineral deposits to eventually cause trouble. If you are drawn to shower upgrades for the experience as much as the coverage, a color-changing LED shower head is worth a look too, since it adds a lighting effect that a standard rainfall head does not include.
Anti-Clog Nozzles and Maintenance
Because rainfall shower heads have so many small openings, hard water minerals can clog a handful of them without you noticing right away, leaving an uneven spray pattern. Flexible silicone nozzles that you can wipe clean with a finger during a normal shower are one of the most useful features to look for, especially in areas with hard water. A head without this feature is not a dealbreaker, but keeping a rainfall shower head clog-free just takes a vinegar soak every few months to keep the spray even.
Types of Rainfall Shower Head Mounting Explained
How this type of fixture attaches to your bathroom affects both the installation and how directly overhead the spray ends up feeling, so it is worth understanding the three common options before you buy.
Ceiling-Mounted Rainfall Shower Heads
A true ceiling mount runs the water supply straight down from the ceiling, putting the head directly overhead for the most authentic rain effect. This style typically requires rerouting plumbing behind the wall and ceiling, which makes it a project best tackled during a larger bathroom renovation rather than a quick swap. If you are already planning bigger updates, pairing a ceiling-mounted rainfall shower head with new frameless shower doors gives the whole shower area a clean, unobstructed look from outside the stall.
Wall-Mounted Rainfall Shower Heads
This style connects to your existing shower arm just like a standard fixture, which makes it by far the easiest and most affordable way to upgrade. The tradeoff is that the spray angles down and slightly forward from the wall rather than falling straight overhead, so coverage depends on how the arm is already positioned in your stall.
Extension Arm and S-Arm Adapters
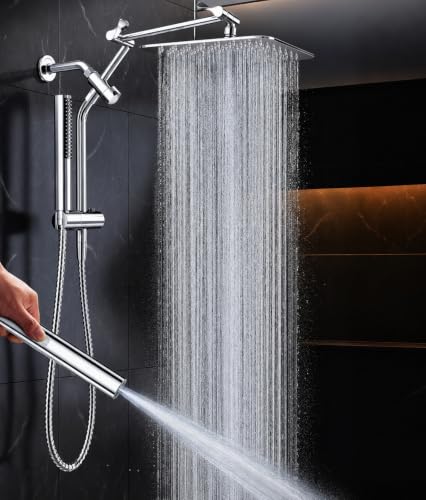
An extension arm, sometimes called an S-arm or gooseneck arm, threads onto your existing wall connection and extends the head up and out so it sits closer to a true overhead position without any new plumbing. This is the most popular retrofit solution for anyone who wants the ceiling-mount look without opening up walls, though a longer arm holding a heavier head can sag slightly over time if it is not rated for the weight. Check the arm's maximum load rating against your chosen head's weight, especially with larger metal panels.
How to Install a Rainfall Shower Head
Tools and Prep
Most rainfall shower heads use the same standard 1/2-inch NPT threaded connection found on nearly all US shower arms, so no specialty plumbing is required for a wall-mounted or extension-arm install. Gather plumber's tape, an adjustable wrench, and a rag, then plan to work between showers rather than shutting off water to the whole house. If you are updating the rest of the shower area at the same time, tackle glass work like new framed sliding shower doors after the plumbing is finished so you do not risk scuffing new glass while you work.
Step-by-Step Installation
Unscrew the old shower head counterclockwise and wipe away any old tape or mineral residue from the arm's threads. Wrap two or three layers of fresh plumber's tape clockwise around the threads, thread the new head on by hand, and snug it the rest of the way with a wrench wrapped in a rag to avoid scratching the finish. If you are adding an extension arm, attach that piece to the wall connection first, angle it toward the center of the stall, then thread the shower head onto the far end. Turn the water back on and check every connection point for drips, tightening slightly further only if needed.
Common Mistakes to Avoid
A handful of avoidable choices turn an otherwise great rainfall shower head into a daily frustration. Watch for these before you buy.
- Choosing a head too large or too small for the actual width of your shower stall.
- Ignoring flow rate specs and ending up with a noticeably weaker spray than your old fixture.
- Skipping an anti-clog nozzle design in a hard water area and dealing with uneven spray within months.
- Using an extension arm that is not rated to support the weight of a larger metal head.
- Overtightening the connection with a wrench and cracking a plastic housing at the base.
- Forgetting to check ceiling height clearance before choosing a longer extension arm.
Frequently Asked Questions
What is a good flow rate for a rainfall shower head?
Most rainfall shower heads sold in the US run between 1.8 and 2.5 gallons per minute, with WaterSense-certified models capped around 2.0 GPM. Within that range, pressure-compensating designs tend to feel stronger than standard models even at the same GPM rating.
How big should a rainfall shower head be?
A good rule of thumb is to match the head to roughly two-thirds the width of your shower stall, leaving a few inches of clearance on each side. Most home bathrooms work well with an 8 to 10 inch rainfall shower head, while larger walk-in showers can handle 12 inches or more.
Do rainfall shower heads reduce water pressure?
They can feel weaker than a compact shower head at the same GPM because the flow is spread across a much wider face and more nozzles. Choosing a pressure-compensating model or one specifically labeled for low-flow systems helps offset this if your home's pressure is already on the lower side.
Can I install a rainfall shower head myself?
Yes, wall-mounted and extension-arm models use a standard threaded connection that fits directly onto an existing shower arm with just a wrench and plumber's tape. A true ceiling-mounted install is the exception, since it usually requires opening up the wall or ceiling to reroute plumbing.
Do I need an extension arm for a rainfall shower head?
Only if you want the head positioned more directly overhead than your existing shower arm allows. Many bathrooms get a satisfying rainfall effect from a standard wall-mounted head alone, so an extension arm is really about fine-tuning the angle rather than a strict requirement.
How do I clean a rainfall shower head?
Wipe silicone nozzles with a finger during a normal shower to prevent mineral buildup before it starts. For heavier deposits, soak the head in a diluted vinegar solution every few months, then rinse thoroughly and scrub gently with an old toothbrush if any nozzles stay clogged.
Final Thoughts
Choosing the best rainfall shower head comes down to matching head size and flow rate to your bathroom's actual water pressure, then picking a mounting style that fits your plumbing without a bigger renovation. A wall-mounted or extension-arm model with anti-clog nozzles will serve most households better than a larger ceiling panel chosen for looks alone. A few minutes spent checking flow rate and stall size before you buy pays off with a shower that feels like rain every single day.