
Best Clipless Mountain Bike Pedals for Beginners: Matching the Right Model to Your Routine for 2026
Disclosure: We may earn a commission when you buy through links on this page, at no extra cost to you. As an Amazon Associate I earn from qualifying purchases. Learn more

New riders get the best clipless mountain bike pedals for beginners by matching release tension, float, platform size and cleat fit to their trails.
There is no single pedal that suits every new rider. A pedal that feels perfect on smooth weekend singletrack can feel like a trap in mud, and a tough trail pedal can feel heavy and vague to someone still learning to unclip at a stop sign. Your routine, your trails, and your confidence level should decide the model, not a headline.
This guide matches the best clipless mountain bike pedals for beginners to real riding routines first, then explains the features that separate a forgiving first pedal from a frustrating one. By the end you will know which type belongs on your bike and which settings to start with, so check your shortlist against the comparison table below.


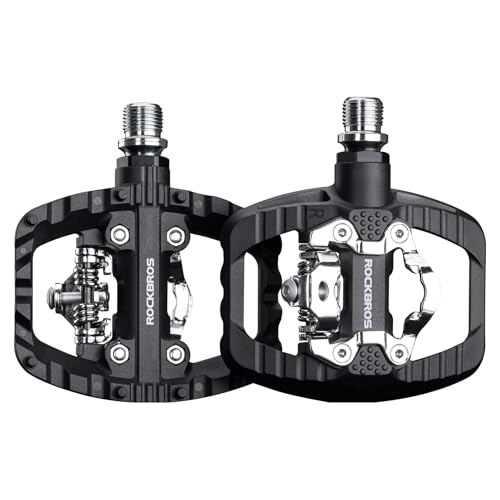

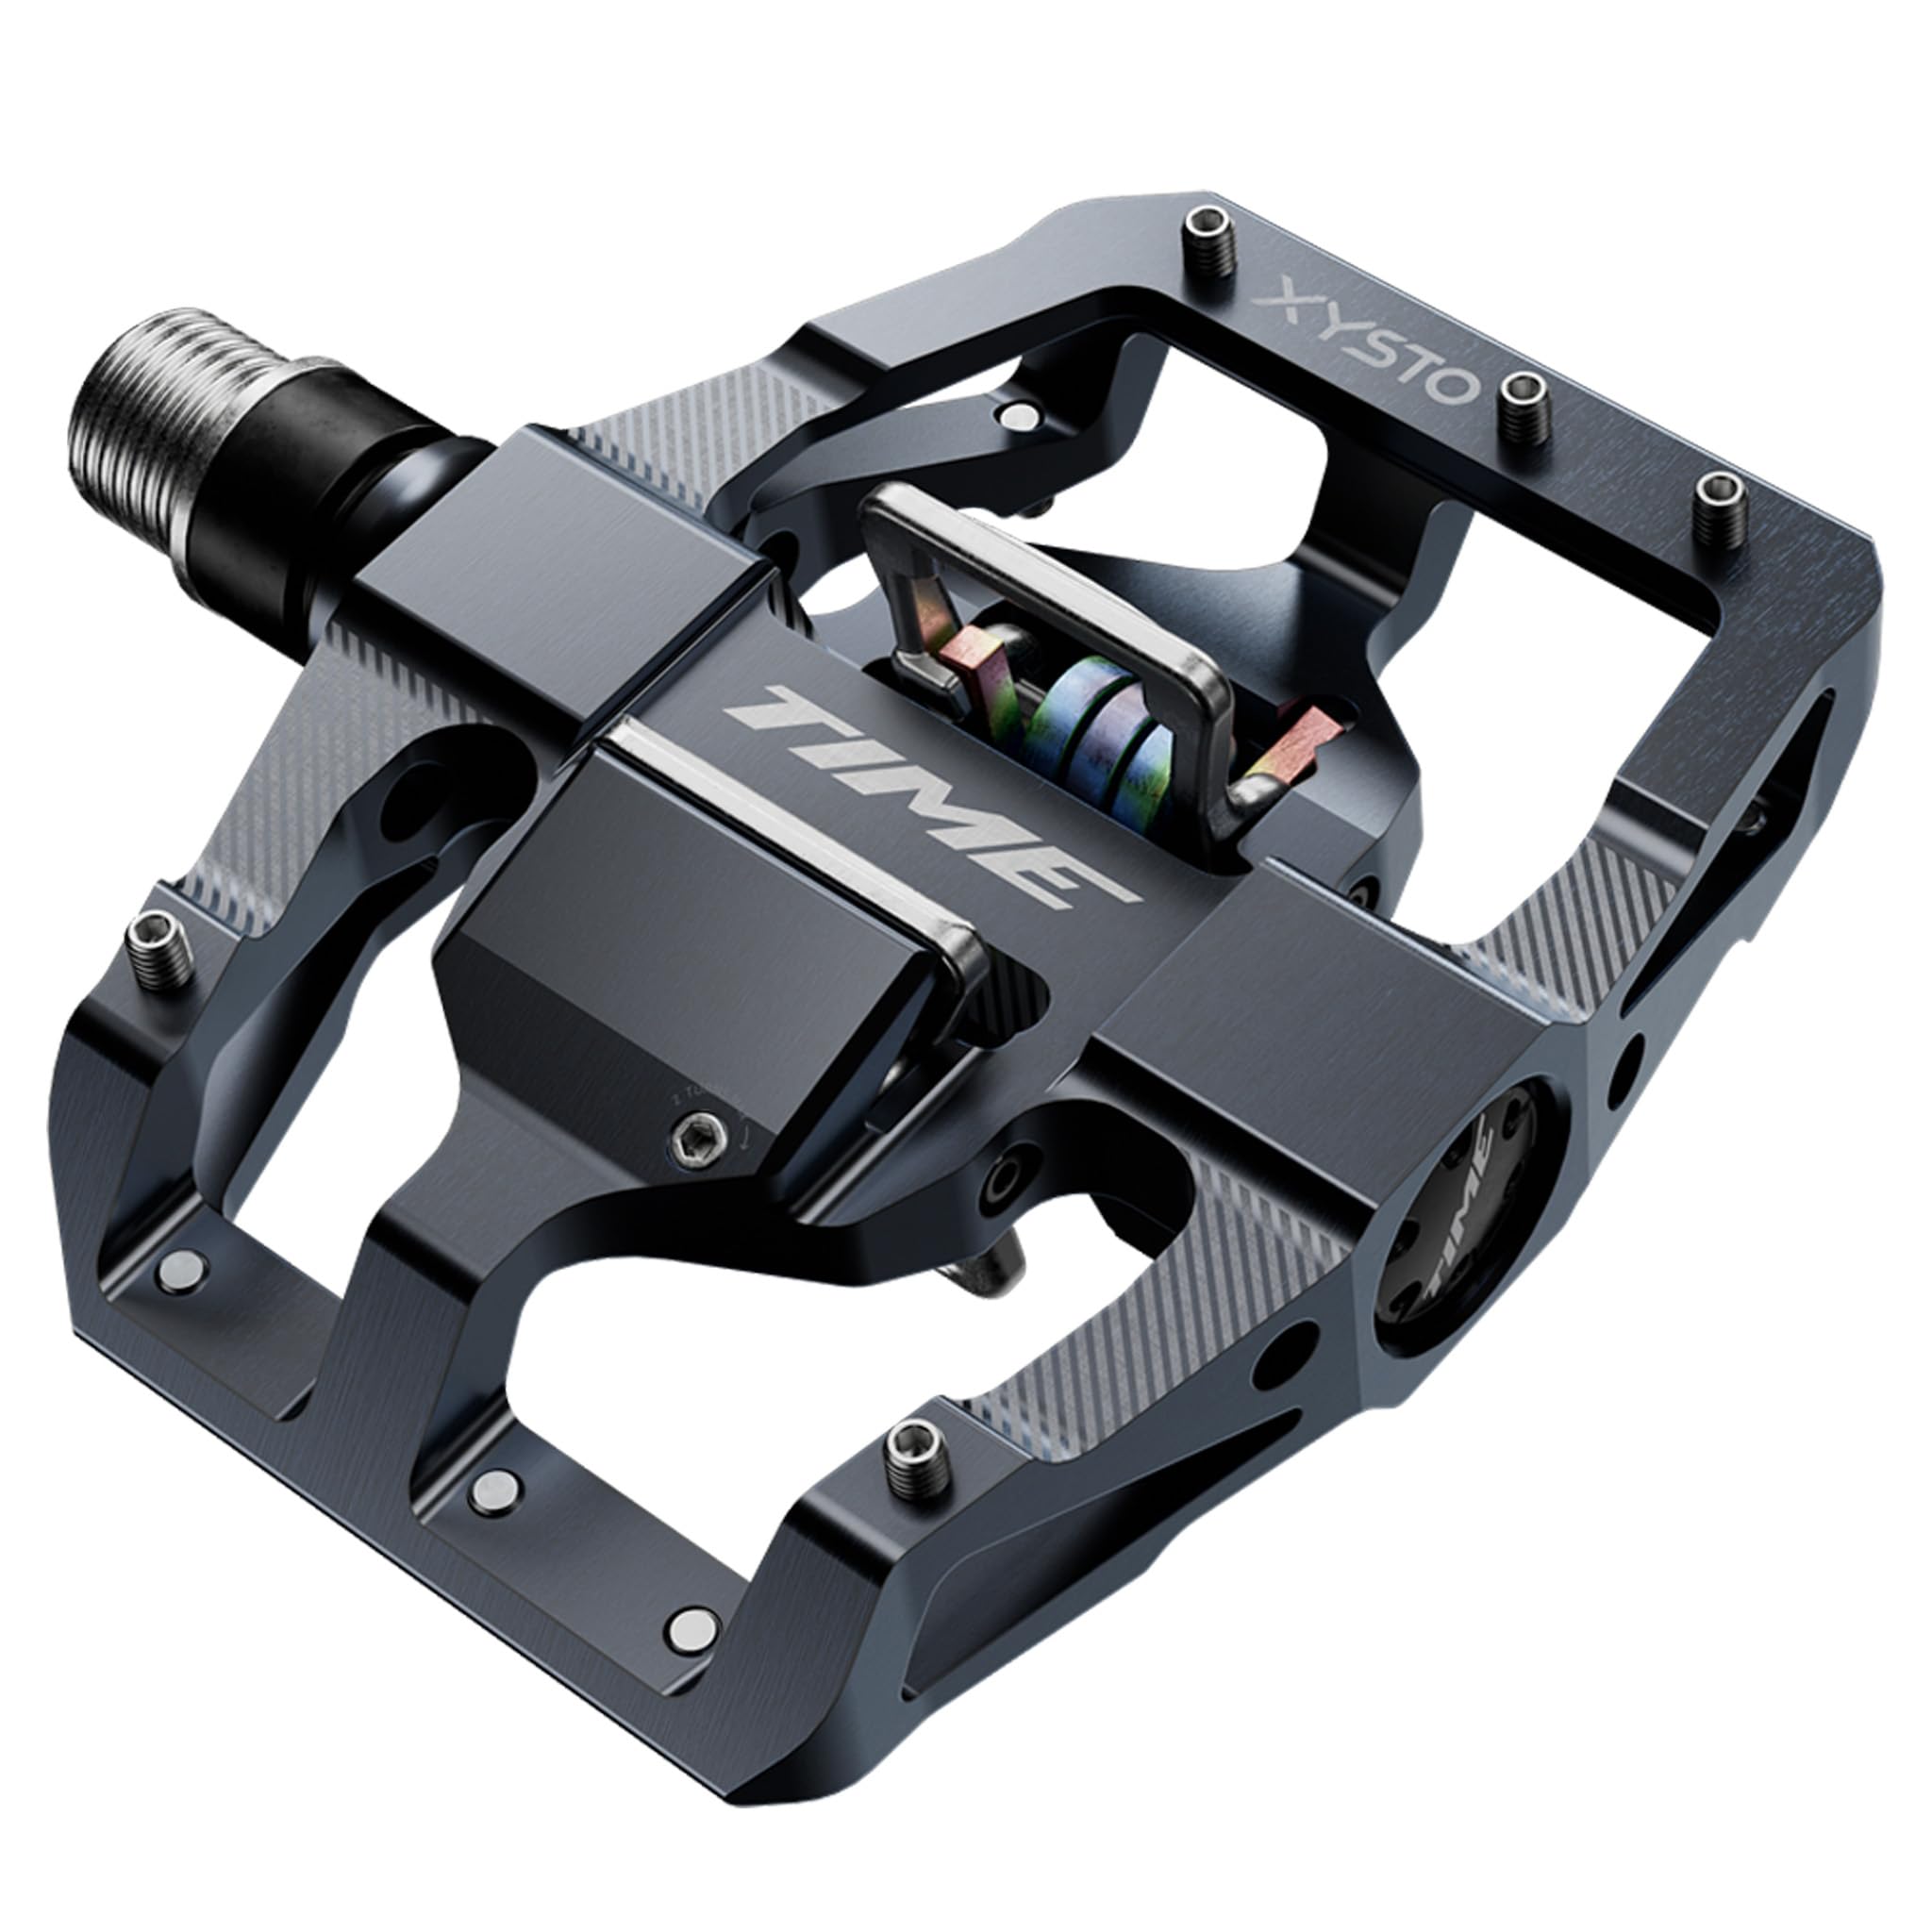
Who Should Buy Which Clipless Mountain Bike Pedals?
For Bad Weather and Tough Conditions
If your trails stay wet, muddy, or dusty for much of the year, put mud clearing at the top of your list. Open pedal designs with few flat surfaces shed mud when you clip in, while enclosed designs can pack up and refuse to engage. Sealed bearings keep grit and water out of the axle, which matters because beginners rarely service pedals on schedule.
A wider platform around the mechanism also helps in slop, since your shoe finds support even when the cleat lands slightly off target. Stainless or coated hardware resists the corrosion that constant wet riding brings, and it keeps removal easy at service time.
For Weekend Beginners
The classic weekend beginner needs forgiveness above all else. Look for pedals with light, adjustable release tension and a cleat that allows a few degrees of float, so your foot can move slightly without straining your knees. A modest platform gives your shoe something to rest on during the first shaky seconds after a stop, which builds confidence faster than any other feature.
Weight and exotic materials hardly matter at this stage. Durability, a clear click when you engage, and an easy exit when you panic matter every single ride. If you are still comparing the whole pedal category, our guide to the best mountain bike pedals for beginners maps the wider landscape.
For Frequent or Serious Users
Riders who train several times a week should buy for the long term. Stronger axle materials, replaceable pins or platform parts, and bearings you can service or swap extend the life of the pedal well beyond a casual model. Consistent release matters more as rides get longer, because tired legs unclip less cleanly in hour three than in minute ten.
A larger platform reduces hot spots under the shoe on long climbs. Warranty length becomes a real buying factor here: frequent riders wear cleats and springs faster, so a brand that stocks spare parts and honors coverage saves money over two or three seasons.
For Easy Swapping and Simple Storage
Some beginners share one set of pedals between two bikes, keep a bike in a small apartment, or travel with pedals in a kit bag. For you, installation and removal matter as much as on trail feel. Pedals that install with a common hex key rather than a thin pedal wrench are easier to move, and clear left and right markings prevent cross threading mistakes during a hurried swap.
Compact pedal bodies store neatly and snag less in transit. If the second bike is a first bike you are still choosing, our guide to the best beginner mountain bike helps you pair frame and components sensibly.
Key Features to Compare
Beginner Friendly Features That Matter
Four features decide whether a first clipless pedal feels friendly. Adjustable release tension lets you start loose and tighten gradually as unclipping becomes automatic. Float, the small angular movement allowed while clipped in, protects knees and makes the connection feel less rigid.
A positive engagement click tells you by sound and feel that you are in, removing the glance down that upsets balance. Finally, dual sided entry means whichever side of the pedal faces up accepts your cleat, so you never flip a pedal with your toe at a junction. Good instructions with clear tension diagrams round out the package.
Safety and Release Behavior
Pedals carry no helmet style certification, so judge safety by how predictably they release. A beginner friendly pedal releases with a simple outward heel twist at low force, and it should release in a crash rather than holding the bike to your leg. Some cleats offer multi directional release, which also frees the foot when you pull up hard at an angle, a helpful trait while learning.
Avoid pedals with worn or vague release, because unpredictable exits are the main cause of the classic slow speed fall. Practice in a doorway or on grass until the motion is boring, and keep tension low until it is.
Compatibility With Your Bike or Gear
Compatibility is refreshingly simple here. Pedal threads are standardized, so nearly every mountain bike crank accepts nearly every pedal, with the left pedal using a reverse thread. The real matching happens at the shoe: your shoes need the two bolt cleat pattern that matches your pedal system, with SPD as the most common standard.
Cleats usually ship with the pedals, not the shoes, so confirm a set is in the box. Riders comparing the wider category can also read our overview of the best pedal for mountain bike to see how trail, cross country, and flat designs divide.
Fit, Sizing, and Comfort
Pedals come in one size, so fit is really about platform size and cleat position. A larger platform spreads pressure across more of the shoe sole, which reduces the hot spot that new riders feel under the ball of the foot. Cleat position tunes comfort further: placing the cleat slightly behind the ball of the foot eases calf and Achilles strain on long rides.
Shoe fit still matters most of all, because a loose shoe wastes the secure connection the pedal provides. Your heel should stay down in the shoe when you pull up, and your toes should never press the end of the shoe on descents.
Weather Resistance and Durability
Trail pedals live in the dirtiest place on the bike. Sealed cartridge bearings or well sealed bushings keep the spin smooth after wet rides, and a pedal that develops play or a gritty feel within weeks is showing poor sealing. Body material matters too: aluminum bodies shrug off rock strikes, while composite bodies save weight and cost but can crack on a hard enough hit.
Look for steel cleat interfaces rather than soft alloys, since the engagement surfaces wear with every clip in. A pedal that still feels crisp after a winter of mud is worth more than a lighter one that feels loose by spring.
Common Mistakes to Avoid When Buying Clipless Mountain Bike Pedals
- Choosing by price alone and getting release tension that cannot go light enough for a learner.
- Ignoring beginner friendly features such as float and dual sided entry, then blaming yourself for slow progress.
- Buying race pedals with tiny platforms before your shoes and skills are ready for them.
- Forgetting that cleats are a wear item with a replacement cost, and skipping spare cleats in the budget.
- Never checking the warranty or parts availability, so a small spring failure ends the whole pedal.
- Assuming clipless is compulsory, when our guide to the best flat pedal for mountain bike shows flats remain a smart choice for many riders.
Setup and Care Tips
Grease the pedal threads lightly before installation and remember the left pedal tightens counterclockwise. Set release tension to its softest setting for your first rides and raise it one click at a time only when you stop thinking about unclipping. Position both cleats evenly using the marks on the shoe sole, and check cleat bolts after the first ride because new hardware settles.
After muddy rides, rinse the mechanism, work it a few times by hand, and let it dry before storing the bike. A drop of light oil on the springs now and then keeps release crisp, and checking fit and tightness before each ride takes under a minute.
Frequently Asked Questions
What makes clipless mountain bike pedals for beginners different?
Beginner oriented pedals differ in tuning rather than in basic design. They offer lighter release tension, more float, and often a small platform that supports the shoe before the cleat engages. Standard models assume you already unclip without thinking, so they trade that forgiveness for lower weight or a firmer hold. When riders shop for the best clipless mountain bike pedals at any level, these tuning details matter more than brand or price, and for a learner they matter most of all.
How often should I replace my pedals and cleats?
Replace cleats first and often: a season or two of regular riding wears them enough to make entry and release feel vague, and walking on them speeds the wear. Pedals themselves last far longer, often several years, until bearings develop play, springs lose their snap, or the body cracks from a rock strike. A good rhythm is to inspect cleats every few months, treat them like brake pads as a consumable, and budget for pedal service or replacement only when the mechanism stops feeling positive.
What safety habits should beginners build with clipless pedals?
Build the unclip early habit: twist your heel out before you need to stop, not as you stop, so the motion finishes while you still have momentum and balance. Practice on soft ground with tension at its lowest, and always unclip the foot you naturally put down first. Anticipate stops at gates, road crossings, and trail junctions until the habit is automatic. If a ride involves hike a bike sections or very technical ground that worries you, there is no rule against starting on flats and switching later.
Does pedal platform size matter for beginners?
Yes, more than weight does. A modest platform around the mechanism gives your shoe support during the seconds before you clip in and on rough sections where you ride unclipped briefly. It also spreads pressure and reduces foot fatigue on longer rides.
Very small race platforms assume instant, precise engagement every time, which beginners rarely have in mud or on steep restarts. If you often ride technical trails, a design closer to the platform style in our guide to the best mountain bike platform pedals, but with a clipless mechanism, offers a reassuring middle ground.
How do I practice clipping in and out safely?
Start stationary, leaning against a wall or holding a fence, and clip each foot in and out twenty times until the heel twist feels natural. Move to grass and ride slow circles, stopping every few meters using the same foot each time. Only then try a gentle trail with planned stops.
Keep release tension at the minimum throughout the first week. Most learners feel confident within three or four rides, and the first ride where you forget about your feet entirely is the sign the skill has landed.
The Bottom Line
Match the pedal to your routine first: open and tough for wet trails, forgiving and light releasing for weekend learning, durable and serviceable for frequent riding. Then confirm shoe and cleat compatibility, start with soft tension, and practice somewhere soft. Compare your finalists in the product table above with those points in mind, and the best clipless mountain bike pedals for beginners for your trails will be the ones that let you stop thinking about your feet.


