Best Celestial Binoculars: The Buyer Checklist We Use for 2026
Disclosure: We may earn a commission when you buy through links on this page, at no extra cost to you. As an Amazon Associate I earn from qualifying purchases. Learn more

Celestial binoculars for stargazers: how magnification, objective size, exit pupil, mounts and coatings decide what you can see in the night sky.
A telescope shows one small patch of sky at a time, but two eyes and a wide field can sweep the Milky Way, split double stars, and follow the Moon in a single relaxed view. The best celestial binoculars gather far more light than a daytime pair, so faint clusters and nebulae become visible instead of staying as grey smudges. Use the comparison table below to match each model against the checklist in this guide.
Start with how you plan to view. A short session from a blanket rewards a lighter pair you can hold, while long sessions from a yard or balcony call for a tripod and a bigger objective lens.
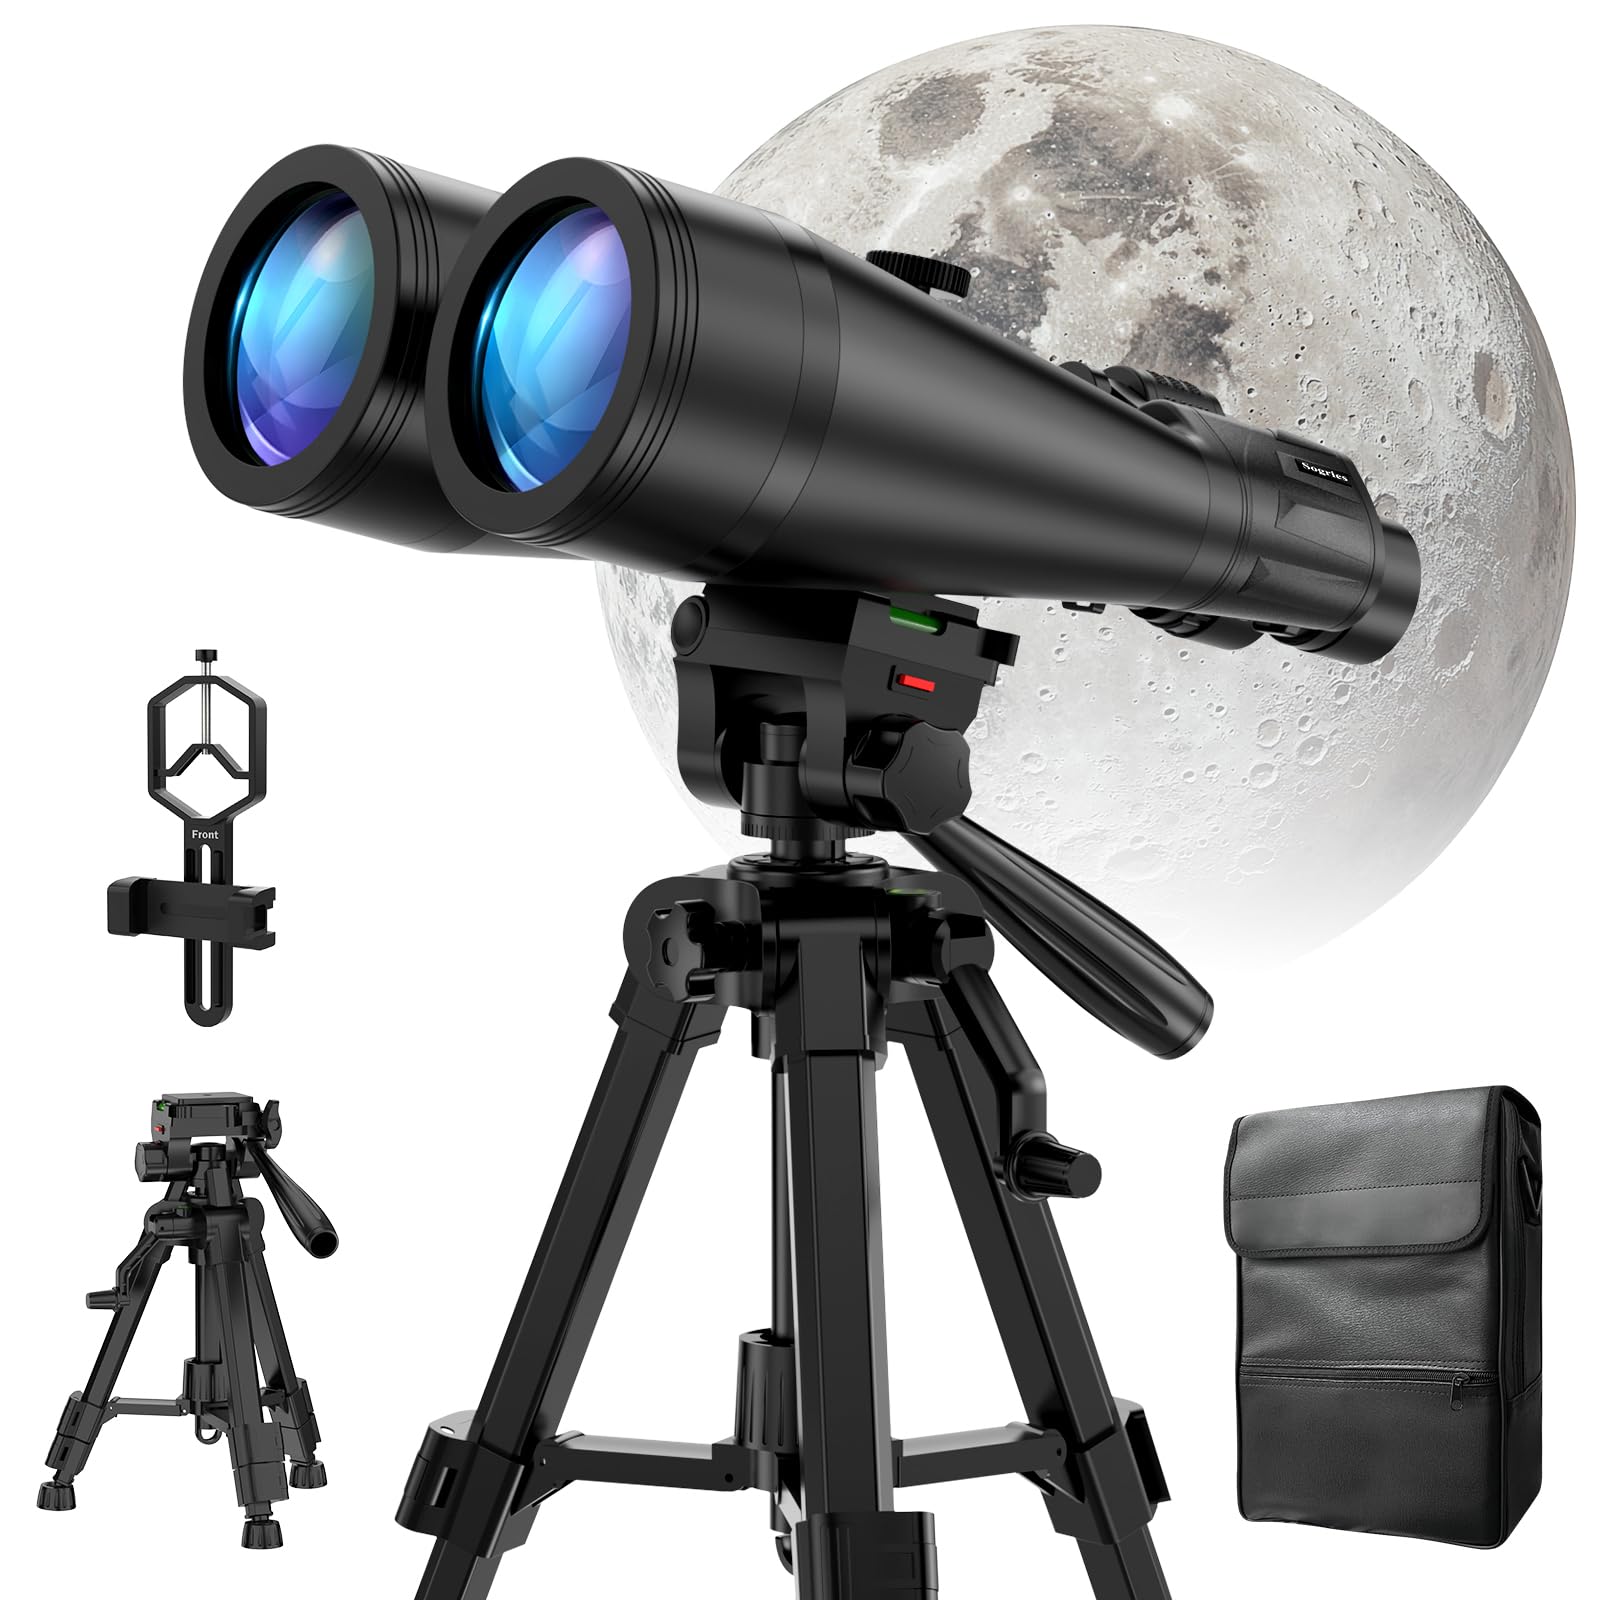
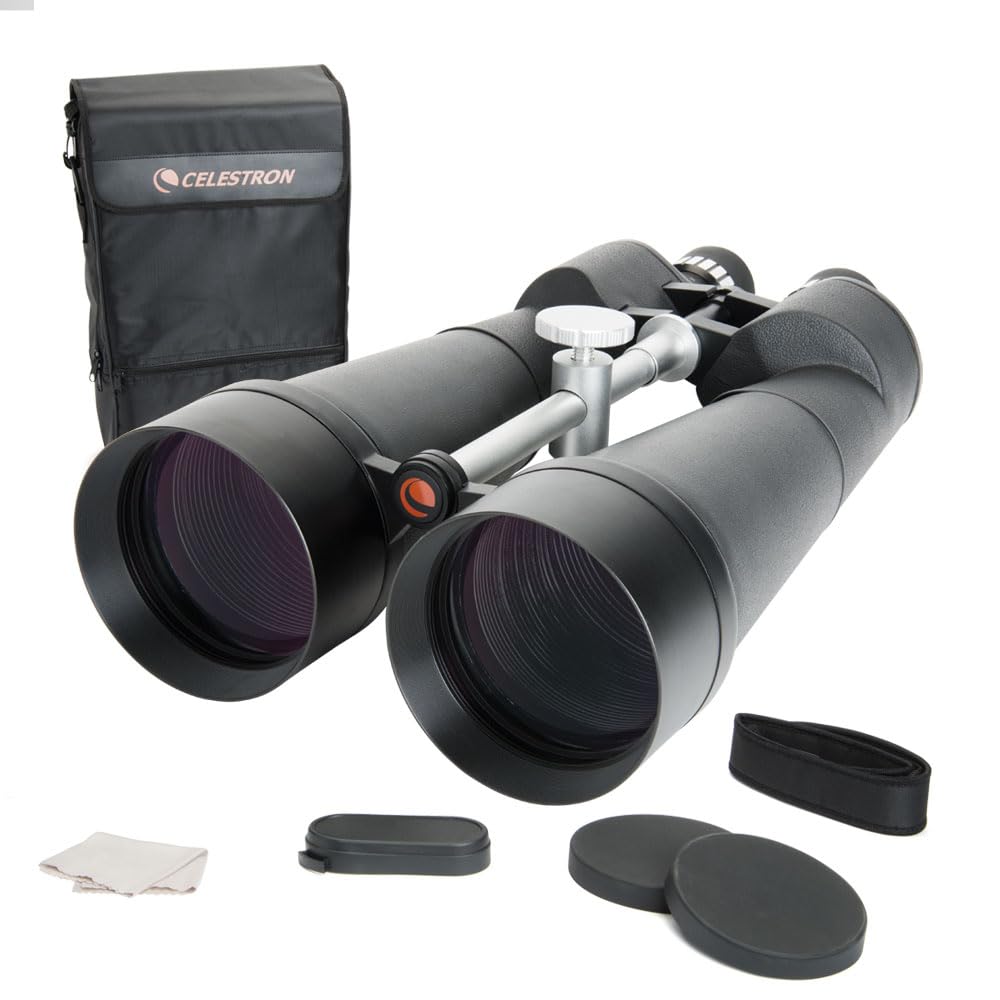
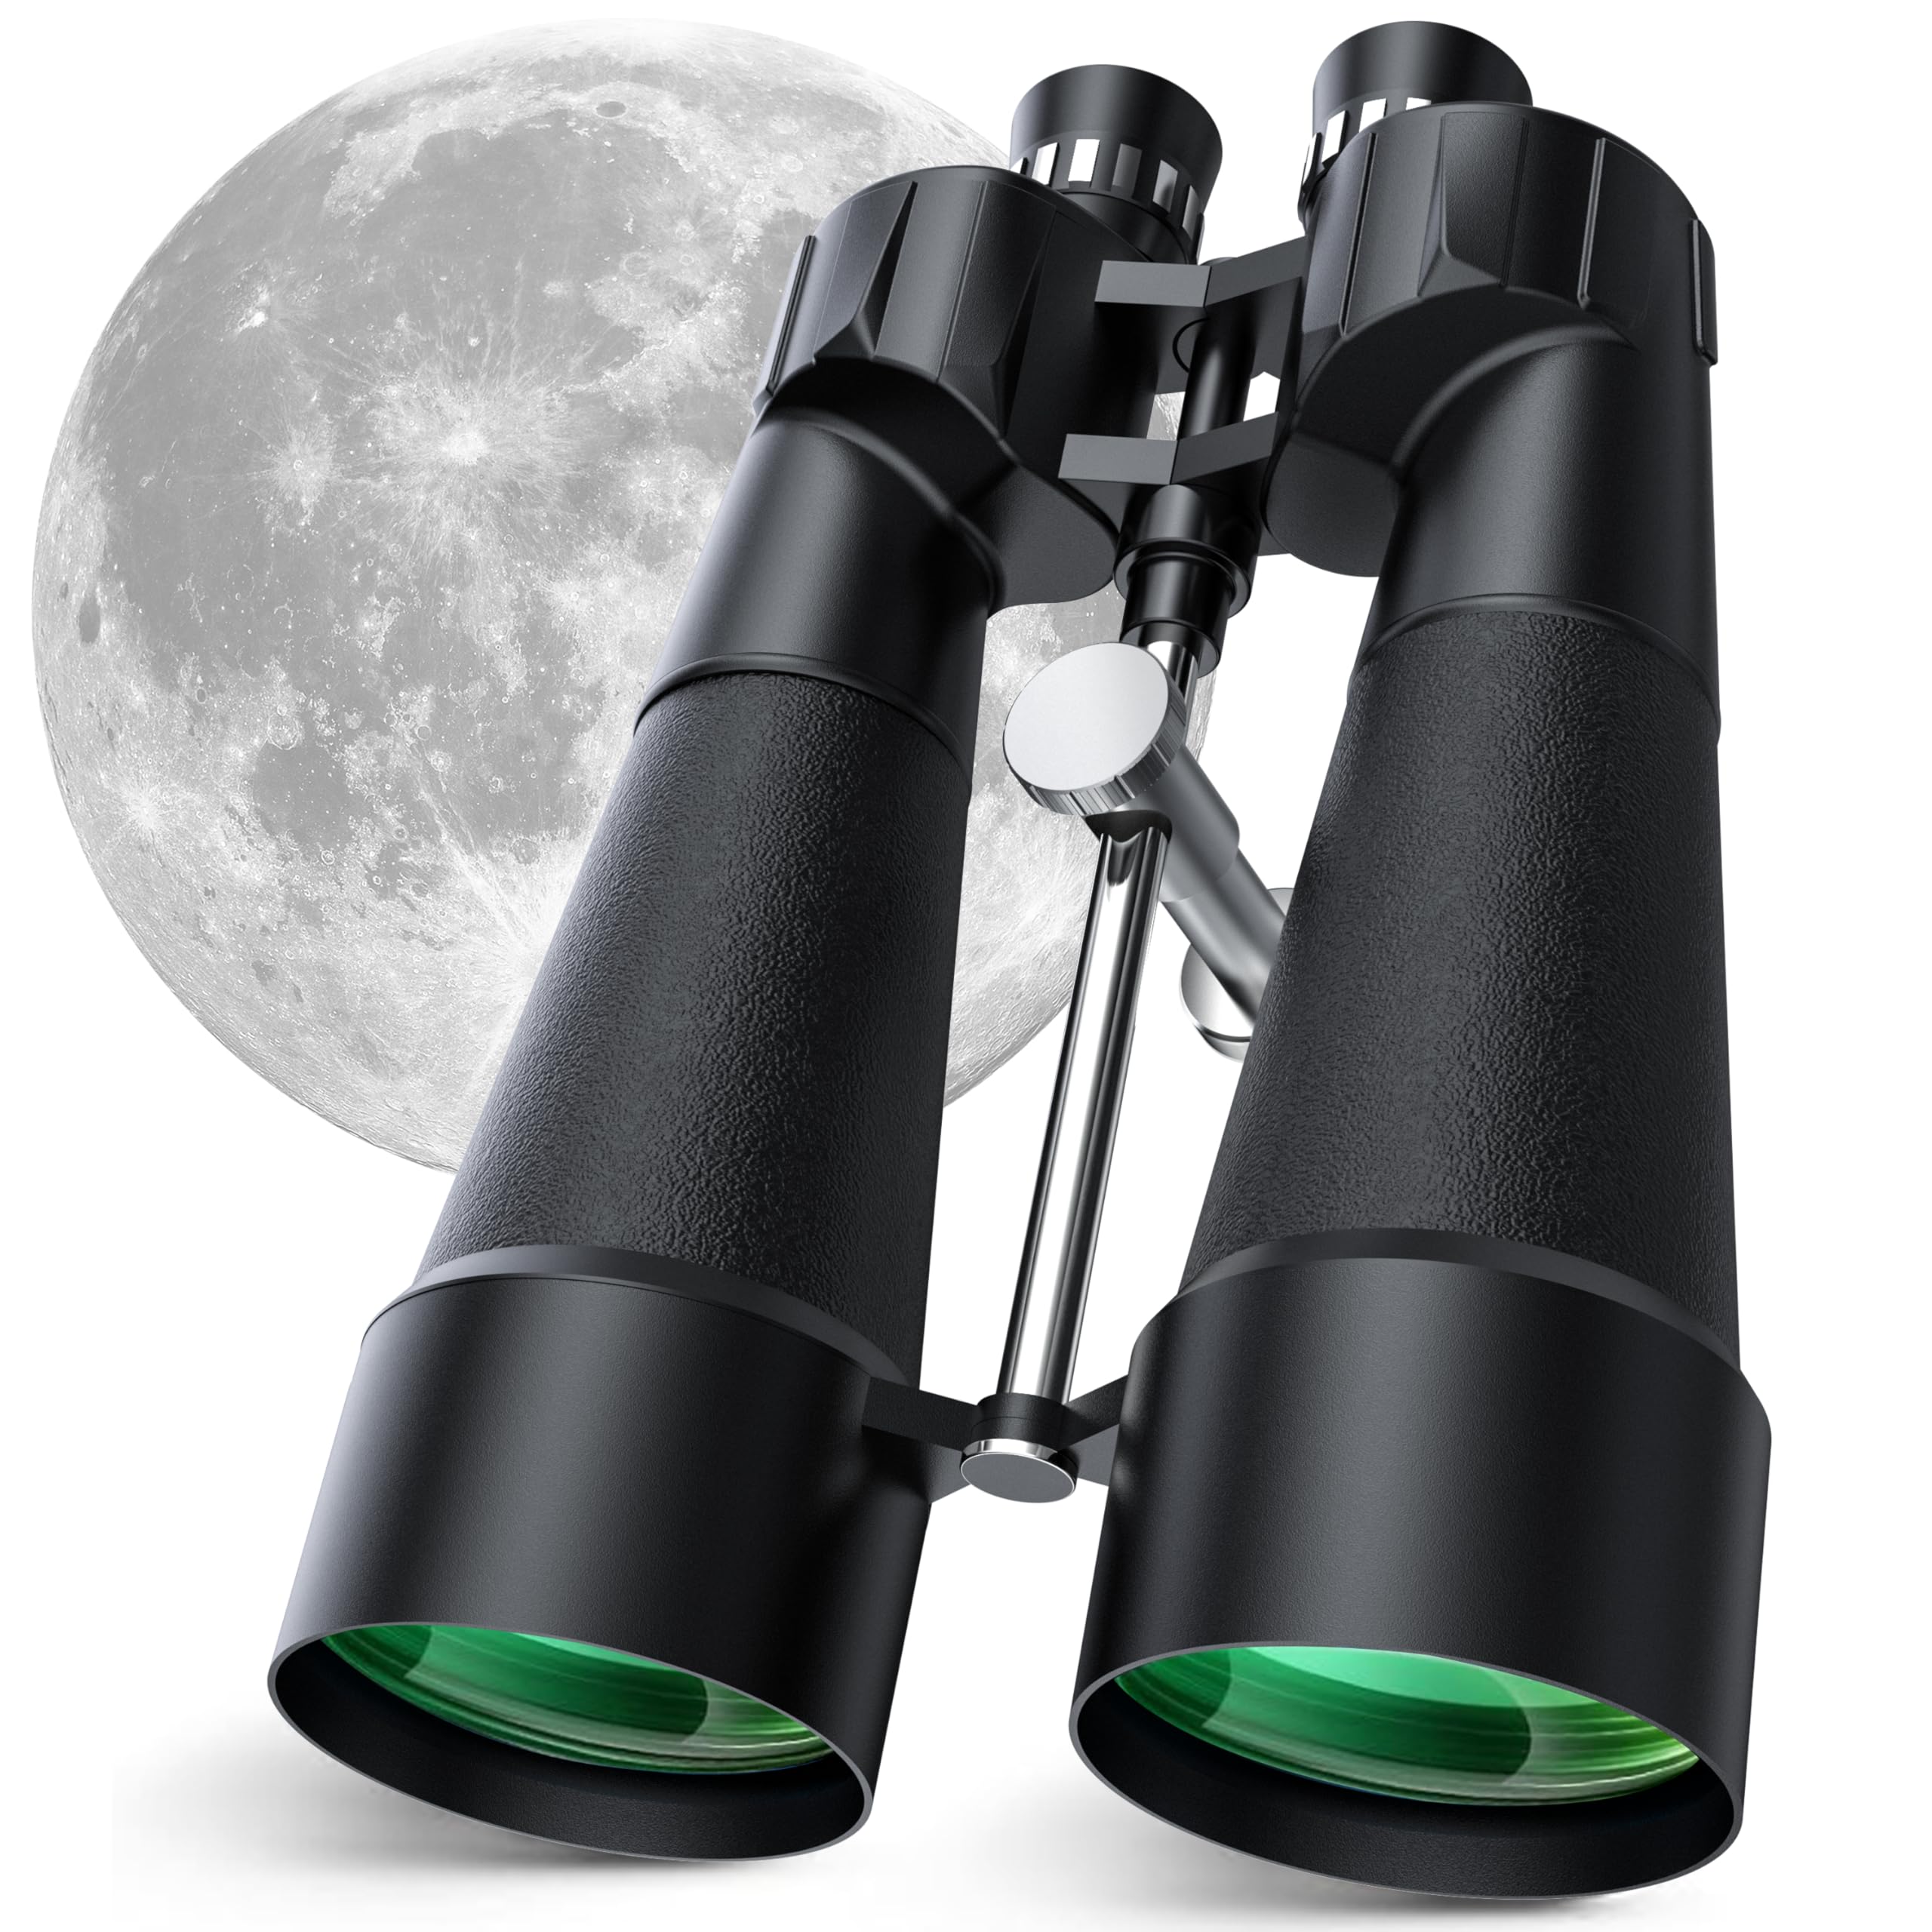


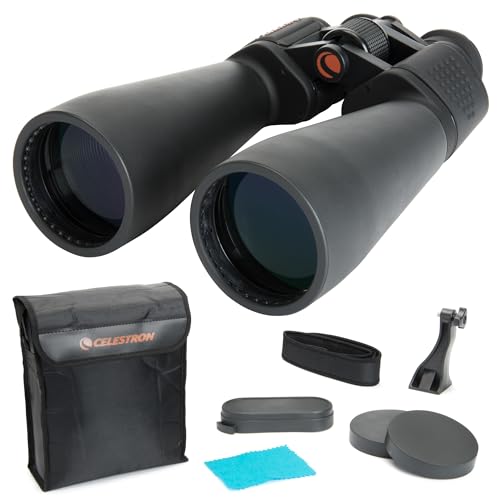


Who Should Buy Which Celestial Binoculars?
Your targets and your viewing spot matter more than the largest number on the box. Match the format to the session you will repeat most often.
Casual Sky Sweepers With a Blanket or Lawn Chair
You want easy views of constellations, the Milky Way, and bright star clusters without a complex setup. A 10x50 pair works held by hand, and a 15x70 pair on a light tripod shows much more while still packing into a car. A small daytime pair will not gather enough light for this job, so if portability matters for walks as well, see our guide to the best rated compact binoculars for that separate role.
Moon and Planet Watchers Viewing From Home
You view from a yard or balcony and care most about lunar detail, the moons of Jupiter, and Saturn as a small oval with rings. Higher magnification on a sturdy tripod serves you better than hand holding, so a 20x80 format is a natural fit. A reclining chair under the tripod makes long looks overhead far more comfortable.
Dark Site Travelers Chasing Faint Targets
You drive to darker skies for galaxies, faint nebulae, and comets, and you plan sessions around moonless nights. A 20x80 or 25x100 pair gathers the light those targets demand, and the drive justifies the heavier case and mount. Budget for a tall mount, because looking straight overhead on a short tripod strains your neck quickly.
Key Features to Compare
The checklist below is the order that works when you compare best celestial binoculars in a store or online. Aperture and mounting come first, because no coating can rescue a pair that gathers too little light or shakes too much to use.
Magnification and the Tripod Line
Magnification is the first number in a format such as 15x70, and it controls both closeness and steadiness. Most people hold 10x steady enough for short looks, 15x benefits from support, and 20x or more needs a tripod for real detail. Higher power also narrows the field and spreads the same light over a larger image, so the view can look dimmer. Choose the lowest power that frames your targets.
Objective Lens Size and Light Gathering
The second number is the diameter of each front lens in millimeters, and it sets how much light the binocular collects. A 70 mm objective gathers about twice the light of a 50 mm one, and an 80 mm or 100 mm objective goes further still, revealing fainter stars and more structure in nebulae. That extra glass adds weight and cost, and it pays off most under dark skies.
Exit Pupil and Comfort in Low Light
Divide the objective size by the magnification and you get the exit pupil, the width of the light beam reaching each eye. A 15x70 gives about 4.7 mm and a 10x50 gives 5 mm, while young eyes in full darkness can open to about 7 mm and older eyes often reach only about 5 mm. An exit pupil near your own pupil size keeps the image bright without wasting light. Hunters face a similar dawn problem, so see our guide to the best rated binoculars for hunting if your mornings matter as much as your nights.
Field of View for Finding Your Targets
True field of view, stated in degrees, tells you how much sky fits in one look. Wide fields of about 5 to 7 degrees suit sweeping star fields and finding targets by star hopping, while the roughly 3 to 4.5 degrees of high power formats frame the Moon and planets better. Daytime scanning rewards width even more, and readers who split time between sky and field can see our guide to the best binoculars for birdwatching for that side.
Prisms and Coatings for Contrast Against the Sky
Most large celestial models use Porro prisms, and BaK-4 glass gives a round, evenly lit exit pupil where cheaper BK-7 glass can clip the edges. Fully multi coated lens surfaces cut reflections that would otherwise wash faint targets into the background glow, so contrast improves even though the glass collects the same light. Glass with low dispersion also reduces the colored fringe along the bright edge of the Moon.
Eye Relief, Focus Style, and Fit for Your Eyes
Eye relief of about 15 to 20 mm lets glasses wearers see the full field with eyecups folded down, while shorter relief cuts off the edges. The gap between the barrels should adjust across roughly 56 to 72 mm so both eyes merge into one image. Center focus wheels suit changing distances, but individual eyepiece focus suits the sky well, because every target sits at infinity and the setting holds all night.
Choosing a Size: 15x70, 20x80, or 25x100
For most first buyers, 15x70 is the balanced starting point. It shows craters on the Moon, the four bright moons of Jupiter, and hundreds of stars in rich clusters, yet it works on an ordinary photo tripod with a simple adapter and weighs about 3 to 4 pounds. If your shortlist mixes night models with general daytime pairs, see our guide to the best rated binoculars to keep the two jobs separate.
A 20x80 pair is the step up for viewers who own a firm tripod. The larger objective pulls in fainter galaxies from a dark site, but the pair weighs about 5 to 7 pounds and punishes a wobbly mount. A 25x100 pair, at about 8 to 10 pounds, belongs on a heavy mount and rewards patience with the deepest views of the three.
Common Mistakes to Avoid
- Buying 25x power with no tripod leaves the view shaking so much that faint stars smear and vanish.
- Choosing a 50 mm objective for deep sky targets leaves galaxies and nebulae too dim to enjoy.
- Ignoring eye relief while wearing glasses cuts off the edges of the field and strains your eyes.
- Judging a new pair only under bright city lights leads you to blame the optics for what light pollution washed out.
- Aiming binoculars at the Sun, even for a moment, can cause permanent eye damage.
Care and Maintenance for Celestial Binoculars
Keep the lens caps on whenever the binocular sits idle, and remove dust with a soft brush or a gentle blower before you wipe anything. Clean glass only with a lens cloth and a drop of lens fluid, never with a shirt, because grit dragged across a coating leaves fine scratches. Store the pair in a dry, padded case away from heat, and add silica gel if your home is humid, since trapped moisture can fog internal surfaces over time. Sealed models described as waterproof and fogproof, often nitrogen purged, resist that fogging best.
Check the tripod adapter and hinge tension before each session, because a slow wobble often starts with a loose screw. If the two barrels ever show doubled images after a knock, stop using the pair and seek professional service, since forcing adjustments at home can make alignment worse. Let dew dry off the barrels at room temperature before you close the case.
FAQ
Can a smartphone replace celestial binoculars for stargazing?
No, a smartphone cannot replace celestial binoculars for live stargazing. Its tiny lens collects little light, so the live screen view stays dim even when long photo exposures look impressive later. Your phone still earns a place in the kit as a star chart for planning targets and learning constellations. Treat the phone as your map and the binocular as your eyes.
Which celestial binocular size is better for low light viewing?
A larger objective with an exit pupil near 5 mm, such as a 15x70 or a 20x80, is better for low light viewing. Give your eyes about 20 to 30 minutes in darkness before judging faint targets, and shield stray porch light with your hands or a hood. Many beginners rate a good pair too harshly simply because their eyes had not finished adapting.
What do the numbers 15x70 mean on celestial binoculars?
The first number is the magnification, so objects appear 15 times closer, and the second is the objective lens diameter of 70 mm. Check both numbers printed on the housing before you buy, because some listings headline a large magnification while quietly fitting a smaller objective. An honest 20x80 will outperform a vague listing every clear night.
What specs matter most for beginners buying celestial binoculars?
Aperture and a workable mount matter most, ahead of maximum magnification. A forgiving wide field also helps, because finding a target quickly keeps early sessions fun instead of frustrating. Buy from a seller with an easy return window if you can, since eye relief and barrel spacing feel different on every face. A pair that fits your eyes gets used far more often.
How much should you spend on your first celestial binoculars?
Expect to spend about $90 to $200 for a solid 15x70 pair, about $200 to $400 for a 20x80 with better coatings, and about $350 to $600 for a 25x100 before its heavier mount. Reserve part of the budget for the tripod adapter and a padded case. Spending on the mount first often improves the view more than jumping one size up in glass.
Final Thoughts
Match the format to your targets, mount any pair above 15x, and let aperture and exit pupil guide you before brand names do. A balanced 15x70 on a steady tripod will show you more sky than an oversized pair left indoors. Use the product table above to check size, weight, and price against this checklist, and choose the best celestial binoculars for the sessions you will actually repeat.