
Best Caulk for Tubs and Showers: Types, Prep and Application (2026)
Disclosure: We may earn a commission when you buy through links on this page, at no extra cost to you. As an Amazon Associate I earn from qualifying purchases. Learn more
Learn which formula is the best caulk for tubs and showers, how to prep and apply a bead, and how long to wait before the first shower.
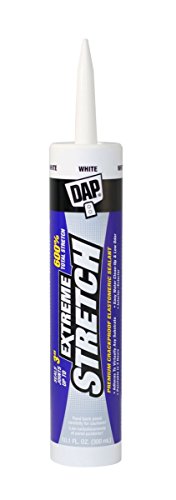
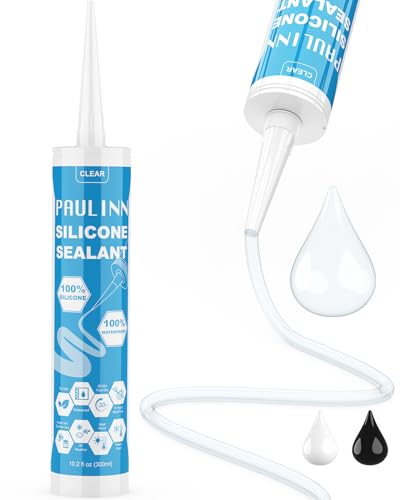
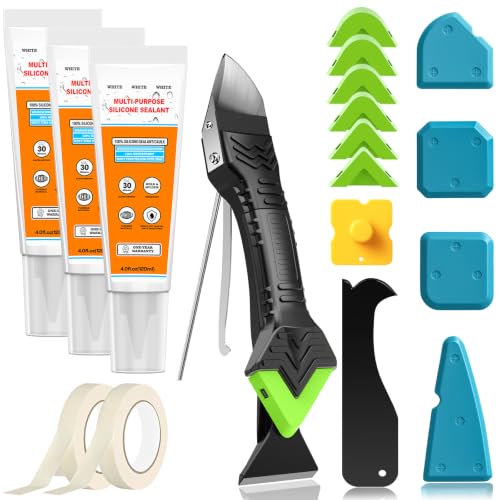
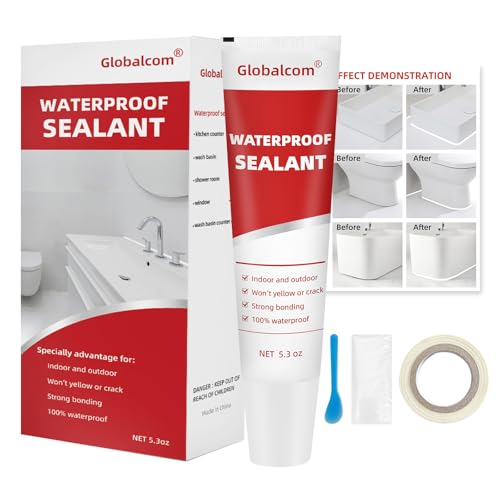
Tubs and showers put caulk through the toughest job in the house: hot water, steam, soap film, and joints that move every time someone steps in. The best caulk for tubs and showers stays flexible, resists mold, and sticks to slick surfaces like acrylic, fiberglass, tile, and porcelain. Start with the product table, then use the sections below to match a tube to your joint and your schedule.
Most caulk failures come from the wrong type or rushed prep, not from a bad brand. This guide explains where tub and shower joints fail, which formulas hold up, and how to apply and cure a bead so it lasts.


Where Tub and Shower Joints Fail
A tub joint has to handle weight. When the tub fills and someone climbs in, the rim drops a fraction of an inch and the gap against the wall opens and closes. A rigid sealant cracks at that moment, and water slips behind the tile. Shower corners work differently: they stay mostly still, but they stay wet longer, so mildew gets a foothold in the bead itself.
Knowing which joint you are fixing tells you what to buy. A tub rim needs maximum stretch. A shower corner needs maximum mold resistance. A joint where a tub meets a tiled wall needs both.
Best Caulk for Tubs and Showers: Types That Suit Wet Joints
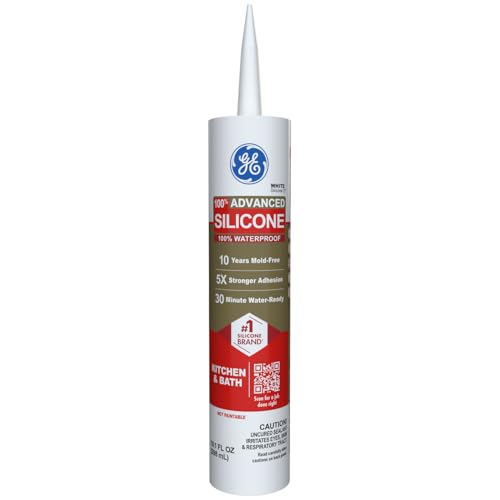
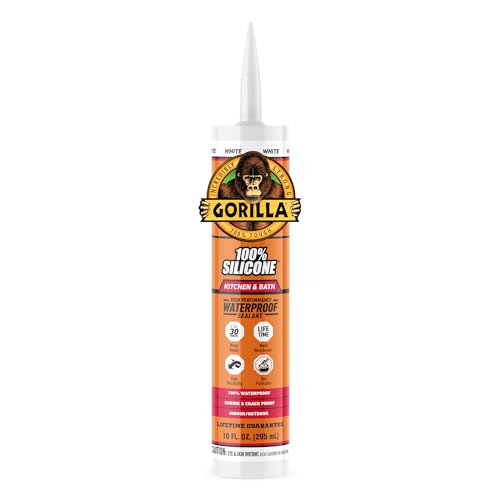
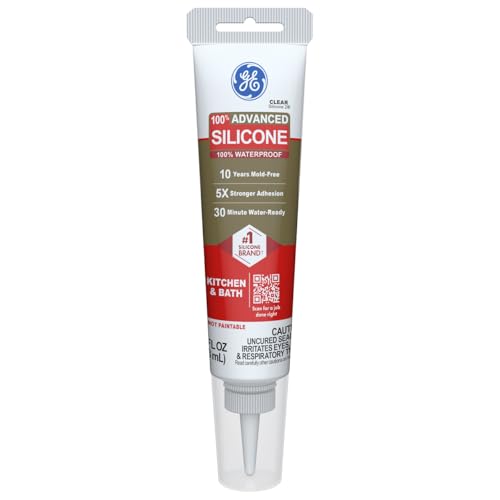
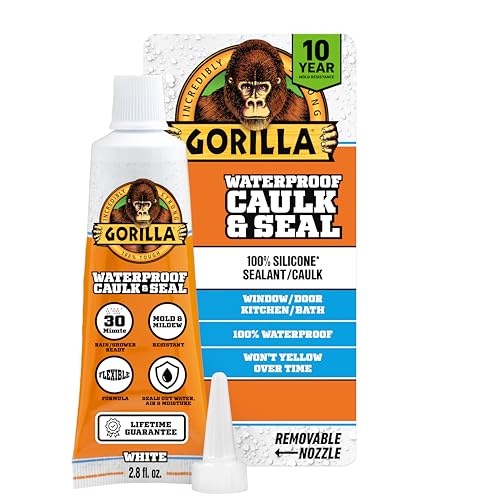
100% Silicone
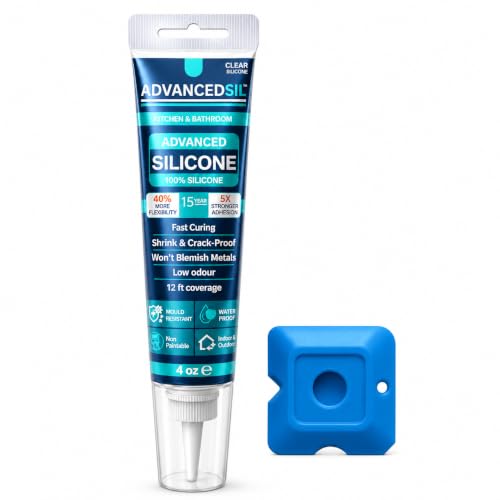
Silicone remains the standard for wet zones because it stays elastic for years and sheds water. It bonds tightly to glazed tile, porcelain, glass, and most tub surfaces. The drawbacks are that it cannot be painted and that old silicone must be fully removed before recaulking, since new beads will not grip leftover residue.
Hybrid and Silicone Plus Formulas
Hybrid sealants blend silicone with polymers that tool smoothly and clean up with water. Many accept paint and tolerate slightly damp surfaces. They suit a tub that sits next to painted trim, or a home where you want one product for several rooms. Read the label for a kitchen and bath rating before you commit.
Siliconized Acrylic Latex
This is the budget option. It tools easily, paints well, and costs the least, but it shrinks and splits sooner where water sits. It works for dry trim around a shower surround, not for the joint at the tub rim. If you are weighing it against silicone for a shower base, silicone is the safer choice.
How to Choose a Tube
- Movement rating. Look for wording that mentions flexibility or expansion. A tub rim benefits from the most stretch you can buy.
- Mold and mildew protection. A product labeled for kitchen and bath includes additives that slow growth inside the bead.
- Water ready time. Check the label. Some formulas allow showers after a few hours, while others need a full day.
- Color. White, clear, and almond cover most fixtures. Clear hides itself on colored tile but shows dirt trapped beneath it.
- Size and format. A small squeeze tube covers one tub. A 10 ounce cartridge covers a tub plus a surround and needs a caulk gun.
Pairing the right tube with the right surface matters most. Acrylic tubs and fiberglass pans flex more than tile, so those joints reward a stretchy silicone. Our guide to the best caulk for acrylic tubs covers that surface in more depth.
Preparing the Joint
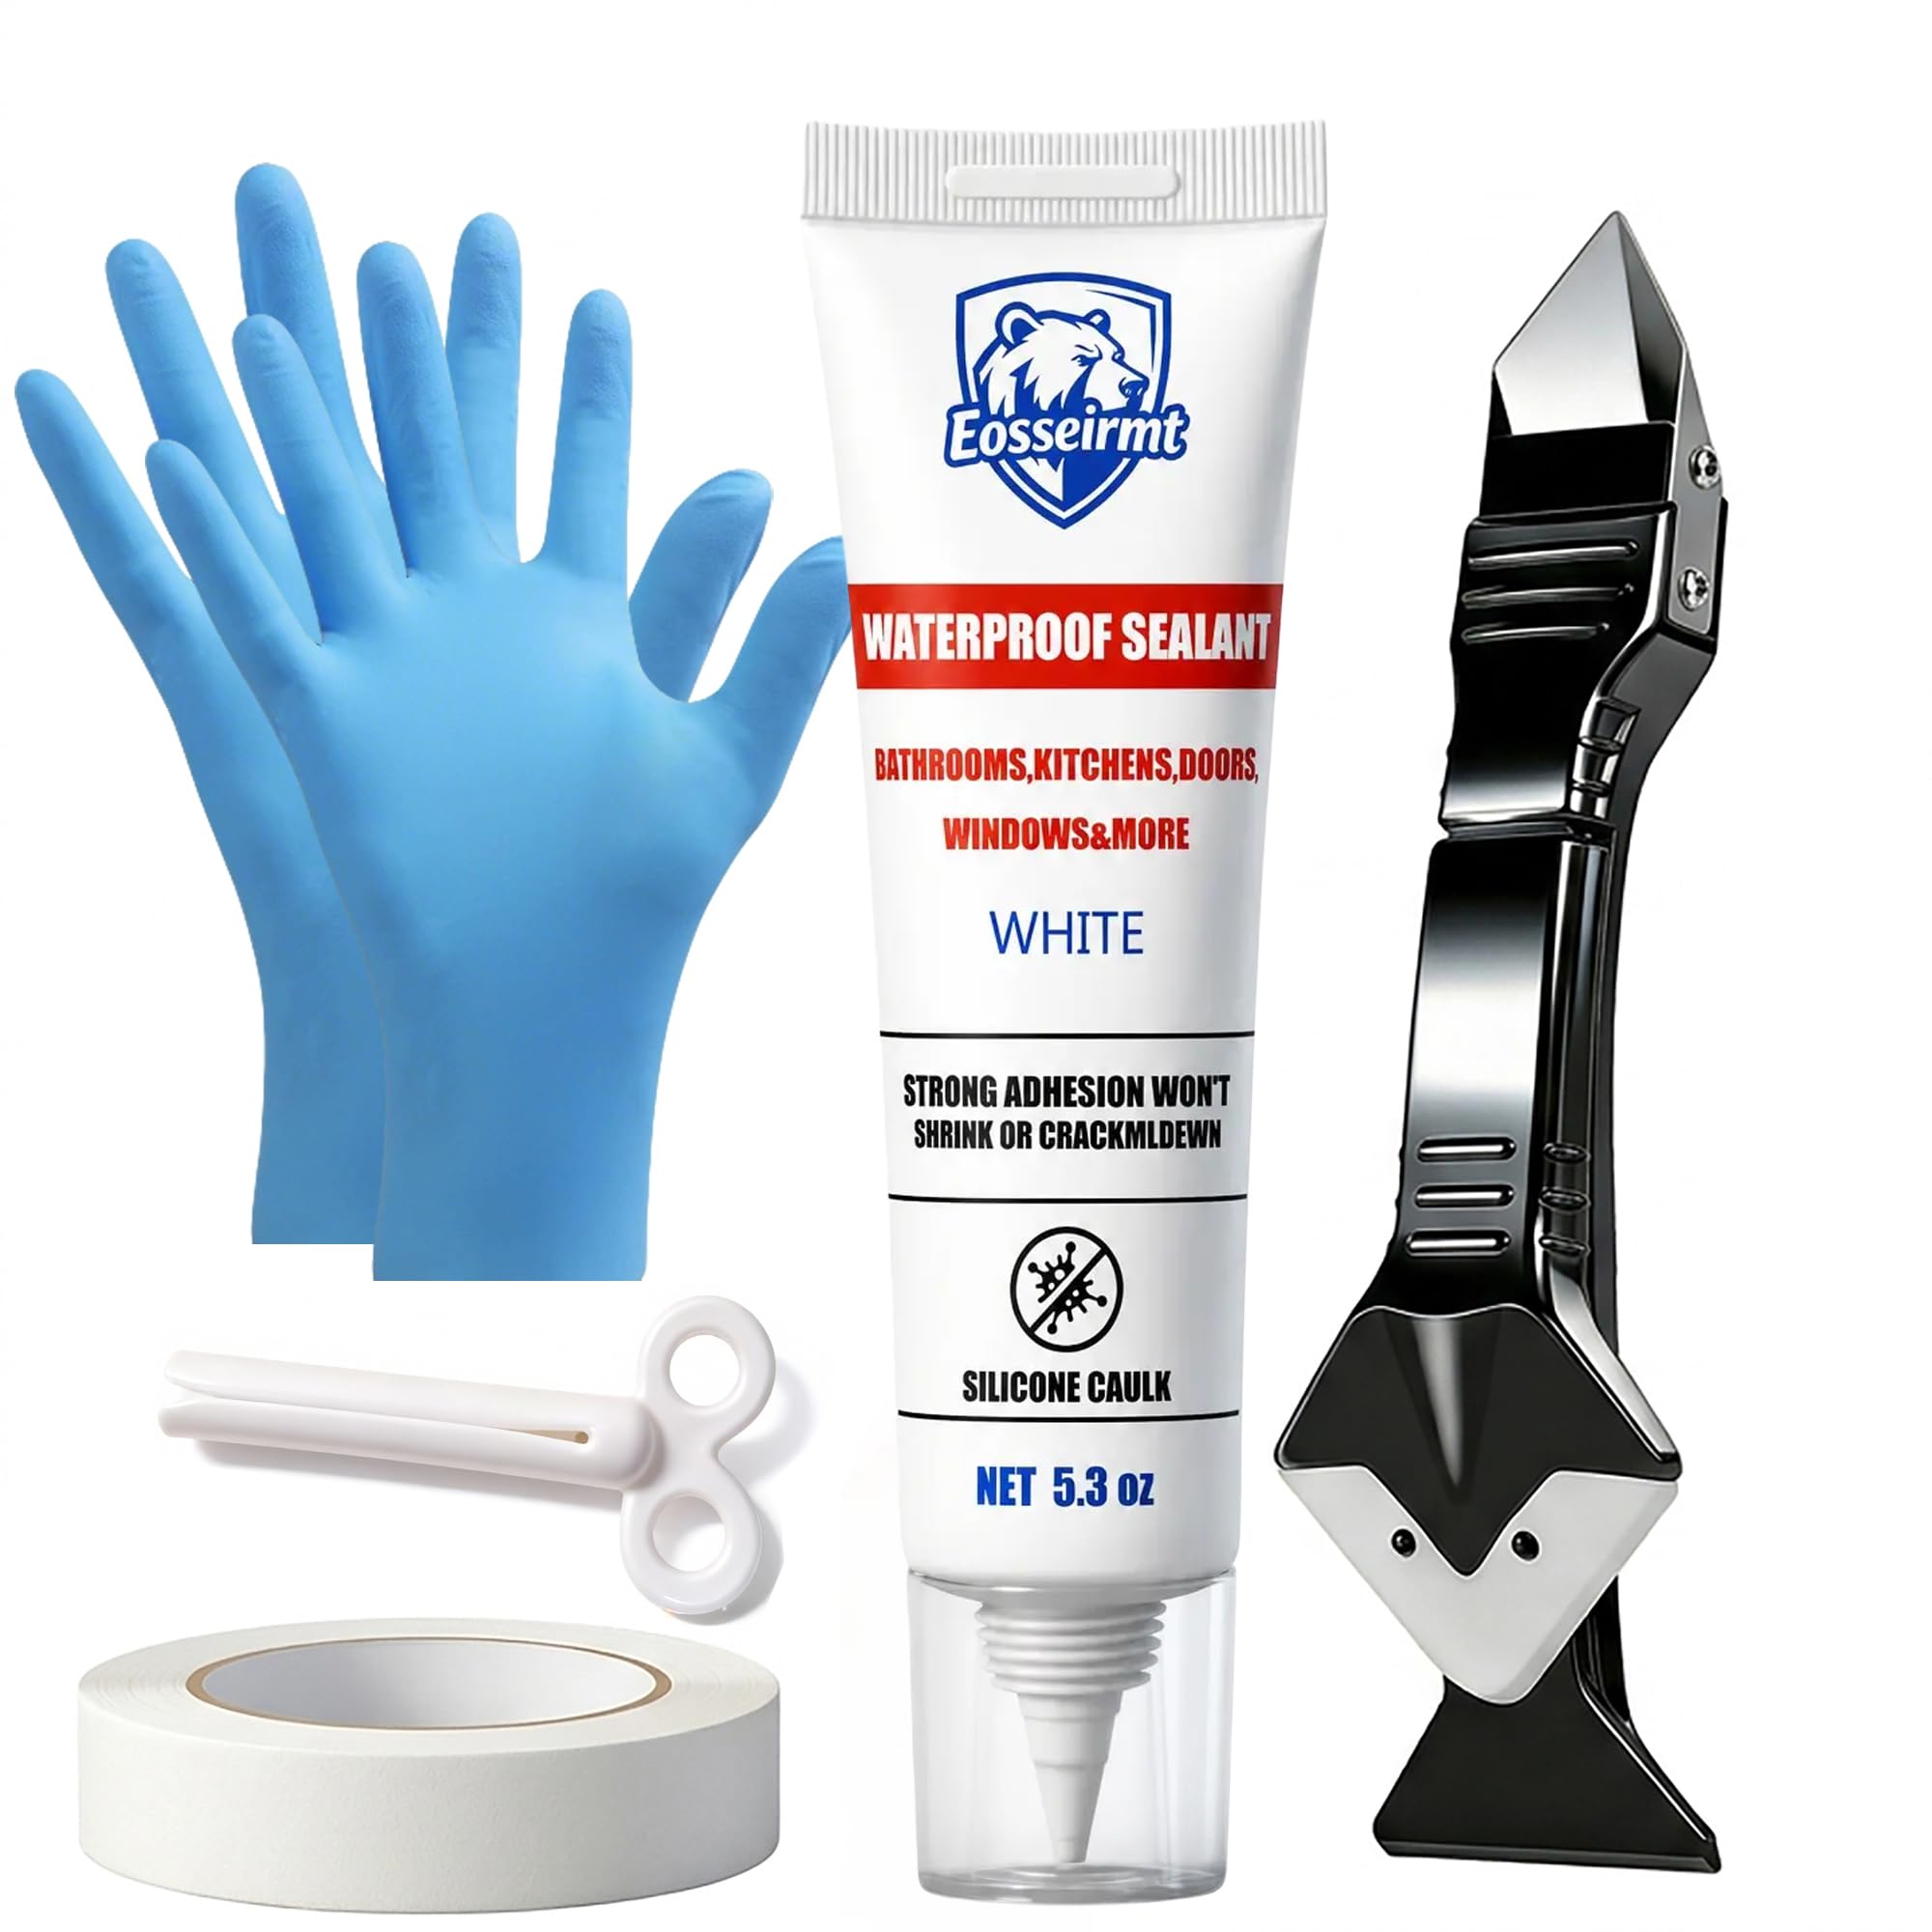
- Cut out the old bead with a utility knife or a plastic removal tool, then pull the strips free.
- Scrub the groove with rubbing alcohol or a bathroom cleaner and a stiff brush to lift soap film.
- Treat black spots with a mildew remover, rinse, and let the joint dry for several hours.
- Fill the tub with water before you caulk so the gap is at its widest. This is the single most useful habit for tub rims.
- Run painter's tape along both sides of the joint if you want crisp edges.
Applying and Curing the Bead
Cut the nozzle at a shallow angle so the opening is slightly smaller than the gap. Pull the gun along the joint in one steady pass, then smooth the bead with a damp finger or a tooling tool. Peel the tape while the caulk is still wet, which prevents a ragged edge. Leave the tub full until the caulk skins over, then drain it slowly.
Keep the shower dry for the full time shown on the label. A bead that gets wet too early can wash out, cloud, or lose adhesion at the edges. Run the exhaust fan or open a window during curing, since fresh silicone releases a sharp odor.
Mistakes That Shorten Caulk Life
- Applying over old caulk, which traps moisture and breeds mold underneath.
- Caulking an empty tub, so the bead is squeezed and cracks the first time someone climbs in.
- Using a general purpose or paintable tube in a wet joint that needs a kitchen and bath rating.
- Filling a wide gap with caulk alone instead of adding foam backer rod first.
- Showering too soon because the surface feels dry to the touch.
Matching the Tube to Your Surface
Check what your tub and surround are made of before you buy. Glazed tile, porcelain, and enameled steel take almost any bath rated silicone. Acrylic and fiberglass can be sensitive to some solvent heavy formulas, so read the label for a surface list. Natural stone is the exception: some silicones leave a stain in porous stone, so look for a product marked safe for stone if your surround uses it.
How Much to Spend
Caulk is cheap compared with the damage a failed seal causes. Expect roughly $5 to $10 for a basic tube and about $10 to $20 for a cartridge or a premium hybrid. A removal tool, tape, and a caulk gun add a few more dollars if you do not own them. Paying a little more for a flexible silicone usually saves a second afternoon of scraping a few years later.
If your project also involves a new glass enclosure, see our guide to the best shower doors for tubs. When you are replacing the whole surround, our guide to best shower tubs covers the options.
Frequently Asked Questions
What is the best caulk for a bathtub that flexes?
A 100% silicone or a flexible hybrid made for kitchen and bath use handles movement best. Fill the tub with water before applying so the bead is placed while the gap is open.
Can I use white caulk on a colored tub?
You can, but a visible white line can look harsh against a colored fixture. Matching the color or using clear silicone blends better, though clear shows trapped dirt more easily over time.
How long should I wait before showering?
Follow the label on the tube. Many silicone products need about 12 to 24 hours before water exposure, and cool or humid rooms can take longer.
Why does my new caulk turn pink or black?
Spots usually mean moisture or soap film was left on the joint, or old mildew was not cleaned out before sealing. Remove the bead, clean the groove thoroughly, dry it, and recaulk.
How often should tub and shower caulk be replaced?
Well applied silicone often lasts several years. Replace it when it cracks, peels, or shows mold that scrubbing cannot remove, because a failed seal lets water behind the wall.
Final Thoughts
Match the formula to the joint, prepare the groove properly, and respect the cure time. With a flexible, mold resistant silicone and a clean, dry, filled tub, the best caulk for tubs and showers will keep water where it belongs for years. Check the product table above for tubes that fit your project.
