
Best Caulk for Toilets: Base Sealing, Types and When to Leave a Gap (2026)
Disclosure: We may earn a commission when you buy through links on this page, at no extra cost to you. As an Amazon Associate I earn from qualifying purchases. Learn more
What to know about the best caulk for toilets: silicone or hybrid, sealing the base neatly, leak detection gaps and when caulk is not the fix.
Sealing a toilet base seems simple, yet best caulk for toilets involve a real choice, because a toilet seal affects hygiene, stability, cleaning and even leak detection. Some installers seal the full base, others leave a rear gap so leaks show early, and the right approach depends on your floor, toilet type and local practice. The comparison table below gives a quick overview of the main choices before the detail that follows.
This guide explains when to caulk, which product suits a toilet base, how to apply a neat bead, and when to leave a gap or call a plumber. It focuses on value and safety, not just appearance.


Who Should Buy Caulk for Toilets
These caulks suit homeowners installing or resealing a toilet base on tile, vinyl or other bathroom flooring, where a clean, hygienic joint is wanted. They also suit renovators finishing a bathroom refit and landlords refreshing a rental bathroom. If your toilet base has a cracked, moldy or missing seal, a careful reseal improves hygiene and appearance.
They are a weaker fit for toilets that rock, leak at the base, or have a failed wax ring, where caulk will hide a plumbing problem rather than fix it. A rocking toilet needs leveling and a proper seal at the flange, not more caulk. Seek a plumber if water appears at the base, the toilet moves, or the floor feels soft or damaged.
Types of Caulk for Toilets
Silicone bathroom caulk
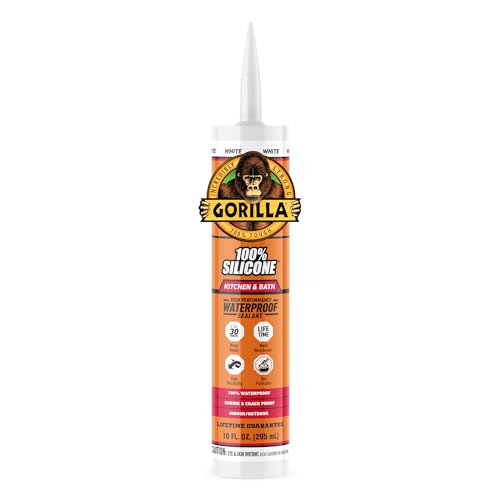
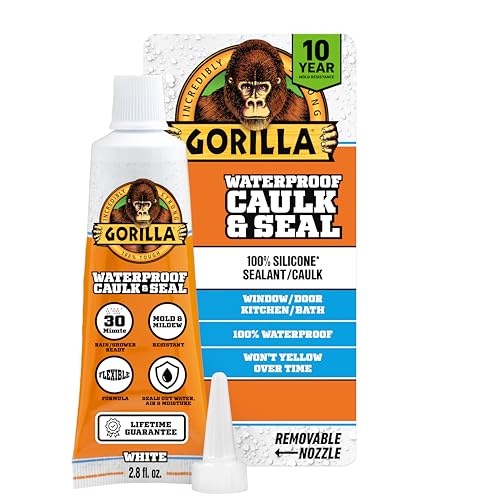
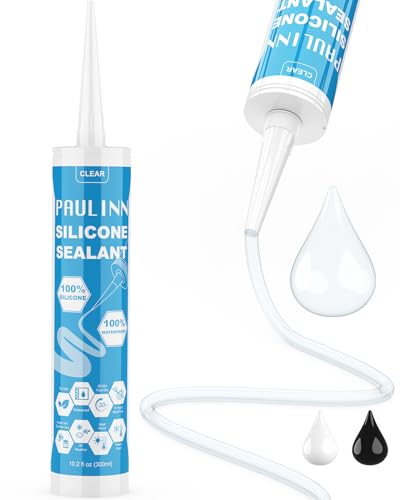
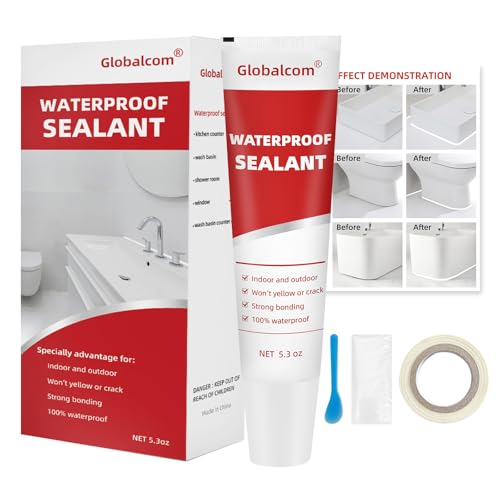
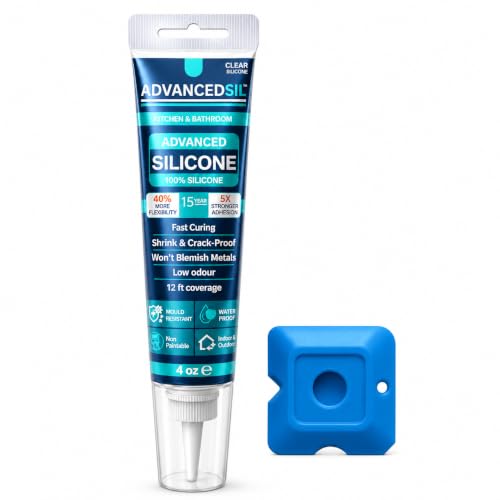
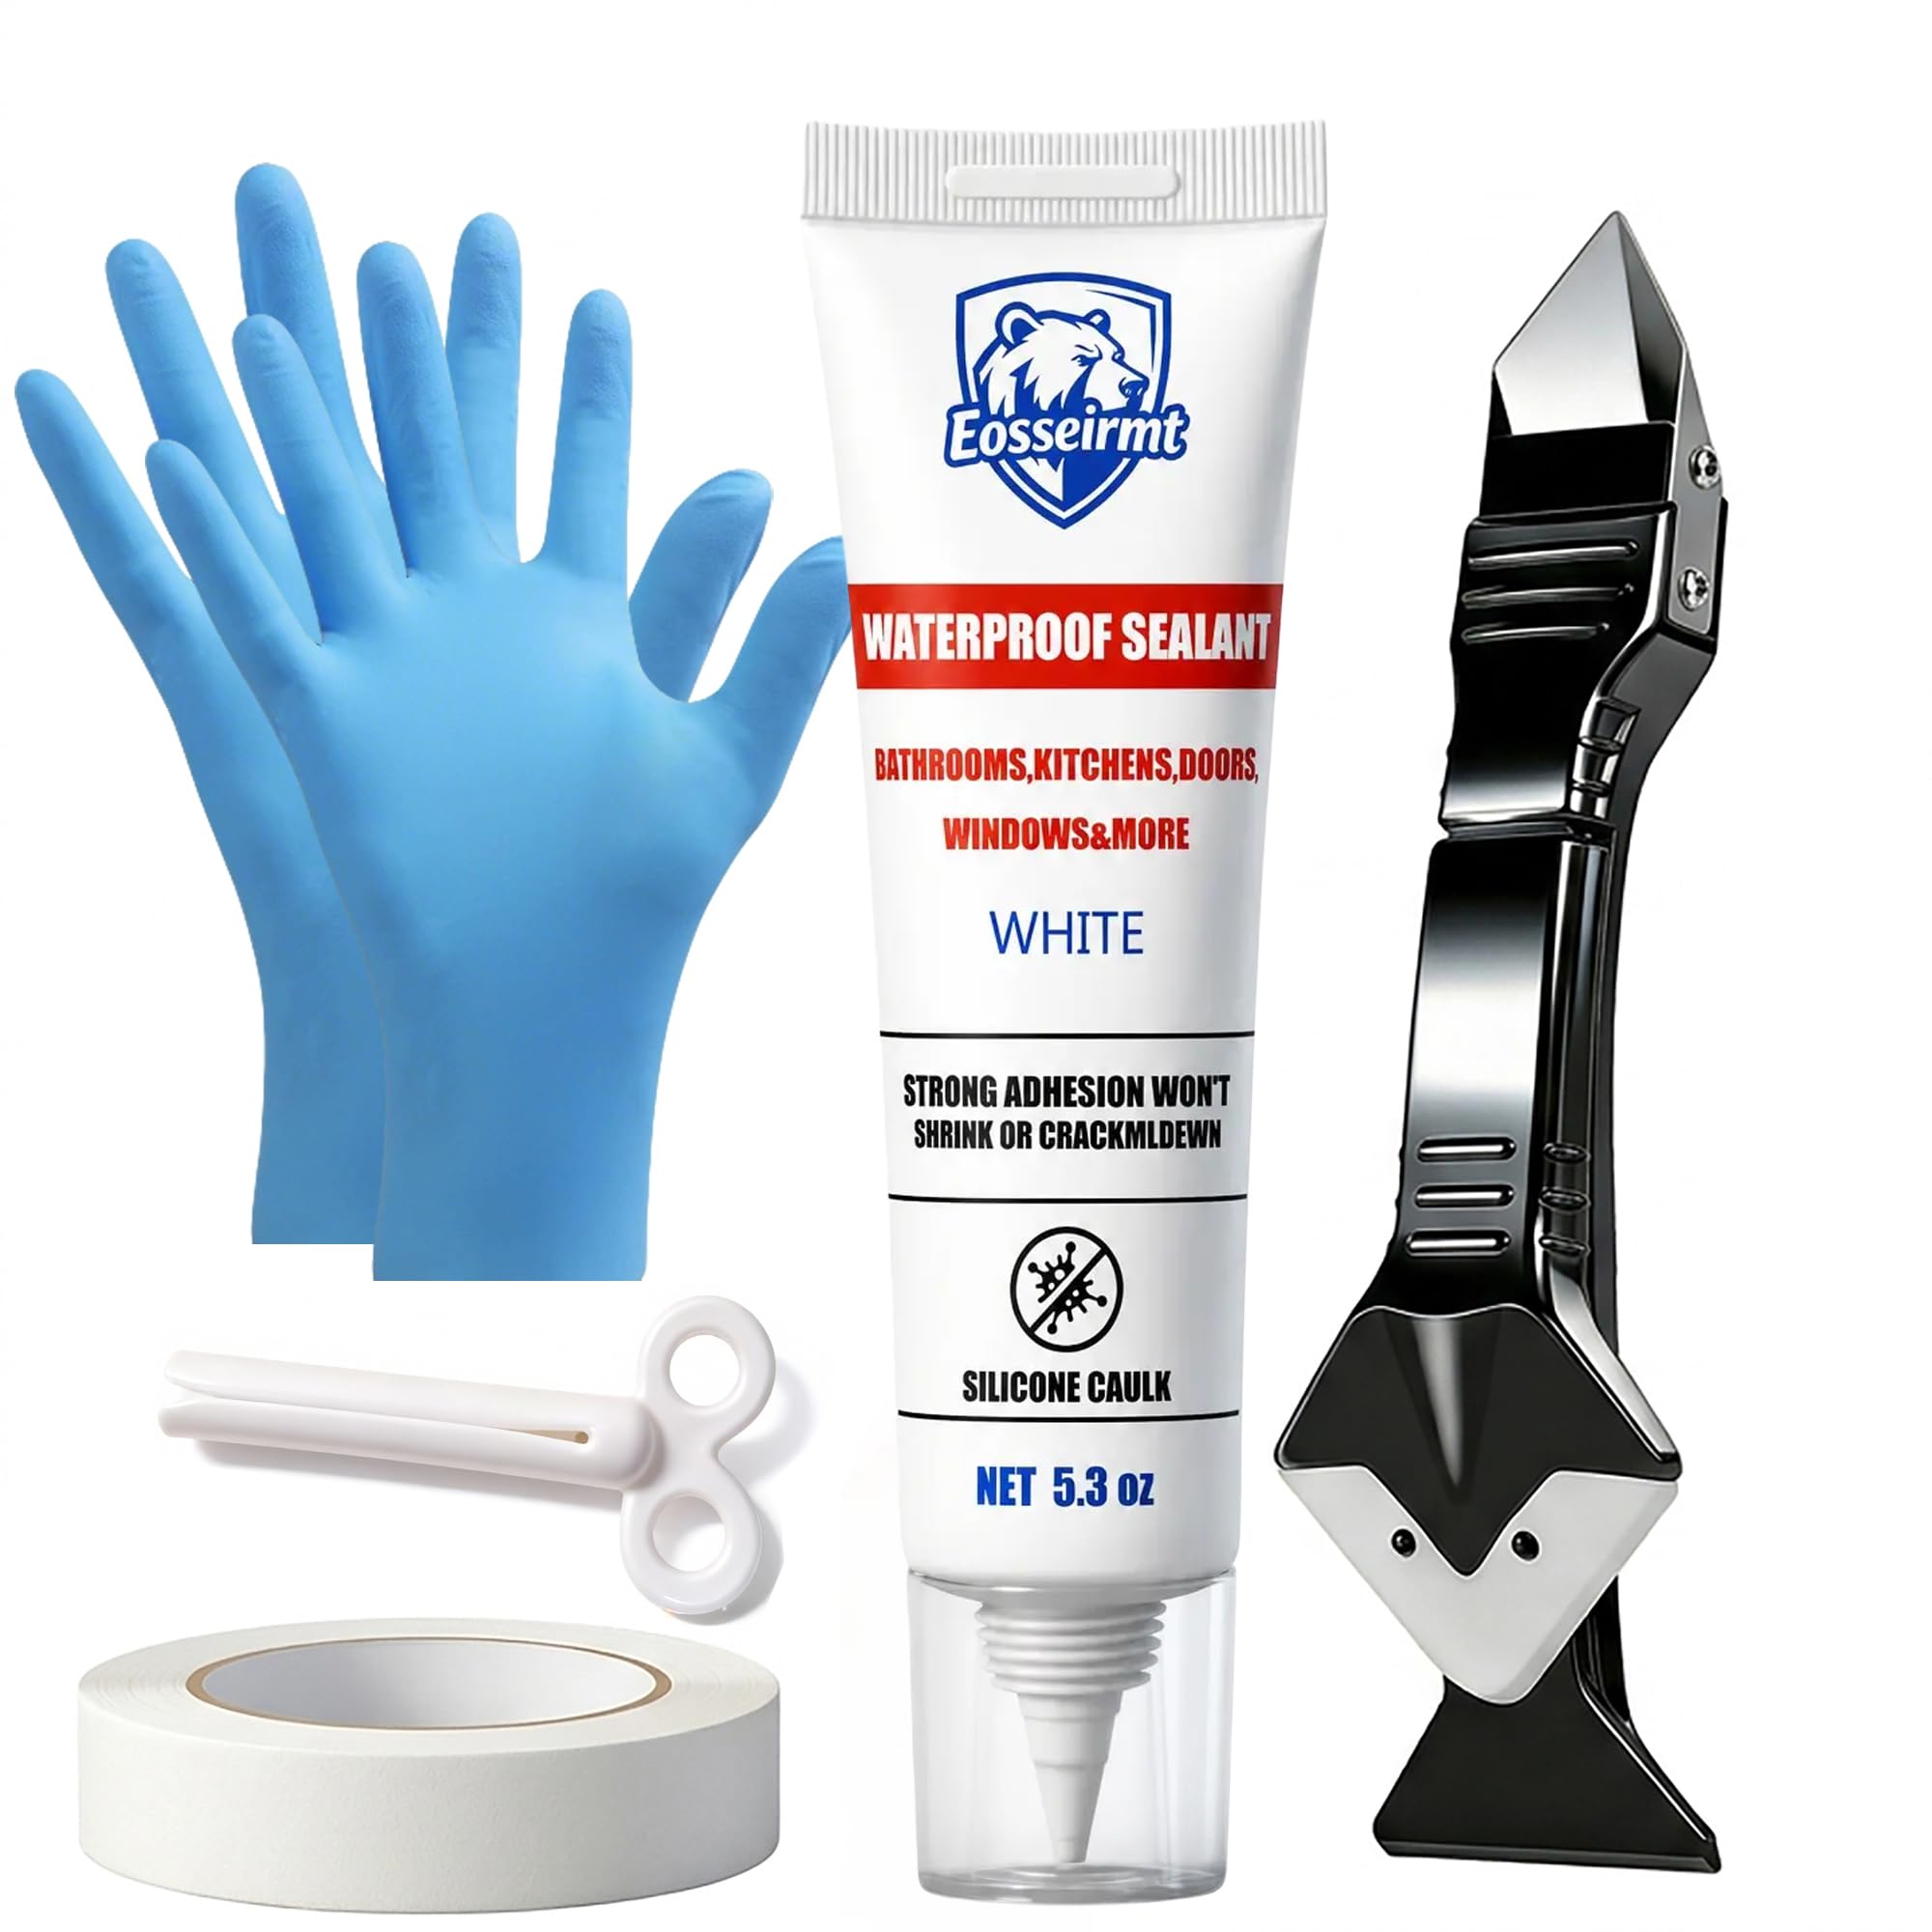
Silicone bathroom caulk offers strong water resistance, flexibility and mold resistance for a toilet base on tile or porcelain. It suits most toilet bases where a durable, wipe clean seal is wanted. It cannot be painted, so choose a color that matches grout or flooring from the start.
Hybrid polymer caulk
Hybrid polymer caulk offers flexibility with better adhesion to varied flooring and paintability where needed. It suits toilet bases on mixed surfaces or where a painted finish is planned. Confirm bathroom suitability, because a toilet base faces frequent mopping and cleaning chemicals.
Paintable acrylic caulk
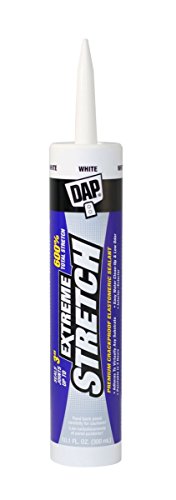
Paintable acrylic caulk is easier to apply and paint, but less durable in wet floor areas than silicone or hybrid products. It suits a toilet base only where water exposure is light and appearance matters more than long term water resistance. For most bathrooms, silicone or hybrid lasts longer.
Key Features to Compare
To gap or not to gap
Whether to leave a rear gap is an important decision, because a full seal looks tidy but can hide a leak, while a rear gap lets a leak show early. Many plumbers leave the back unsealed for leak detection, especially on upper floors. Follow local practice and your plumber guidance, and never use caulk to hide an active leak.
Adhesion to floor and porcelain
Adhesion must work on both porcelain and your floor material, whether tile, vinyl or stone, so clean both surfaces and remove old seal fully. Soap, wax and cleaning residue prevent bonding, so a thorough clean and dry joint matters. Test a small area if your floor material is unusual.
Mold and cleaning resistance
A toilet base seal faces mopping, cleaning chemicals and bathroom humidity, so mold resistance and chemical tolerance matter. Choose a kitchen and bathroom rated product and clean the seal regularly without harsh abrasives. Replace the seal when mold grows beneath it, rather than bleaching the surface repeatedly.
Appearance and color match
Appearance matters because a toilet base seal is visible at floor level, so choose a color close to grout or flooring and apply a neat, even bead. Tape edges for a clean line if you are new to caulking, and tool the bead promptly. A tidy bead looks professional and is easier to keep clean.
Common Mistakes to Avoid
A common mistake is caulking a rocking or leaking toilet to hide movement, which delays a plumbing repair and can cause floor damage. Another is applying new caulk over old material, which peels quickly. A third is sealing the full base on an upper floor without considering leak detection, when a rear gap would have revealed a problem sooner.
Budget and Long Term Value
Toilet caulk is inexpensive, and the real value lies in preparation, correct product choice and, where needed, a plumber visit for leveling or wax ring replacement. Spending a little more on a bathroom rated silicone or hybrid product is worthwhile for durability. A failed seal that hides a leak costs far more than a proper repair.
Getting the Most From Your Choice
Check that the toilet is stable and dry, remove old seal fully, clean and dry the joint, and decide on a rear gap before applying. Apply a neat bead, tool it, and allow full curing before heavy mopping. Inspect the base regularly for water, movement or mold, and call a plumber promptly if any appear.
A Closer Look Before You Buy
Think about the floor material under and around the toilet, because tile, vinyl, wood and stone each interact differently with caulk and cleaning. A seal on a textured tile needs more care to tool neatly, while a seal on vinyl needs a product that adheres without damaging the surface. Check product guidance for your floor type before applying, especially for unusual or sealed stone floors.
Also consider accessibility for future maintenance, because a toilet seal will need inspection and eventual replacement. A neat bead that is easy to cut away and replace is better than a thick, messy bead that is hard to remove. Keep the product name and color noted somewhere, so a future reseal matches without guesswork.
Finally, think about hygiene routines around the base, including how you mop and clean the floor junction. A seal that is flushed with the floor is easier to clean than a raised bead that traps dirt. Regular gentle cleaning prevents mold and discoloration, and lets you spot leaks or movement early, before they become costly repairs.
Before resealing, check the toilet for stability by gently rocking it and looking for water, discoloration or soft flooring around the base, because these signs point to problems caulk cannot fix. A stable toilet on a sound floor is ready for resealing, while movement or damp needs a plumber first. Taking ten minutes to check saves a reseal that would only hide a growing problem and a far more expensive floor repair later.
Also think about future access for plumbing work, because a toilet may need removal for a wax ring replacement or floor repair one day. A neat, modest bead is far easier to cut away than a thick mass of sealant spread widely around the base. Apply only as much caulk as the joint needs, keep the bead tidy, and note the product used, so future work starts cleanly rather than with a difficult removal job.
Finally, keep a small record of the reseal date and product used, perhaps with other bathroom maintenance notes, so future inspections and replacements are straightforward. A seal that is checked regularly and replaced promptly protects flooring and hygiene far better than a seal that is forgotten until it fails visibly.
Frequently Asked Questions
Should I caulk around a toilet base?
In many bathrooms yes, for hygiene and appearance, but many plumbers leave a small gap at the rear so leaks can be detected early. The best approach depends on floor type, toilet stability and local practice. Never caulk to hide a leak or a rocking toilet, because that delays needed repair.
What caulk is best for a toilet base?
A bathroom rated silicone or hybrid caulk usually works best, because it resists water, flexes slightly and resists mold. Paintable acrylic is easier to finish but less durable in wet areas. Choose a color that matches grout or flooring, since silicone cannot be painted.
How do I remove old toilet caulk?
Cut old caulk with a utility knife or caulk remover tool, peel it away, and clean residue with a suitable remover and cloth. Take care not to scratch porcelain or flooring. A clean, dry surface is essential for the new seal to bond properly.
How long should toilet caulk cure?
Follow the product label, usually at least 24 hours before heavy mopping or showering nearby, with longer in cool or humid bathrooms. Light use may be possible sooner for some products, but full curing gives the best bond. Plan the job when the bathroom can stay relatively dry.
When should I call a plumber instead of caulking?
Call a plumber if the toilet rocks, leaks at the base, smells of sewage, or the floor feels soft or damaged. These signs suggest a failed wax ring, flange problem or subfloor damage that caulk cannot fix. Professional repair protects the floor and prevents larger water damage.
Final Thoughts
The right approach to best caulk for toilets starts with a stable, leak free toilet, then a neat bathroom rated seal with leak detection in mind. Use the product table above to compare silicone, hybrid and acrylic options, and do not let caulk hide a plumbing problem. A clean seal plus regular checks keeps a bathroom hygienic and safe.
