Best Affordable Cameras for Wildlife Photography in 2026: Which One Fits the Way You Use It?
Disclosure: We may earn a commission when you buy through links on this page, at no extra cost to you. As an Amazon Associate I earn from qualifying purchases. Learn more

Compare affordable cameras for wildlife photography by reach, autofocus, burst speed and lens cost, with a clear checklist for birds and distant animals.
No single camera suits every animal, distance and budget, so start with the subjects you photograph most. The best affordable cameras for wildlife photography give you enough reach to fill the frame, autofocus that holds a moving animal, and a total kit price you can actually pay. Use the comparison table below to check those points first.
A birder working at dawn needs different strengths from a traveler watching elephants from a vehicle. One needs speed and reach in dim light, while the other needs a light kit and simple controls. The sections below match each outing to the right body type and lens reach.





Who Should Buy Which Cameras for Wildlife Photography?
Choose by subject and distance before you compare prices. If you are still weighing the wider field, see our guide to the best cameras for wildlife photography for options at every budget.
Birders Who Photograph Small and Fast Subjects
You shoot small birds that move in short bursts and rarely sit close. Prioritize long lens reach, autofocus that tracks a head or eye through branches, and a fast burst rate. A crop sensor body with a telephoto zoom usually gives you the most reach per dollar. Accept a heavier kit, since reach matters on nearly every outing.
Safari and Trail Users Who Photograph Larger Animals
You photograph deer, bears, elephants or marine mammals, often from a vehicle, boat or marked trail. Your subjects are larger and more predictable, so moderate reach and strong image stabilization matter more than extreme reach. Choose a weather sealed body if dust, spray or light rain is common where you travel, and pick controls you can adjust while wearing gloves.
Hikers and Backyard Watchers Who Want a Light Kit
You walk far, watch feeders, or mix animal sightings with scenery on the same trip. A compact bridge camera or a small mirrorless body with one zoom keeps weight down and avoids lens changes outdoors. If your trips often pair animals with wide views, see our guide to the best cameras for landscape and wildlife photography for kits that cover both in one bag.
Key Features to Compare
Compare these factors in order, because a low body price can hide a kit that needs a costly lens.
Reach From Lens Focal Length and Crop
Reach decides whether an animal fills the frame or becomes a shape you must crop later. For birds, a lens that reaches about 400 mm on a full frame body, or about 300 mm on a crop sensor body, is a practical starting point. Larger mammals at closer range can work well at about 200 to 300 mm. Optical zoom on a bridge camera gives strong magnification without a separate lens, though image quality drops sooner in dim light.
Autofocus and Image Stabilization for Moving Subjects
Wildlife autofocus must find an animal quickly and hold it while it turns, runs or lifts off. Look for animal eye detection, a wide spread of focus points, and tracking that stays on the subject when grass crosses the frame. Image stabilization in the body or lens steadies a long lens at slow shutter speeds, which helps for still or slow animals. It cannot freeze motion, so you still need a fast shutter for birds in flight.
Sensor Size and Image Quality in Low Light
Sensor size shapes how clean your files look at dawn, dusk or under tree cover. A 1 inch sensor in a bridge camera is compact and affordable, but noise rises quickly as light falls. APS C sensors sit in the middle, balancing cost, size and low light quality, and they add useful reach from the crop factor. Full frame sensors give the cleanest high ISO files, yet bodies and lenses cost and weigh more. Megapixels matter less than clean files at high ISO.
Burst Rate and Battery Life in the Field
A burst rate of about 8 to 15 frames per second helps you catch a wingbeat, a leap or a brief head turn, and a deep buffer lets the camera keep shooting before it slows. Battery ratings of about 300 to 800 shots per charge vary widely, and cold weather, burst shooting and screen use all cut that figure. USB C charging helps on trips, but a spare battery is still the safer plan for a full morning.
Reach and Speed You Can Expect at Entry Prices
Set your budget for the whole kit, not the body alone, because the telephoto lens often costs as much as the camera. When you shop for best affordable cameras for wildlife photography, expect to trade away some low light quality, weather sealing or tracking speed, not reach. Bridge cameras often cost about $400 to $800 complete, while a mirrorless body with a telephoto zoom often runs about $900 to $1,800. Never cut lens reach to save money, because no setting can replace it later.
Camera Types Compared for Affordable Wildlife Work
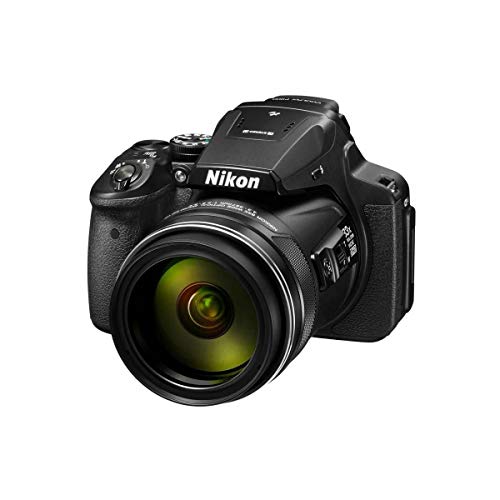
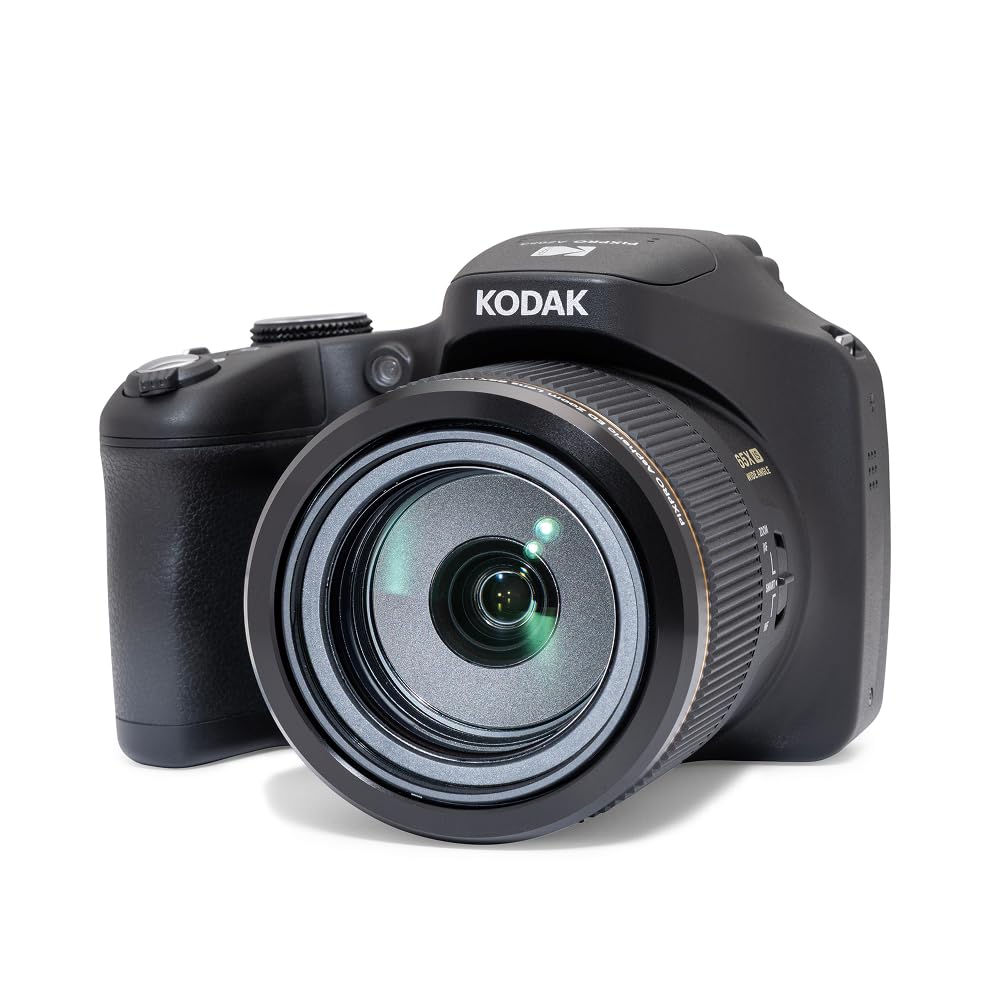
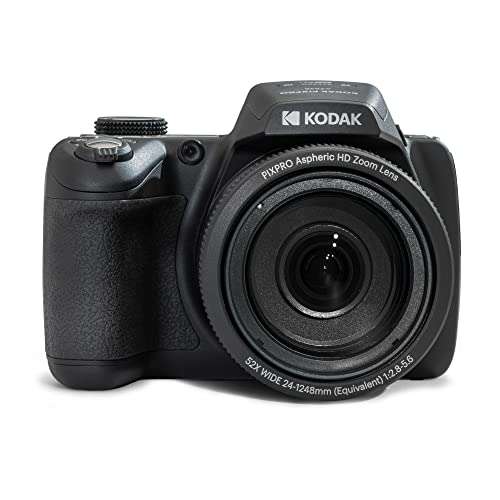
Bridge cameras pair a small sensor with a very long fixed objective lens, so the kit is light and ready for distant subjects, at the cost of weaker low light files. They suit beginners and travelers who want reach without lens changes. For a broader look at budget bodies beyond wildlife use, see our guide to the best affordable photography cameras.
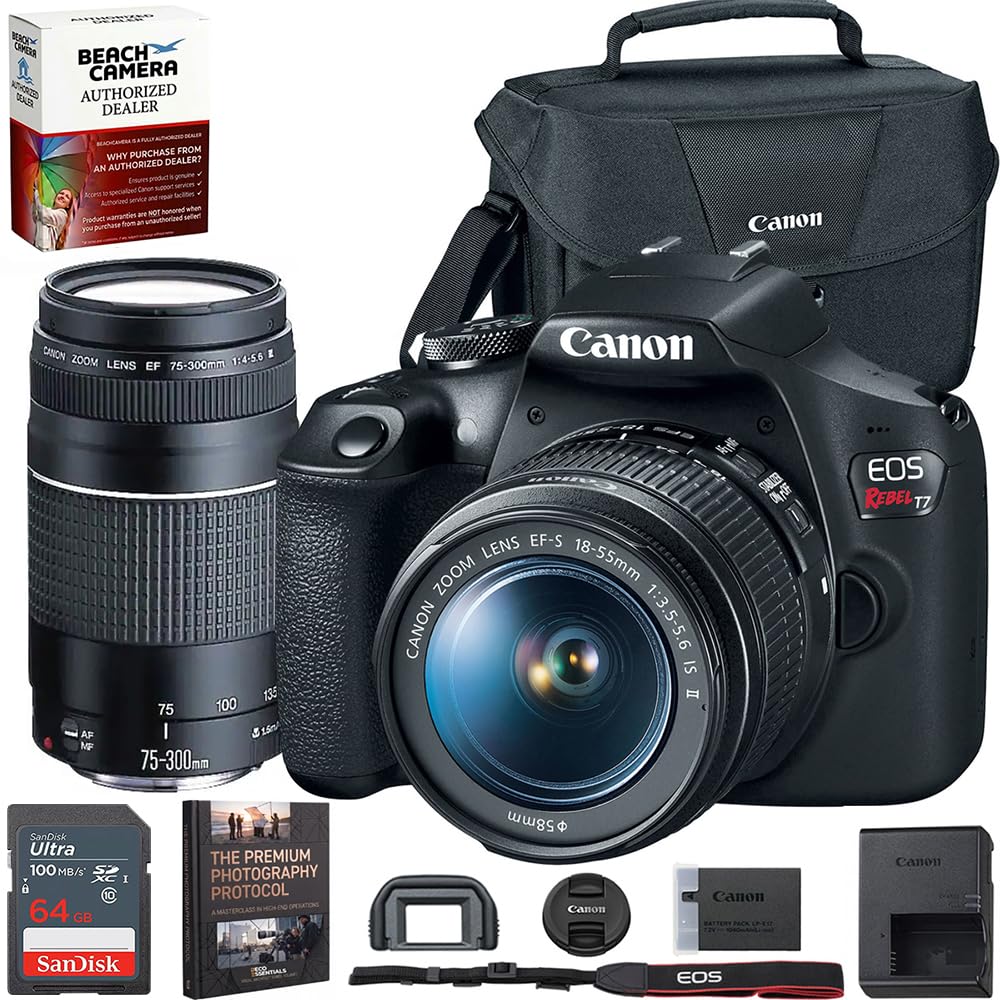
Mirrorless cameras use larger sensors and changeable lenses, so you can start with one telephoto zoom and upgrade the lens later. They track moving animals better and handle dim light better, but the total price grows with each lens. Used DSLR bodies cost less still and offer many older telephoto lenses, yet they are bulkier and their autofocus trails current mirrorless systems for moving animals.
Common Mistakes to Avoid When Buying a Wildlife Camera
These errors waste money on paper specs while the subjects in front of you stay small, blurred or missed.
- Buying a body with a short kit lens leaves distant animals too small to crop without losing detail.
- Judging a camera by megapixels alone ignores the noise that ruins dawn and forest shots at high ISO.
- Skipping animal tracking autofocus means many frames focus on grass or branches instead of the animal.
- Forgetting the cost of a spare battery, cards and a padded bag pushes the real kit price past your budget.
- Choosing reach with no weather sealing risks shutdowns when dust, spray or light rain reaches the body and lens.
Care and Maintenance for Wildlife Cameras
Clean the front lens element with a blower first, then a lens cloth, never your shirt, because grit dragged across glass can scratch the coating. Wipe salt spray and dust off the body after each outing, keep both lens caps on in transit, and store the kit in a dry padded bag.
Carry a spare battery and keep batteries warm in cold weather, since chilled cells drain faster. Let a cold camera warm up inside a sealed bag when you come indoors, so condensation forms on the bag rather than inside the lens. Check mounts and the card door for grit before closing them, and use a service shop for sensor spots a blower cannot clear.
FAQ
What features matter most when an affordable camera is used for wildlife photography?
Reach, tracking autofocus and burst speed matter most, in that order, when money is limited. Spend first on reach, because a sharp close frame beats a distant frame with more megapixels. One extra point many buyers miss is shutter sound, since a quiet or silent shutter mode can keep a nearby animal calm at a blind or feeder while a loud shutter may end the encounter.
How much should I spend on my first camera for wildlife photography?
Plan on about $400 to $800 for a complete bridge camera, or about $900 to $1,800 for a mirrorless kit with a telephoto zoom. Hold back a share for a spare battery, fast cards and a bag. Buying a used telephoto lens from a reputable seller is one safe way to move money from the body into the reach that shapes your results.
How does crop factor change the reach of a wildlife camera lens?
Crop factor narrows the view, so a 300 mm lens on an APS C body frames a subject much like a 450 mm lens on a full frame body. That tighter view helps you fill the frame from farther away. Keep the extra distance as a courtesy too, because staying back avoids stressing nesting birds or pushing mammals off a feeding area.
Which wildlife camera specs can beginners safely ignore at first?
Beginners can safely ignore very high video frame rates, huge megapixel counts and advanced flash systems at first. None of these helps you find, frame or focus on a distant animal. Put that money toward a monopod if your lens feels shaky, since steady support improves sharpness on slow subjects and costs far less than a body upgrade.
Which sensor size is better for wildlife photography in low light, APS C or full frame?
Full frame is better in low light because its larger sensor gathers more light and keeps files cleaner at high ISO values. APS C still wins on price and reach for many buyers. Whichever size you choose, protect your shutter speed first, since a moving animal blurs at slow speeds even on the best sensor, and accept some noise rather than losing the moment.
Is a smartphone enough instead of a dedicated camera for wildlife photography?
A smartphone is enough for large, calm animals at close range, such as zoo animals or tame park deer. It falls short for wild birds and distant mammals, because digital zoom crops away detail instead of magnifying the scene optically. A phone still earns a place in your pocket for record shots that help you identify a species later with a field guide app.
The Bottom Line
Put reach first, tracking autofocus second and total kit cost third, and most choices become clear. Match the camera type to your subjects and the distance you walk, then use the product table above to compare the finalists on lens range, burst rate and price.
Chosen that way, best affordable cameras for wildlife photography stop being a price hunt and become a kit that gets you close, keeps focus and stays within budget outing after outing.