Best Cameras for Webinars in 2026: Matching the Right Model to Your Routine
Disclosure: We may earn a commission when you buy through links on this page, at no extra cost to you. As an Amazon Associate I earn from qualifying purchases. Learn more
Compare the best cameras for webinars by resolution, focus, light handling and fit for your calls, with a clear checklist to avoid overspending.
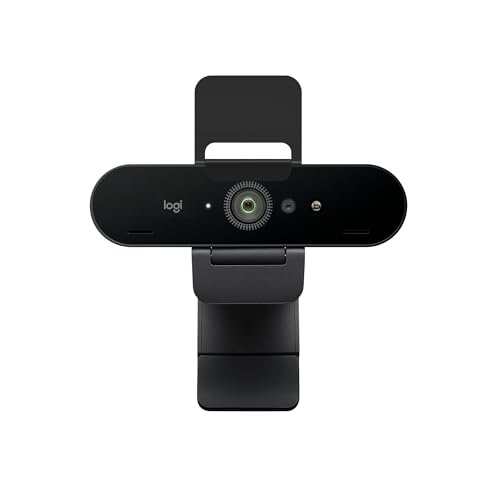
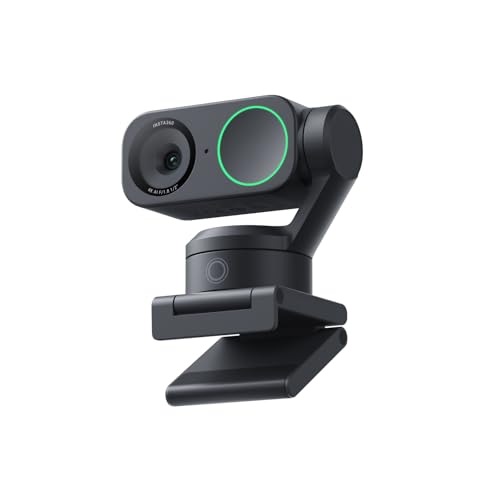
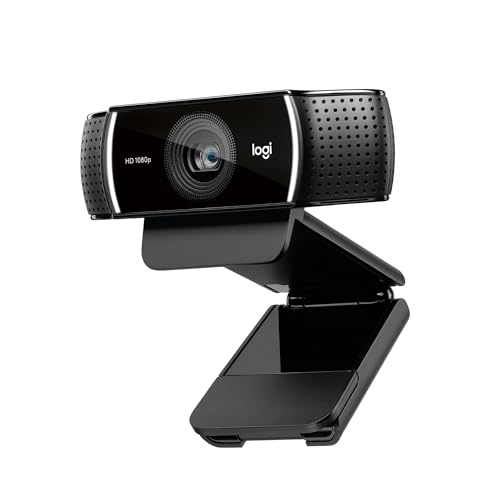
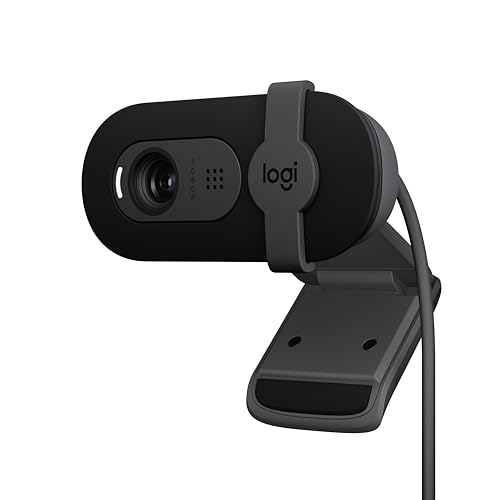
There is no single camera that suits every webinar, because a solo sales call, a training session and a panel discussion place different demands on the image. The best cameras for webinars are the ones that match how you present, where you sit and how much of the room you need to show. Use the comparison table below first.
This guide works by use case. You will first match a camera type to your role, then compare resolution, focus, light handling, field of view and sound in a clear order. That order helps you pay for gains you will actually see on calls.



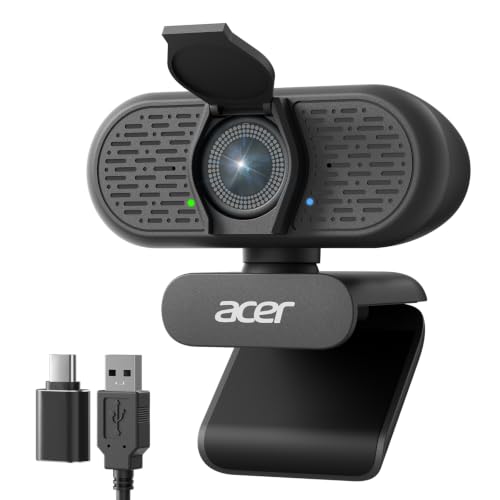

Who Should Buy Which Type of Camera for Webinars?
Start with the call you lead most often. Your movement, your audience size and whether you share the frame matter more than maximum settings.
Solo Presenters and Remote Workers Who Lead Calls
You sit in one place, speak to clients or colleagues and need to look clear without managing gear during the call. Choose a dedicated USB camera with reliable autofocus, balanced exposure and a field of view that shows your head and shoulders with a little room around you. Simple controls and a monitor clip suit you best.
Teachers, Coaches and Trainers Who Move and Demonstrate
You stand, step back, hold up materials or write where the audience can see your work. Choose a camera with fast autofocus, auto framing that follows you within the frame and a wider view that keeps your hands and board in shot. A tripod mount gives you more placement choices than a monitor clip alone, and steady focus matters more than extra resolution.
Panel Hosts and Small Teams Who Share One Frame
You share the camera with two to four people at a table, so everyone must stay visible and audible at once. Choose a wide field of view, a microphone that picks up voices from several seats and framing that includes the whole group without placing the camera far away. A room camera on a tripod or table mount will serve you better than a narrow desk camera.
Key Features to Compare
Compare these five factors in order. Each one changes what your audience sees or hears, and together they separate average options from the best cameras for webinars for a given routine.
Resolution and Frame Rate for Webinar Video
Resolution sets how much fine detail the camera can capture, such as facial expression, text on a shared prop and the edges of a product you hold up. For most desk webinars, 1080p at 30 frames per second looks sharp on a laptop screen and stays smooth for normal head and hand movement. A 60 frames per second option helps if you move quickly or demonstrate motion. Choose 4K video only when your connection can carry it.
Autofocus and Auto Framing for Webinar Presenters
Autofocus keeps your face sharp when you lean toward the screen, sit back or hold an item closer to the lens. Fast and calm focus matters, because a camera that hunts back and forth distracts viewers even when the final image is sharp. Auto framing can track you and adjust the frame as you shift position, which helps trainers most. Seated presenters who stay still can skip tracking.
Sensor Size and Low Light Handling at a Desk
Sensor size helps decide how cleanly a camera handles a dim room. A larger sensor, such as a 1 inch type in a premium webcam or an APS C or full frame sensor in a mirrorless body, gathers more light and usually holds detail with less grain in the evening. Aperture matters too, since a wider opening lets in more light. If you present after dark, rank this factor high.
Field of View and Framing for One Person or a Group
Field of view is how much of the room the lens shows, stated in degrees. A view of about 65 to 78 degrees frames one person at a desk without showing much of the room behind you. A view of about 85 to 95 degrees suits two people or a presenter who needs space to gesture. Very wide views can make a solo presenter look small, so wider is only better when you truly need the room.
Built In Microphones and Audio Pickup for Webinar Calls
Most webinar cameras include built in microphones, and their reach decides whether you can sit naturally or must lean toward the desk. A single microphone suits a quiet room and a close seat. Dual microphones with noise reduction help in a shared office, because they favor your voice over steady background sounds such as a fan. Judge image and voice pickup as two separate choices.
How to Set Up a Camera for Webinars at Your Desk
Three camera types cover most webinars. A dedicated USB webcam clips to your monitor, connects by USB and works as plug and play in common meeting apps, so it is the simplest route for most presenters. A mirrorless or digital camera connects by USB or through an HDMI capture device and gives you a larger sensor and lens choice. If you compare that route, see our guide to the best digital cameras and our guide to the best cameras for photography.
Place the lens at eye level and about 24 to 40 inches from your face for a solo frame, then adjust your chair until your eyes sit near the upper third of the image. Center the camera on the screen you look at most, because a camera on a side monitor makes you appear to look away from your audience. Check that the mount feels firm and the cable reaches without pulling.
Before an important session, join a private test call and check four things in order. Confirm the app has selected the camera and microphone you intend to use, look for a privacy shutter and indicator light so you know when the camera is live, and glance at the background for items you do not want to share. Readers who put image quality first can also see our guide to the best quality cameras.
Common Mistakes to Avoid
Most disappointing purchases come from a short list of avoidable errors.
- Buying for maximum resolution alone leaves you paying for detail your meeting platform cannot deliver.
- Choosing a very wide field of view for solo calls makes you look distant and shows clutter you meant to hide.
- Placing the camera well below eye level forces viewers to look up at you and makes the frame feel awkward.
- Ignoring microphone reach leaves you with a clear picture and a voice that sounds thin or far away.
- Skipping a test call before a paid session lets a wrong input setting surface in front of your audience.
Care and Maintenance for Webinar Cameras
Clean the lens with a soft lens cloth and a gentle circular motion, because shirt fabric and paper towels can leave fine marks that soften the image over time. Keep the cloth in a small case near your desk so dust does not collect on it. Wipe the body with a dry cloth and keep drinks away from the cable ends.
Update the camera software when the maker offers a new version, since updates often improve focus behavior and app compatibility. Coil the cable loosely without sharp bends, and store a camera you travel with in a padded pouch rather than loose in a bag. Leave the camera mounted between daily calls if your desk allows it, because repeated mounting wears the clip and shifts your framing. First time buyers who want a simpler start can see our guide to the best starter cameras.
FAQ
What features matter most in a camera for webinars?
Calm autofocus, honest exposure and a field of view that fits your frame matter most in a camera for webinars. One point many buyers miss is consistency, because meeting platforms compress your video and a camera that holds steady exposure and focus under that compression looks better than a sharper camera that shifts constantly.
Is a smartphone enough instead of a dedicated camera for webinars?
A smartphone can be enough for an occasional webinar, and its camera is often sharp in good light. For regular presenting it has real limits, because incoming calls and alerts can interrupt the session, the phone may grow warm on a long call and you lose the device you need for codes and notes.
Is 4K resolution necessary for a camera for webinars?
No, 4K resolution is not necessary for a camera for webinars, since most platforms send your video at 1080p or lower. Where 4K does help is cropping, because a higher resolution sensor lets the camera zoom the frame toward your face or follow your movement while still sending a clean 1080p picture.
Which camera type handles low light best for evening webinars?
A mirrorless camera with a large sensor handles low light best for evening webinars, followed by a premium webcam with a large sensor for its class. Before you upgrade, try the lowest cost fix first, because a lamp placed in front of you and slightly to one side improves any camera at once.
How much should you spend on your first camera for webinars?
Most first time buyers should spend about $50 to $100 on a simple USB camera for solo desk calls. Step up to about $100 to $250 when you present in dim light, move while you teach or share the frame with another person. A mirrorless route costs more once you add a lens and connection gear, so choose it only when you will also use the camera for other work.
Wrapping Up
Match the camera to your routine first, then compare focus, light handling and field of view in that order. Solo presenters need simplicity and calm focus, trainers need tracking and room to move, and shared tables need width and voice reach. Use the product table above to check each finalist against your role.
The right choice lets your audience focus on what you say instead of how you look while saying it. Start from best cameras for webinars that fit your routine, confirm the setup in a test call, and you will present with a clear and steady image.