
Best Cameras for Infrared Photography in 2026: Every Type Explained Side by Side
Disclosure: We may earn a commission when you buy through links on this page, at no extra cost to you. As an Amazon Associate I earn from qualifying purchases. Learn more
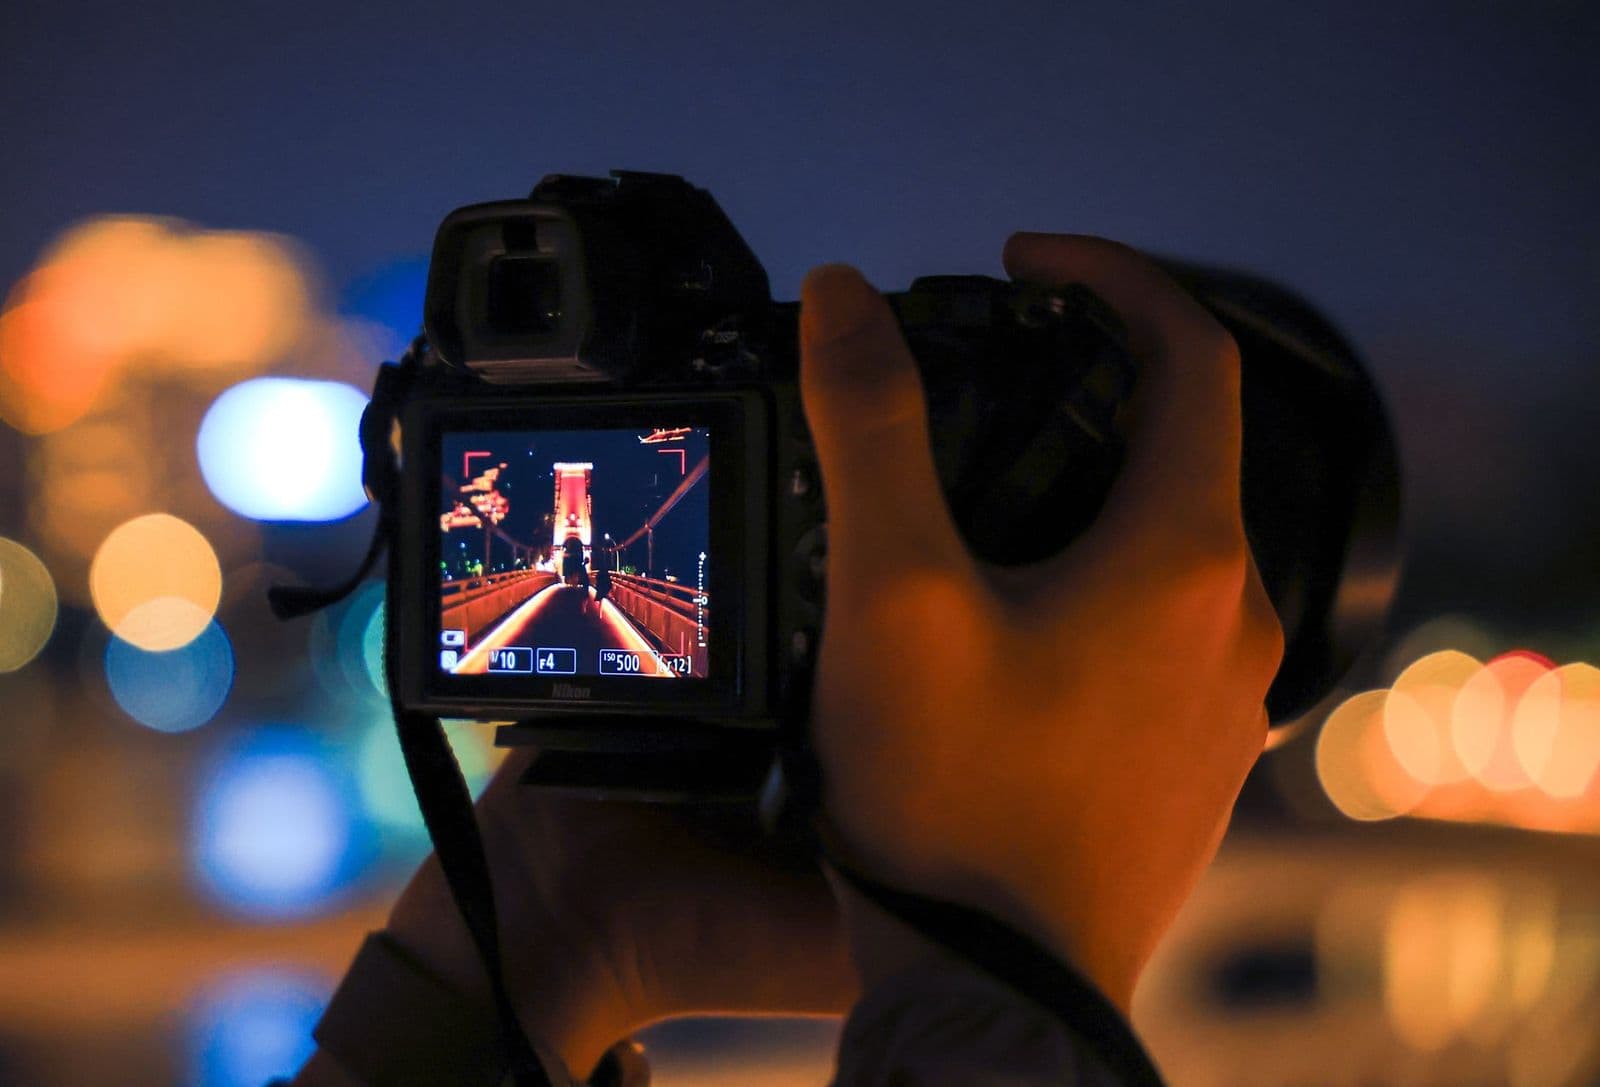
Compare converted mirrorless, DSLR and action camera types for infrared photography, plus filters, sensor size, focus, white balance and budget advice.
A normal camera blocks most infrared light before it reaches the sensor, which confuses many buyers. The best cameras for infrared photography either remove that blocking filter or work around it well. This guide compares each type so you can choose a route with confidence.
Start with how you want to shoot. A converted body gives bright exposures and handheld freedom, while an unconverted body with a lens filter needs a tripod and long exposures.
Types of Cameras for Infrared Photography Compared
Three routes cover almost every buyer, differing in cost, exposure time, and color.
Action Cameras for Infrared Work
Action cameras have small sensors and fixed wide lenses, and only modified versions record infrared well because standard versions block it strongly. Their strength is size and toughness, with weatherproof cases for travel and wet locations. Their limits are real for stills work, since small sensors show more noise and you cannot swap lenses. Choose this type for casual experiments and video clips rather than large prints.
Mirrorless Cameras for Infrared Work
Mirrorless cameras are the most flexible route because live view shows the infrared scene before you shoot. Interchangeable lenses let you test several focal lengths, and modern sensors give clean files at high sensitivity. A dedicated conversion suits regular shooting, while a full spectrum conversion lets you select the look with lens filters. Choose this type if infrared will become a regular part of your work.
Converted DSLR Cameras for Infrared Work
A converted DSLR replaces the internal blocking filter with one that passes a chosen infrared band, so exposures stay short enough for handheld work. The optical finder shows the visible scene rather than the infrared result, so you judge the effect later on screen. Autofocus must be calibrated for infrared light during conversion, usually for one chosen lens. Choose this type if you already own suitable lenses and accept a more limited preview than live view gives.
Action Cameras vs Mirrorless Cameras: Which Should You Choose?
Choose a mirrorless camera if image quality, lens choice, and reliable focus matter most, since its larger sensor and live view solve the main infrared problems. Choose an action camera if small size and rough outdoor use matter more than print size. Mirrorless setups often cost about $600 to $1,500 in total, while a modified action camera can start at about $250 to $450. For most stills photographers, mirrorless is the safer long term choice.
For normal color work, compare both routes with our guide to the best cameras for photography, since a second body often beats converting your only camera.
How to Choose the Right Camera for Infrared Photography
Use the factors below when you compare the best cameras for infrared photography for your subjects. Conversion type comes first, then filter wavelength, then lens and sensor details.
Conversion Type and Filter Wavelength
A dedicated conversion passes one infrared band every time, while a full spectrum conversion passes ultraviolet, visible, and infrared light and needs a filter on the lens to select the band. A 720 nm filter gives a mostly monochrome look with dark skies and very pale foliage. A 590 nm or 665 nm filter keeps more color for later channel swapping. Choose 720 nm for a classic look, and choose a lower wavelength if you enjoy color work.
Sensor Size, Noise and Print Detail
Sensor size shapes noise, detail, and print size more than megapixel count alone. A 1 inch sensor can give clean files in bright sun, but it gathers less light during long exposures. APS C sensors balance cost, lens size, and quality for most buyers. Full frame sensors give the cleanest files and the widest dynamic range, which helps hold highlight detail in bright foliage. Choose the largest sensor you will carry willingly.
Autofocus, Live View and Infrared Focus Shift
Infrared light focuses at a slightly different point than visible light, so a camera can show a sharp visible image and still record a soft infrared one. Live view avoids much of this problem because the sensor itself forms the image you focus on. On a converted DSLR, autofocus works only when the conversion was calibrated, often for a single lens. Choose live view if you plan to use several lenses.
Lens Hot Spots and Image Stabilization
Some lenses create a bright circle in the center of infrared frames, called a hot spot, and it grows worse at narrow apertures. No camera setting removes it fully, so lists of tested lenses from conversion services are worth reading before you buy. Image stabilization helps for handheld converted work, but a tripod gives the sharpest results on an unconverted body. Test any new lens early, while a return is still possible.
Battery Drain During Long Infrared Exposures
Live view and long exposures drain a battery much faster than normal daylight shooting. Many mirrorless bodies give about 300 to 500 shots per charge in this use, and cold weather lowers that figure. USB C charging lets you top up from a power bank between locations. Carry at least one spare battery, and turn off the screen between frames on a tripod.
Picking the Right Cameras for Different Uses
Landscape shooters want pale trees and dark water, so a 720 nm mirrorless conversion suits them well. Portrait shooters often prefer a 590 nm or 665 nm conversion because skin takes on a smooth pale tone and some color remains. Travel shooters may accept a lens filter, trading speed for a smaller kit.
Best Digital Cameras for Infrared Photography
Digital bodies suit infrared work because you can review exposure, focus, and white balance on the spot and adjust before the light changes. Prioritize a good raw file, a clear live view screen, and custom white balance set from sunlit grass or a gray card. If you are new to digital systems, see our guide to the best beginning photography cameras for the basic controls to learn first.
Budget for hidden costs as well. A conversion, one lens filter, and a spare battery can add about $300 to $600 beyond the body price. First kit buyers can also see our guide to the best cameras for starter photography for basic features worth paying for.
Common Mistakes to Avoid
- Converting your only camera leaves you without a body for normal color work on the same trip.
- Buying a lens without checking hot spot reports risks a bright circle in the center of every frame.
- Trusting the normal white balance setting gives files a deep red cast that is hard to correct later.
- Judging focus only through an optical finder misses infrared focus shift and returns soft images.
- Choosing the lowest filter wavelength for a monochrome look leaves more color than you wanted in the file.
- Ignoring conversion cost when you set your budget leaves too little for a suitable lens.
Care and Maintenance for Infrared Cameras
Use a lens cloth, not your shirt, to clean the front element and any lens filter, since grit in fabric can scratch coatings. Carry a spare battery in an inside pocket in cold weather, and store the camera in a dry, padded bag. Keep spare filters in hard cases, because a scratched filter shows marks across the whole frame.
After a damp outing, leave the bag open at home so moisture escapes, and wipe the body dry before storage. A converted sensor should be cleaned only with care, since its filter surface is part of the conversion work. If dust spots appear and a blower does not clear them, ask the conversion service about safe cleaning rather than using wet swabs at once. For a wider view of dedicated options, see our guide to the best infrared cameras.
Cameras for Infrared Photography: Your Questions Answered
What features matter most in cameras for infrared photography?
The features that matter most are a suitable conversion or filter route, reliable live view focus, and a clean raw file. Custom white balance also matters, since many bodies struggle to balance a strong red cast. Choose a tilting rear screen you can read in bright sun, because most infrared shooting happens outdoors at midday.
How much should I spend on a first camera for infrared photography?
Plan on about $400 to $800 for a sensible first setup, including a used body and a conversion or a good lens filter. Spending less often means slow tripod work, which still teaches the craft well. Keep part of the budget for a suitable lens, since a costly body with a hot spot prone lens gives poorer results than a modest body with a clean lens.
What specs matter most for beginners starting infrared photography?
For beginners, the specs that matter most are live view quality, raw capture, and simple custom white balance controls. Sensor size comes next, with APS C offering a forgiving balance of cost and quality. Skip advanced video modes at first, even where 4K video is offered, because infrared stills depend on focus accuracy and exposure control far more.
Is a smartphone enough instead of a camera for infrared photography?
A smartphone is not enough for serious infrared photography, because its internal filter blocks infrared light and most models give you no lens filter thread. Clip on filters exist, but exposures stay long and quality falls quickly in shade. A phone still helps for scouting, since you can note where foliage and water will give strong infrared contrast later in full sun.
Which camera type is better for low light infrared photography?
A converted mirrorless camera is better for low light infrared work, because conversion removes the need for a dark lens filter and live view keeps focus accurate as light falls. Full frame sensors hold the cleanest files in shade and at dusk, while action cameras add noise quickly here. In very dim scenes, a tripod and a longer exposure still beat raising sensitivity on any type.
Wrapping Up
Match the conversion type to your subjects first, then check lens hot spot reports, live view focus, and total cost with conversion included. Compare sensor size, format, and price once your filter wavelength is settled.
With those points in mind, the best cameras for infrared photography will give you dark skies and glowing foliage. Start with one wavelength and add a second route only when a subject truly calls for it.

