
Best Cables for Studio Monitors of 2026: Complete Buying Guide
Disclosure: We may earn a commission when you buy through links on this page, at no extra cost to you. As an Amazon Associate I earn from qualifying purchases. Learn more

The best cables for studio monitors match your connectors, stay balanced, and keep noise out. Check types, length, and shielding first.
Your monitors can only play back what actually reaches them, and the cable between your interface and each speaker decides how clean that signal stays. Pick the wrong type and you invite hum, buzz, radio interference, and dropouts that no plugin can remove later. Choosing the best cables for studio monitors is mostly about matching connectors, using balanced runs where your gear supports them, and buying only the length you need. The comparison table below gathers solid options so you can compare types side by side.
This guide walks through who needs which cable setup, the features that separate a quiet cable from a noisy one, and the mistakes that cause most studio noise problems.





Who Should Buy Which Cable Setup?
Home Studio Owners With a Balanced Interface
If your audio interface or mixer has balanced outputs, usually labeled on the back panel next to XLR or quarter inch TRS jacks, balanced cables are the right default for you. A balanced run cancels noise picked up along the way, which matters in a room full of power strips, lamps, and computer gear. Buy one balanced cable per monitor, in the shortest length that reaches comfortably. If you want the wider picture first, see our guide to the best audio cables for studio monitors for how monitor cables fit into a full studio wiring plan.
Budget Setups With RCA or Unbalanced Outputs
Some smaller interfaces, DJ controllers, and older mixers only offer RCA or unbalanced quarter inch outputs. In that case an unbalanced cable is not a mistake, it is the only connection your gear supports. Keep those runs short, ideally under 10 feet, route them away from power bricks, and you can still get clean sound. Many entry level monitors include RCA inputs for exactly this kind of setup, so check the back panel before you order anything.
Creators With Larger Rooms or Long Runs
Once a cable run passes about 15 to 20 feet, noise pickup stops being a small risk and becomes a near certainty with unbalanced wiring. Podcast rooms, video editing suites, and classrooms often place monitors far from the source, so balanced XLR or TRS cables are worth the small extra cost. Longer runs also benefit from sturdier jackets that survive being stepped on. Plan your routing first, measure twice, and only then choose lengths.
Key Features to Compare
Balanced vs Unbalanced Signal
A balanced cable carries your audio on two signal wires plus a shield, and the receiving input compares the two wires and cancels whatever noise both picked up along the way. An unbalanced cable carries the signal on one wire, so any interference it collects goes straight into your monitor as hum or buzz. Balanced wiring is the single biggest upgrade you can make for a quiet studio, especially near computers and dimmer switches. For a deeper look, see our guide to the best balanced cables for studio monitors.
Connector Types: XLR, TRS, TS, and RCA
XLR connectors lock into place with a latch, use three pins, and carry a balanced signal, which makes them the most secure choice for monitor runs. TRS connectors look like a standard quarter inch plug but have an extra ring on the shaft, and that extra contact lets them carry a balanced signal too. TS plugs lack the ring and are unbalanced, and they belong on instruments rather than monitor feeds. RCA plugs are unbalanced and common on budget gear. What matters most is simple: the connector on each end must match a jack your gear actually has, and balanced jacks deserve balanced cables.
Cable Length and Signal Loss
Buy the shortest cable that reaches with a little slack for moving the monitor during cleaning or desk changes. Extra cable coiled behind a desk acts like an antenna for interference and creates a tangled mess that is hard to trace when something goes wrong. Balanced cables handle runs of 25 feet and beyond with little trouble, while unbalanced cables should stay under 15 feet and ideally much shorter. Measure your actual route, including drops from desk height to floor level, rather than guessing the straight line distance.
Shielding and Noise Rejection
The shield is the metal layer wrapped around the inner wires, and its job is to catch interference before it reaches the signal. Braided shields offer strong coverage and hold up well when a cable gets flexed often, while foil shields are lighter and common on shorter cables. Dense coverage matters more than exotic materials at monitor cable lengths, so look for listings that state high coverage percentages. Good shielding works together with balanced wiring, not instead of it, so a well shielded unbalanced cable still cannot cancel noise the way a balanced run can.
Wire Gauge and Conductor Quality
Monitor cables carry a line level signal, not speaker power, so they do not need thick conductors. Most quality monitor cables use conductors around 22 to 24 AWG, which is plenty for a line level feed. Oxygen free copper is a sensible conductor choice because it resists corrosion at the contact points over time. What you feel in daily use matters more: a cable that stays flexible, coils neatly, and does not kink will outlast a stiff one that fights you every time you move a speaker.
Connector Build and Strain Relief
More cables fail at the ends than in the middle. Look for metal connector shells rather than thin molded plastic, contacts that grip firmly without forcing, and a flexible strain relief where the cable meets the plug so the internal wires are not bent at a sharp angle every time the cable moves. XLR latches should click positively and release smoothly. If you plug and unplug often, connector durability is worth paying a little more for.
Types of Cables for Studio Monitors
XLR Cables
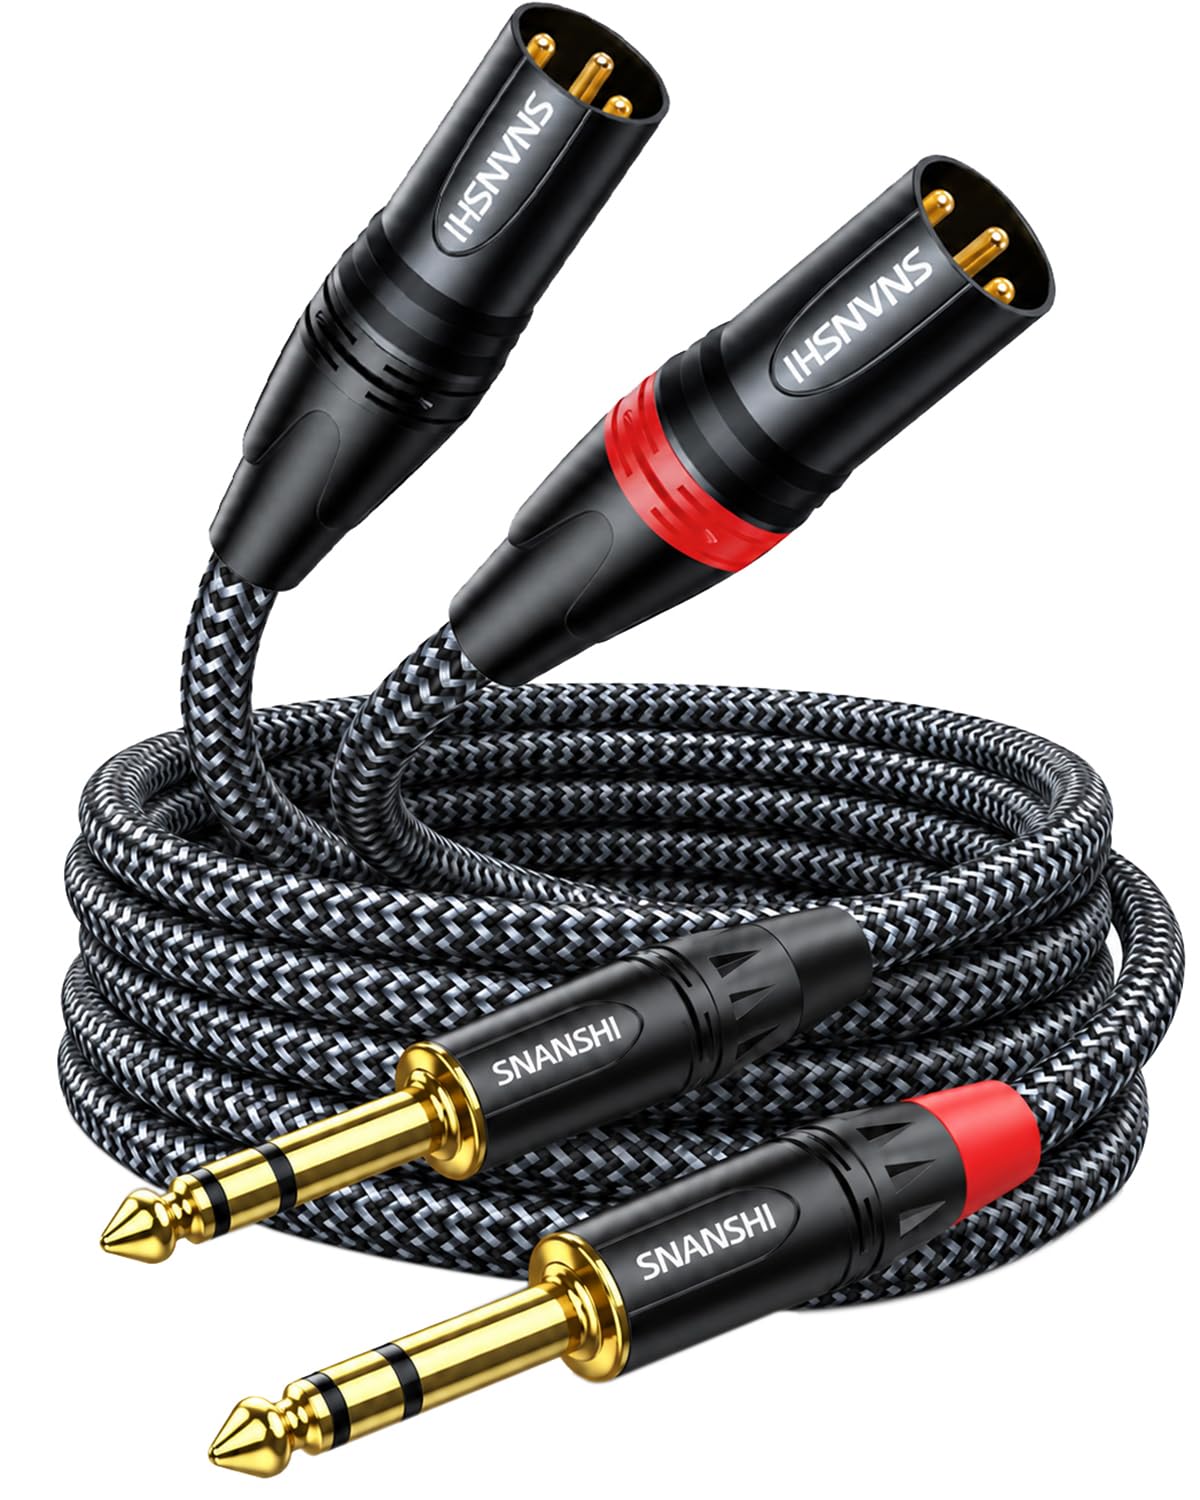
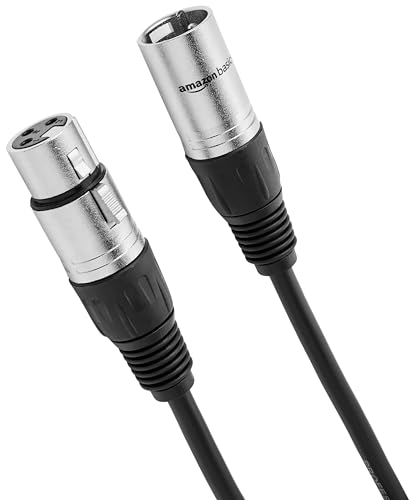
XLR cables are the studio standard for powered monitors because they lock, they are balanced, and nearly every professional interface and monitor offers XLR jacks. A male XLR end feeds the monitor input and a female end connects at the source, so check the direction your gear needs before ordering a pair. If your setup uses XLR throughout, see our guide to the best xlr cables for studio monitors for length and build options by room size.
TRS Cables
TRS cables suit interfaces and mixers whose balanced outputs are quarter inch jacks rather than XLR, and many monitors accept TRS inputs as well. A common studio cable pairs XLR on one end with TRS on the other, bridging the two jack styles without any adapter. If your chain mixes both connector types, see our guide to the best trs cables for studio monitors for pairing advice. Always confirm a quarter inch cable is truly TRS by counting two dark rings on the plug, because a TS cable looks similar and silently turns your balanced run into an unbalanced one.
Best RCA Cables for Studio Monitors
RCA is the choice when your source only has RCA outputs, which is common with budget interfaces, DJ gear, and some desktop DAC units. Because RCA is unbalanced, the best rca cables for studio monitors are the short and well shielded ones, with snug plugs that do not spin loosely in the jack. Keep an RCA run under 10 feet when you can, separate it from power cables, and expect clean results in a small desk setup. If you later upgrade to a balanced interface, replace the RCA cables too so the whole chain becomes balanced.
A Note on Speaker Cables and Passive Monitors
Everything above concerns powered monitors, which have their own amplifiers and take a line level signal. Passive monitors are different: they need an amplifier and thick speaker wire that carries real power, and line level cables must never be used in that role. If your speakers have bare wire terminals or binding posts instead of XLR or TRS inputs, see our guide to the best speaker cables for studio monitors for gauge and length guidance.
Common Mistakes to Avoid
- Using TS instrument cables for monitor runs, which leaves the signal unbalanced and open to hum from lights and power supplies.
- Buying cables far longer than the route needs, so the excess coils behind the desk and picks up interference.
- Mixing balanced and unbalanced links in one chain, which makes the whole run only as quiet as its unbalanced part.
- Running audio cables bundled tightly alongside power cords for long stretches, which invites buzz into the signal.
- Judging a cable only by gold plated contacts, while ignoring shielding, connector build, and whether it is balanced at all.
- Ordering two cables with the wrong connector direction for XLR, so one end cannot plug into the monitor.
How to Make Your Studio Monitor Cables Last Longer
Coil monitor cables in loose loops using the over and under method technicians rely on, which keeps the internal conductors from twisting and developing weak spots. Never wrap a cable tightly around your elbow or yank it out of a jack by the cord; grip the connector shell instead. Keep cables off the floor where chair wheels and foot traffic crush them, and use cable ties or a tray under the desk to hold runs in place.
Every few months, unplug each cable and check the connectors for looseness, bent pins, or cracked strain reliefs, and wipe dusty contacts with a dry cloth. If one channel starts crackling when the cable moves, replace that cable rather than wiggling it back into working order, because intermittent faults tend to return during a session you care about. Store spares loosely coiled in a drawer, away from heat vents and sunlight that dry out jackets.
FAQ
What matters most when choosing cables for studio monitors?
Matching the connection type to your gear matters most, with balanced wiring first on the list. If both your source and your monitors offer XLR or TRS jacks, a balanced cable removes most everyday noise before it starts. After that, buy the shortest practical length and look for solid connectors. One extra point: order cables as a matched pair from the same line, so both channels share the same build and length.
How long do studio monitor cables last?
Studio monitor cables typically last many years because they sit still and carry a gentle line level signal rather than power. The usual failure point is the connector, where repeated plugging, tight bends, and cables hanging under their own weight slowly break internal connections. A cable that crackles when flexed near the plug is near the end. Keeping runs supported in a tray instead of dangling behind the desk stretches that lifespan further.
What cable length should I buy for studio monitors on a desk?
For a typical desk, cables of 3 to 6 feet reach most monitor positions with a small amount of slack. Measure from the output jack, along the route the cable will actually take, down and back up to the monitor input, then add about a foot for repositioning. Desktop setups rarely need more than 10 feet per side. If your route is far longer than expected, move the interface closer rather than buying very long unbalanced cables.
Can I use microphone cables for studio monitors?
Yes, a standard microphone cable works for studio monitors because both use balanced XLR wiring and carry similar signal levels. The connectors and pin layout are the same, so a good mic cable is a reasonable spare or main cable. The one thing to check is condition: stage worn mic cables with damaged shields can add noise. If a cable already crackles on vocal duty, retire it instead of moving it to your monitors.
Do expensive cables make studio monitors sound better?
Expensive cables do not add clarity or detail that a well made budget cable lacks, because a line level signal either arrives cleanly or it does not. What extra money can buy is better shielding, tougher jackets, and connectors that survive years of handling. Spend first on the right type and length, then on build quality, and treat claims of dramatic sonic upgrades with skepticism. Fixing a noisy unbalanced run improves your sound far more than any premium cable swap.
Final Thoughts
Start with the jacks on your own gear, choose balanced XLR or TRS cables when both ends support them, keep lengths honest, and favor sturdy connectors over flashy claims. Those few decisions cover nearly every noise and reliability problem readers run into. Check the product table above to compare lengths and connector pairings, and you will end up with the best cables for studio monitors for your room, your interface, and your budget. Prices and availability can change, so check the product page before ordering.


