Best Balanced Cables for Studio Monitors: Types Compared and How to Choose for 2026
Disclosure: We may earn a commission when you buy through links on this page, at no extra cost to you. As an Amazon Associate I earn from qualifying purchases. Learn more

Cut buzz and hum with the best balanced cables for studio monitors: XLR and TRS types, shielding, connectors, and length compared.
Buzz and hum through your monitors rarely mean the speakers are faulty. More often, the link between your interface and each monitor is picking up interference along the way. Choosing the best balanced cables for studio monitors fixes that path, because a balanced link cancels much of the noise it collects. The comparison table below gathers the main options so you can match them to your ports.
This guide compares cable types rather than naming products. You will learn which connector pairing suits your setup, what shielding and length change in a small room, and which checks prevent hiss before you spend anything.





Who Should Buy Balanced Cables for Studio Monitors?
Home Producers With an Audio Interface and Powered Monitors
You record and mix at a desk, your interface sits within a few feet of your monitors, and both devices offer balanced outputs and inputs. A short balanced pair keeps quiet passages clean when a lamp or a computer shares the same wall outlet. If you are still sorting the wider setup, see our guide to the best cables for studio monitors.
Mixing Rooms That Need Quiet Playback at Low Volume
You listen closely for edits, reverb tails, and small balance moves, often at modest volume where background noise is easiest to hear. Interference a casual listener might miss can mask the detail you are paid to judge. Balanced links with solid shielding matter most for you, especially when cables pass behind racks and power supplies.
Creators Who Move a Small Rig Between Rooms
You record voice, video, or music in more than one space, so your monitors get unplugged and reconnected often. You need cables that survive repeated handling without crackling when they flex near the plug. Locking connectors, flexible jackets, and strong strain relief matter more for you than exotic conductor claims.
Types of Balanced Cables Compared
All three types below carry a balanced signal the same way. Two conductors carry the audio in opposite polarity, and the receiving input keeps the difference while rejecting noise both conductors picked up equally. What changes is the plug at each end, so your ports decide the type.
XLR to XLR Cables for Studio Monitors
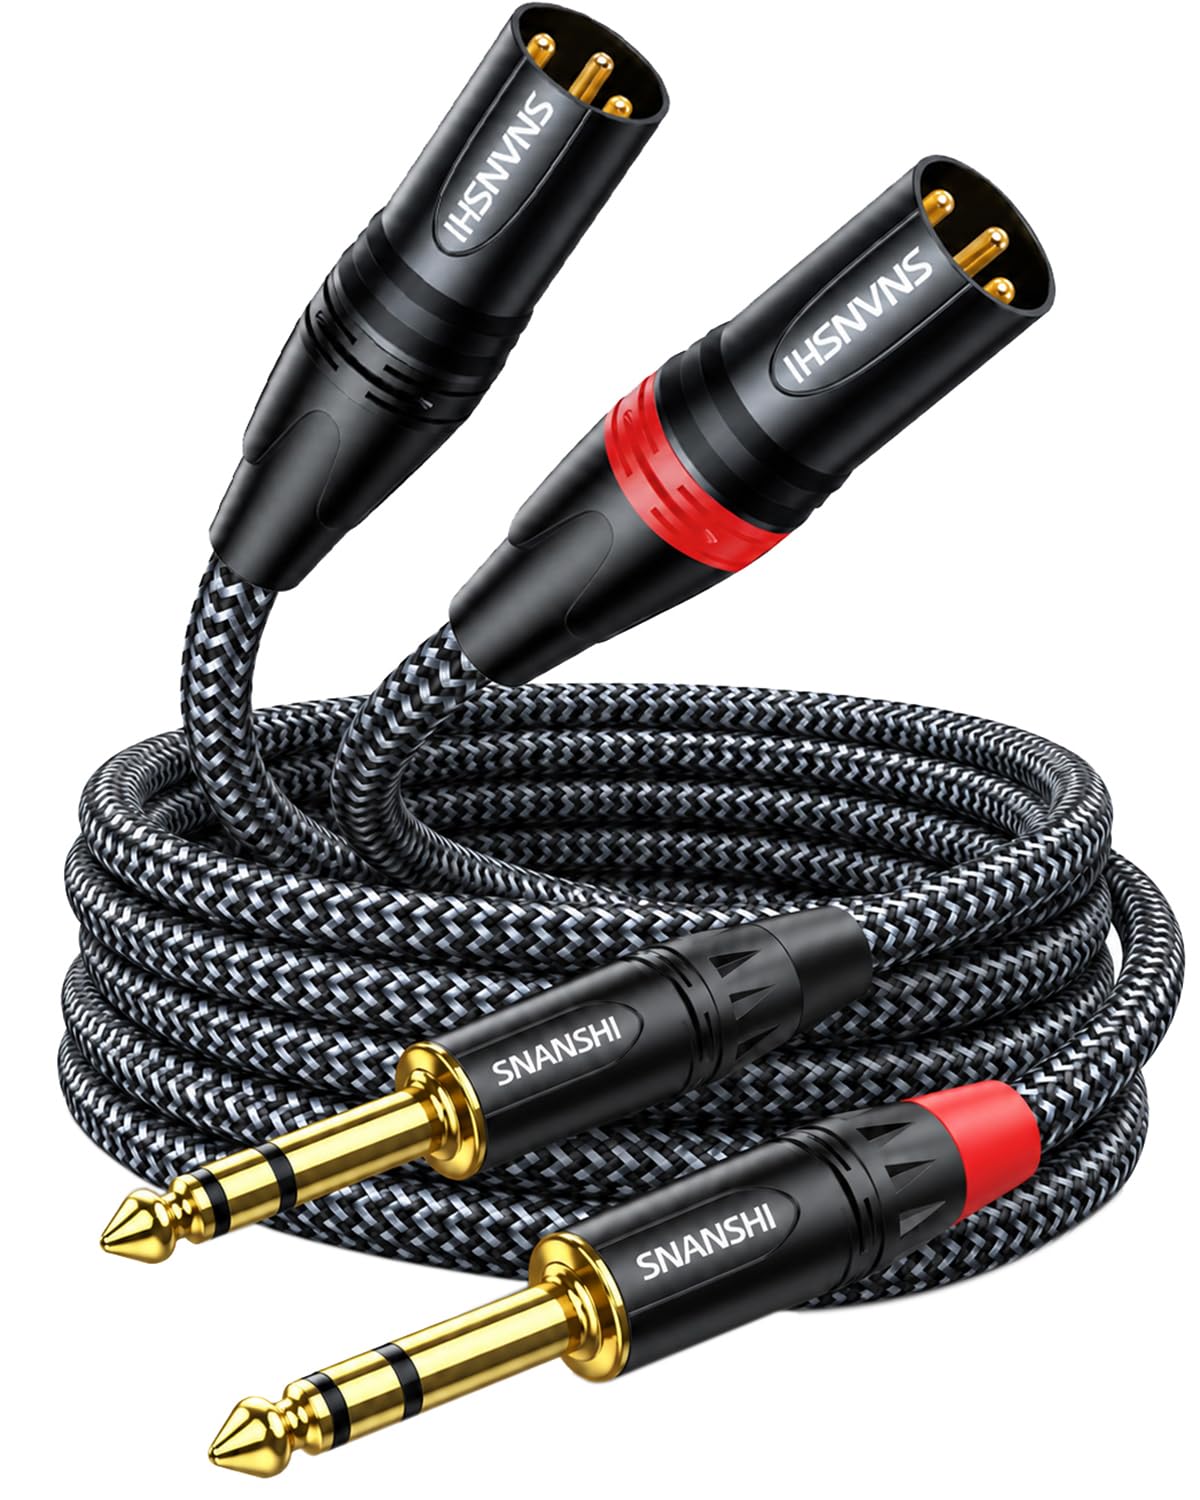
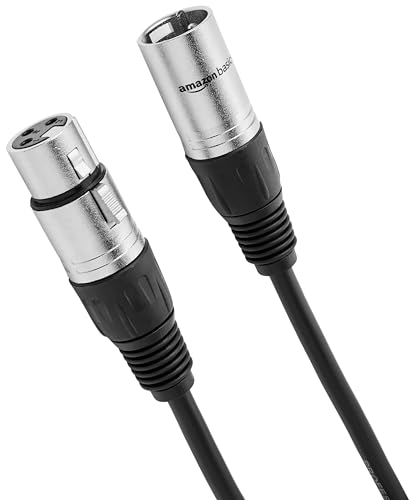
An XLR plug has three pins and locks with a small latch, so it resists accidental pulls when a foot catches the run. Many interfaces and monitors offer XLR ports, making this the simplest pairing when both ends match. It suits fixed desks where cables stay put for months. For a deeper look, see our guide to the best xlr cables for studio monitors.
TRS to TRS Cables for Studio Monitors
A TRS plug looks like a standard quarter inch plug, but its tip, ring, and sleeve carry the balanced signal instead of a single unbalanced channel. Compact interfaces often use TRS outputs to save panel space, and many monitors accept TRS inputs. The plug does not lock, so route it away from foot traffic. See our guide to the best trs cables for studio monitors if both devices use this socket.
XLR to TRS Cables for Studio Monitors
This mixed pairing solves the common mismatch where an interface offers one connector style and a monitor offers the other. It carries the same balanced signal end to end, as long as both ports are truly balanced, so mixing plug shapes brings no quality penalty. Check each manual before you order, because a socket that accepts the plug is not always wired for balanced use.
Key Features to Compare
Once the pairing is settled, the differences that matter are shielding, length, conductor build, and plug durability. The best balanced cables for studio monitors in practice match your ports, stay quiet in your room, and hold up to your routing.
Shielding Against Buzz and Hum
Shielding wraps the signal conductors and drains interference before the input can amplify it. Braided shields offer strong coverage and flex well, foil shields cover fully but suit fixed runs, and spiral shields sit between the two. In a room full of power bricks, coverage matters more than shield style alone. Choose a well covered shield for runs near power supplies.
Cable Length and Routing Distance
Balanced links tolerate far longer runs than unbalanced ones, and typical desk setups need only about 3 to 10 feet per monitor. Buy for the real path, not the straight line distance, because cables should droop loosely and reach without tension. Extra length coiled beside a power brick can invite noise, so a sensible fit beats a huge spare coil. Measure each side separately.
Conductor Gauge and Capacitance
Conductors are usually copper, sometimes described as oxygen free, and gauge affects toughness more than tone at short lengths. Very thin conductors feel fragile at the plug, while very thick ones make stiff cables that pull on small sockets. Capacitance rises with length and can soften high frequencies on very long runs, but at desk distances the effect is negligible. Prioritize a sturdy build over exotic metal claims.
Connector Build and Strain Relief
The plug is where most cables fail. A solid housing, firm grip on the jacket, and a bendy section where cable meets plug spread stress so inner wires do not snap strand by strand. Plating that resists corrosion helps in humid rooms, and a snug barrel prevents crackle when the desk moves. A shell that unscrews by hand also lets you inspect the plug later.
Jacket Flexibility and Outer Durability
A flexible jacket routes neatly around desk legs and lies flat instead of springing into loops that catch your feet. Rubber style jackets stay supple in cool rooms, while woven outer layers resist scuffs when cables travel in a bag. For a fixed studio, flexibility wins. For a rig that moves weekly, abrasion resistance matters more. Avoid jackets so stiff they twist the plug in its socket.
How to Choose the Right Balanced Cable for Your Monitors
Start at the back panels. Write down the output type on your interface and the input type on each monitor, then confirm in each manual that those ports are balanced. Measure the route each cable will take, including the drop from the desk and the rise to the input, and add a little slack. Then pick shielding and build quality that fit your room.
Keep audio runs away from power strips where you can, cross power cables at a right angle when they must meet, and give each monitor its own cable. For a wider view, see our guide to the best audio cables for studio monitors. A single correct cable beats an adapter chain.
Common Mistakes to Avoid
- Using an unbalanced TS cable in a balanced input, which leaves the run open to hum and buzz from nearby power sources.
- Ordering cables that are too short, which puts constant tension on the plugs and can damage the sockets over time.
- Running audio cables tight against power cables for long stretches, which invites interference into the signal path.
- Using a speaker level cable for a line level monitor input, which is the wrong cable class entirely, as explained in our guide to the best speaker cables for studio monitors.
- Assuming a plug fits means the port is balanced, which can leave the noise rejection lost.
- Yanking a cable out by its cord, which loosens the inner connections and causes intermittent crackle.
Care and Maintenance for Balanced Cables
Coil cables in loose loops that follow their natural curve, and secure them with a soft tie rather than a tight knot. Sharp bends and repeated crushing under chair wheels shorten cable life. Keep runs off damp floors, wipe jackets with a dry cloth, and store spares away from direct heat.
Unplug by gripping the housing, press the latch on XLR plugs before pulling, and keep ends clean and dry. If one channel crackles when the cable moves near the plug, replace that cable before a session depends on it. A small label at each end saves confusion when you reconnect a moved rig.
Frequently Asked Questions
What is the difference between XLR and TRS balanced cables for studio monitors?
The electrical signal is the same, and only the plug shape and locking behavior differ. XLR latches in place and suits fixed setups, while TRS takes less panel space and unplugs quickly. XLR ends are often easier to re-solder at home, while molded TRS ends usually mean replacing the cable.
Can I use an unbalanced TS cable with studio monitors?
Yes, it will pass sound, but it gives up the noise rejection balanced wiring provides. On a very short run in a quiet room you may hear no problem at all. The risk grows with length and nearby power gear, so treat TS as a temporary stand in and plan a balanced pair as the lasting setup.
How long can a balanced cable for studio monitors be before noise becomes a problem?
A balanced run can often reach 25 to 50 feet in a home studio before noise or high frequency loss becomes a real concern. That headroom is one reason studios use balanced links for longer paths. Cheap connectors and damaged shielding shorten that safe distance, so condition matters as much as the number on the packet.
Do balanced cables for studio monitors improve sound quality or only reduce noise?
They mainly reduce noise, and cleaner playback is the result rather than a change to the music itself. A balanced cable does not add bass, widen a mix, or fix a poor recording. You gain a lower noise floor, so quiet details that hum once masked become easier to hear at your usual volume.
Should both studio monitor cables be the same length?
Matching lengths are tidy but not electrically required at desk distances. A difference of a few feet between left and right runs will not shift timing or tone in any way you can hear. Buy each side to fit its own route, and spend the savings on better plugs or shielding.
Final Thoughts
Match the connectors to your ports, choose honest shielding, and buy the length your route truly needs. Those three decisions do nearly all the work. Look back at the product table above and pick the best balanced cables for studio monitors for your own desk, room, and routine.