Best Bubble Level for 2026: A Practical Buying Guide
Disclosure: We may earn a commission when you buy through links on this page, at no extra cost to you. As an Amazon Associate I earn from qualifying purchases. Learn more
Learn how to choose a bubble level by vial accuracy, length, material and readability, plus setup tips, care advice and answers to common questions.
A crooked shelf, a door that swings on its own, and a picture frame that never looks quite right often share the same cause: the surface was never checked properly. A best bubble level is a simple tool that shows whether a surface is level or plumb, and it helps you fix small errors before they become visible problems. The comparison table below gives you a quick overview, while the rest of this guide explains how to pick the right style for your work.
Levels come in many lengths and materials, and the right choice depends on what you plan to measure. A short pocket level suits quick checks around the house, while a longer level gives steadier readings across a countertop or a fence rail. This guide compares types, accuracy, readability, and durability so you can spend where it matters and skip features you will not use.


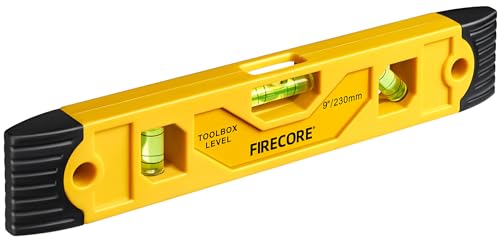
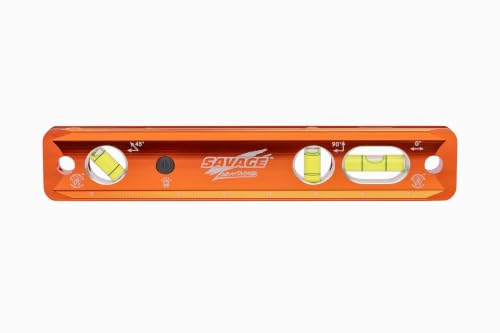


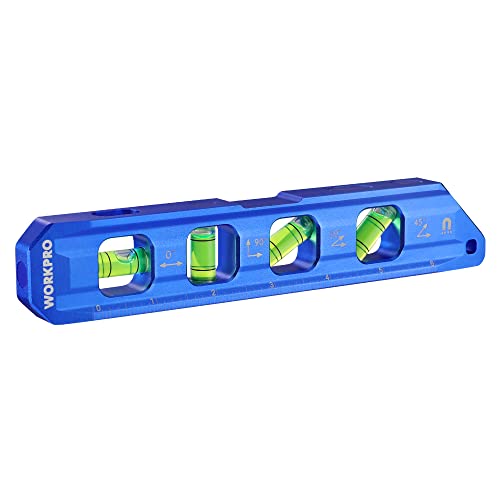
Who Should Buy Which Level
Different users need different levels, and matching the tool to the job saves both time and frustration. Think about how often you will use it, how long the surfaces are, and whether you will carry it in a pocket or a toolbox.
Homeowners Doing Occasional Jobs
If you hang pictures, mount shelves, or assemble furniture a few times a year, a mid sized level is usually enough. A length of about 24 inches covers most household surfaces without feeling unwieldy, and a sturdy aluminum body survives storage in a crowded toolbox. Look for clear vials that are easy to read in normal room light, and check that the level feels balanced in your hand before you buy. You do not need laboratory grade accuracy for hanging a mirror, but you do need vials that read the same way when the level is flipped end for end.
DIYers Tackling Renovations
Renovation work often involves longer runs, such as countertops, cabinets, and deck boards, where small errors add up over distance. A 48 inch level helps you check a full cabinet run in one pass instead of stitching together several short readings. For this kind of work, durability matters more, because the tool will be knocked, dropped, and leaned against rough lumber. A level with protected vials and milled measuring faces holds up better on a job site than a thin plastic model, and it keeps its accuracy longer.
Tradespeople and Frequent Users
People who measure every day need a level that stays accurate after hard use and reads quickly in poor light. Features such as high contrast vials, magnetic edges for steel framing, and shock absorbing end caps earn their keep when the tool is used daily. A set that includes a short torpedo level for tight spaces plus a longer level for full runs covers most site work. Check the maker guidance on accuracy and calibration, and replace a level that no longer reads true after a hard fall.
How to Choose: Buying Guide
The factors below decide whether a level gives you trustworthy readings or slowly leads you astray. Work through them in order, starting with the surfaces you will measure most often.
Intended Use and Who It Is For
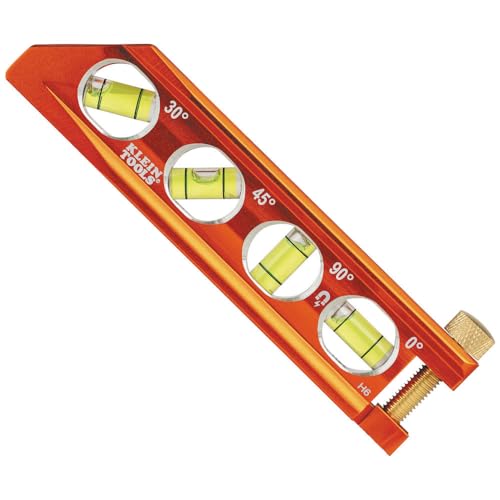
Start by listing the jobs you actually do. Hanging art and mounting a television need only a short level, while installing cabinets, tile, or fencing calls for a longer one. If you work on metal studs or steel doors, a magnetic edge holds the level in place and frees both hands. For plumbing and drainage, a level with a slight slope scale helps you set a gentle fall toward a drain.
Matching the tool to real jobs avoids paying for length or features you never use.
Ease of Use and Setup
A good level needs no setup beyond a quick check before use. Place it on a known flat surface, note the bubble position, then flip it end for end and compare. If the reading changes, the level may be out of true and should be checked against the maker guidance. Vials should be large enough to read at arm's length, and the markings should be sharp rather than faint.
Handles and grips matter less than readability, but a comfortable grip helps on long measuring sessions.
Price vs Value
Budget levels start at around $10 to $20 and suit light household use, while mid range models cost about $25 to $60 and usually offer better vial protection and sturdier frames. Premium levels run about $70 to $150 and tend to provide tighter accuracy claims, milled faces, and stronger end caps. For most homeowners, the mid range offers the best balance of accuracy and durability. Spending more makes sense mainly if you measure daily or work on long runs where a small error becomes a visible defect.
Maintenance and Long Term Costs
Levels have few running costs, but neglect shortens their life. Wipe the vials and measuring faces clean after dusty work, and store the level flat or hanging rather than buried under heavy tools. A cracked vial usually means replacement rather than repair, so protecting the vials pays off. Check accuracy from time to time using the flip test described above, and retire a level that consistently reads differently after flipping.
For related measuring tools, see our guide to the best digital levels when you need a numeric readout.
Warranty and Customer Support
Maker support matters most when a vial fogs, cracks, or drifts out of true. Read the warranty terms before buying and note whether vial replacement is covered or only the frame. Keep the receipt and the maker contact details with the tool, since warranty claims are easier with proof of purchase. A maker with clear guidance on checking accuracy and handling claims is worth more than a slightly lower price from a seller with no support path.
If you work on framing and larger structures, our guide to the best construction levels covers heavier duty options.
Safety and Certifications
Levels are low risk tools, but safe use still matters. Wear eye protection when cutting or drilling near a level, and keep the tool clear of saw blades and moving parts. Do not use a level as a pry bar or a hammer, since that can bend the frame and ruin accuracy. On ladders, keep one hand on the ladder and use a magnetic level or a helper rather than stretching to read a bubble.
Follow the maker guidance for the specific model you own, and check local site rules if you work on a regulated job site.
Types of Levels Compared
Level designs trade length, portability, and accuracy against each other. The table below summarizes the main types so you can compare them at a glance.
| Type | Best For | Pros | Cons | Typical Price |
|---|---|---|---|---|
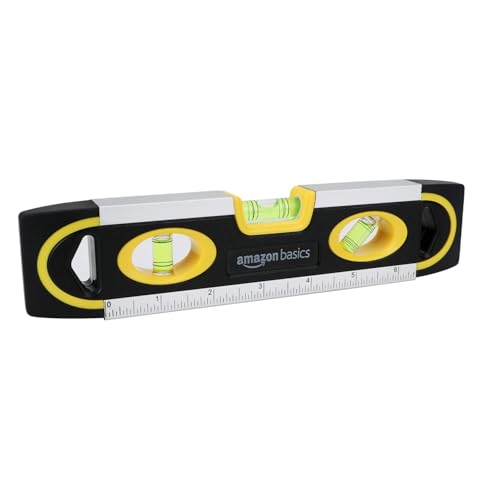
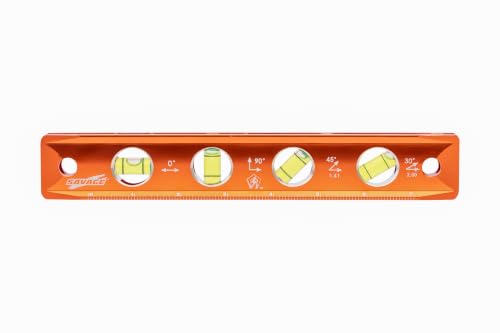
| Torpedo level | Tight spaces and short runs | Compact, fits a pocket | Short base can hide long run errors | around $10 |
| Standard box beam level | General household and renovation work | Sturdy, easy to read | Heavier in long lengths | around $30 |
| I beam level | Light use and tight budgets | Light, low cost | Less rigid than a box beam | around $15 |
| Long level | Cabinets, countertops, fencing | Steady readings over long runs | Hard to store and carry | around $60 |
Mid Range Options
Mid range levels usually combine an aluminum box beam frame with protected vials and a comfortable grip. They suit most renovation work and give steady readings on surfaces up to a few feet long. Expect solid accuracy claims and better resistance to drops than budget plastic models. Choose this tier if you measure weekly or work on projects where a visible error would be hard to fix.
Compact Options
Compact levels include torpedo models and short pocket levels that fit in a tool belt or a kitchen drawer. They excel at quick checks on shelves, appliances, and small frames, but their short base can miss a gentle bow in a long board. Use them for spot checks and carry them as a second level alongside a longer model. Their low cost also makes them a sensible spare.
Premium Options
Premium levels offer milled measuring faces, high contrast vials, and end caps designed to absorb shocks. They suit daily professional use and long runs where accuracy matters most. The extra cost buys durability and consistency rather than a different way of measuring, so weigh it against how often you will use the tool. For occasional household jobs, a premium model is usually more than you need.
Spending Levels Instead of Top Picks
Rather than naming single products, think in spending levels. A budget level covers hanging pictures and assembling flat pack furniture. A mid range level adds durability and longer lengths for renovation work. A premium level suits daily use and long runs where accuracy is critical.
Match your spending to how often you measure and how costly an error would be, and put any leftover budget toward a second short level for tight spaces.
Setup and Care Tips
- Read the manual before first use, so you understand the vial markings and any slope scale on your model.
- Clean and inspect regularly, wiping dust and grit from the measuring faces that could tilt a reading.
- Store in a dry place, flat or hanging, away from heavy tools that could bend the frame.
- Register the product for warranty where the maker offers it, and keep the receipt with the tool.
- Check accuracy with the flip test before important work, and replace a level that no longer reads true.
Bubble Levels: Your Questions Answered
How much should I spend on a bubble level?
Most homeowners do well with a level costing about $25 to $60, which buys a sturdy frame and protected vials. Spend less, around $10 to $20, if you only hang pictures occasionally and store the tool carefully. Spend more, about $70 to $150, if you measure daily or check long runs where a small error shows. The right budget follows your frequency of use, not the longest level on the shelf.
A second short level for tight spaces is often a better use of extra money than a single premium model.
How long does a bubble level last?
A well made level can last many years with normal care, while a cheap plastic model may drift out of true after a few hard drops. The frame usually outlasts the vials, which are the most fragile part. Storage matters: a level kept flat or hanging stays true longer than one buried under heavy tools. Check accuracy with the flip test once or twice a year, and sooner after any serious fall.
Replace the level when it fails that test repeatedly, since a bent frame cannot be trusted.
What features matter most when buying bubble levels?
Readability comes first, because a level you cannot read quickly invites mistakes. Next, check the length against your longest common surface, since a short level can miss a bow in a long board. Then weigh frame rigidity and vial protection, which decide how long accuracy lasts. Magnetic edges help on steel, and a slope scale helps on drainage work, but neither matters if you never do those jobs.
Finally, consider grip and weight, especially if you carry the level all day.
Are expensive bubble levels worth it?
Expensive levels are worth it mainly for frequent users and long runs, where tighter accuracy and tougher construction pay off over time. For occasional household use, a mid range level gives readings that are plenty accurate for shelves, frames, and furniture. The premium advantage lies in durability and consistency, not in a new way of measuring. If your work involves cabinets or tile over several feet, the steadier reading of a long premium level can prevent costly rework.
Otherwise, save the difference for other tools.
How do I maintain a bubble level?
Keep the measuring faces clean, since grit under the level tilts the reading by a small but real amount. Wipe the vials with a soft cloth and avoid solvents that could cloud the plastic. Store the level where it will not be bent or crushed, and avoid using it as a straightedge for cutting. Check the flip test after drops and before important jobs.
If a vial fogs or cracks, check the maker warranty before replacing the whole tool, since some makers cover vial damage.
Final Thoughts
Choose a level by length first, then by readability and durability, and let price follow how often you will use it. A mid range box beam level covers most household and renovation work, while a short torpedo level handles tight spaces. Check accuracy with the flip test, store the tool carefully, and replace it when it no longer reads true. With those habits, a best bubble level will give you straight shelves, level cabinets, and fewer surprises, and the product table above is a good place to start comparing types.