Best C Clamps: A First Time Buyer's Guide for 2026
Disclosure: We may earn a commission when you buy through links on this page, at no extra cost to you. As an Amazon Associate I earn from qualifying purchases. Learn more
New to buying c clamps? This simple guide explains sizes, jaw depth, materials, and prices so your first clamp purchase fits the job you have in mind.
If you have never bought a clamp before, the choices can look confusing at first. This guide explains each spec in plain language so you can match a clamp to your project. The best c clamps for you depend on the size of the pieces you hold, the force you need, and how often you plan to use them, and the comparison table below can help you weigh those options side by side.
You do not need many clamps to start. One or two well chosen sizes cover most home tasks, from gluing frames to holding boards steady for drilling. Read on to learn what each part does, the mistakes new buyers make most often, and how to start safely.


C Clamps 101: The Basics
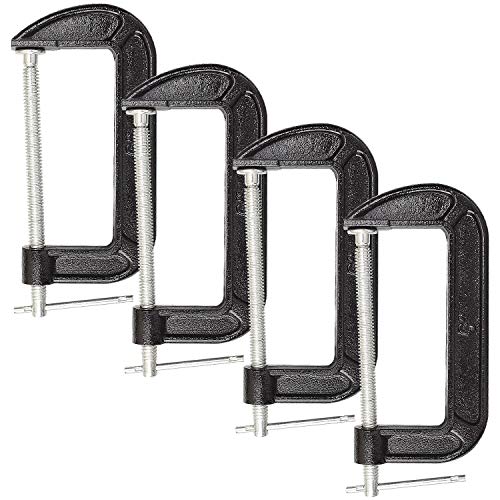
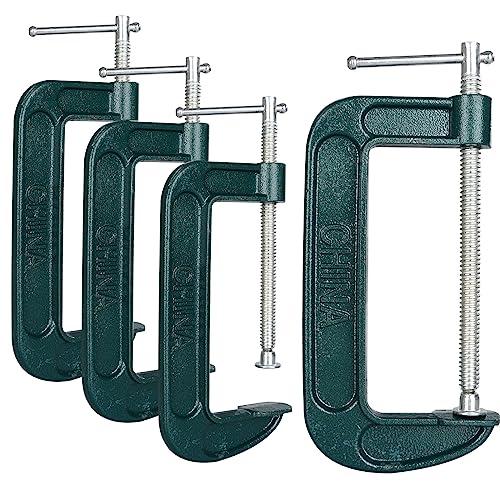
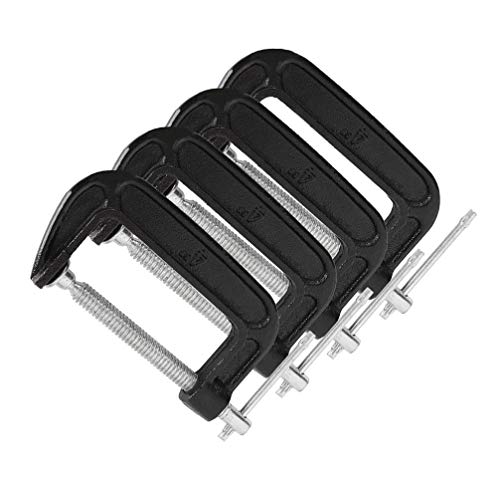
A c clamp is a hand tool shaped like the letter C, with a fixed jaw and a screw driven jaw. You turn the handle to tighten the screw, and the jaws press workpieces together or hold a piece against a bench. The frame is usually cast metal, and the screw tip has a swivel pad that grips uneven surfaces without shifting your work.
Three terms matter most when you shop. Throat depth is the distance from the screw line to the inside of the frame, and it decides how far from an edge you can clamp. Jaw opening is the widest gap between the jaws, and it decides how thick a stack you can hold. Clamping force is how hard the jaws press, and heavier frames and thicker screws generally deliver more force.
Keep these three terms in mind as you read the specs, and you will find the rest of the guide much easier to follow.
Key Specs Explained in Plain English
Intended Use and Who It Is For
First time buyers usually need a clamp for one of three jobs: gluing wood, holding parts for drilling or sanding, or fixing a piece in place during assembly. Woodworkers reach for c clamps when a joint needs steady pressure while glue sets, and for frames that must stay square, see our guide to the best corner clamps. If you build cabinets, see our guide to the best cabinet clamps for holding carcass parts during assembly. Home repairers use them to hold a bracket, a patch, or a board while fasteners go in.
Light craft work suits a light duty clamp, while larger furniture work calls for a sturdier frame.
Ease of Use and Setup
A good first clamp should adjust easily with one hand while the other steadies the work. Look for a handle that turns smoothly and a thread that does not bind. A swivel pad stays flat as you tighten, protecting wood and keeping the piece from shifting. If the handle slips or feels awkward, try a different size or handle style.
Build Quality and Materials
Most c clamp frames are cast iron or forged steel, and both can serve a beginner well. Cast iron frames are common and affordable, and they suit light to medium work. Forged steel frames are usually stronger for their weight and better for heavier pressure, though they often cost more. Check the frame for cracks, casting flaws, or bent threads.
A smooth finish and solid feel beat a shiny coating alone.
Size, Weight, and Fit for Your Space
Clamp sizes are given by jaw opening, such as 2 inches, 4 inches, or 6 inches, and a 4 inch clamp suits most home jobs. Throat depth matters too, since a deep throat lets you reach the middle of a wide board, while a shallow throat suits edge work only. Weight matters overhead or on a job site, so balance strength against comfort. Measure the thickest stack you plan to hold, then add a little room so the jaws close with travel to spare.
For long panels that exceed a c clamp throat, see our guide to the best bar clamps.
Key Performance Specs
The most important performance spec is clamping force, which makers often state in pounds. Light craft work may need only a few hundred pounds, while hardwood glue ups need far more. Jaw opening and throat depth set the limits, and a thicker screw resists bending under load. Avoid the highest force for delicate work, since excess pressure can dent soft wood or squeeze glue out of a joint.
Price vs Value
Small light duty clamps often sell for about $5 to $15 each, mid range clamps for about $15 to $35, and heavy duty forged clamps for about $35 to $80. For a first purchase, a mid range clamp usually balances strength, smooth action, and durability. A pair in the same size often beats one large clamp, since two clamps spread pressure more evenly. Spend a little more if you expect weekly use.
Rookie Mistakes to Avoid
- Buying only the largest size: a huge clamp is clumsy on small work, so start with a medium size for your most common jobs.
- Ignoring throat depth: a clamp with a wide opening but a shallow throat cannot reach the center of a board, so check both numbers before you buy.
- Tightening without pads: bare metal jaws can dent wood, so use scrap wood or soft pads between jaw and workpiece.
- Overtightening every joint: excess pressure can starve a glue joint or crack a delicate piece, so tighten until the joint is snug and glue beads evenly, then stop.
- Forgetting to check the screw: a bent or gritty screw can slip under load, so spin it fully open and closed before you start.
Getting Started: Setup and First Use
Read the manual before first use, since the maker may note load limits and care steps. Clean and inspect regularly: wipe off dust and glue, check the screw threads for damage, and add a drop of light machine oil to the thread if it turns stiffly. For your first job, dry fit without glue, place the clamp clear of your tools, and tighten slowly while watching the joint stay aligned. If the piece shifts, loosen the clamp, reposition it, and tighten again rather than forcing it straight.
Store clamps hung on a wall rack or laid in a drawer with dividers. Keep them dry, since damp storage can rust the screw and stain your work. After a glue up, leave the clamp in place for the full curing time the glue maker states. With that habit, even a modest clamp will serve you well for years.
Frequently Asked Questions
How long does a c clamp last?
A well made c clamp can last for decades with basic care. Its life depends on frame material, use, and dry, clean storage. Rust, bent screws, and cracked frames are the main reasons a clamp retires early. Inspect screw and frame before each use, oil a stiff thread, and replace a cracked frame at once, since failure can release stored force suddenly.
What features matter most when buying c clamps?
Jaw opening, throat depth, and frame strength matter most, because they set what you can hold and how hard you can press. A smooth screw with a swivel pad comes next, since it protects surfaces and keeps work from shifting. Handle comfort matters more than it first seems, because you will turn it on every job. Fancy coatings and extra pads matter less, since scrap wood can serve as a pad.
Are expensive c clamps worth it?
Expensive clamps are worth it when you clamp often, work with hardwoods, or need high force without frame flex. Forged frames and finer threads hold up better under daily use and tend to stay smooth longer. For occasional home repairs, a mid range clamp performs well and leaves money for a second size. Judge value by feel in use, and buy the better clamp for the size you reach for most.
How much should I spend on a c clamp?
Most first time buyers spend about $15 to $35 on a solid mid range clamp for typical gluing and holding jobs. Light craft use can start around $5 to $15, while heavy work may reach $35 to $80 for a forged frame. A pair in your most used size often beats one premium clamp alone. Start with one size, learn how you use it, and add sizes only as new projects demand them.
How do I maintain a c clamp?
Maintenance is simple: wipe the clamp clean after each use, especially after glue ups, and keep it dry to prevent rust. Check screw threads for glue buildup, and brush off dried glue before it hardens. Add a small drop of light oil to a stiff screw, and work it open and closed a few times to spread the oil. Store clamps separated so frames do not chip each other, and retire any cracked frame.
Our Verdict
For most first time buyers, a mid range 4 inch clamp with a smooth screw, a swivel pad, and a sturdy frame is the smartest starting point. Match jaw opening and throat depth to your work, use pads to protect surfaces, and buy a second clamp before a fancier one. If you keep these points in mind, the best c clamps for your workshop will be the ones that fit your jobs, feel good in use, and last for years, and the product table above can help you compare sizes and prices before you order.