Best Cabinet Clamps for 2026: A Practical Buying Guide
Disclosure: We may earn a commission when you buy through links on this page, at no extra cost to you. As an Amazon Associate I earn from qualifying purchases. Learn more

Learn how to choose the best cabinet clamps for your next build. Compare clamp styles, jaw size, clamping force, materials, and budgets before you buy.
Choosing the best cabinet clamps is less about buying the largest tool you can find and more about matching the clamp to the joint you need to hold. A cabinet case, a face frame, and a glued panel each put different demands on jaw depth, reach, and pressure. The comparison table below gives a quick overview, while this guide explains the factors that matter most for a square, tight result.
Cabinet work rewards patience and preparation. Dry fit every joint, check for square, and plan where each clamp will sit before glue touches wood. When you understand jaw opening, throat depth, and how pressure spreads across a panel, you can spend with confidence instead of guessing at the store.

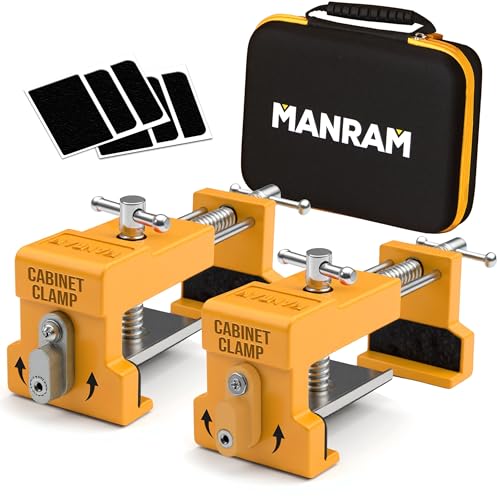


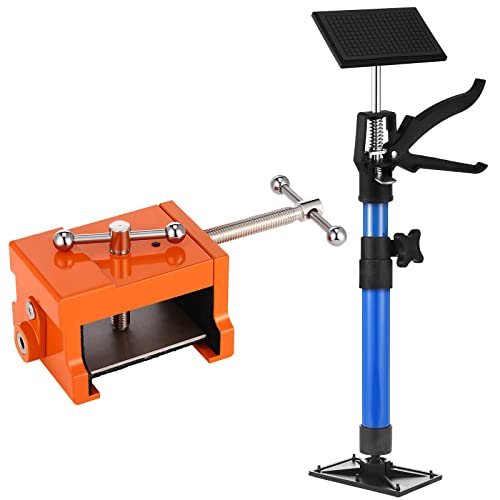
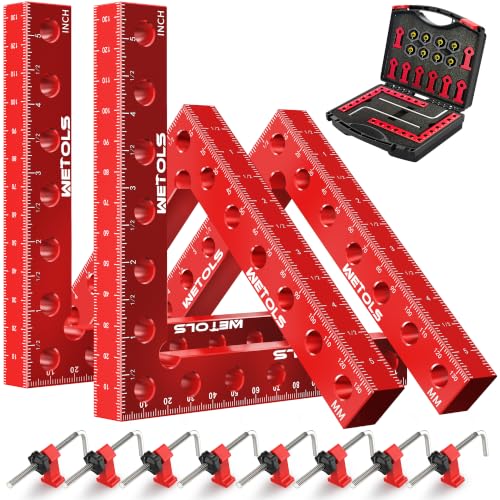
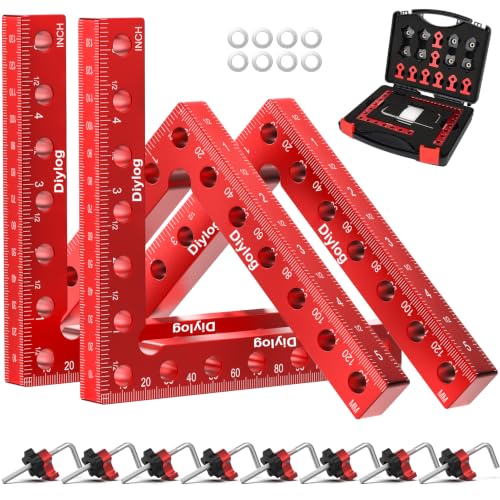


What to Expect at Each Spending Level
Spending levels help you match your budget to the work you actually do. A weekend builder assembling one small cabinet does not need the same kit as a shop that builds cabinets every week. The sections below describe what each level usually offers, and where extra money tends to pay off.
Budget Level
Budget clamps usually cover simple face frames and small boxes at a low entry cost. They often use lighter bars and simpler pads, so they work best on short spans and light glue ups. Check that the jaw stays parallel under pressure, because a jaw that twists will pull a joint out of square.
Midrange Level
Midrange clamps are the sweet spot for most home cabinet builders. They usually offer stiffer bars, smoother sliding jaws, and pads that protect wood without slipping. This level suits full cabinet cases, glued panels, and repeated use across several projects.
Premium Level
Premium clamps focus on rigidity, large jaw openings, and hardware that stays smooth after years of use. They suit wide panels, tall cases, and builders who value fast setup and repeatable results. The extra cost makes most sense when you clamp often, work with large parts, or need many clamps at once for a big glue up.
How to Choose Cabinet Clamps: Buying Guide
The right clamp holds parts firmly without denting wood, shifting a joint, or fighting you during setup. Work through the factors below in order, starting with the job itself.
Intended Use and Who It Is For
Start with the cabinets you plan to build. Face frame work needs clamps that hold narrow rails and stiles square while glue sets. Case construction needs longer clamps that reach across a full side panel. Panel glue ups need several clamps spaced evenly to keep boards flat.
Build Quality and Materials
Bar stiffness matters more than weight alone. A stiff bar resists bowing when you tighten, which keeps pressure even across the joint. Steel bars tend to stay straight under load, while lighter bars may flex on wide spans. Look at the jaw faces too, since flat, parallel jaws with firm pads grip without crushing soft wood.
Warranty and Customer Support
A clear warranty is worth reading before you buy, especially for clamps you plan to use for years. Check how long coverage lasts, what it covers, and whether replacement parts such as pads and handles are available. Makers that sell spare pads make a clamp easier to maintain over time.
Maintenance and Long Term Costs
Clamps last longer when glue is cleaned off promptly and bars are kept dry. Wipe jaws and bars after each glue up, and check pads for wear before they mark a finished surface. Store clamps hanging or standing so bars stay straight and jaws do not get damaged.
Key Performance Specs
Three numbers shape most decisions. Jaw opening tells you the thickest assembly the clamp can hold, so measure your widest panel plus any cauls. Throat depth tells you how far the clamp can reach from an edge, which matters for face frames and inset panels. Clamping force tells you how firmly the clamp can squeeze, but more force is not always better.
Ease of Use and Setup
A good clamp sets up with one hand when possible, because the other hand is often holding a part in place. Look for a sliding jaw that moves freely and locks quickly, and a handle that gives good grip without hurting your hand. Check how the clamp sits on a bench. A clamp that tips over or slides away will slow every glue up.
Types of Cabinet Clamps
Different clamp styles solve different problems, and most cabinet builders end up owning more than one style. The groups below are organized by level and use, so you can see which style fits your next project.
Compact Options
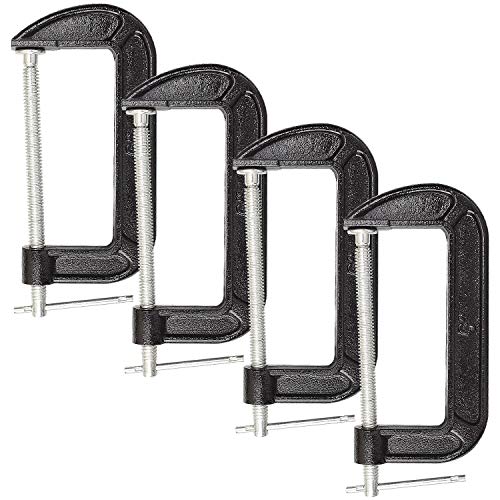
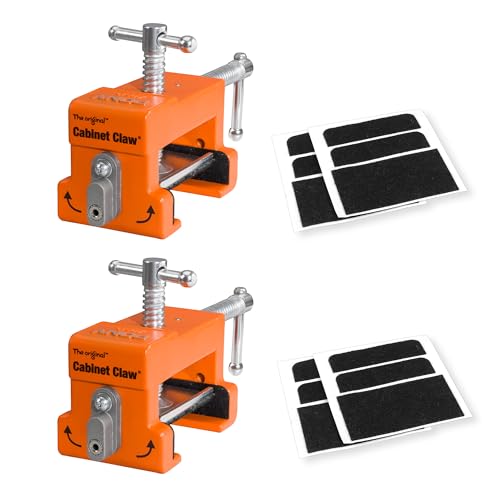
Compact clamps suit small repairs, narrow face frames, and tight spaces inside a cabinet. They are easy to carry and store, and they reach places where a long bar clamp cannot fit.
Premium Options
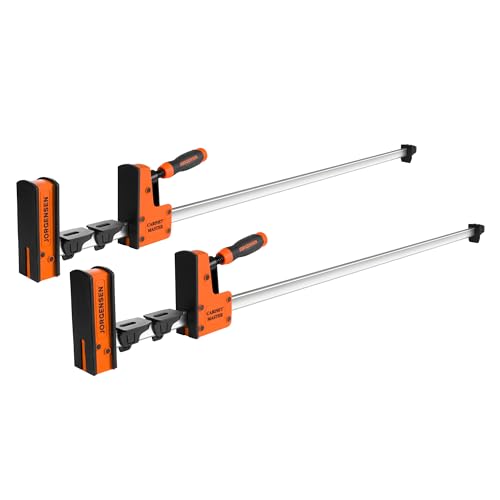
Premium clamps usually offer the longest reach, the stiffest bars, and the smoothest adjustment. They hold large cases square and keep wide panels flat during glue up. They cost more and take more storage space, so they suit builders who clamp large parts often and want a tool that feels the same after years of use.
Budget Options
Budget clamps work well for light glue ups and for builders who are still learning cabinet work. They are a sensible way to build up a basic kit without a large upfront cost. Their limits show up on wide spans and heavy panels, where flex can reduce pressure at the middle of a joint. Pair them with cauls to spread force more evenly.
Mid Range Options
Mid range clamps balance reach, stiffness, and price for most cabinet projects. They handle standard kitchen cabinet sizes, face frames, and panel glue ups without the cost of a premium kit. For many home builders, a set of mid range clamps plus a few compact clamps covers nearly every job in a cabinet build.
Tips to Get the Most From Your Cabinet Clamp
- Read the manual before first use, so you know the load limits and how the locking jaw works.
- Clean and inspect regularly, removing dried glue from jaws and bars before it affects grip or alignment.
- Store in a dry place, hanging or standing, so bars stay straight and pads stay clean.
- Register the product for warranty if the maker offers it, and keep spare pads on hand for finished work.
For the finished cabinet, see our guide to the best cabinet handles and our guide to the best cabinet degreaser for cleaning after glue up.
Frequently Asked Questions
How long does a cabinet clamp last?
A cabinet clamp can last for many years when it is cleaned after use and stored in a dry place. The parts that wear first are usually the jaw pads and the handle grip, and both are often easy to replace. Bars can bend if a clamp is dropped or overloaded, so avoid forcing a clamp beyond its rated opening. With basic care, a well made clamp often outlasts several cabinet projects and stays useful across different shop tasks.
How do I maintain a cabinet clamp?
Maintain a cabinet clamp by wiping glue off the bar and jaws after every glue up, before it hardens. Check pads for cracks or embedded grit, and replace them if they could mark wood. Keep the sliding mechanism free of dust and glue, and store clamps where bars will not bend. A quick inspection before each project takes only a minute and helps you catch a worn pad or loose handle early.
Are expensive cabinet clamps worth it?
Expensive cabinet clamps are worth it when you clamp large parts often or need many clamps for a big project. The extra cost usually buys a stiffer bar, smoother adjustment, and hardware that holds up over years of use. For a single small repair, a budget clamp can do the job just as well. Judge value by how often you will use the clamp and how large your typical glue ups are.
How much should I spend on a cabinet clamp?
Most home builders can start with clamps priced at about $15 to $40 each for standard sizes, and add larger clamps later as projects grow. A basic kit for one cabinet may need only four to six clamps, while a full kitchen build may need twice that many. Spend more on the sizes you use most, and save on specialty sizes you will only need once in a while.
What features matter most when buying cabinet clamps?
The features that matter most are jaw opening, throat depth, bar stiffness, and parallel jaws that stay square under pressure. After those, look at pad quality, handle comfort, and how easily the sliding jaw locks. A clamp that is easy to set with one hand will save time on every glue up. Match these features to your cabinet size first, and treat extra features as a bonus rather than a reason to overspend.
The Bottom Line
The best cabinet clamps for you are the ones that fit your cabinet size, hold joints square, and feel easy to use on every glue up. Focus on jaw opening, throat depth, and bar stiffness first, then choose a spending level that matches how often you build. Follow maker guidance, keep clamps clean and stored safely away from children, and check the product table above before you order.