Best Birding Binoculars under $1000 in 2026: What Your Money Really Gets You at Every Price
Disclosure: We may earn a commission when you buy through links on this page, at no extra cost to you. As an Amazon Associate I earn from qualifying purchases. Learn more

Compare birding binoculars under $1000 by price tier and learn which glass, field of view and focus upgrades are worth paying for on your budget.
Birding binoculars range from under $100 to well past $2000, and the gaps can look hard to justify from a spec list. The best birding binoculars under $1000 sit in a useful middle ground, where you pay for real optical gains without paying for prestige. This guide shows where extra money changes what you see, so you can read the comparison table below with a clear budget in mind.
Start with how you bird. Dawn walks, shorebird scans and woodland warbler hunts each reward a different mix of magnification, brightness and field of view.


Who Should Buy Birding Binoculars on a Budget up to $1000?
A budget up to $1000 is wide, so the right pair depends on how much of it you need to use. Your light, terrain and time spent holding the binoculars up matter more than chasing the highest price.
Woodland Birders Who Follow Fast Moving Warblers
You track small birds that flit between branches and rarely stay still. Choose 8x magnification with a wide field of view, because a broader scene makes it easier to land on a moving bird and stay with it. A short close focus helps when a warbler drops into nearby brush.
Dawn and Dusk Birders Who Need Bright Views
You bird in the first and last light, when many species sing, feed and move between roosts. Choose a 42 mm objective lens and glass with strong light transmission, because those details keep plumage colors readable in shade. An 8x42 pair often suits you best, as it stays steadier than 10x and gives a brighter exit pupil for dim conditions.
Open Country and Shore Birders Who Scan at Distance
You watch waterfowl, raptors and shorebirds across lakes, fields and mudflats, where birds sit far off. A 10x42 pair gives extra reach for distant bills, wing bars and leg color. You give up some field of view and steadiness, so brace your elbows when you can.
Price Steps for Serious Birding Glass
Lower tiers cover the basics well, middle tiers improve glass and focus feel, and upper tiers refine color, edge clarity and build. Knowing what each step adds helps you stop at the tier that matches your birding.
About $200 to $400: Sound Basics for Steady Progress
Expect roof prism or Porro prism designs with multicoated glass, basic waterproof sealing and a usable focus wheel. This tier suits new birders well. For a lower budget, see our guide to the best birding binoculars under $200 for what changes there.
About $400 to $700: Where Glass and Focus Improve Most
Many birders feel the largest jump here. Extra low dispersion glass becomes common, color fringing around bright edges drops, and focus wheels turn with finer control. Sealing grows more consistent, and eye relief tends to suit glasses wearers better. See our guide to the best birding binoculars under $500 and our guide to the best birding binoculars under $300.
About $700 to $1000: Refinements for Long Hours in the Field
Gains here are smaller and more specific. Expect flatter fields with sharper edges, better glare control over bright water, tougher housings and smoother mechanical parts. Pay this much only when you bird often enough to value polish over basics.
Key Features to Compare
Compare features in a fixed order, from the view itself to comfort and weather protection. When you weigh the best birding binoculars under $1000 against cheaper options, these differences should decide the gap.
Magnification and Objective Lens Size for Birding
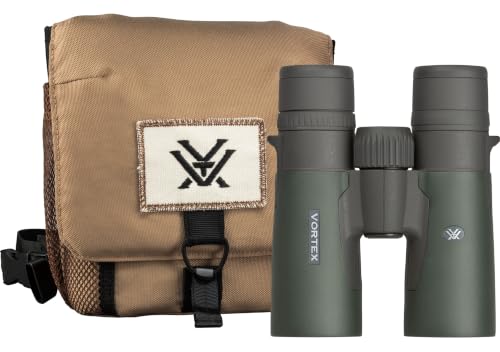
Magnification tells you how much closer a bird appears, while the second number gives the objective lens diameter in millimeters. An 8x42 pair balances reach, steadiness and brightness for most birding. A 10x42 pair adds reach at the cost of a narrower view and more visible shake. Choose 8x for woodland and general use, and 10x mainly for open water, shore and raptor watching at range.
Field of View and Close Focus for Birding
Field of view is the width of the scene you see at a set distance, and a wider field helps you find a bird after you hear it and raise the binoculars. Close focus is the shortest distance that still gives a sharp view, often about 6 to 8 feet. A shorter close focus helps with birds in nearby brush and with butterflies between sightings.
Glass and Coatings for True Plumage Color
Extra low dispersion glass reduces color fringing, the purple or green edge seen around a bird against a bright sky. Phase coated roof prisms and full multicoating raise contrast and help colors stay true, which matters when you separate warblers or sparrows by faint tones. Treat glass and coatings as one system, not a single label.
Eye Relief and Focus Wheel Handling for Birding
Eye relief is the distance your eye can sit from the eyepiece while still seeing the full field, and glasses wearers usually need about 15 mm or more. Twist up eyecups let you set that distance and return to it quickly. The focus wheel should turn smoothly with light finger pressure and no gritty spots, because birding asks for constant small corrections.
Weather Sealing, Weight and Grip for Birding
Waterproof and fogproof binoculars are sealed and filled with nitrogen, so temperature changes are less likely to fog the inner glass. Rubber armor improves grip with cold or damp hands and softens knocks. Most full size birding pairs weigh about 22 to 30 ounces, and a few ounces feel large after hours on a strap.
Costs Beyond the Binoculars Themselves
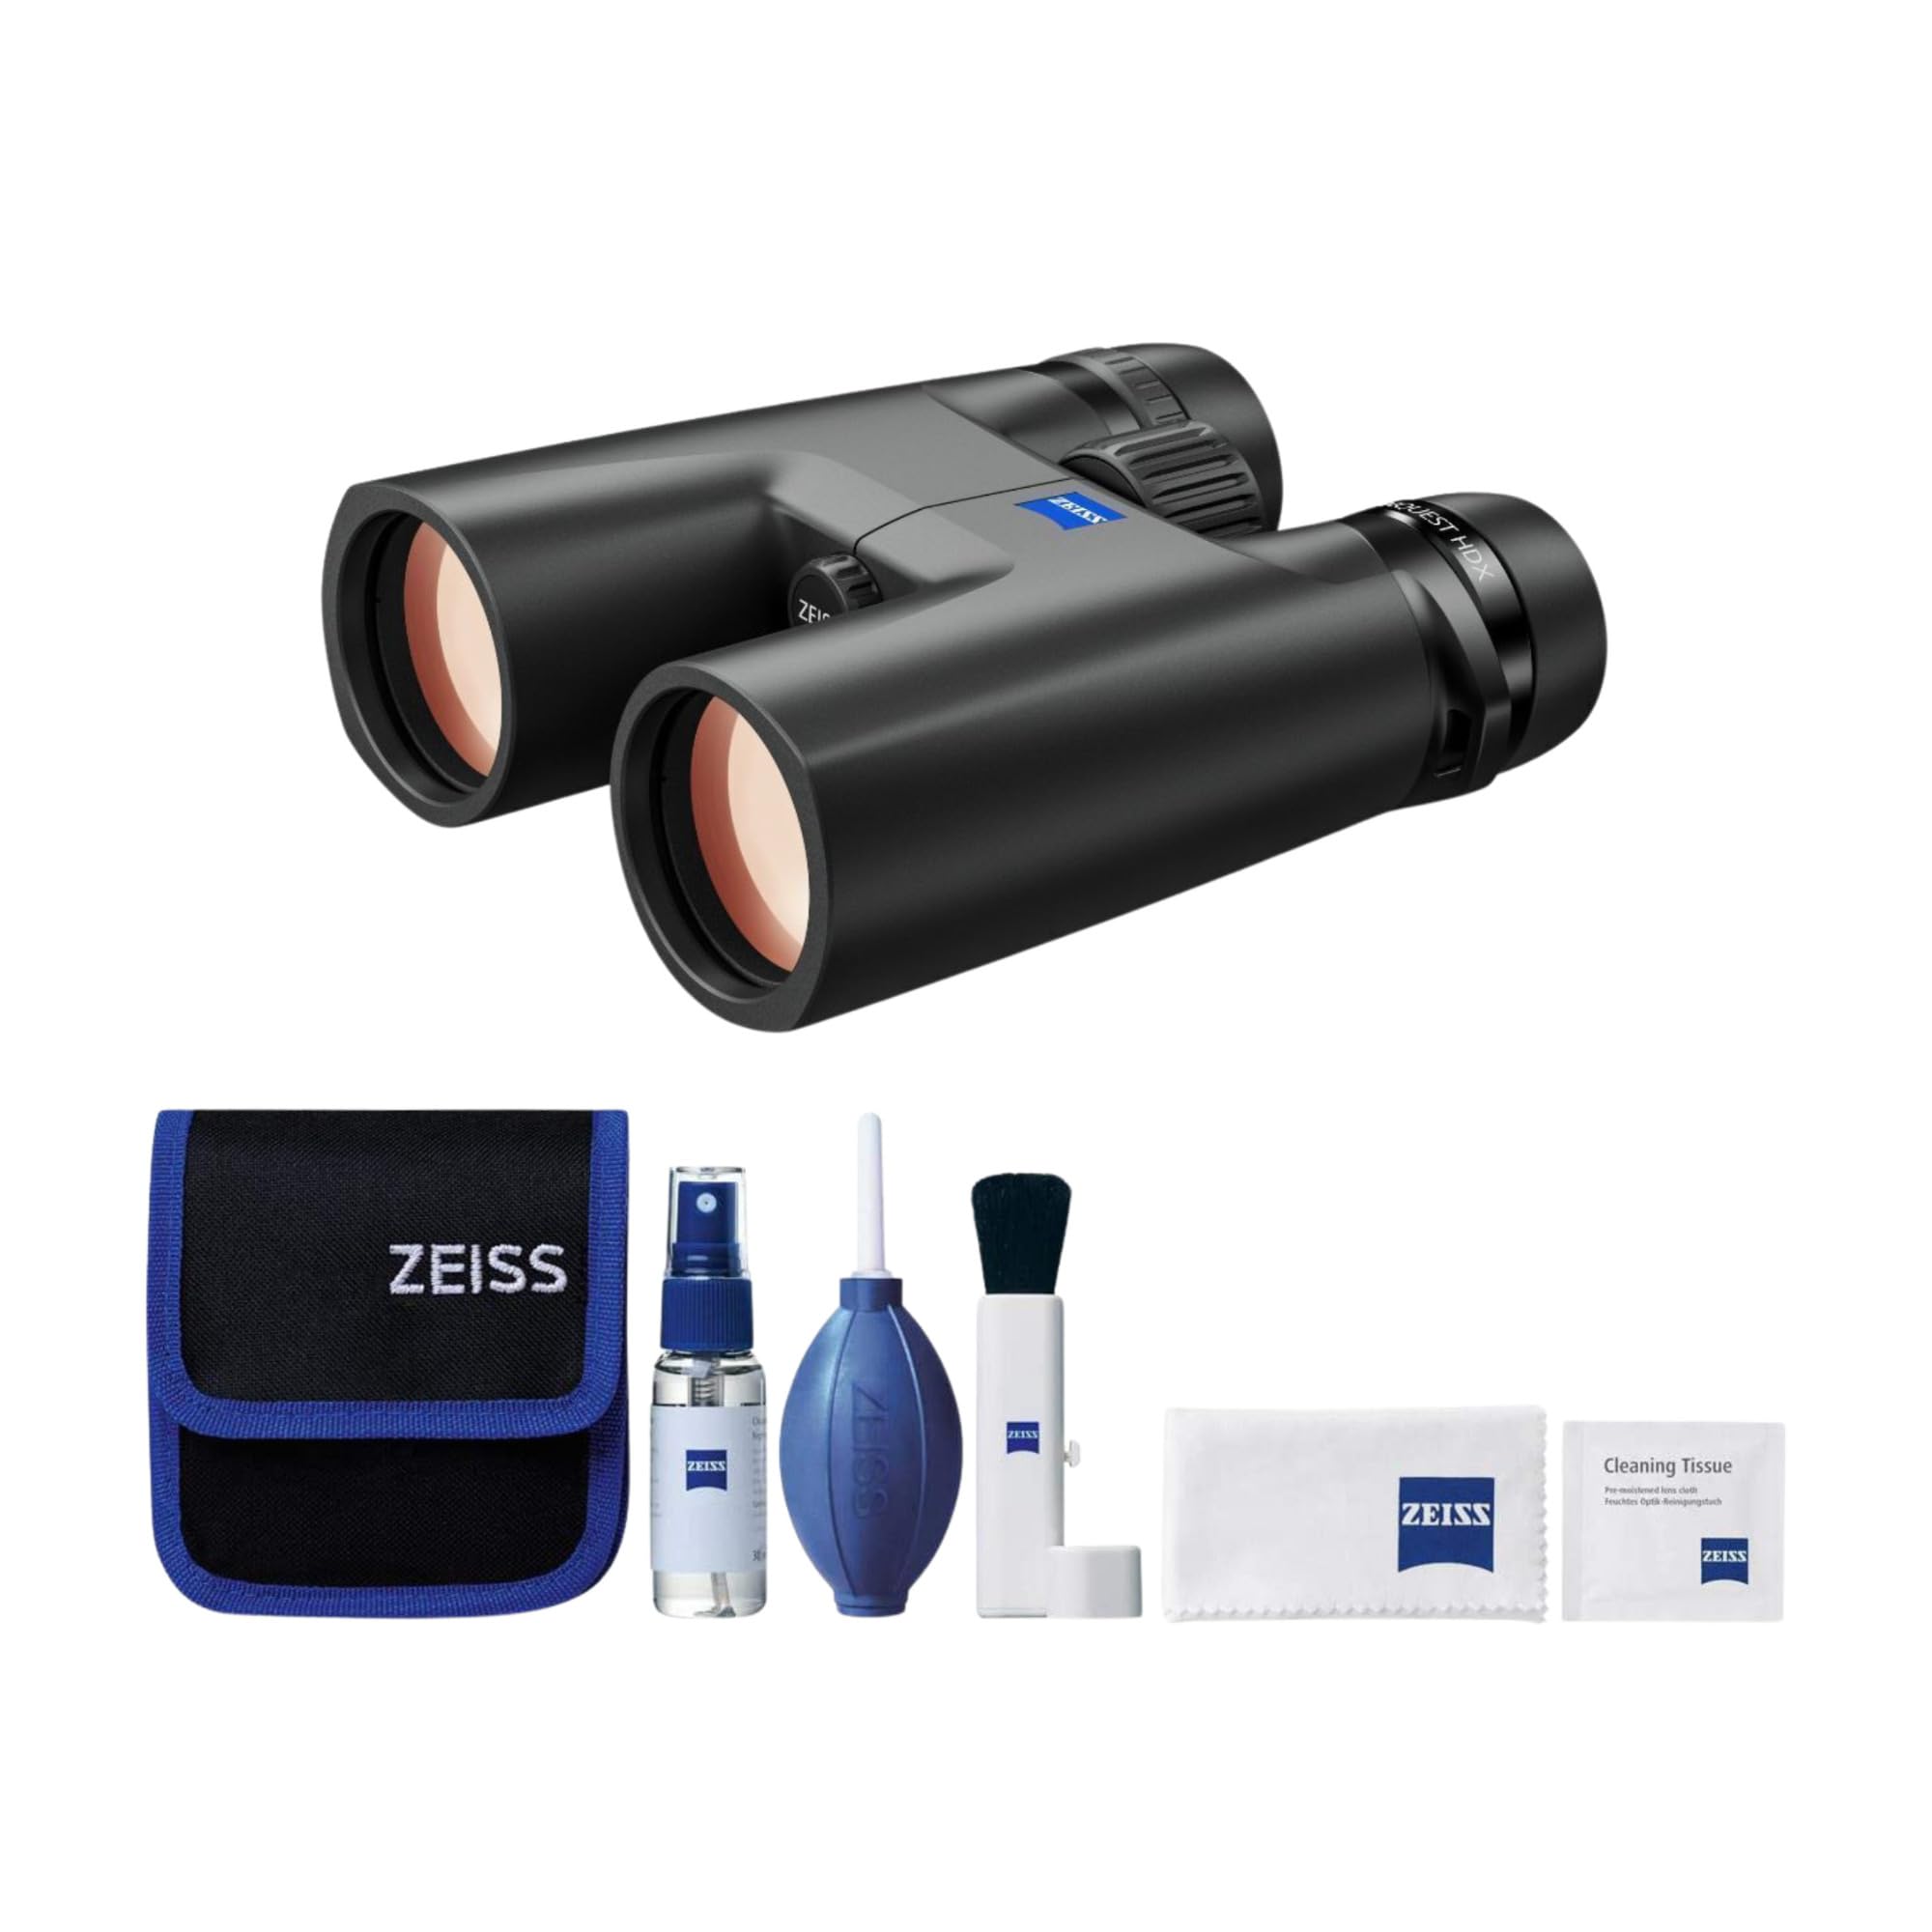
The purchase price is not the full cost of owning a pair for years. A harness, lens covers, a cleaning cloth and a dry case are small costs that protect a larger one. Warranty terms vary by brand and tier, so read what is covered for drops and water damage before you buy. If you also watch wildlife beyond birds, see our guide to the best binoculars under $1000 for a broader view of this budget.
Common Mistakes to Avoid
These errors waste budget or leave you with a pair that fights the way you bird.
- Choosing 10x magnification for dense woodland narrows your field and makes fast birds harder to follow.
- Paying for the top tier while ignoring eye relief leaves glasses wearers unable to see the full field.
- Judging brightness by lens size alone overlooks glass and coatings, so a large pair can still look dull at dawn.
- Buying a heavy pair without a harness leads to neck strain and to leaving the binoculars at home.
- Skipping weather sealing to save money risks inner fogging that a cloth cannot clear in the field.
Care and Maintenance of Birding Binoculars
Blow loose grit off the lenses before you wipe them, because dragging sand across glass can scratch the coatings. Use a soft lens cloth with a drop of lens cleaning fluid when a smear will not lift. Store the pair in a dry case with the caps on, out of a hot car.
Check the strap, hinge and eyecups before a trip, and replace a worn strap before it fails over hard ground. After rain, leave the pair at room temperature until the outside is dry, then cap it. Never open the body to dry the inside. Inner fog or a double image needs professional service, not home repair.
FAQ
Can you get a good pair of birding binoculars for under $1000?
Yes, you can get a very good pair for under $1000. At this budget, bright glass, solid sealing and a smooth focus wheel can come in one pair. One point buyers miss is resale value: a well kept pair from this range often stays easy to sell or pass on when you upgrade, which softens the true cost of buying well once.
Which birding binoculars are better for birding at dawn and dusk?
An 8x42 pair is usually better at dawn and dusk, because it gives a larger exit pupil and a steadier view than most 10x pairs. Light changes fast at those hours, so practice finding the focus wheel by touch before you go out. Note your best eyecup setting as well, and reset it after anyone else uses the pair.
What specs matter most for a first pair of birding binoculars under a $1000 budget?
Magnification, field of view and eye relief matter most for a first pair, because they decide whether you can find birds and use the pair comfortably at all. Glass quality comes next. A practical extra check is interpupillary distance, the spacing between the eyepieces. Set it so the two circles merge into one clean image.
How much should you spend on a first pair of birding binoculars?
Spend about $250 to $500 on a first pair if you bird most weeks, and less if you are still testing the hobby. That range buys clarity and sealing that will not hold you back as skills grow. Keep part of the budget for a harness, spare lens cloths and a field guide app.
Is a smartphone enough instead of birding binoculars for identifying birds?
No, a smartphone is not enough for identifying birds, because a phone shows a wide scene where a distant bird stays tiny. Phones help after the sighting, when you record calls, log lists and check range maps. Use the tools in that order: study the bird through the binoculars first, then reach for the phone to confirm details and save the record while the marks are fresh.
Wrapping Up
Match magnification and field of view to your habitat first, then let glass quality and eye relief guide how far up the tiers you go. Sealing and a comfortable carry matter on every outing. Use the product table above to compare those points side by side before you decide.
Chosen that way, best birding binoculars under $1000 stops being a price label and becomes a pair that fits your birds, your light and your hands. Buy the tier you will carry often, and spend the savings on time in the field.