
Best Binoculars for Viewing Stars for 2026: Budget, Midrange, and Premium Guide
Disclosure: We may earn a commission when you buy through links on this page, at no extra cost to you. As an Amazon Associate I earn from qualifying purchases. Learn more

Compare binoculars for viewing stars by price, with clear guidance on aperture, magnification, coatings, tripod use and what each tier gives you.
Star fields reward patience more than power, and the right pair makes dim clusters and bright planets easier to find from a backyard or a dark roadside stop. Choosing the best binoculars for viewing stars starts with light, not labels, and the comparison table below shows how price changes the glass and the width of view.
Prices run from under $100 for a simple pair to about $900 for refined optics, and the middle ground is where many buyers get the clearest step up. This guide sorts that range into tiers and explains the numbers on the barrel.




Who Should Buy Binoculars for Viewing Stars?
Your targets and your tolerance for weight matter more than a single top spec. Pick the group below that sounds like your usual night.
Casual Backyard Viewers Who Scan by Hand
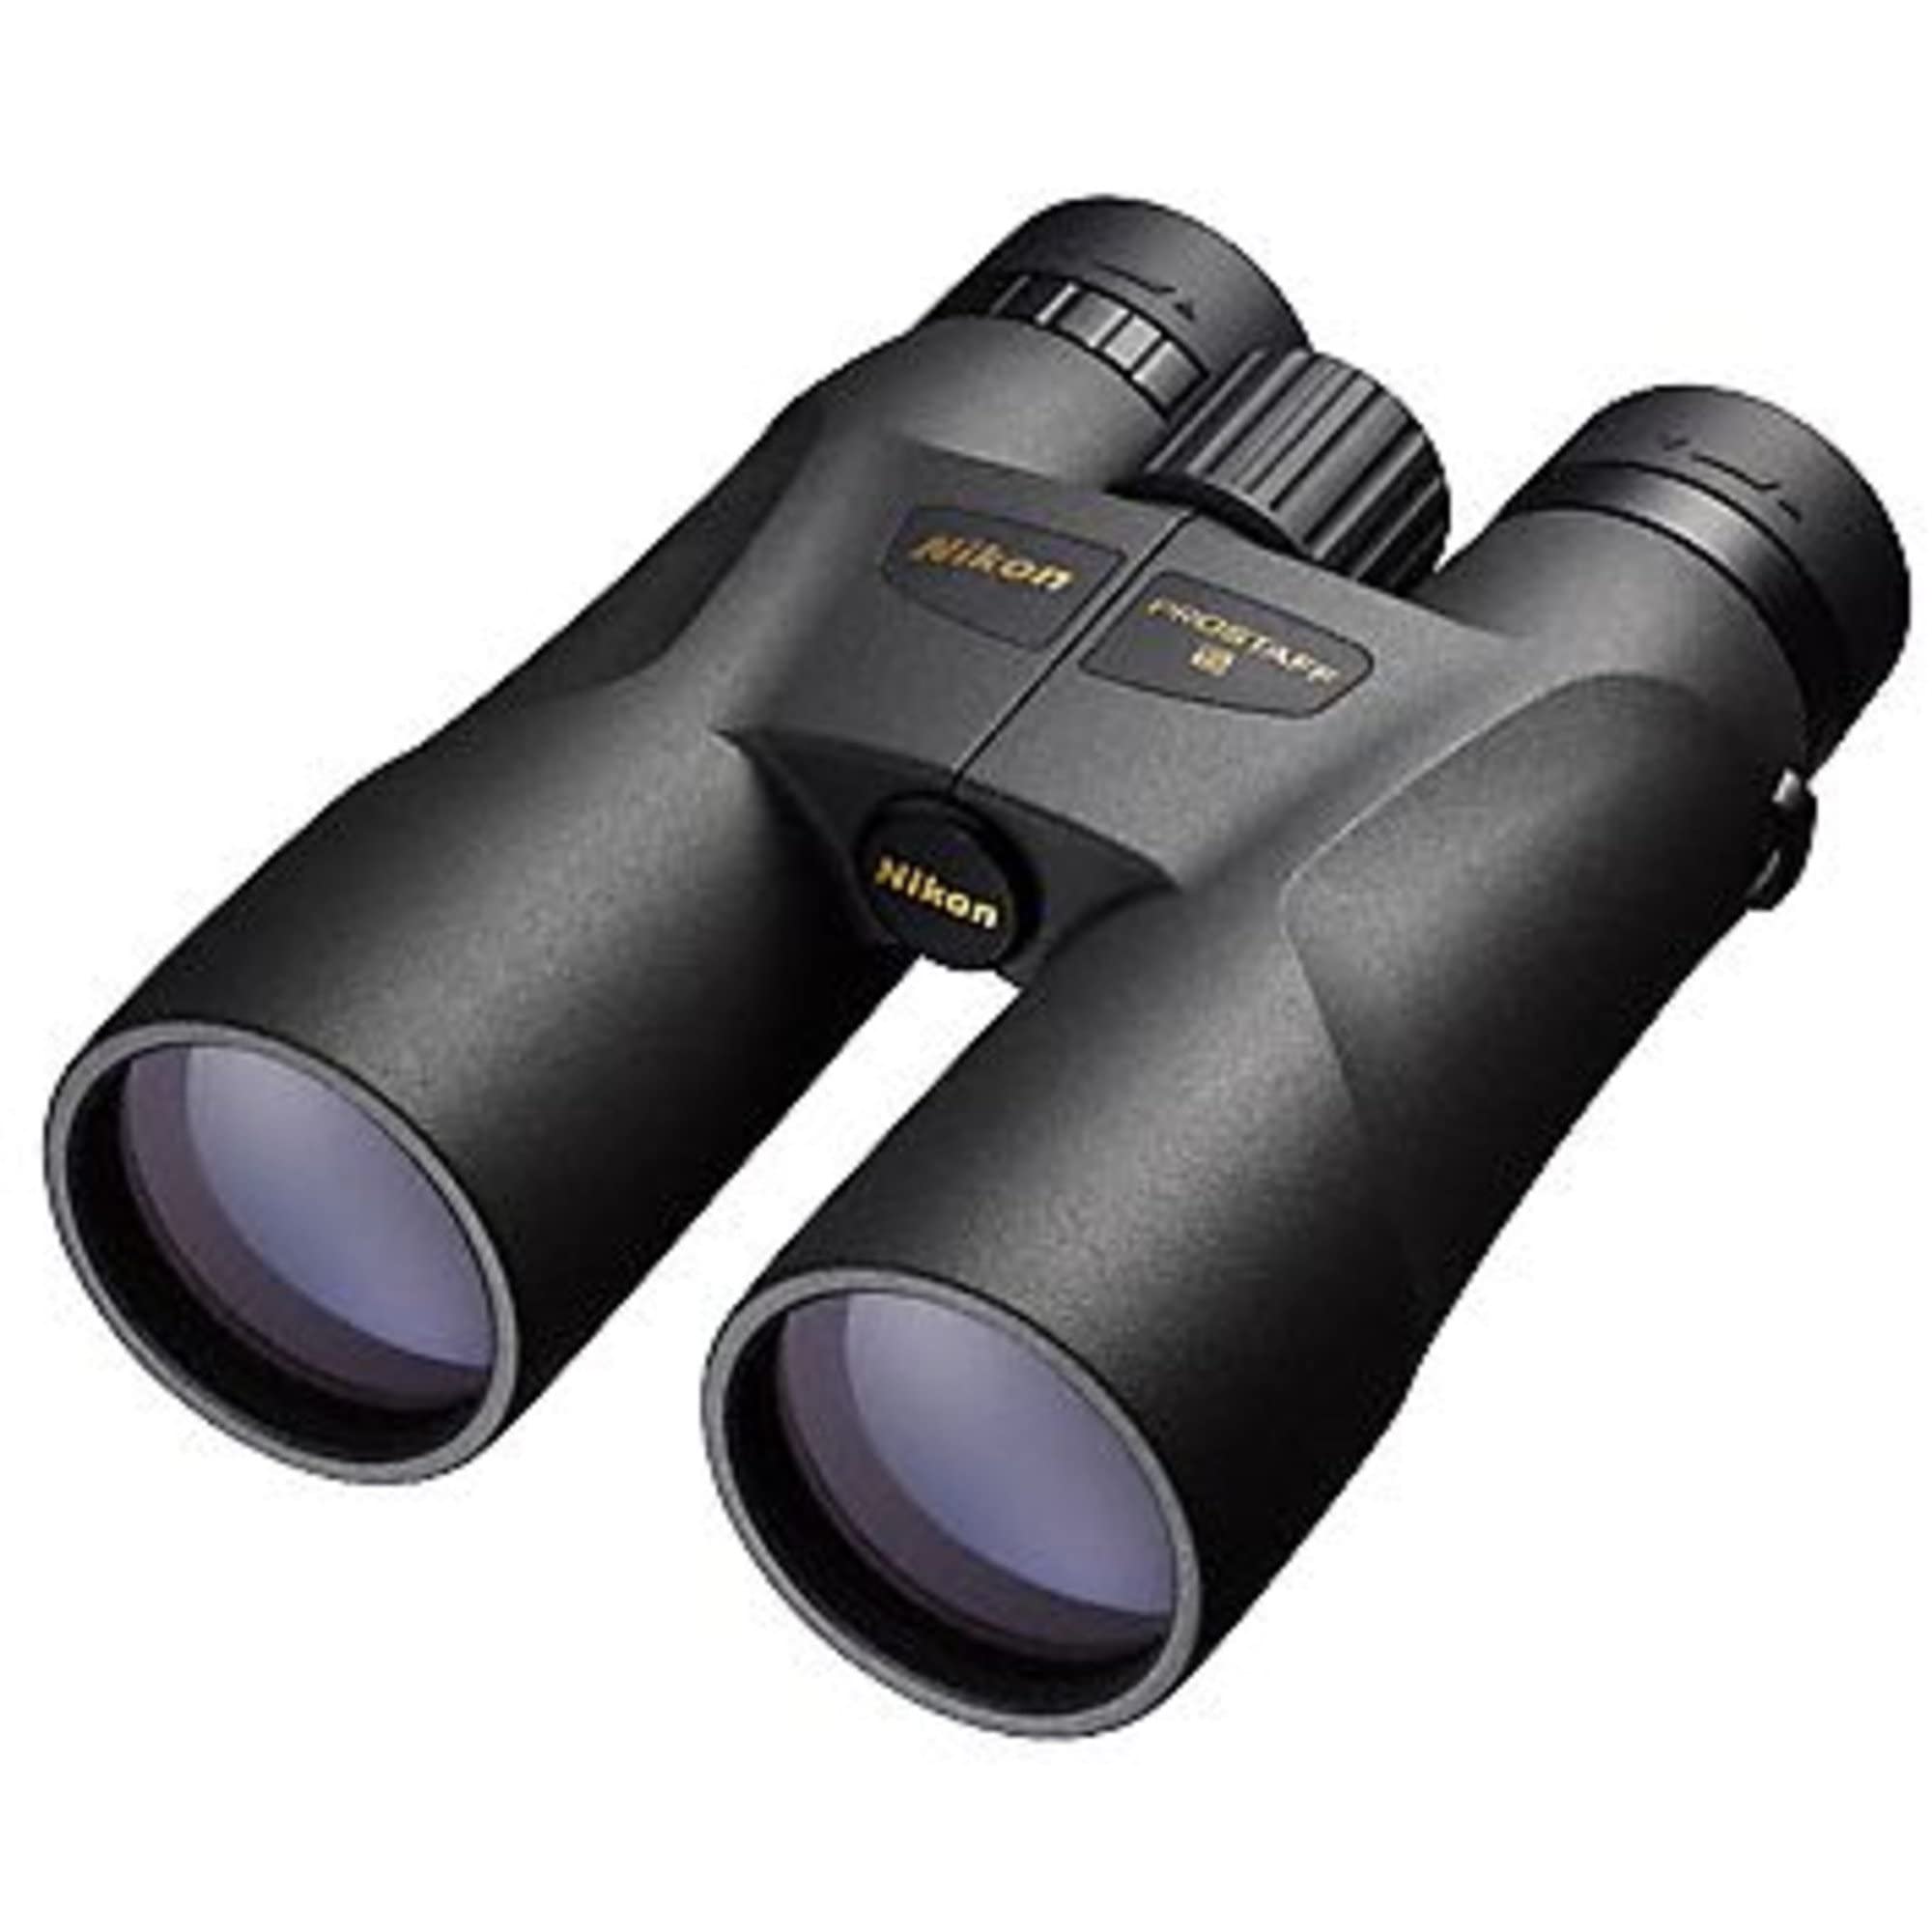
You step out for twenty minutes to enjoy the Moon, bright planets and passing satellites, and you want a view that settles fast. A 7x50 or 10x50 pair you can hold by hand suits you best, with simple center focus and no mount. Stay in the budget or lower midrange tiers, and value a wide field over maximum power.
Learners Who Want to Find Clusters and Nebulae
You plan sessions around star charts and want to locate the Pleiades, the Orion Nebula and dense parts of the Milky Way. You need clearer glass and better contrast than a starter pair gives, so the midrange tier is your natural home. For a shortlist shaped only around night use, see our guide to the best binoculars for stars.
Patient Observers Who Will Use a Tripod
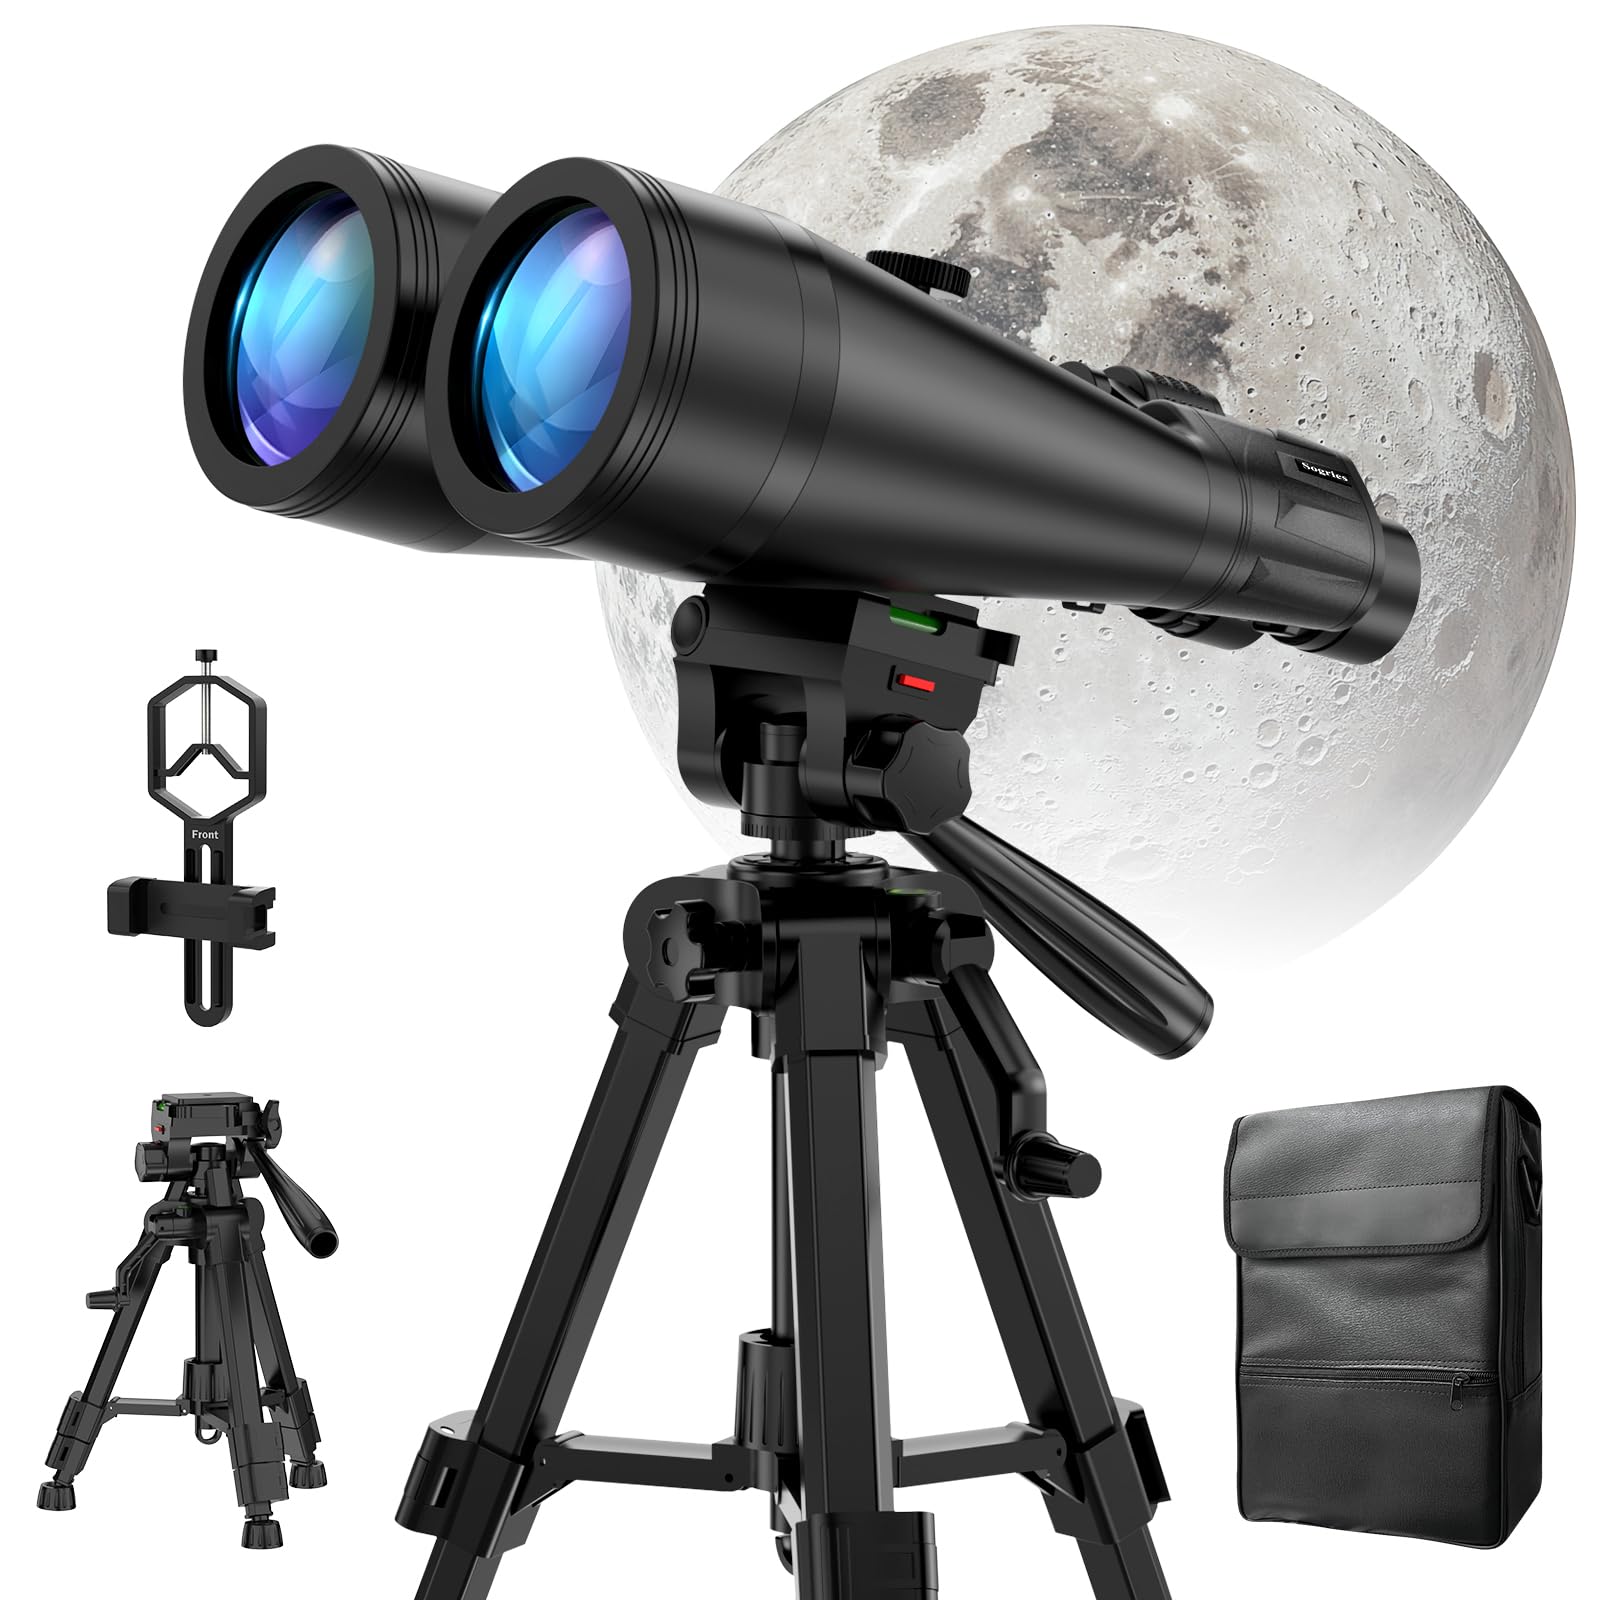
You stay out for an hour or more and chase faint galaxies and tight double stars that punish any shake. A larger pair in the 15x70 class gathers more light, but it needs a tripod and a mount adapter to stay steady. Choose the premium tier only if you accept the extra weight and slower setup.
What Each Price Band Buys for Star Viewing
Price buys glass quality, coating quality and comfort more than raw power. For wider context first, see our guide to the best binoculars for viewing, then return to these star specific tiers.
Budget Tier for Bright Targets and First Sessions
Pairs at about $80 to $160 usually offer 50 mm objective lenses with basic coatings and a simple build. Views of the Moon, planets and bright clusters look pleasing, but faint stars near the edge may soften and dim targets lose contrast. This tier suits short hand held sessions and buyers learning the sky.
Midrange Tier for Clearer Glass and Longer Sessions
Pairs at about $170 to $350 add fully multi coated lenses, better prism glass and smoother focus wheels. Stars stay sharp across more of the field, faint clusters gain contrast, and eye relief grows more generous for glasses wearers. Most regular observers stop here, because the clarity gain is large.
Premium Tier for Wider Views and Finer Focus
Pairs at about $400 to $900 refine almost every detail at once, with extra low dispersion glass, phase coated roof prisms or fine Porro optics, and smooth mechanics. You gain the widest clean fields and the best contrast on faint nebulae. This tier pays off for frequent observers who plan to keep one pair for many years.
Key Features to Compare
Compare these factors in order, because together they decide how bright and steady the night sky will look. That balance is what separates the best binoculars for viewing stars from a general pair built for daylight.
Objective Lens Size and Exit Pupil Brightness
The objective lens is the front lens, and its diameter in millimeters sets how much light the pair can gather. A 50 mm lens suits most star viewing, a 42 mm lens feels lighter but gathers less light, and a 70 mm lens shows fainter targets at the cost of weight. The exit pupil is the bright circle of light that reaches your eye. At about 5 to 7 mm it looks brighter in darkness and feels more forgiving.
Magnification and How Steady You Can Hold
Magnification makes targets larger, but it also magnifies the shake in your hands and narrows the field you can search. Most hand held star viewing works best at 7x or 10x, where the Moon and large clusters stay calm enough to study. At 15x and above, fine detail appears only when a mount removes the shake. Choose the lowest power that shows your targets well.
Prism Glass and Lens Coatings for Contrast
Prisms fold the light path inside the body, and their glass and coatings decide how much contrast survives. BAK4 glass in a Porro design gives bright, clean views at a fair price, while slim roof prism models need phase coated prisms to match that contrast. Fully multi coated lenses pass more light and cut reflections that wash out faint stars. At night contrast matters as much as brightness.
Field of View and Eye Relief for Glasses
Field of view tells you how wide a slice of sky you see at once, stated in degrees. About 6 to 8 degrees helps you sweep the Milky Way and find clusters without losing your place. Eye relief is the distance your eye can sit from the rear lens and still see the full field. If you wear glasses, look for about 15 to 20 mm.
Weight, Tripod Fit and Weather Sealing
Most 50 mm pairs weigh about 28 to 38 ounces, and giant pairs can pass 50 ounces, so weight decides how long you can hold a pair overhead. A threaded socket for a tripod adapter lets you mount the pair when your arms tire. Sealed bodies with nitrogen purged optics resist internal fog on dewy nights.
How to Check a New Pair on the First Clear Night
Start before dark by setting the distance between the barrels to match your eyes, so the two circles merge into one round view. Focus the center wheel on a distant tree with both eyes open, then adjust the diopter dial for your right eye alone. Once both eyes give one clear image, the pair is set.
After dark, give your eyes about 20 to 30 minutes to adapt and keep white lights off, because one bright glance resets much of that gain. Brace your elbows against your knees or a fence, and begin with the Moon to confirm focus. For a calmer plan, see our guide to the best binoculars for star gazing.
Common Mistakes to Avoid
- Choosing very high magnification without a mount leaves stars shaking so much that faint detail disappears.
- Choosing a small objective lens for dark skies gathers too little light and makes dim clusters look pale.
- Ignoring eye relief when you wear glasses cuts the edges of the view and hides part of the field.
- Storing binoculars while they are still damp from dew invites fog and marks that cleaning cannot fully remove.
- Chasing zoom models for star viewing gives narrow, dim views that are hard to aim.
Care and Maintenance for Star Viewing Binoculars
After a dewy night, leave the lens caps off in a dry room until the glass and body feel dry, then store the pair in its case away from heat and sun. Keep the neck strap sound, because most damage comes from a drop. A small pack of silica gel inside the case helps in damp climates.
Clean lenses only when dust or spots demand it, and start with a soft air blower to lift grit before anything touches the glass. Wipe with a clean microfiber cloth in gentle circles and never use a shirt or paper towel, because trapped grit can scratch coatings. Never open the body, since prism alignment is a service shop job.
Frequently Asked Questions
What features matter most in binoculars for viewing stars?
Light gathering, steady magnification and contrast matter most in binoculars for viewing stars. A 50 mm objective lens, 7x or 10x power and fully multi coated BAK4 optics cover most needs. One point many buyers miss is the close focus figure on the spec sheet, which matters for birds but not for stars, since every target sits at infinity.
Which binoculars for viewing stars are better for low light, 7x50 or 10x50?
A 7x50 pair is better for pure low light brightness and for the steadiest hand held view. Its larger exit pupil feeds your eye more light and its lower power calms shake. A 10x50 pair can still win at home, because under light polluted skies the extra power darkens the background glow and helps small clusters stand out.
What do the numbers 10x50 mean on binoculars for viewing stars?
The numbers 10x50 mean the view is magnified 10 times and each front lens measures 50 mm across. While you shop, divide the second number by the first to get the exit pupil in millimeters for any pair. That quick sum lets you compare brightness across listings without opening a detailed spec page.
How much should a first time buyer spend on binoculars for viewing stars?
A first time buyer should plan on about $170 to $350 for binoculars for viewing stars that will stay satisfying for years. That budget buys coatings and prism glass that budget pairs skip. Keep about $30 to $60 aside for a tripod adapter and a padded case if your pair lacks them, because those extras protect the purchase.
Do binoculars for viewing stars need a tripod for steady views?
No, binoculars for viewing stars at 7x or 10x do not need a tripod for steady views. Most people hold them well for short sessions with braced elbows. A helpful extra is a reclining lawn chair with firm arm rests, which supports your arms and tilts your head back, so sessions feel calmer without any mount. Save the tripod for 15x pairs and above.
The Bottom Line
Match the pair to your sky and your habits first. A hand held 7x50 or 10x50 in the midrange tier serves most backyards well, while a mounted larger pair rewards dark sites. Use the product table above to compare aperture, weight and price.
When you choose the best binoculars for viewing stars for your nights, favor bright and steady views over headline power, and you will return to the same clusters with growing skill.


