Best Bathroom Sealant for 2026: A First Time Buyer's Guide
Disclosure: We may earn a commission when you buy through links on this page, at no extra cost to you. As an Amazon Associate I earn from qualifying purchases. Learn more
New to the best bathroom sealant? Learn the basic types, what to check, and how to apply a seal that stays neat in a damp room.
If you have never bought sealant before, the choices can look confusing, with squeeze tubes, cartridges that need a gun, and many formulas. The best bathroom sealant for your job depends on where the seal goes, how much movement that joint sees, and how wet the area stays. The product table below gives you a quick side by side view, and this guide walks you from the basics to a confident purchase.
A bathroom seal keeps water out of gaps around tubs, showers, sinks, and toilets, and a good seal also resists mold growth in a damp room. You do not need to know every chemical term to choose well. You need to match the type to the surface, prepare the joint properly, and give the seal enough time to cure.


Best Bathroom Sealant Basics
A sealant is a flexible filler that bridges a gap and stays watertight as surfaces shift slightly with temperature and use. In a bathroom, it is used where two surfaces meet, such as a tub edge against a wall, or a sink rim against a countertop. Unlike rigid grout, a sealant can flex, which is why it suits joints that move a little over time.
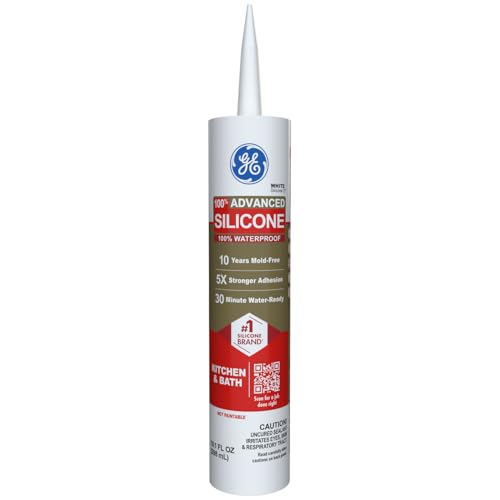
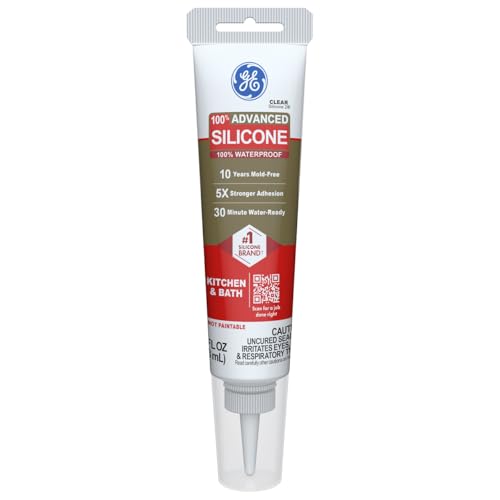
Most bathroom sealants are silicone based or hybrid formulas, and each has its own strengths. Silicone types usually resist water and mold well and stay flexible, but they can be hard to paint over. Hybrid types may accept paint and stick to more surfaces, but you should still check the maker guidance for your exact surfaces. Always match the sealant to the materials it will touch, such as tile, porcelain, fiberglass, or stone.
The best bathroom sealant for a wet shower joint is usually a mold resistant silicone, while a dry sink joint can often use a simpler formula. If you prefer a peel and stick option for tidy edges, see our guide to bathroom sealant tape.
Key Specs Explained in Plain English
Intended Use and Who It's For
First time buyers usually need a sealant for one clear job, such as resealing a tub edge or sealing a new sink. If you are sealing around a bathroom tub edge, look for a formula made for constant wet contact and frequent cleaning. If the job is a small sink joint that sees less water, a general bathroom formula may be enough. Define the job before you shop, because the right type follows the location, not the brand name.
Maintenance and Long Term Costs
A sealant is not a fit and forget product, and its long term cost includes cleaning, inspection, and eventual replacement. Wipe sealed joints regularly to remove soap scum, and check for cracks, gaps, or dark spots every few months. A tube costs around $5 to $15, but tools, tape, and cleaning supplies add a little more.
A seal that lasts several years costs less over time than a cheap seal that fails early and lets water reach the wall behind it. For routine cleaning, a bathroom cleaner made for bathroom surfaces can help keep joints free of buildup without damaging the seal.
Build Quality and Materials
Quality shows up in flexibility, adhesion, and resistance to mold and mildew in a damp room. A good sealant stays elastic after curing instead of turning brittle, and it bonds firmly to clean, dry surfaces. Check whether the formula is rated for kitchens and bathrooms, and whether it mentions mold resistance, since those ratings matter more in a shower than in a dry room. Avoid formulas with vague claims and no stated cure time or movement rating.
Safety and Certifications
Sealants can give off fumes while they cure, so ventilation matters, especially in a small bathroom. Open a window or run the fan, wear gloves, and keep the room aired until the seal has cured. Follow the maker label safety guidance closely, and keep tubes away from children.
Some formulas are certified for low emissions or for food contact areas, but a bathroom seal does not need food contact certification. If a label lacks safety guidance, choose a different product, and check local rules for disposal of old tubes and cartridges.
Warranty and Customer Support
A warranty on a sealant usually covers defects in the tube, not the quality of your application, so read the terms before you rely on them. More useful is clear maker support, such as cure times, surface guidance, and answers about compatibility with your tub or tile. A maker that publishes detailed instructions is easier to trust than one that gives only a short label. Keep your receipt and note the date you applied the seal, so you can judge its life fairly.
Rookie Mistakes to Avoid
- Applying sealant over an old, dirty, or damp joint, which stops it from bonding properly.
- Choosing a paintable formula for a shower joint that needs maximum water resistance.
- Skipping tape or a steady bead, which leaves a messy line that is hard to smooth.
- Using the shower before the seal has fully cured, which can wash out or dent the bead.
- Sealing over mold or mildew instead of cleaning the joint first, which traps the problem underneath.
Getting Started: Setup and First Use
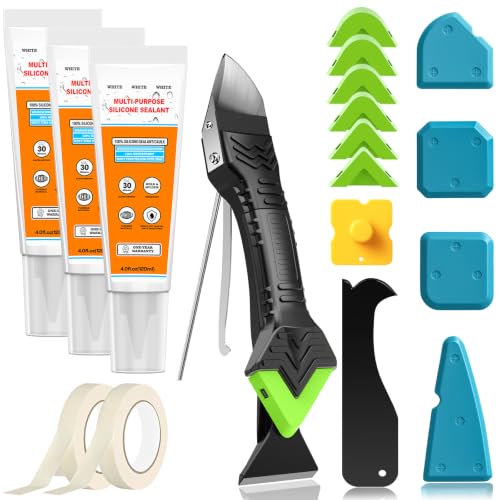
Start by removing the old sealant fully and cleaning the joint with a bathroom safe cleaner, then let the surfaces dry completely. Tape both sides of the joint to keep the bead neat, cut the nozzle to the width you need, and apply a steady bead in one smooth pass. Smooth the bead with a wet finger or a smoothing tool, remove the tape while the seal is still wet, and leave the area untouched until the maker stated cure time has passed. If you are unsure whether to use sealant or caulk for a given joint, our guide to bathroom caulk explains how the two products differ and where each one fits.
Read the maker manual before first use, and clean and inspect your tools after the job. Store leftover tubes upright in a dry place, and check the nozzle for a plug before your next use. A little patience at this stage pays off, since a neat, fully cured bead lasts far longer than a rushed one.
FAQs
How long does a bathroom sealant last?
A bathroom sealant usually lasts several years when it is applied to clean, dry surfaces and allowed to cure fully. Showers and tub edges wear faster than dry joints because they see constant water and cleaning. Signs that replacement is due include cracking, peeling, gaps, and dark spots that will not wash away. Inspect joints every few months, and replace a failing seal promptly so water cannot reach the wall or floor behind it.
How much should I spend on a bathroom sealant?
Most tubes cost around $5 to $15, and a basic application gun adds a little more if your sealant comes in a cartridge. Squeeze tubes suit small jobs, while cartridges suit longer joints and give a steadier bead. The product table above can help you compare prices, but the cheapest tube is not a bargain if it fails early. Spend enough to get a bathroom rated formula with clear cure and safety guidance from the maker.
What features matter most when buying bathroom sealants?
Water resistance, flexibility after curing, and mold resistance matter most in a bathroom, because joints stay damp and shift slightly over time. Adhesion to your exact surfaces comes next, since a seal that will not bond to fiberglass or stone will fail no matter how good it looks. Cure time matters for planning, because you must keep the area dry until curing is done. Clear maker instructions tie these features together and make the job easier for a first time buyer.
How do I maintain a bathroom sealant?
Clean sealed joints regularly with a gentle bathroom cleaner, and avoid abrasive pads that can scratch or lift the bead. Rinse away soap scum, since buildup can hide cracks and feed mold growth on the surface. Check the seal every few months for gaps, peeling, or discoloration, and reapply promptly if you find damage. Good ventilation also helps, since a room that dries between showers puts less strain on every seal in it.
Are expensive bathroom sealants worth it?
Expensive sealants are worth it when you need longer life, stronger mold resistance, or a formula rated for a demanding spot such as a shower floor joint. For a small, dry joint, a mid range bathroom formula usually performs just as well. The extra cost buys durability and clearer maker guidance, not a guarantee against failure, since preparation and curing matter just as much. Match the price to the job, and spend more where water exposure is constant.
Final Thoughts
The best bathroom sealant for a first time buyer is a bathroom rated formula that matches your surfaces, gives clear cure and safety guidance, and suits the wetness of the joint. Prepare the joint well, apply a steady bead, and give it the full cure time before using the shower or tub. The product table above can help you compare options, but careful preparation is what turns a good tube into a seal that lasts.