Best Backpacking Binoculars: Buying Guide for 2026
Disclosure: We may earn a commission when you buy through links on this page, at no extra cost to you. As an Amazon Associate I earn from qualifying purchases. Learn more

Trail-ready advice for choosing the best backpacking binoculars by weight, magnification, objective size, and weather sealing.
On a backpacking trip, every ounce matters, and binoculars are easy to leave behind if they are heavy, bulky, or awkward to carry. The right pair should disappear into your pack, come out quickly when wildlife appears, and give a bright, steady view without tiring your arms. This guide explains how to choose best backpacking binoculars for trail use, and the product table lays out the main sizes and styles side by side.
Backpacking changes the usual binocular priorities. A pair that feels fine on a short walk can feel heavy after miles on the trail, and a large objective lens that gathers more light also adds weight and bulk. Start by setting a weight limit, then choose magnification and objective size that fit inside it.
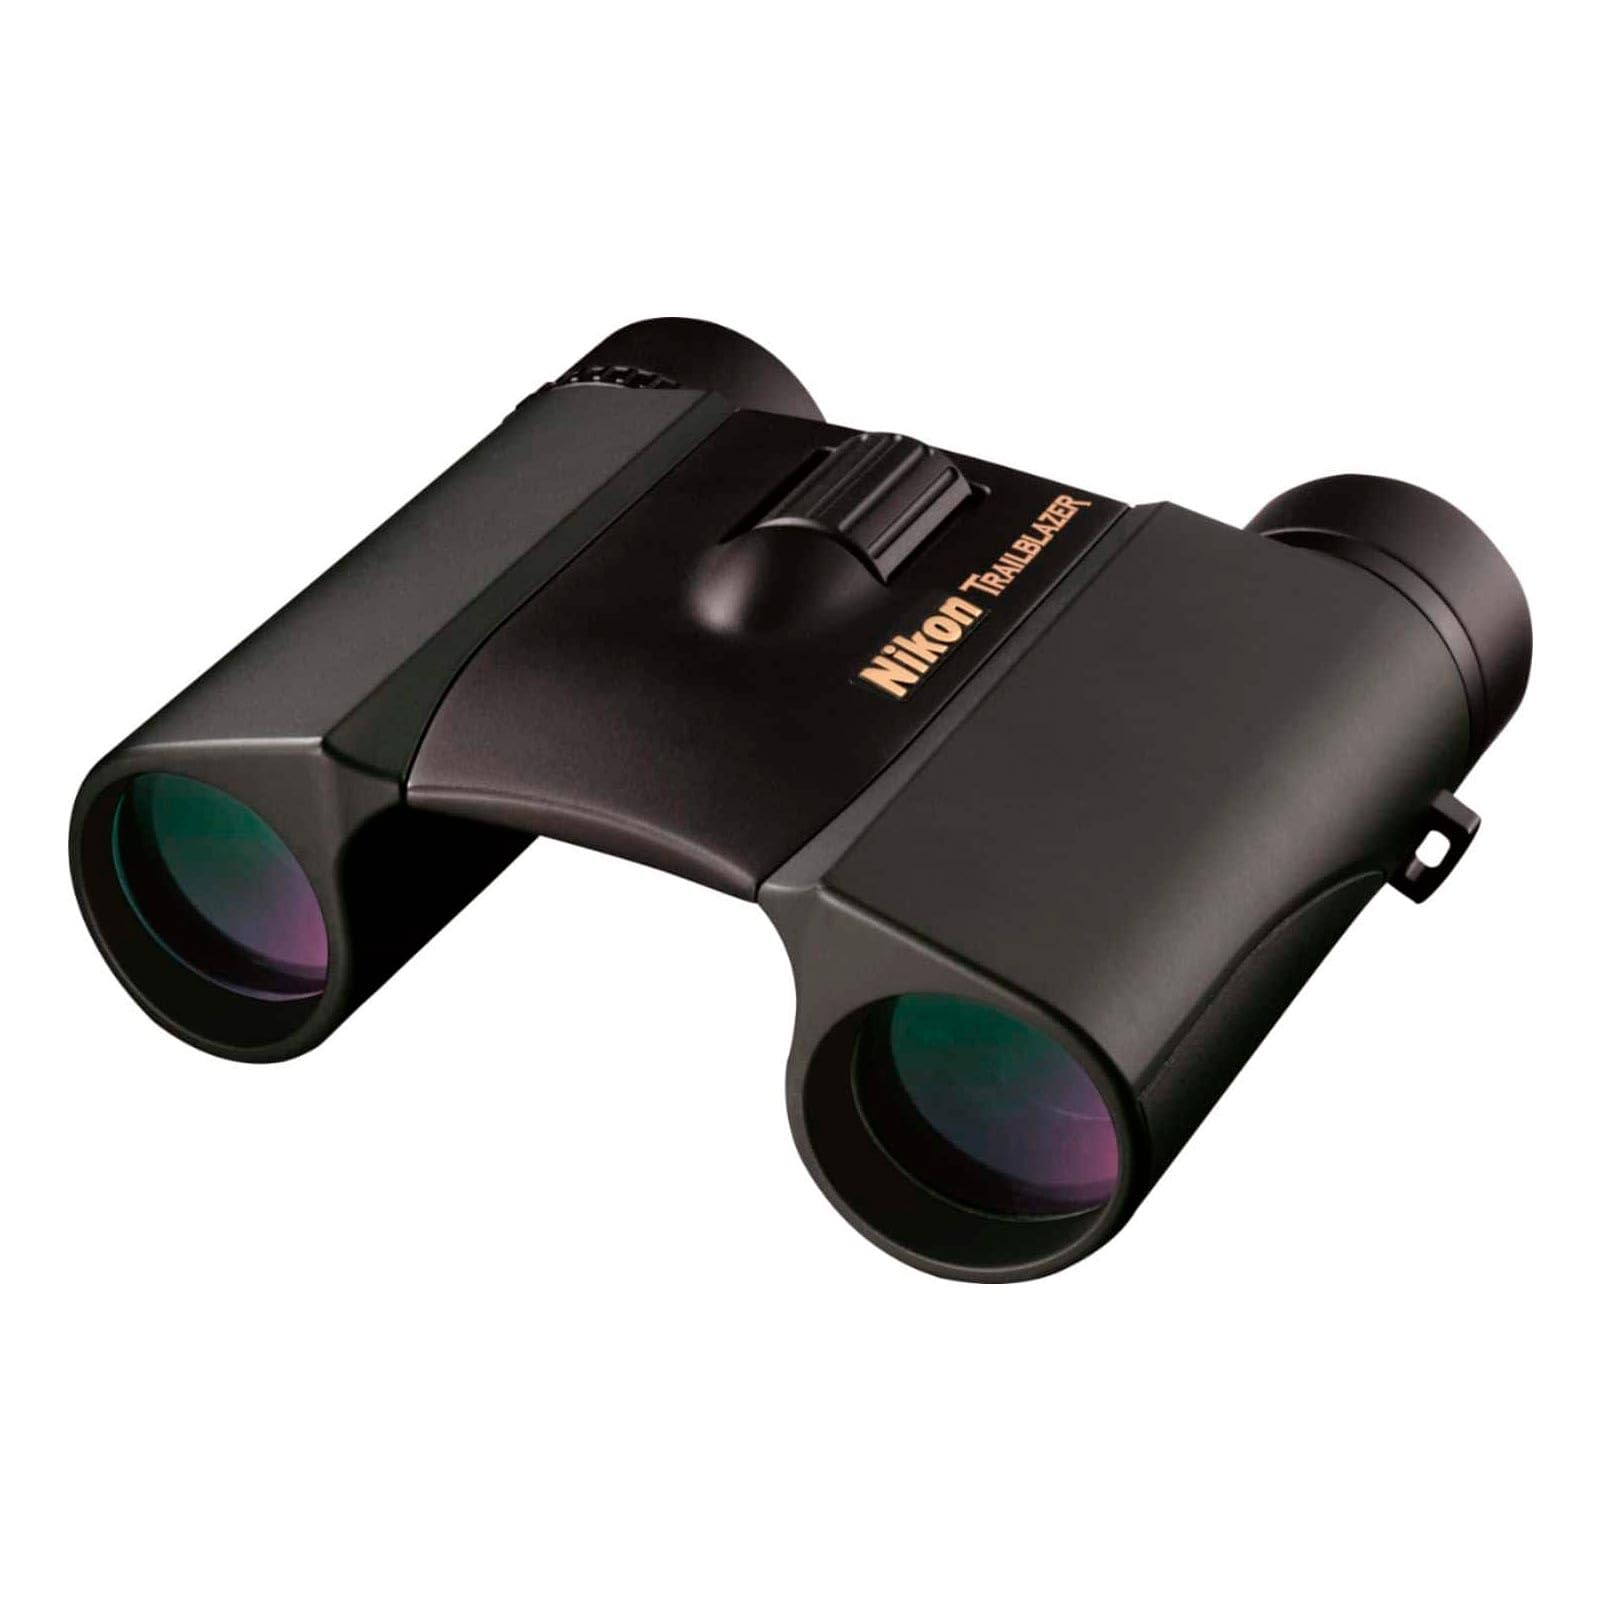


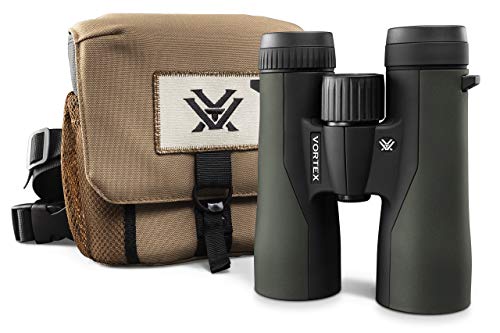


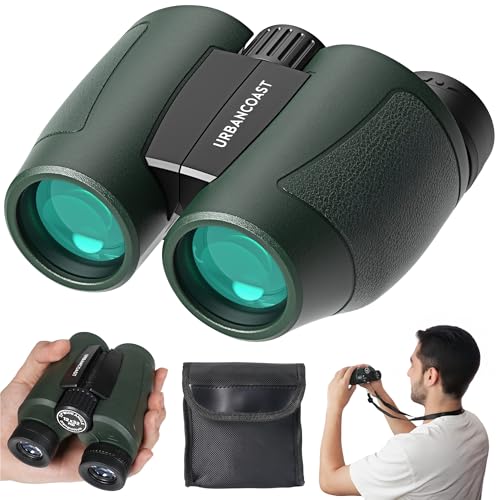
Spending Levels for Backpacking Binoculars
Prices vary widely, and differences usually show up in glass quality, coatings, and build rather than magnification alone. Two pairs with the same 8x42 marking can differ greatly in brightness and sharpness, so compare optical quality and weight together. Prices below are approximate and cover the pair only, not straps, cases, or harness accessories. For a broader comparison, see our guide to best rated binoculars.
Lower Spending Level
At this level, expect compact roof prism binoculars with basic coatings and a light body, priced at about $50 to $120. These pairs suit casual spotting and shorter trips. They may show softer edges and dimmer views in low light, and their sealing may be limited to splash resistance, so check the rating before heavy rain.
Middle Spending Level
This level is the sweet spot for most backpackers, with fully multicoated lenses, better glass, and true waterproof sealing, priced at about $120 to $300. Views are brighter and sharper, eye relief is usually more generous for glasses wearers, and weight stays reasonable in compact and mid size models. For multi day trips, this level is usually worth the step up.
Higher Spending Level
At the higher level, you pay for premium glass, phase corrected prisms, and tighter quality control, priced at about $300 to $600 or more. The gain is clearest at dawn and dusk, where better coatings keep the image bright for longer. Bodies are often magnesium alloy, which keeps weight down while staying rigid. Choose this level if you watch wildlife daily and notice the limits of a mid priced pair.
How to Choose the Best Backpacking Binoculars: Buying Guide
Camera specs such as sensor size, megapixels, video recording, and autofocus do not apply to binoculars. A binocular has no sensor and records no video, so the factors that matter are magnification, objective size, glass and coatings, eye relief, field of view, weight, and weather sealing. Keep those factors in front of you while shopping.
Magnification and Image Quality
Magnification is the first number in a marking such as 8x42, and it tells you how much closer the subject appears. For backpacking, 8x is the most versatile choice because it gives a steady image, a wide field, and good low light performance in a compact body. Higher magnification such as 10x brings distant birds closer but also magnifies hand shake and narrows the field, which makes it harder to find a moving animal. Image quality then depends on glass and coatings, which control sharpness, color accuracy, and glare.
Low Light Performance
Low light performance depends on objective size, exit pupil, and coatings together. The exit pupil is the objective diameter divided by magnification, so an 8x42 pair has an exit pupil of about 5.25 mm, which suits most adult eyes in dim light. Twilight factor is another rough guide that combines magnification and objective size, but it does not replace coatings, which reduce lost light at each glass surface. For dawn and dusk wildlife watching, favor a mid size pair with good coatings over a compact pair with a small objective.
Ease of Use for Your Skill Level
New users should look for a smooth center focus wheel, a simple diopter adjustment for the difference between your eyes, and a comfortable eye cup setting. Twist up eye cups work well for glasses wearers, since they let you set the distance that gives a full field without black edges. A light harness makes a real difference on long days, and a rain guard that stays attached keeps the lenses clean in drizzle.
Lens and Objective Size
The objective size is the second number in a marking such as 8x42, and it is the diameter of the front lens in millimeters. Common backpacking sizes are 25 mm and 32 mm for compact pairs, and 42 mm for full size pairs. A larger objective gathers more light but adds weight and bulk, so the choice is a trade off between brightness and pack weight. For most backpackers, a 32 mm objective is a good balance, while a 42 mm pair suits trips where wildlife watching is the main activity rather than a side interest.
Phone Adapters and Digiscoping
Binoculars do not record video, so video specs such as 4K frame rates and microphone inputs belong to cameras. If you want photos through your binoculars, a phone adapter clamps your phone to one eyepiece and lets you capture what you see. Adapters add weight and need a steady hand, so try one at home before relying on it in the field.
Size, Weight, and Ergonomics
Weight is the deciding factor for many backpackers, and it should be measured with the strap and rain guard included, since those add ounces. Compact pairs under about 12 ounces are easy to carry all day, mid size pairs around 18 to 22 ounces suit longer sessions, and full size pairs over 24 ounces are best for base camp or short hikes. Grip matters too: a textured body and a reachable focus wheel mean the pair will be used more often.
Durability and Weather Sealing
Look for waterproof sealing and fog proof construction, which usually means the barrels are filled with dry nitrogen to prevent internal fogging when temperatures change. Most pairs do not float, so use a strap that keeps them attached to you near streams. Rubber armor protects against bumps, and a padded case protects the lenses in your pack. Never look at the sun through binoculars, since concentrated sunlight can seriously injure your eyes, and follow local trail and wildlife rules.
Types of Backpacking Binoculars
The main choice for backpackers is between compact, mid size, and full size binoculars, with zoom models as a niche option. If you also want photos, carry a camera as a separate item and choose binoculars for viewing, rather than expecting one product to do both jobs well.
Compact Binoculars
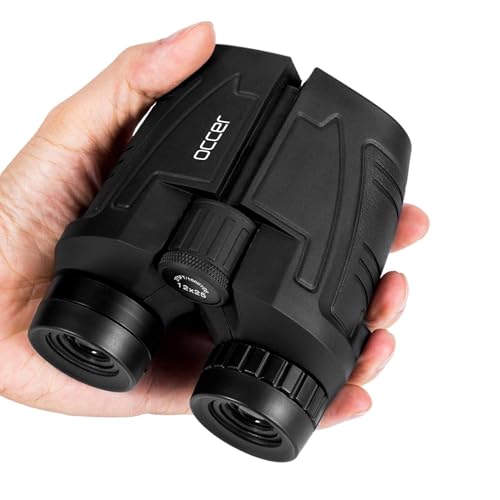
Compact binoculars, often 8x25 or 10x25, are the lightest option and fold small enough for a jacket pocket or a hip belt pocket. They suit day hikes, casual spotting, and trips where weight matters more than dawn performance. For the lightest options, see our guide to best lightweight binoculars for backpacking.
Their small objectives gather less light, so views dim earlier in the evening, and eye relief can be tight for glasses wearers. Choose compact pairs for short trips and bright conditions, and step up in size if you watch wildlife at dawn or dusk.
Mid Size Binoculars
Mid size binoculars, often 8x32 or 10x32, are the best balance for most backpackers. They are bright enough for early morning use, light enough for multi day trips, and comfortable for long viewing sessions.
Field of view is usually generous, which helps when scanning a hillside or following a moving bird. They are a strong choice for birdwatching, as covered in our guide to best binoculars for birdwatching. If you buy only one pair for backpacking, a mid size model with good coatings is the safest choice, and it pairs well with a light harness for all day carry.
Full Size Binoculars
Full size binoculars, often 8x42 or 10x42, give the brightest, most comfortable view and the best low light performance. They suit base camp use, wildlife focused trips, and shorter hikes where weight is less critical. Their drawback is pack weight and bulk, which can push a light pack over your target.
If you choose full size, carry them on a harness rather than a neck strap, and pack them where they are easy to reach so they actually get used. For more on birding focused pairs, see our guide to best binoculars birding.
Zoom Binoculars
Zoom binoculars let you change magnification, for example from 8x to 16x, without switching pairs. That flexibility sounds useful, but zoom models are usually heavier, dimmer at high magnification, and softer at the edges than fixed magnification pairs. They can suit a stationary viewing spot, such as a lakeside camp, but for walking and quick spotting, a fixed 8x pair is steadier and simpler. Try a zoom pair in a store before buying, and check the view at both ends of the zoom range.
Care and Maintenance Tips
- Use a soft lens cloth or blower brush for dust, never your shirt, since grit can scratch coatings.
- Keep the objective and eyepiece caps on in your pack, and use the rain guard in drizzle so water does not sit on the lenses.
- Store binoculars in a dry, padded case away from heat, and avoid leaving them in a hot car.
- Wipe the body with a damp cloth after dusty or salty trips, and dry the pair fully before storing it for the season.
- Check the neck strap and harness clips before each trip, since a worn clip is a common cause of a dropped pair on the trail.
- If the view fogs inside the barrels, have the pair serviced rather than opening it yourself, since opening sealed barrels breaks the waterproofing.
Backpacking Binoculars: Your Questions Answered
How much should I spend on my first pair of backpacking binoculars?
For a first pair, a budget of about $120 to $300 usually gives the best balance of optics, weight, and sealing. Cheaper pairs can still be enjoyable, but they often show softer edges and dimmer low light views. Spending more mainly buys better low light performance and build quality. Try a friend's pair first if you can, so you learn whether you prefer 8x or 10x before spending.
Which backpacking binoculars are better for low light?
A mid size or full size pair with a larger objective and good multicoatings will beat a compact pair in low light. An 8x42 pair gathers more light than an 8x25 pair, and its wider exit pupil matches the eye better at dawn and dusk. Coatings matter as much as size, so a well coated 8x32 pair can outperform a poorly coated 8x42 pair.
What does 8x42 or 10x42 mean for backpacking binoculars?
The first number is magnification and the second is the objective lens diameter in millimeters. An 8x42 pair magnifies eight times and has a 42 mm front lens, while a 10x42 pair magnifies ten times with the same front lens size. Higher magnification brings subjects closer but narrows the field and magnifies hand shake, which is why 8x is often easier on the trail. For backpacking, choose magnification first for steadiness and field, then objective size for brightness and weight.
Is a smartphone enough instead of backpacking binoculars?
A smartphone is handy for photos and identification apps, but its digital zoom cannot match the bright, steady, real time view of binoculars. Phones also struggle in low light and drain battery quickly during long sessions. Binoculars need no battery, work in rain with proper sealing, and let you scan a wide area quickly. Many backpackers carry both, using binoculars to find wildlife and the phone for notes or a quick photo.
What specs matter most for beginners choosing backpacking binoculars?
Beginners should focus on magnification, weight, eye relief, and field of view, in that order. Choose 8x for a steady, wide view, pick a weight you will carry all day, check eye relief if you wear glasses, and favor a wide field so finding subjects is easy. Objective size and coatings matter next, but they should not override weight and comfort. Try several pairs in a store and pick the pair that feels natural in your hands.
Final Thoughts
For most backpackers, a mid size 8x32 pair with good coatings and true waterproof sealing is the best starting point. Step down to a compact pair for ultralight trips, or step up to a full size pair when wildlife watching is the main goal. Whichever size you choose, carry the pair where you can reach it quickly, protect the lenses in your pack, and never point them at the sun. Check the product table, match weight and low light performance to your trips, and you will have best backpacking binoculars that actually get used on the trail.