
Best Affordable Mountain Bike Helmet by Budget: Smart Picks for 2026
Disclosure: We may earn a commission when you buy through links on this page, at no extra cost to you. As an Amazon Associate I earn from qualifying purchases. Learn more
Choose the best affordable mountain bike helmet with confidence using price tiers, safety certification, fit, ventilation, sizing and care guidance.
Mountain bike helmets range from under $40 to well over $200, and that gap confuses many buyers. A best affordable mountain bike helmet should meet the same basic safety standard as a costly one, fit your head shape well, and stay comfortable on warm climbs. Savings should come from simpler finishes, not poor fit or thin coverage.
This guide explains what each price tier gives you and which features deserve your money. If you are also watching total spend on the bike itself, see our guide to the best affordable mountain bike. Then use the comparison table below to match a price range to your riding.


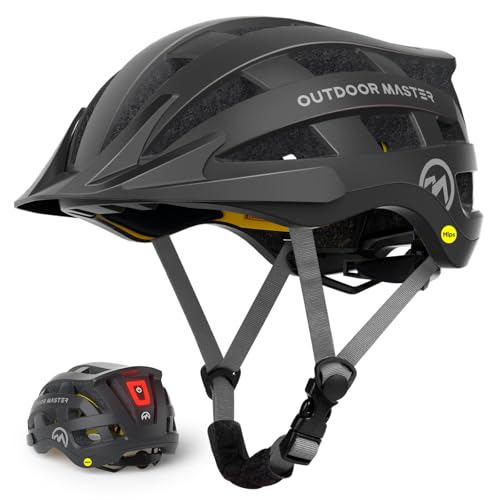


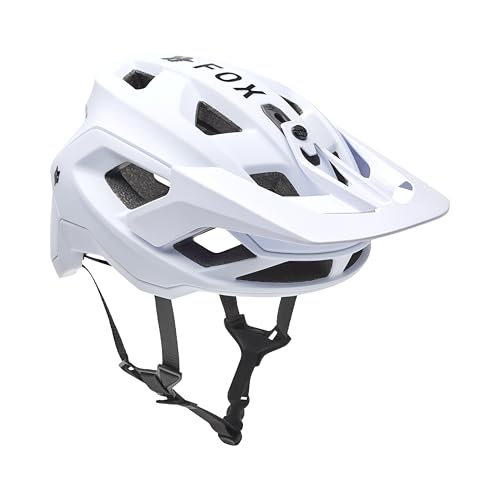

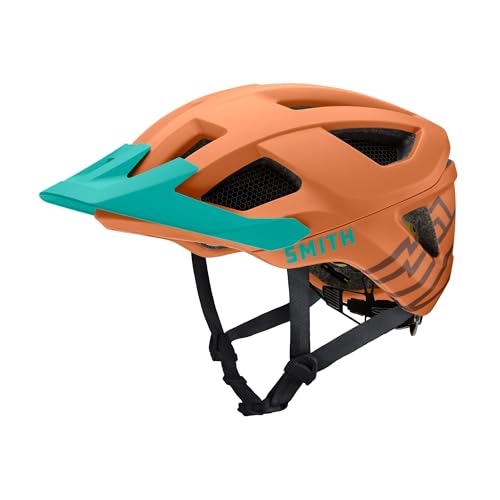
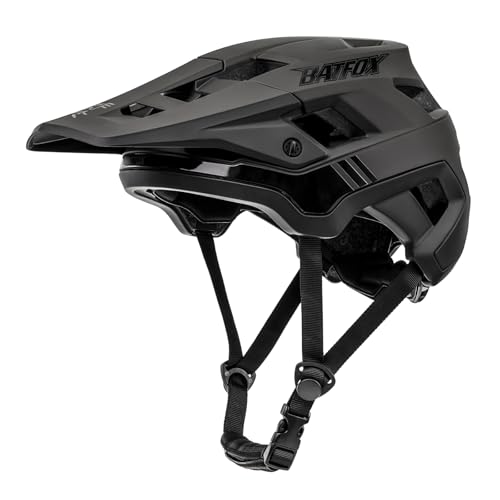
Who Should Buy an Affordable Mountain Bike Helmet?
New Trail Riders Building Basic Skills
If your rides are mostly smooth dirt paths and easy singletrack, an entry level helmet with certified foam and a simple fit dial covers your needs. You will fall at low speed more often than you hit anything hard, so a stable fit matters more than light weight. Choose a model that stays put when you shake your head, and spend the savings on gloves instead of extras you will not notice yet.
Cross Country and Fitness Riders Who Ride Often
Riders who climb for long stretches feel heat and weight more than anyone, so ventilation and a lighter shell are worth a modest step up. Look for larger vents, pads that dry quickly, and a visor that lifts out of view on climbs. If your riding leans toward racing, see our guide to the best xc mountain bike helmet for that style.
Enduro and Technical Trail Riders on a Tight Budget
Steeper trails, rock gardens, and jumps raise the cost of a mistake, so you need deeper coverage at the back and sides and a shell that stays put over rough ground. A heavier helmet is a fair trade for that coverage. If you regularly ride very rough descents, see our guide to the best mountain bike enduro helmet before settling for a basic trail model.
Key Features to Compare
Safety Certification and Rotational Protection in a Mountain Bike Helmet
Every helmet sold for cycling in the United States must meet the CPSC standard, which tests how well the foam absorbs a direct impact. That baseline applies at every price, so a low price alone does not mean weak protection. Some models add a low friction layer such as MIPS, designed to reduce rotational forces in angled falls. If you develop a headache, confusion, vomiting, dizziness, or vision changes after a fall, seek medical care promptly, and talk with your clinician about your personal needs before riding again.
Fit, Sizing and the Retention Dial on a Mountain Bike Helmet
Fit decides whether the foam can do its job, because a loose helmet can shift before it absorbs anything. Measure around your head just above your eyebrows and match the result to the size range for each model. Most affordable helmets use a rear dial that tightens a cradle around the back of the head. The helmet should sit level, feel snug without pressure points, and stay in place when you shake your head with the strap open.
Shell Construction and Coverage on a Mountain Bike Helmet
Most budget helmets bond a thin polycarbonate shell to EPS foam, a method often called in mold construction. The shell spreads impact force and protects the foam from dents. Trail models extend lower at the back and near the temples than road styles, guarding areas that often strike roots and rocks. Check that foam edges are covered rather than exposed, since exposed edges chip easily. Deeper coverage adds a little weight, but for trail use that trade is usually worth making.
Ventilation and Weight in a Mountain Bike Helmet
Vents pull air across your scalp on slow climbs, where you generate the most heat and the least natural airflow. More vents and larger internal channels usually cool better, though they can let in more sun and trail debris. Weight matters over long rides because a heavy helmet strains your neck on rough descents. Entry models often weigh noticeably more than midrange ones, mainly due to thicker shells. If you ride in hot weather, choose airflow over small savings.
Visor, Straps and Eyewear Fit on a Mountain Bike Helmet
A visor shades your eyes from low sun and deflects small branches, and an adjustable visor lets you raise it when light fades or store goggles on the front. Fixed visors cost less and work fine for most trail riding. Straps should lie flat, meet in a neat V shape below each ear, and fasten with a buckle you can open with one gloved hand. Try the helmet with your usual sunglasses, because temple arms pressing the fit cradle become painful after an hour.
Trail Helmet Prices Decoded: What Each Tier Adds on the Trail
Entry Tier: Core Protection for About $40 to $70
At this level you get certified foam, a basic fit dial, a fixed visor, and a modest number of vents in a slightly bulky shell. Pads are thinner and straps are simpler. For many riders, the best affordable mountain bike helmet sits just above this tier, but an entry model suits easy trails and short rides well. Spend here if you ride gently, and plan on timely replacement.
Value Tier: Better Fit and Airflow for About $70 to $110
This tier adds a smoother fit dial, more vents, better pads, and often a rotational protection layer, plus an adjustable visor on many trail models. The comfort gain is real on rides over an hour, because pressure points and heat make riders loosen a strap or push a helmet back. If you want one helmet for most trail days, this is the balanced place to spend, and our guide to the best helmet for mountain bike covers wider options.
Upper Tier: Lighter Shells and Refined Details for About $110 to $160
Paying more buys lower weight, larger vents, premium pads, and details such as goggle storage and visor mounts that release in a crash. Protection still rests on the same certification, so you pay for comfort and refinement, not a different safety promise. This tier suits riders who spend long days in the saddle. Beyond this range, gains shrink for most trail riders.
Common Mistakes to Avoid
- Buying by price alone without checking the CPSC mark, so you risk a novelty helmet never certified for cycling.
- Choosing a size by guess instead of measuring your head, so the helmet shifts in a fall and exposes your forehead.
- Wearing the helmet tilted back, so the front of your head loses the coverage the foam was shaped to give.
- Leaving the chin strap very loose, so the helmet can roll off during a crash.
- Keeping a helmet after a crash because the shell looks fine, so hidden crushed foam stays in use as if new.
- Storing the helmet in a hot car trunk all summer, so heat slowly weakens the foam and straps.
Care and Maintenance for a Mountain Bike Helmet
Wash pads and straps with mild soap and cool water after sweaty rides, then air dry everything away from heat, since hot air can warp foam. Wipe the shell with a damp cloth and keep solvent cleaners and sprays away from the foam, because some chemicals soften EPS. Inspect the shell, foam, straps, and dial before each ride for cracks, dents, fraying, or slipping tension. Store the helmet indoors in a cool dry place. Most makers suggest replacing a helmet after about three to five years of regular use, as materials age.
FAQ
How do I choose the right size for a mountain bike helmet?
Choose the size whose range puts your head measurement near its middle, not at either edge. A mid range fit leaves room to adjust the dial as pads compress with use. If you fall between sizes, try the smaller one first with the dial opened fully. Hair worn up under a helmet changes the fit, so test with the style you actually ride in.
What certifications should an affordable mountain bike helmet have in the United States?
It should carry a CPSC compliance label inside the shell, the legal baseline for bicycle helmets in this market at any price. Some models also list a European CE mark from a separate test scheme. A novelty rating is not a substitute, so check inside the helmet rather than trusting box art or listing photos alone.
How often should I replace a mountain bike helmet?
Replace a mountain bike helmet after any crash that strikes it, and otherwise after about three to five years of regular use. Writing the purchase month on a small label inside the shell, away from the foam, makes the age easy to check later. Heavy sun, daily use, and frequent sweat soaked rides shorten that window, and a slipping fit dial is a reason to replace it sooner.
Is MIPS worth paying for on an affordable mountain bike helmet?
MIPS is worth considering if the step up stays within budget, because many trail falls hit the ground at an angle. The layer allows a small amount of sliding movement during that angled contact. It adds slight weight and can change how the helmet sits on some head shapes, so fit still comes first. A well fitting helmet without it beats a loose helmet with it.
Can I keep using a mountain bike helmet after a crash if it looks fine?
No, you should not keep using it after a crash that hit the helmet, even when the outside looks undamaged. The foam is designed to crush once to absorb energy, and that crushing can hide under an intact shell. Some makers offer discounted crash replacement, so keep your receipt and check the brand policy first. Cutting the straps before disposal stops anyone else from reusing it by mistake.
The Bottom Line
Start with certified foam and a fit that stays level and snug, then let your riding decide whether vents, weight, or deeper coverage deserve the next dollars. Entry prices cover easy trails, the value tier suits most trail riders, and the upper tier rewards long hot days. The best affordable mountain bike helmet is the one you will wear correctly on every ride, so compare sizes and features in the product table above before you order.


