Best 3D Filament Printers Made Simple: A Clear Buying Guide for 2026
Disclosure: We may earn a commission when you buy through links on this page, at no extra cost to you. As an Amazon Associate I earn from qualifying purchases. Learn more

Shopping for the best 3d filament printers for the first time? Learn the terms, compare options, and avoid rookie mistakes with this easy guide.
Buying your first printer is exciting and confusing in equal measure, because listings mix simple machines with models built for experts. This guide to the best 3d filament printers starts with how these machines actually work, explains each spec in plain English, and shows you the mistakes that waste money for new owners. No prior experience is assumed.
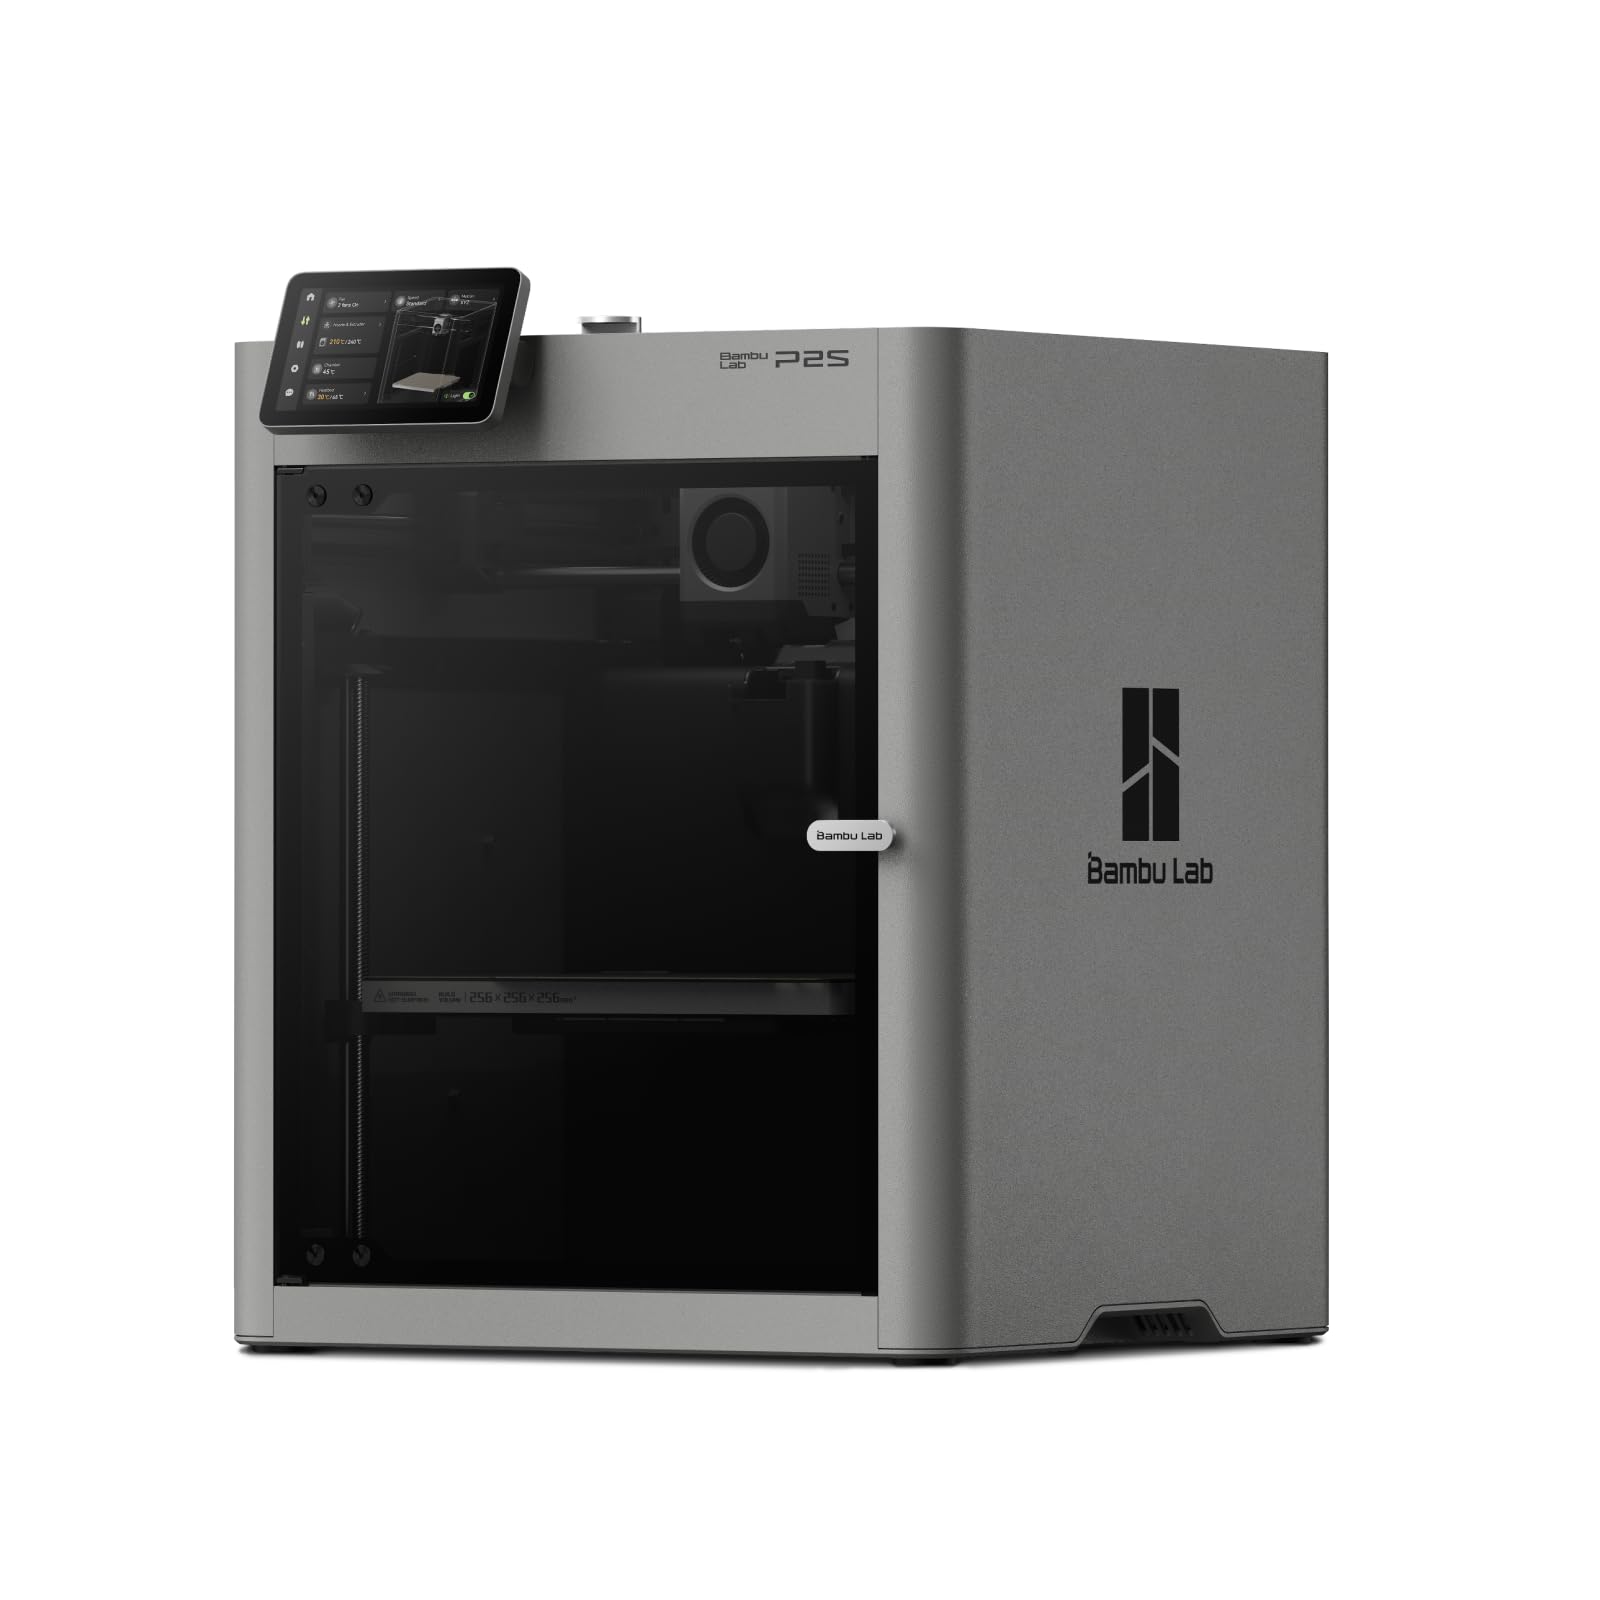
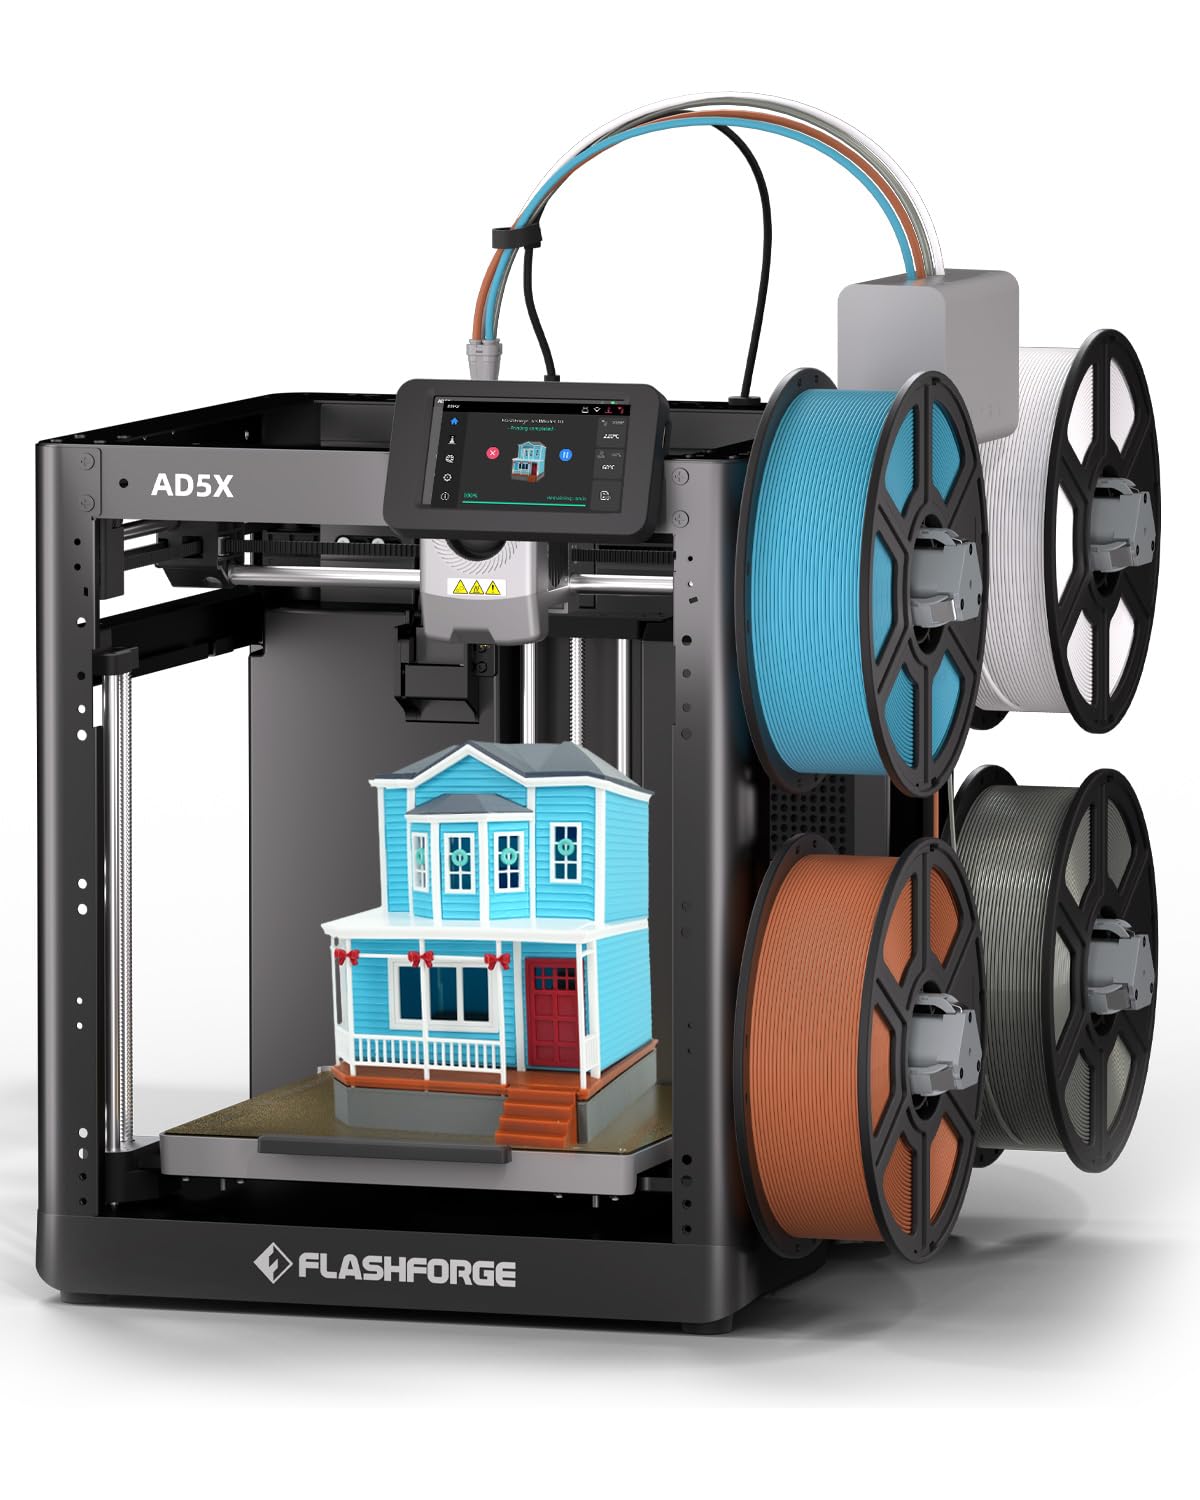
Filament printers are the most forgiving place to start in 3D printing, since materials are cheap, parts are easy to find, and a huge community can answer almost any question. Use the product table for a first scan of build sizes and prices, then read on to learn which of those numbers will shape your first months of printing.


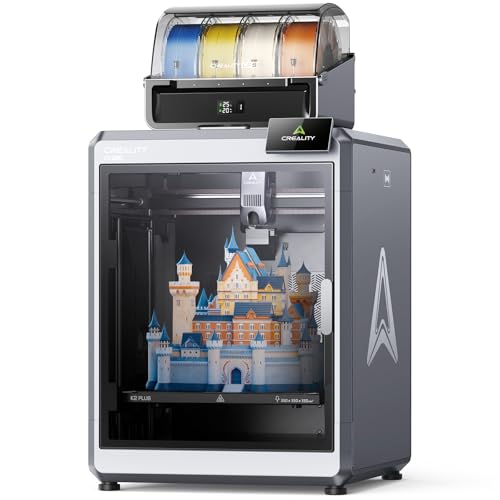
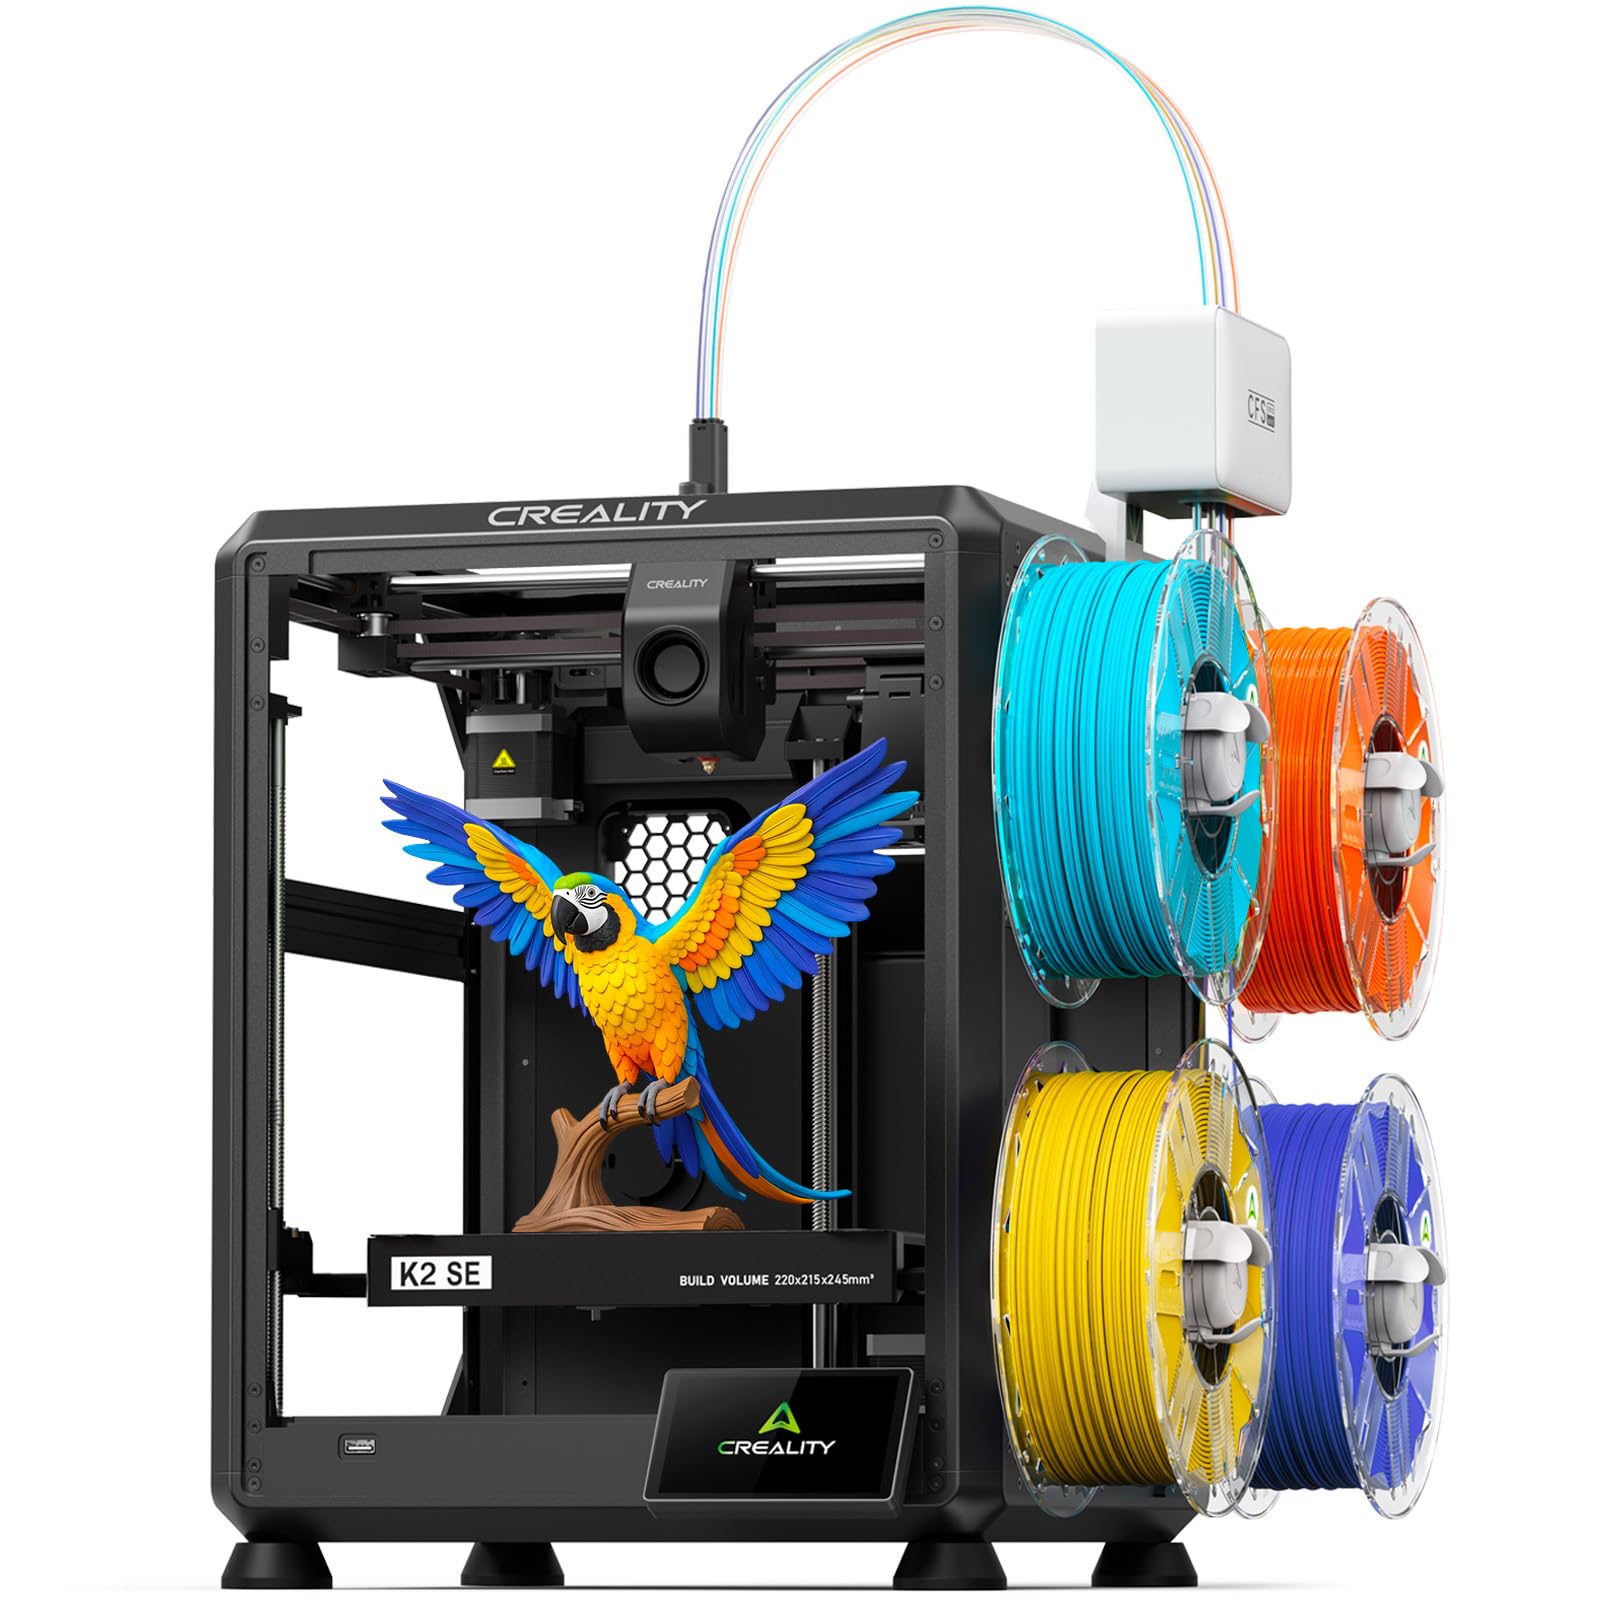
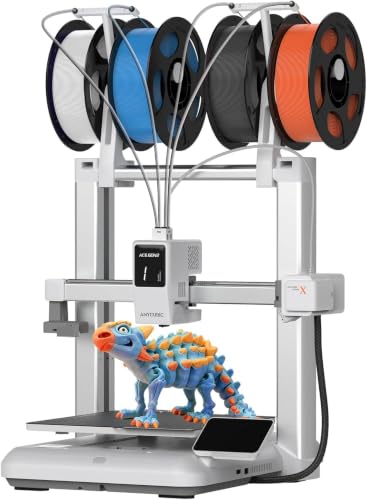

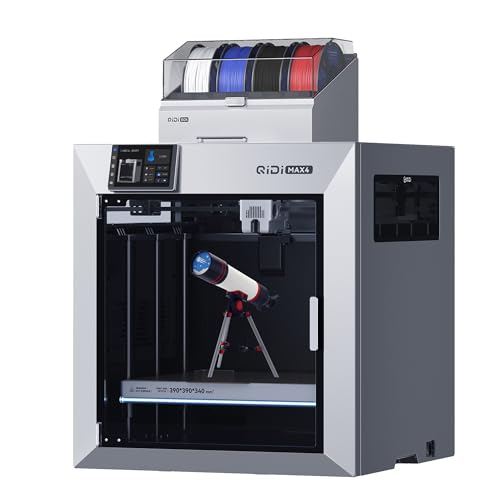
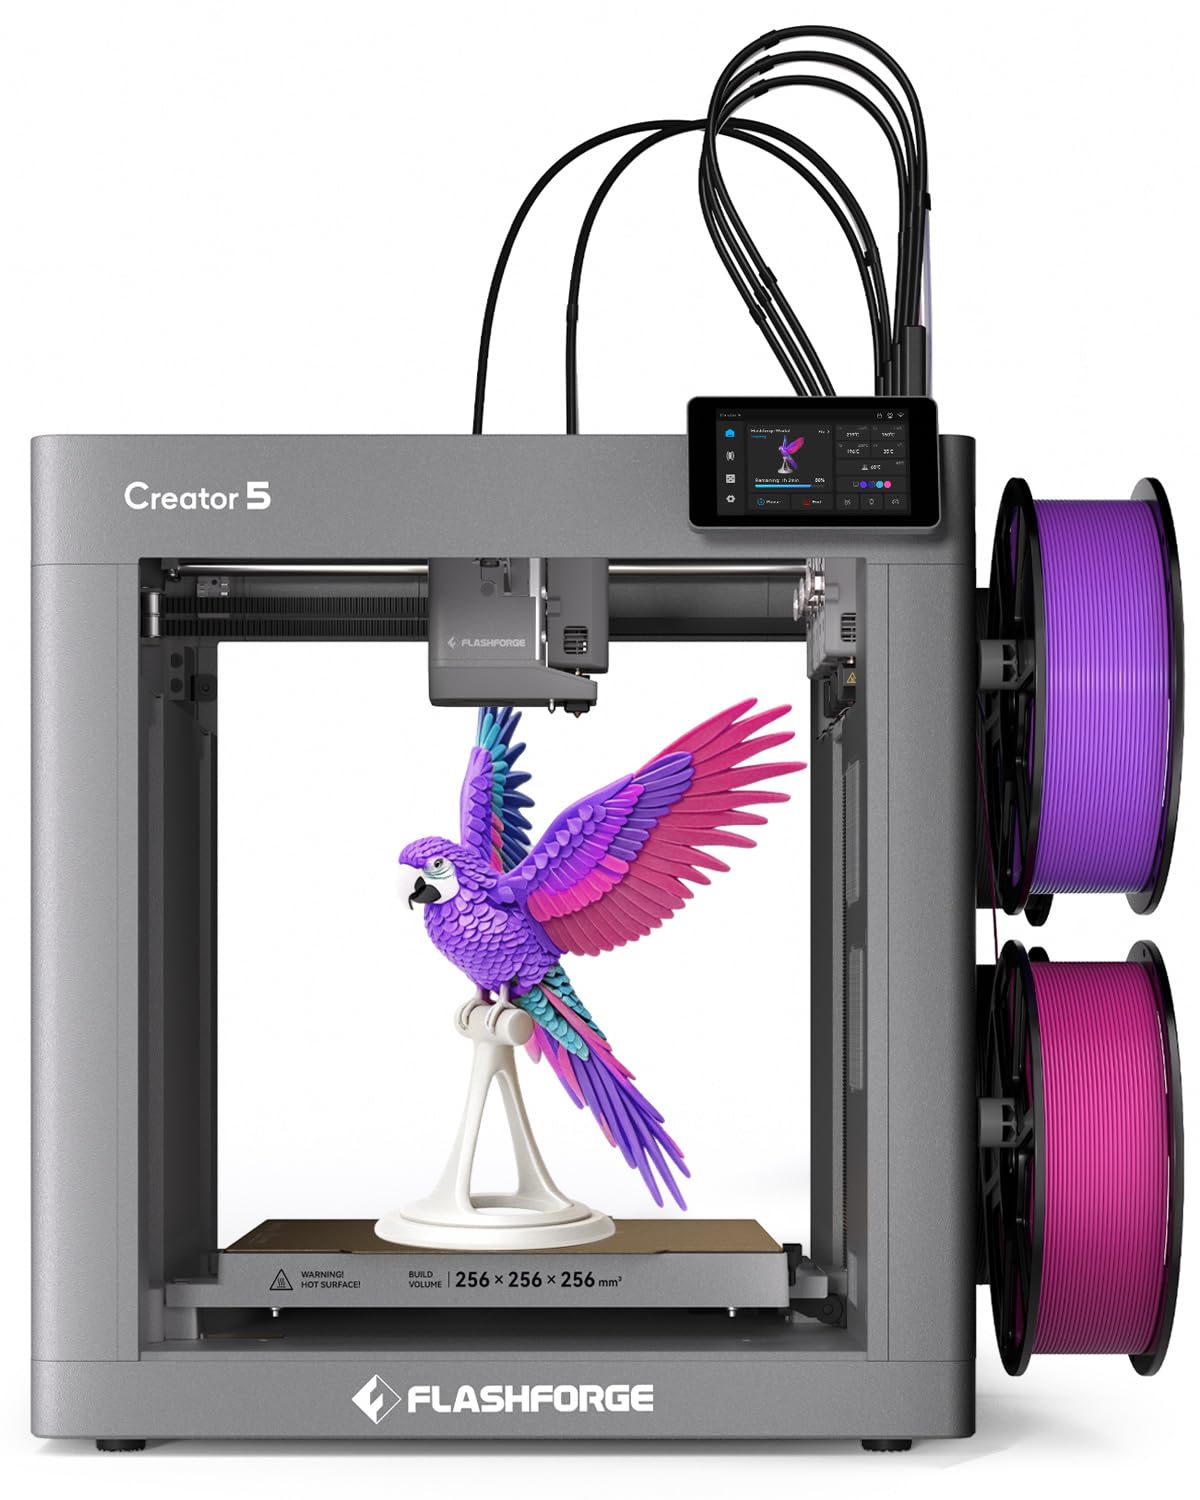
3D Filament Printers 101: The Basics
A filament printer builds objects layer by layer. A motor pushes a strand of plastic, called filament, from a spool into a heated nozzle. The nozzle melts the plastic and draws each layer on a flat build plate, moving up a fraction of a millimeter at a time until the object is complete. This method is called FDM, and nearly every home machine uses it.
Four terms unlock most listings. Build volume is the largest object the printer can make, written as width, depth, and height. Layer height is the thickness of each layer, and thinner layers look smoother but print slower. The extruder is the motor assembly that feeds filament, and the slicer is the free software that turns a 3D model file into printer instructions.
Most home users print as a hobby, making organizers, brackets, toys, and replacement parts from a common plastic called PLA. If that sounds like your goal, our guide to the best hobby 3d printers adds home focused advice on space and noise. Master PLA first, because it prints at lower temperatures, warps very little, and teaches you the core skills every other material depends on.
Key Specs Explained in Plain English
Spec sheets reward the features that photograph well, not always the ones that make printing pleasant. The five points below translate the jargon into daily use, with the level a beginner should aim for in each case.
Printer Type (Inkjet, Laser, Tank, 3D FDM/Resin)
Inkjet, laser, and tank printers put ink on paper and cannot make objects, so set them aside if your goal is printing parts or models. Within 3D printing, filament FDM machines melt plastic strand, while resin machines harden liquid with light for finer detail but messier handling and washing steps. For a first machine, FDM is the calmer choice. Our broader guide to the best 3d printers explains how the two families compare if you are still deciding.
Within FDM, look at frame style. An enclosed printer keeps heat and noise in and handles temperature sensitive materials better, while an open frame design costs less and is easier to repair. Also note the extruder style, since a direct drive extruder, where the motor sits right at the nozzle, feeds soft and standard filaments more reliably than a remote motor design.
Reliability and Support
A printer you can fix beats a printer with a longer feature list. Favor models with spare nozzles, belts, and fans sold openly, firmware updates that arrive at least a few times a year, and a large owner community posting solutions. Check that the maker publishes a real support email and clear warranty terms of at least one year. Budget models can still be a sound buy when the community is active, and our guide to the best inexpensive 3d printers shows where low price models cut corners safely and where they do not.
Cost per Page and Ink/Filament Costs
Cost per page is a paper printing term, and its filament equivalent is cost per print. Standard PLA costs about $15 to $25 for a one kilogram spool, and a typical small model uses about 30 to 80 grams, so material for one print often costs under $2. Electricity for a home printer is modest, usually a few cents per hour. Your real costs are failed prints and specialty filaments, so learn on plain PLA before buying glow, wood look, or carbon filled spools.
Footprint and Noise
Measure the full working space, not just the printer body. The bed moves front to back on many designs, the spool needs room beside or above the frame, and you need access to load filament and remove prints. Allow a clear area roughly one and a half times the stated footprint. Noise comes mostly from fans and stepper motors, and modern quiet drivers help a lot. Even so, a printer running overnight prints is better placed in a spare room or closet than beside a bed.
Print Quality and Resolution
Quality comes from calibration more than from headline numbers. A standard 0.4 mm nozzle printing at a 0.2 mm layer height gives clean, strong parts for most uses, while a 0.12 mm layer height looks smoother on curved display models and takes far longer. Look for automatic bed leveling help, a stable frame that does not wobble, and a heated bed that holds temperature evenly. If you later want soft, rubber like parts, our guide to the best 3d printers for flexible filament explains the extruder features those materials demand.
Rookie Mistakes to Avoid
New owners tend to hit the same five problems. Each one is cheap to avoid and annoying to fix later.
- Buying the largest build volume first. Oversize printers cost more, take more space, and are slower to heat. Most beginner projects fit easily in a standard build area.
- Storing filament in open air. Filament absorbs moisture from the room, which causes popping sounds, rough surfaces, and weak layers. Keep spools sealed in a bag or box with desiccant packs.
- Skipping the slicer learning curve. Default profiles in the maker software exist for a reason. Change one setting at a time instead of copying long custom profiles from forums.
- Printing on a wobbly table. Vibration prints as ripples on walls. A solid, level surface improves quality more than many paid upgrades.
- Starting with exotic materials. Abrasive or high temperature filaments wear nozzles and need enclosed heat. Master PLA and PETG first and your success rate will stay high.
Getting Started: Setup and First Use
Setup day goes smoothly if you work in order and resist printing a large project first. Allow about an hour for assembly checks and your first small test.
- Build or place the printer on a solid surface, confirm the frame is square, and check that all cables are fully seated and clear of moving parts.
- Run the automatic bed leveling routine if your model offers one, then set the nozzle gap with the paper method described in the manual.
- Load PLA, heat the nozzle to the temperature printed on the spool label, and push filament through until the strand comes out clean and straight.
- Slice the small test file supplied by the maker using its default PLA profile, print it, and watch the first layer closely, since most failures start there.
Two safety habits matter from day one. Treat the nozzle and heated bed as burn hazards, because both stay hot long after a print ends, and supervise early prints rather than leaving a new machine alone for hours. Keep the area ventilated, especially in a small room, and let parts cool before prying them off the plate so you do not warp them or cut yourself on a scraper.
Frequently Asked Questions
What does cost per page mean?
Cost per page is a paper printing measure, the price of ink or toner divided by the pages it yields. For filament printing, use cost per print instead. Weigh or check the slicer estimate in grams, divide the spool price by its weight, and multiply. Then add a small allowance of about 10 to 20 percent for failed prints and support material. That simple habit tells you the true cost of a design before you print five of them.
Inkjet or laser: which is cheaper long term?
For paper documents, a laser printer is usually cheaper long term because toner cartridges print many more pages than ink cartridges. Neither machine can help with 3D objects, though, so the answer matters only if you also print documents at home. Many households end up with both kinds of machine, a plain laser for paperwork and a filament printer for parts and models. Buy each for its own job rather than expecting one device to do both well.
Are ink tank printers worth it?
For heavy paper printing, yes, because refill bottles cost far less per page than cartridges. For a filament buyer, the useful lesson is about consumable formats rather than ink itself. In filament terms, the same logic favors standard one kilogram spools from open brands over small proprietary spools that lock you into one seller and cost more per gram. Open materials keep your running costs low and your color and material choices wide for years.
Which 3D printer is easiest for beginners?
The easiest type is a mostly assembled FDM printer with automatic bed leveling, a clear screen menu, and a slicer profile provided by the maker. Assembly of about 15 to 30 minutes is fine and even helpful, since you learn where parts sit. Full kit builds teach more but frustrate many first owners. Also weigh the owner community in your decision, because a popular model means every error you meet already has a photographed solution waiting online.
Our Verdict
For a first filament printer, three points matter most. Choose FDM with automatic bed leveling help so your early prints succeed. Budget for running costs the smart way, with standard spools of PLA and dry storage. And favor a model with open spare parts and an active community over one with a longer feature list. Compare your shortlist in the product table above, start with a standard build volume, and let your first successful prints teach you the rest. Picked on those terms, the best 3d filament printers are not the most complex machines, just the ones that print reliably while you learn.