Best Sous Vide Rack: A Complete Buying Guide
Disclosure: We may earn a commission when you buy through links on this page, at no extra cost to you. As an Amazon Associate I earn from qualifying purchases. Learn more



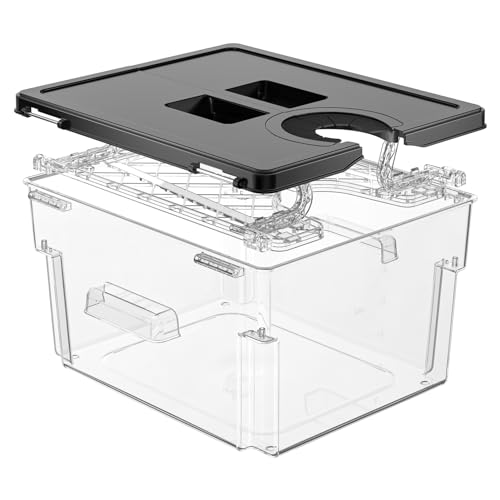
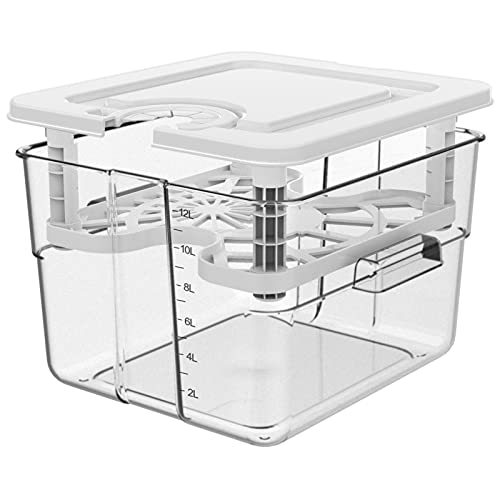
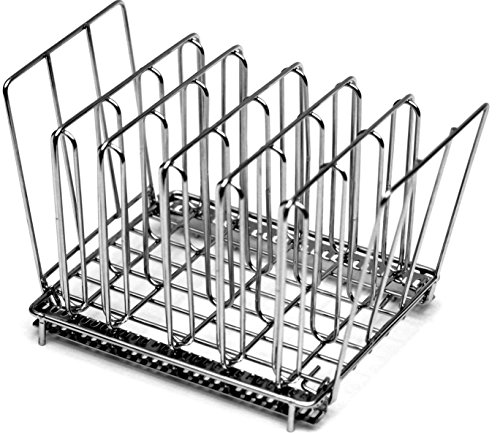
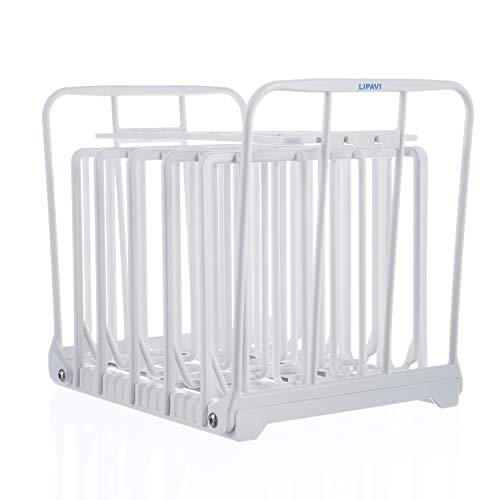


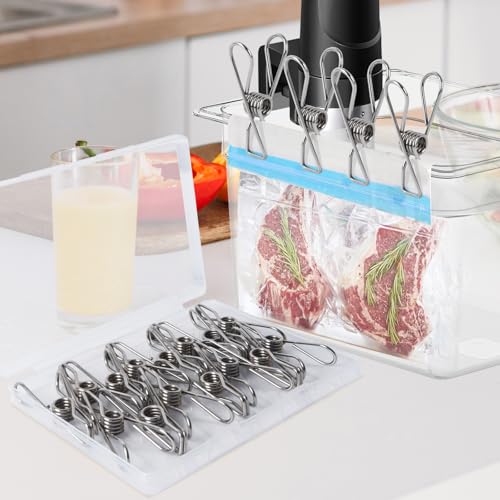
Why Bags Need a Rack in the First Place
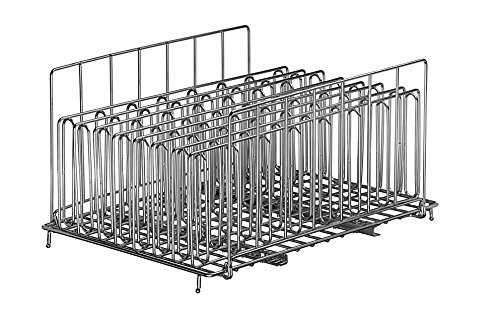
A sous vide rack solves one specific problem: keeping vacuum-sealed bags fully submerged and separated while the water circulates around them. Without something holding the bags in place, they tend to drift toward the surface as trapped air warms and expands. A bag that floats even partway out of the water bath cooks unevenly, since the exposed portion never reaches the set temperature.
The rack also stops bags from bunching together or sticking to the container walls. When several bags touch, water can't move freely between them, and the food closest to the middle of the stack lags behind the rest. Spacing each bag in its own slot fixes that, which matters most on nights when the container is full and every bag needs the same even heat.
This is a narrow accessory with a narrow job, so the differences between models come down to a handful of practical details rather than flashy features.
Material and Food-Safety Basics
Most racks worth buying are made from stainless steel wire, sometimes with silicone-coated feet or edges to keep the frame from sliding around the bottom of the container. Stainless steel handles hours of sustained heat without warping and resists the mineral buildup that can form during long, low-temperature cooks.
Plastic racks exist and cost less, but check that the material is rated for sustained contact with hot water rather than just brief exposure. A plastic frame that softens or leaches at typical sous vide temperatures is not worth the savings. If food safety matters to you, look for a rack sold as dishwasher-safe and free of BPA, since that labeling usually signals the manufacturer tested it for repeated heat cycles rather than one-off use.
Rounded wire edges also matter more than they sound. Bags rubbing against sharp or poorly finished wire over several hours can develop small punctures, which lets water seep in and ruins the cook.
Sizing Your Rack to the Container You Own
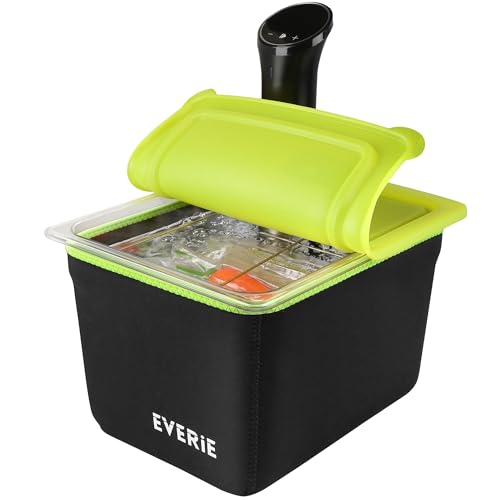
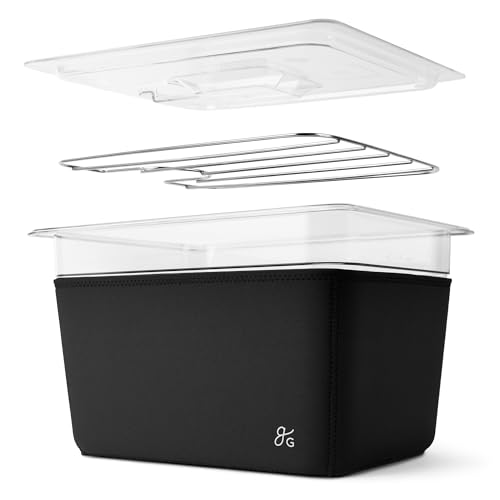
A rack is only useful if it actually fits the container you cook in. Measure the interior length, width, and depth of your water bath before shopping, and compare those numbers against the rack's listed dimensions rather than assuming a "universal" label covers your setup.
Depth matters as much as footprint. A rack that's too tall for a shallow container will poke above the waterline, defeating the entire purpose. One that's too short may let thick bags rest against the bottom of the pot, close to the heating element, which can create hot spots.
- Leave a couple of inches of clearance around the immersion circulator so water keeps circulating freely.
- Check that the rack collapses or nests flat if storage space near your stove is tight.
- Confirm the container's lid still closes with the rack and bags loaded, if you plan to cover the bath overnight.
If you're still shopping for the container itself, pairing rack dimensions with a properly sized sous vide cooker and container setup from the start avoids a mismatch you'd otherwise discover after the rack arrives.
Fixed-Slot, Adjustable, and Clip-Style Designs
Fixed-slot racks have a set number of evenly spaced wire dividers welded into place. They're sturdy and simple, but the slot width is locked in, so a mix of thin fish fillets and thick roasts won't always sit as neatly as advertised.
Adjustable racks use sliding dividers that can be repositioned along a rail, which makes them more forgiving when bag sizes vary from one cook to the next. This flexibility is the main reason people upgrade from a fixed rack once they start cooking a wider range of cuts.
Clip-style setups skip the frame entirely and rely on binder-style clips attached to a bar or the container's rim. They're the cheapest option and pack down small, though they hold fewer bags at once and need more manual adjustment to keep everything level.
None of these designs is objectively best; the right pick depends on how varied your bag sizes are and how much you value quick setup versus flexibility.
Setup and Cleaning Tips That Keep Cooks Consistent
Load bags into the rack before adding water when possible, since it's easier to see whether spacing looks even and whether any bag is folded over on itself. Once the water bath is full and the circulator is running, small adjustments get harder to make without splashing.
Wipe the rack down after each use even if it's technically dishwasher-safe, since food residue and starch from bag seals can build up in the wire joints over repeated cycles. A quick rinse under warm water usually clears it, and a dishwasher run every few uses handles anything that sticks.
Between cooks, store the rack somewhere dry rather than leaving it wet in a closed container, which can encourage mineral spots on stainless steel or, on lower-quality plastic frames, a lingering odor. If you're vacuum-sealing your own portions before loading the rack, a reliable vacuum sealer with a strong seal reduces the odds of a bag taking on water mid-cook, which is a separate headache the rack itself can't fix.
Rack vs. DIY Alternatives Like Weights and Clips
Plenty of home cooks get by without a dedicated rack by using kitchen weights, binder clips, or the double-bag method to keep food submerged. These tricks work in a pinch, and there's no reason to buy a rack for a single occasional cook.
Where a rack earns its keep is consistency. Weights shift, clips slip off smooth bag material, and eyeballing spacing between floating bags gets harder the more of them you're cooking at once. A rack keeps every bag in the same position for the entire cook without babysitting.
If you cook sous vide only a few times a year, skip the extra gear. If it's a regular weeknight routine, the rack pays for itself in fewer ruined cooks and less time fussing with the water bath. Either way, having a spot to keep leftover portions organized in the fridge afterward, such as airtight storage containers, rounds out the workflow once the food comes out of the bath.
Frequently Asked Questions
Do I actually need a sous vide rack?
No, it isn't required, but it makes results more consistent by keeping bags submerged and separated. Cooks who run multiple bags at once or leave the bath unattended for hours benefit the most.
How many bags can a typical rack hold?
Most compact racks hold four to eight standard bags, depending on slot width and container size. Larger or adjustable racks can hold more if the container has the depth and footprint to match.
Can a sous vide rack go in the dishwasher?
Many stainless steel racks are dishwasher-safe, but check the specific listing first. Hand-washing is a safe fallback for any model you're unsure about.
Will a rack fit any sous vide container?
Not automatically. Compare the rack's length, width, and height against your container's interior dimensions before buying, since a snug or loose fit both cause problems.
Does using a rack change cook times?
No, cook time depends on food thickness and target temperature, not the rack itself. What a rack changes is consistency, not speed.
Are plastic racks safe at sous vide temperatures?
Some are, provided they're rated for sustained hot-water contact rather than brief exposure. Look for a food-safe, BPA-free label before trusting a plastic frame with long cooks.
What's the difference between a rack and a lid?
A rack organizes and submerges bags; a lid reduces evaporation and heat loss from the top of the container. Many home setups use both together for long cooks.
Bottom Line on Choosing a Rack
A good sous vide rack is a small, inexpensive fix for a real problem: bags that float, bunch together, or cook unevenly because water can't move around them properly. Match the rack's dimensions to your container, pick a material rated for sustained heat, and choose fixed or adjustable slots based on how much your bag sizes vary from cook to cook.
Once you've settled on a design, the rest is routine maintenance, rinse it after use, store it dry, and check the fit any time you switch to a different container. That's the entire learning curve for a tool that otherwise runs quietly in the background of every cook.