Best Ice Cream Maker for Home Use: A Complete Buying Guide
Disclosure: We may earn a commission when you buy through links on this page, at no extra cost to you. As an Amazon Associate I earn from qualifying purchases. Learn more
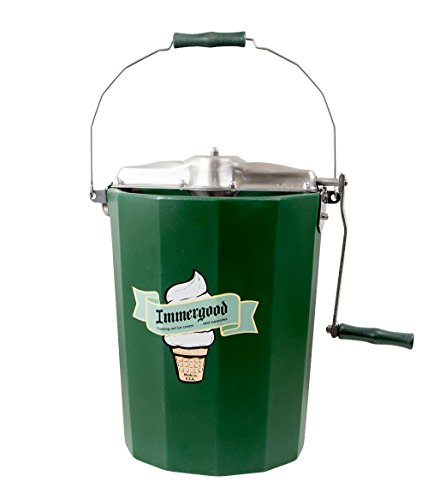
Nothing beats the payoff of pulling a fresh batch of ice cream out of your own kitchen, but not every machine gets you there the same way. Some people freeze a bowl overnight and get lucky. Others end up with soup after forty minutes of churning, or worse, a rock-hard block that laughs at their scoop. If you are shopping for the ice cream maker for home use that will actually fit your kitchen, the real differences between models come down to how they cool, how long they take, and how much control you get over the final texture. This guide walks through the specs that matter, the mistakes that ruin most homemade batches, and the prep steps that separate smooth, scoopable ice cream from a disappointing mess.



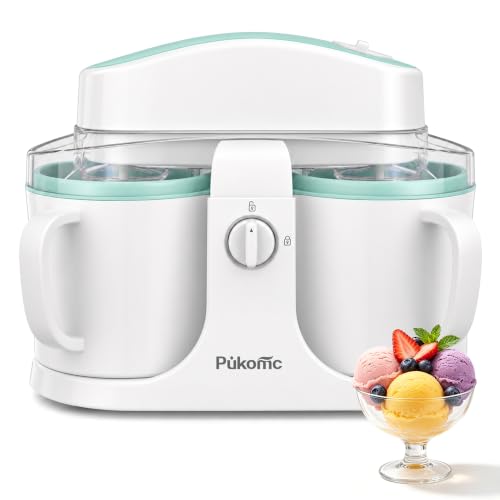
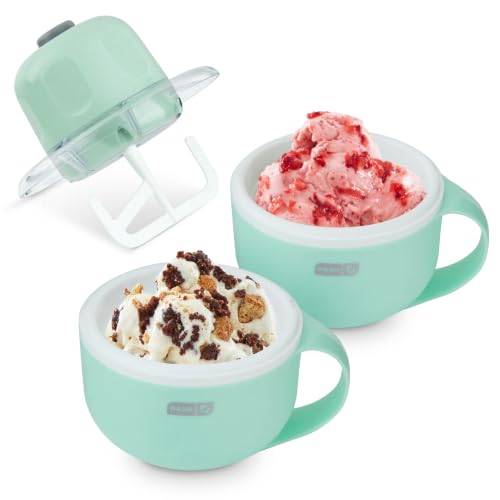
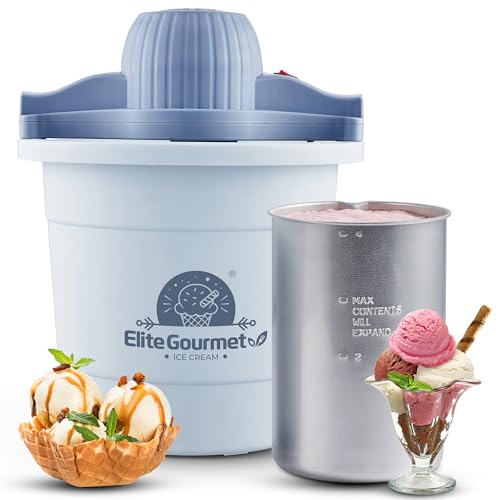
Capacity, Churn Time, and the Specs That Actually Affect Texture
Ice cream machines all promise smooth, creamy results, but the spec sheet tells you more than the marketing copy does. Before comparing brands or price tags, look at three things: how much ice cream a machine can churn in one batch, how it chills the mixture, and how much control you get over consistency once it is done.
Bowl Capacity and Batch Size
Most home machines hold between 1.5 and 2 quarts per batch, enough for four to six servings. If you are feeding a family or hosting regularly, undersized capacity means running the machine twice, which matters more with freezer-bowl models that need hours to re-chill between batches. A larger bowl also gives the mixture more room to expand as air gets churned in, so it is worth checking listed capacity against the actual finished yield rather than the raw liquid volume.
Freezer Bowl vs Built-In Compressor Cooling
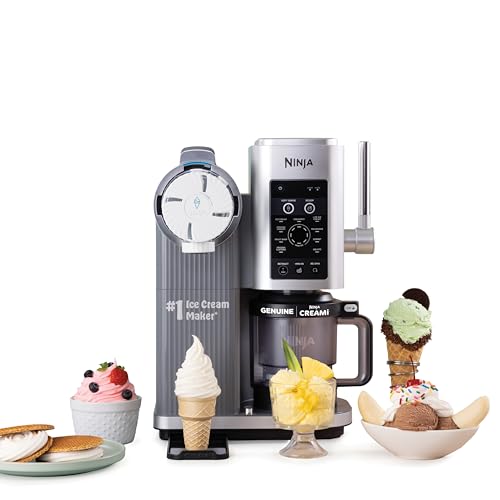
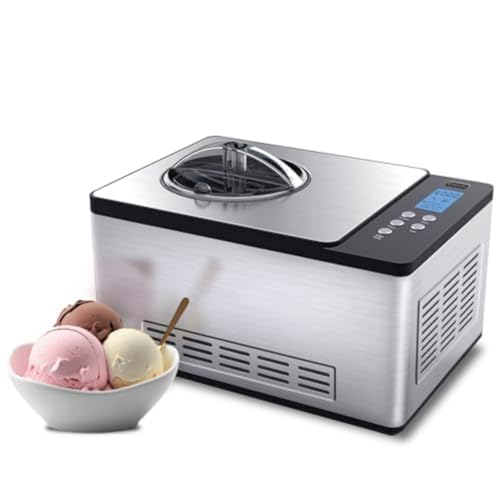
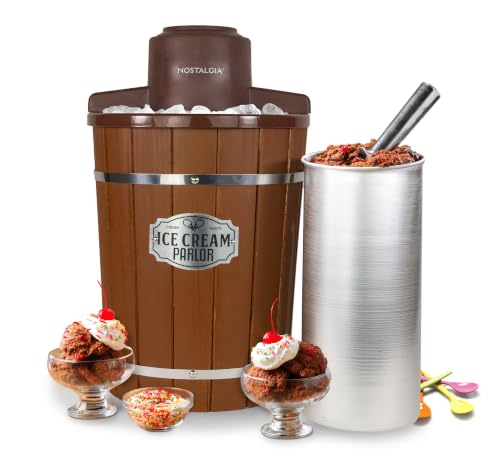
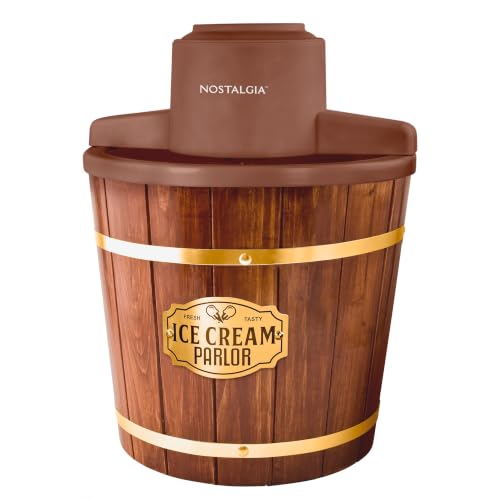
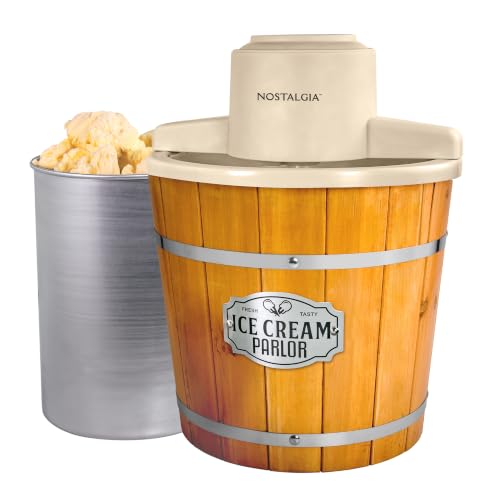
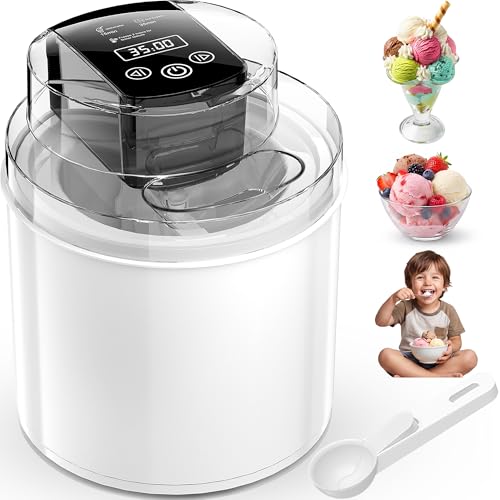
When you are shopping for an ice cream maker for home use, cooling method is the single biggest factor separating budget machines from pricier ones. Freezer-bowl models use a gel-lined canister that has to sit in your freezer for eight to twenty-four hours before you churn, and it needs to go back in the freezer before you can run another batch. Compressor machines have their own built-in refrigeration, so you can churn one flavor, empty it, and start the next within minutes, with no planning ahead required. That convenience adds real counter space and cost, though, so it only pays off if you make ice cream often enough to want back-to-back batches. Ice-and-salt churns exist too, but they are messier and mostly for people testing the hobby without spending on dedicated equipment.
Churn Time and Hardness Settings
Expect somewhere between twenty and forty minutes of churning for most recipes. If your mixture still looks like soup well past that window, something in the base or the machine's cooling is off rather than needing more patience. Some machines include a hardness or timer setting that lets you dial in soft-serve consistency versus a firmer scoop, which is handy if you also want to make frozen yogurt or sorbet in the same unit. Machines without adjustable settings still work fine, but you will rely more on watching the texture yourself.
Why Homemade Ice Cream Turns Icy, Soupy, or Rock-Hard
Even with a capable machine, homemade ice cream can go wrong in fairly predictable ways. Most disappointing batches trace back to one of three issues, and all of them are fixable once you know what to look for.
Not Enough Sugar or Fat in the Base
Sugar does more than sweeten. It lowers the freezing point of the liquid in your base, which is what keeps finished ice cream soft enough to scoop instead of freezing into a solid brick. Recipes that cut sugar or use low-fat dairy often end up rock-hard in the freezer, even from a good machine. If you are adjusting a recipe for less sugar, a splash of alcohol like vodka or bourbon added near the end of churning can help preserve scoopability without changing the flavor much.
Under-Churning or Over-Churning
Churning does two jobs at once: it chills the mixture and beats air into it, which is what gives ice cream its light texture instead of a dense, icy one. Pulling the machine too early leaves a soft, almost soupy result that never firms up properly, while running it too long can cause the mixture to separate or turn grainy. If your base is still liquid after about forty minutes, the machine likely is not cooling fast enough, often because a freezer bowl was not frozen solid all the way through.
Skipping the Freezer Hardening Step
Most machines only get ice cream to a soft-serve consistency, and that is actually normal, not a sign of a bad batch. Home units simply cannot chill fast enough to fully harden a mixture the way commercial equipment does. Transferring the finished batch to an airtight container and letting it firm up in the freezer for a few hours is a normal, necessary last step, not an optional one. If you tend to make a few flavors at once, keeping a small chest freezer on hand for storage means your main freezer is not competing for space with a bowl that still needs to re-chill.
Getting the Timing and Prep Right Before You Churn
Whether you already own an ice cream maker for home use or are still deciding between models, the two habits below make the biggest difference in final texture, and neither one has anything to do with the machine itself.
Pre-Freezing the Bowl (or Skipping It With a Compressor)
If you are working with a freezer-bowl machine, plan the night before. The canister needs a full eight to twenty-four hours at the coldest part of your freezer, and shaking it to check for liquid sloshing inside is the easiest way to confirm it is ready. This is also where a dedicated upright freezer with steady, consistent cold can make a real difference if your fridge-freezer combo runs warmer or cycles temperature during defrost. Compressor machines skip this step entirely since they chill on their own.
Chilling Your Base Before It Hits the Machine
A warm base takes longer to churn and gives ice crystals more time to form before things freeze solid, which shows up later as a grainier texture. Chilling your mixture in the refrigerator for at least a few hours, ideally overnight, means the machine only has to finish the job instead of starting from room temperature. For custard-style bases, an immersion blender makes it easy to smooth out egg yolks before chilling, without dirtying a full stand mixer. This matters even more with compressor machines, since a colder starting point shortens total churn time and helps the finished texture hold up once it is in the freezer.
Frequently Asked Questions
What's the difference between a freezer-bowl and a compressor ice cream maker?
A freezer-bowl machine needs its canister frozen for several hours before each batch, while a compressor model chills on its own and can run multiple batches back to back. Compressor machines cost more and take up more counter space, but they skip the planning ahead.
Why is my homemade ice cream too hard or too soft?
Too hard usually means not enough sugar or fat in the base, since both lower the freezing point. Too soft is typically under-churning, or skipping the freezer hardening step after the machine finishes.
How long does it take to churn ice cream at home?
Most batches take twenty to forty minutes in the machine, plus freezer prep time beforehand if you are using a freezer-bowl model. If the mixture is still liquid well past forty minutes, the machine likely is not cooling fast enough.
Do I need to pre-freeze the bowl every time?
Only with freezer-bowl machines. Compressor models have built-in refrigeration, so there is no bowl to freeze and no waiting between batches.
Can I make dairy-free or low-sugar ice cream in a home machine?
Yes, but both often turn out icier or harder than a standard dairy base, since fat and sugar both help control texture. Recipes built for lower-fat or lower-sugar bases usually add stabilizers or a splash of alcohol to compensate.
How much ice cream does a typical home machine make in one batch?
Most machines hold 1.5 to 2 quarts per batch, which works out to roughly four to six servings. Check listed capacity against finished yield rather than raw liquid volume, since churning adds air and increases volume.
Making Your Decision
There is no single best machine for everyone, only the one that matches how you will actually use it. If you make a batch every few weeks, a freezer-bowl model is inexpensive and plenty capable as long as you plan a day ahead. If you want to churn multiple flavors in an afternoon or make ice cream on a whim, a compressor model earns its higher price. Either way, the texture problems that trip people up usually come down to the base recipe and timing, not the machine itself.