Best Clothing Printers by Budget: A Smart Buying Guide for 2026
Disclosure: We may earn a commission when you buy through links on this page, at no extra cost to you. As an Amazon Associate I earn from qualifying purchases. Learn more

Learn how to choose the best clothing printers by budget, comparing print methods, fabric fit, ink costs, print size and ease of use for your goals.
Clothing printers span a wide range, from compact transfer setups for a few shirts a week to direct to garment machines that run a small shop. Paying more does not help if the print method does not match your fabrics, order volume, or designs. This guide to the best clothing printers explains what each budget tier really delivers so you can spend where it counts.
Use the comparison table below to compare approaches, then check print size, ink costs, and fabric compatibility before anything else. The right method for cotton tees is not the right method for polyester sportswear or dark hoodies.


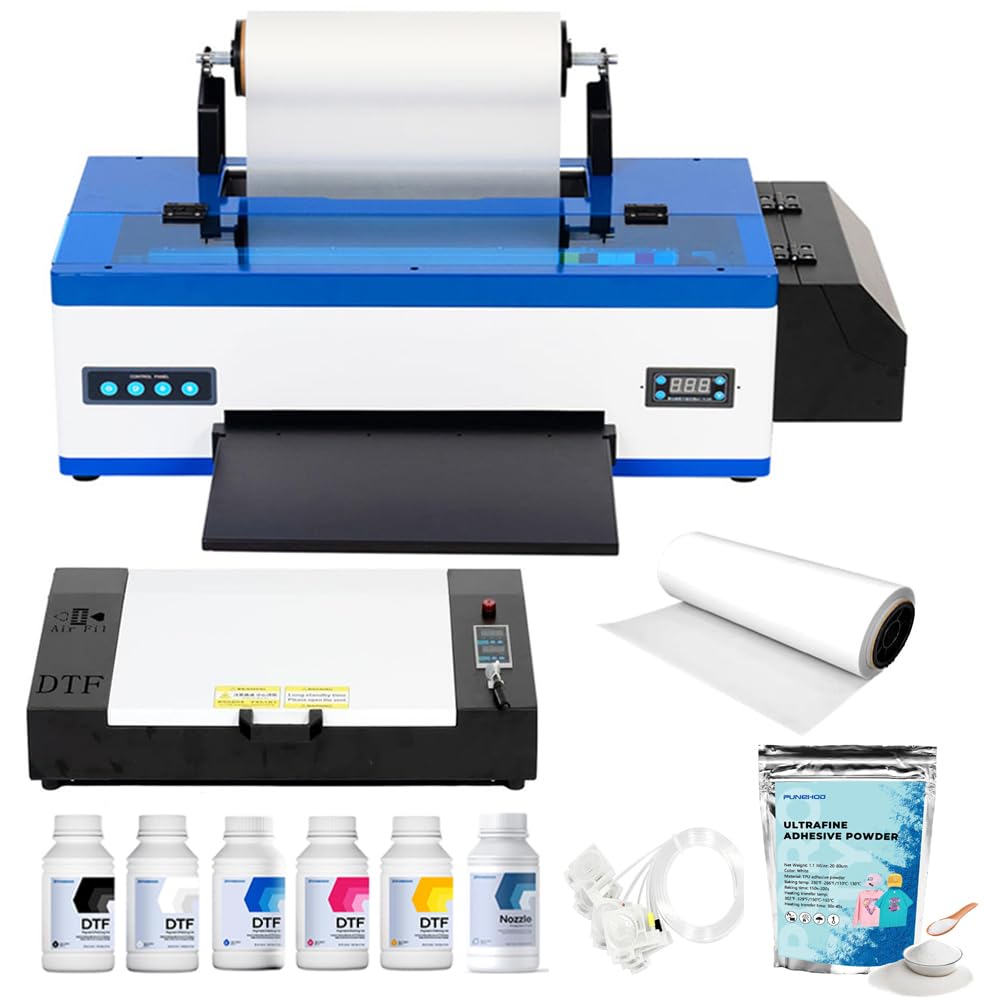
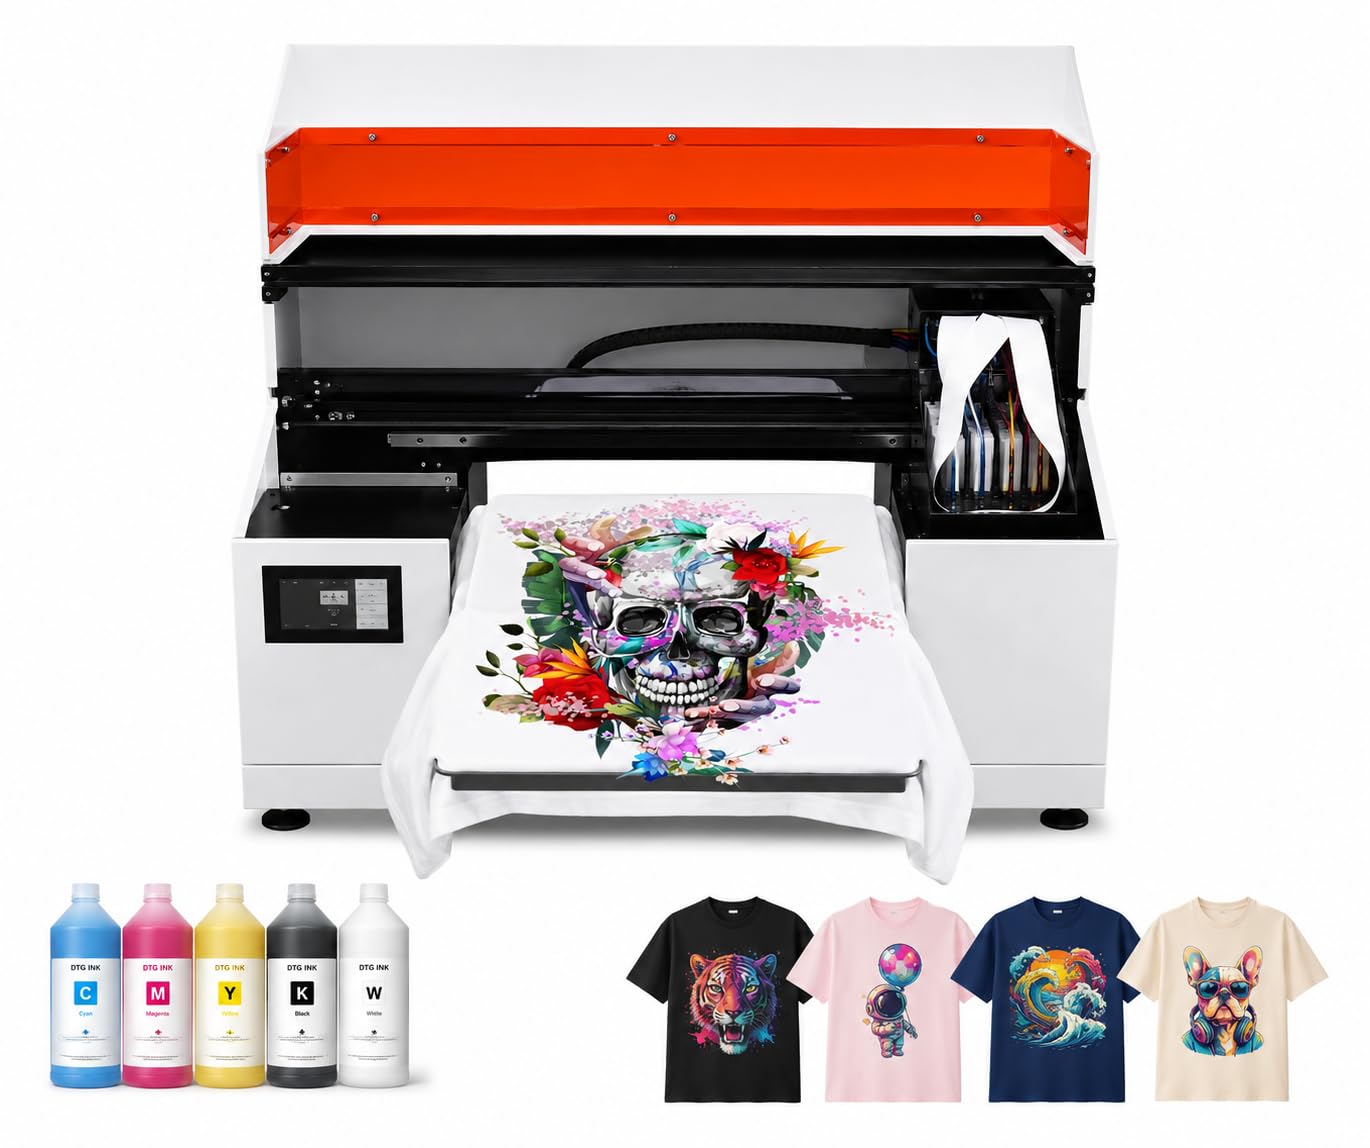


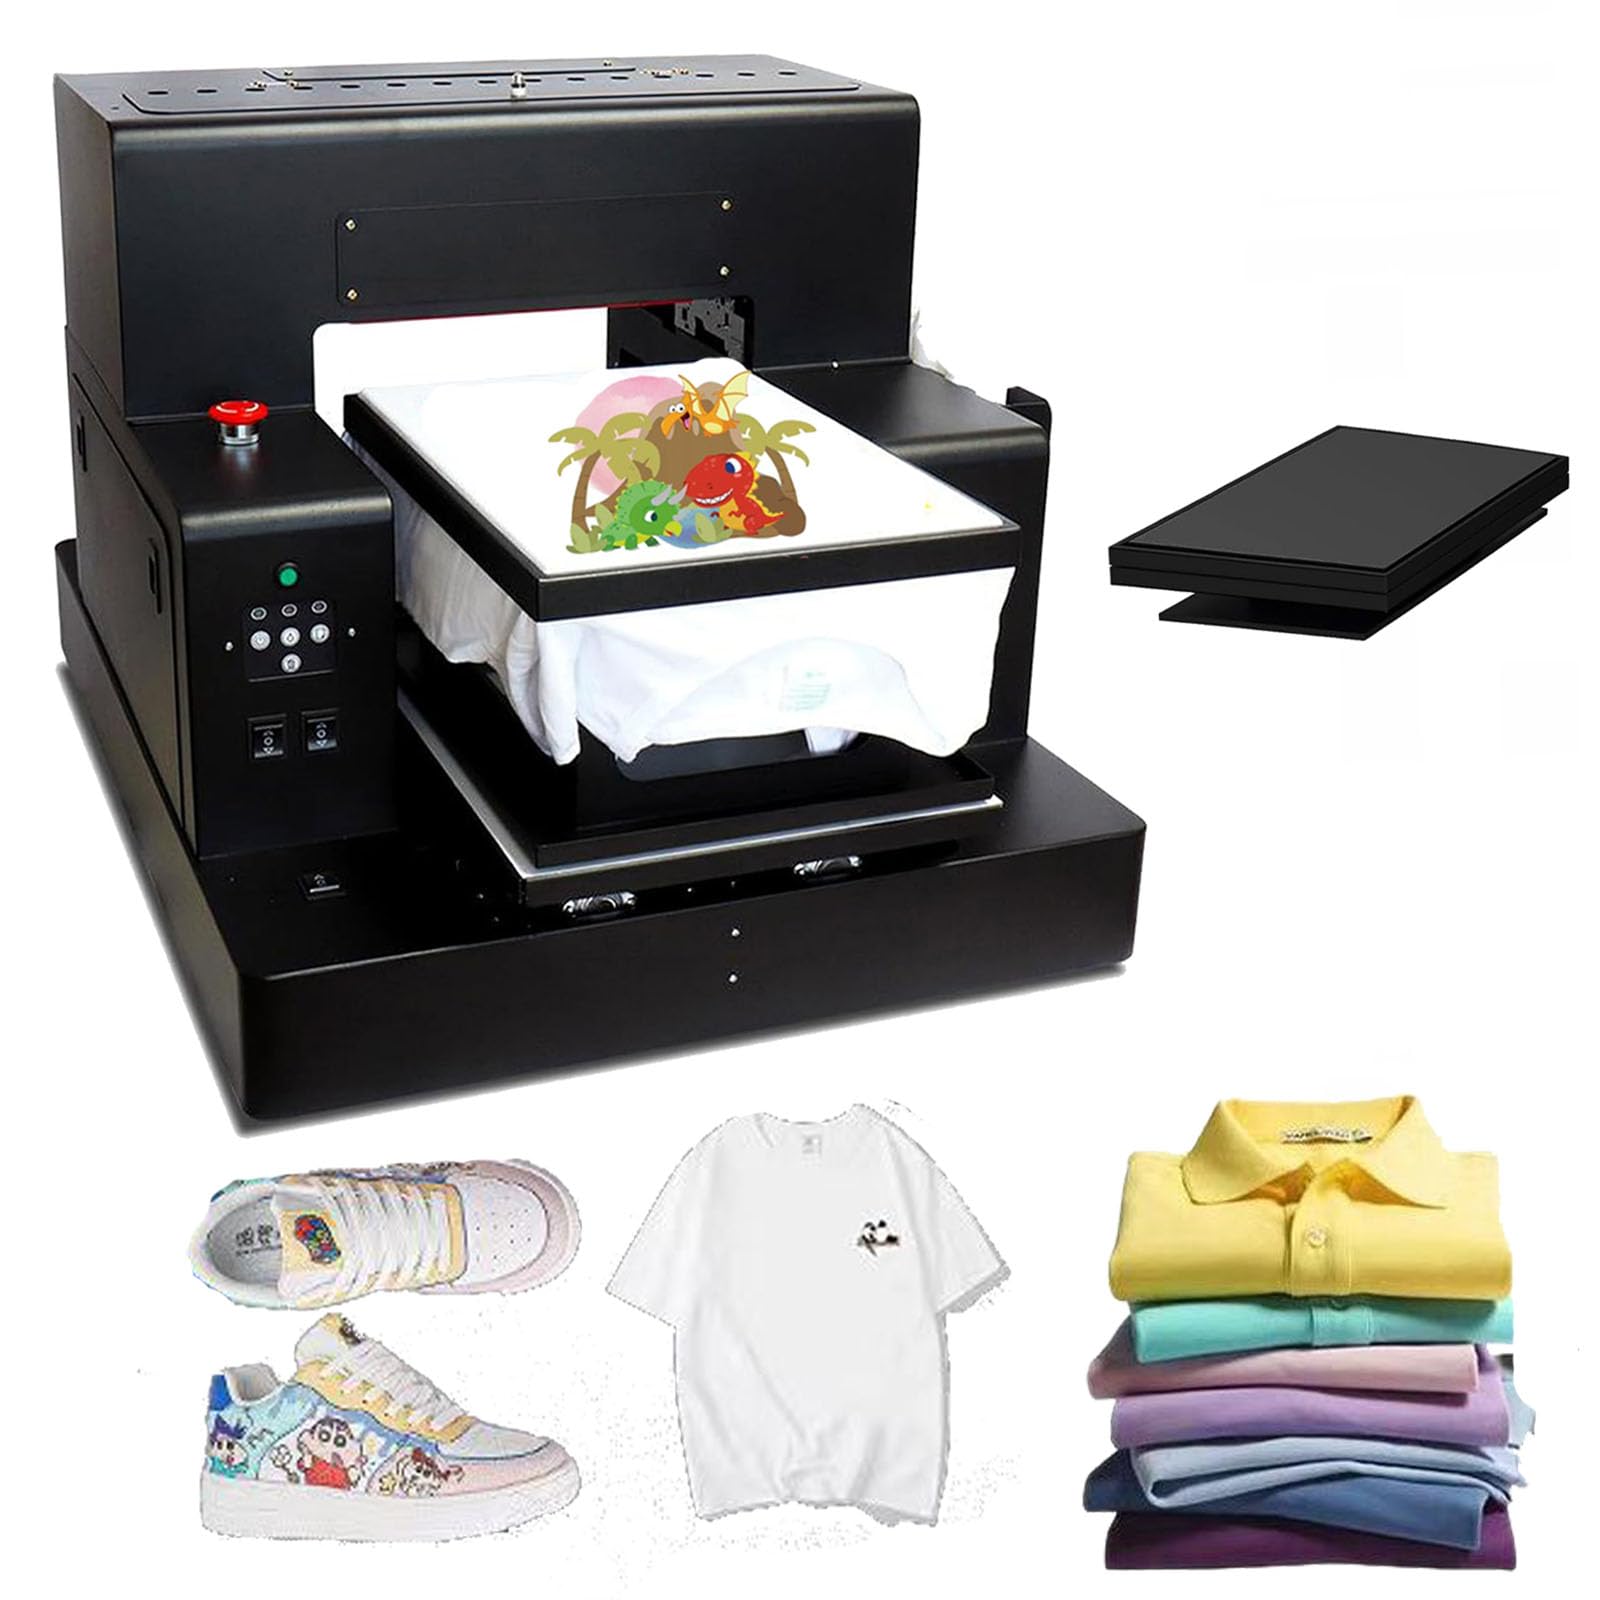
Three Budget Profiles at a Glance
Best Budget Profile
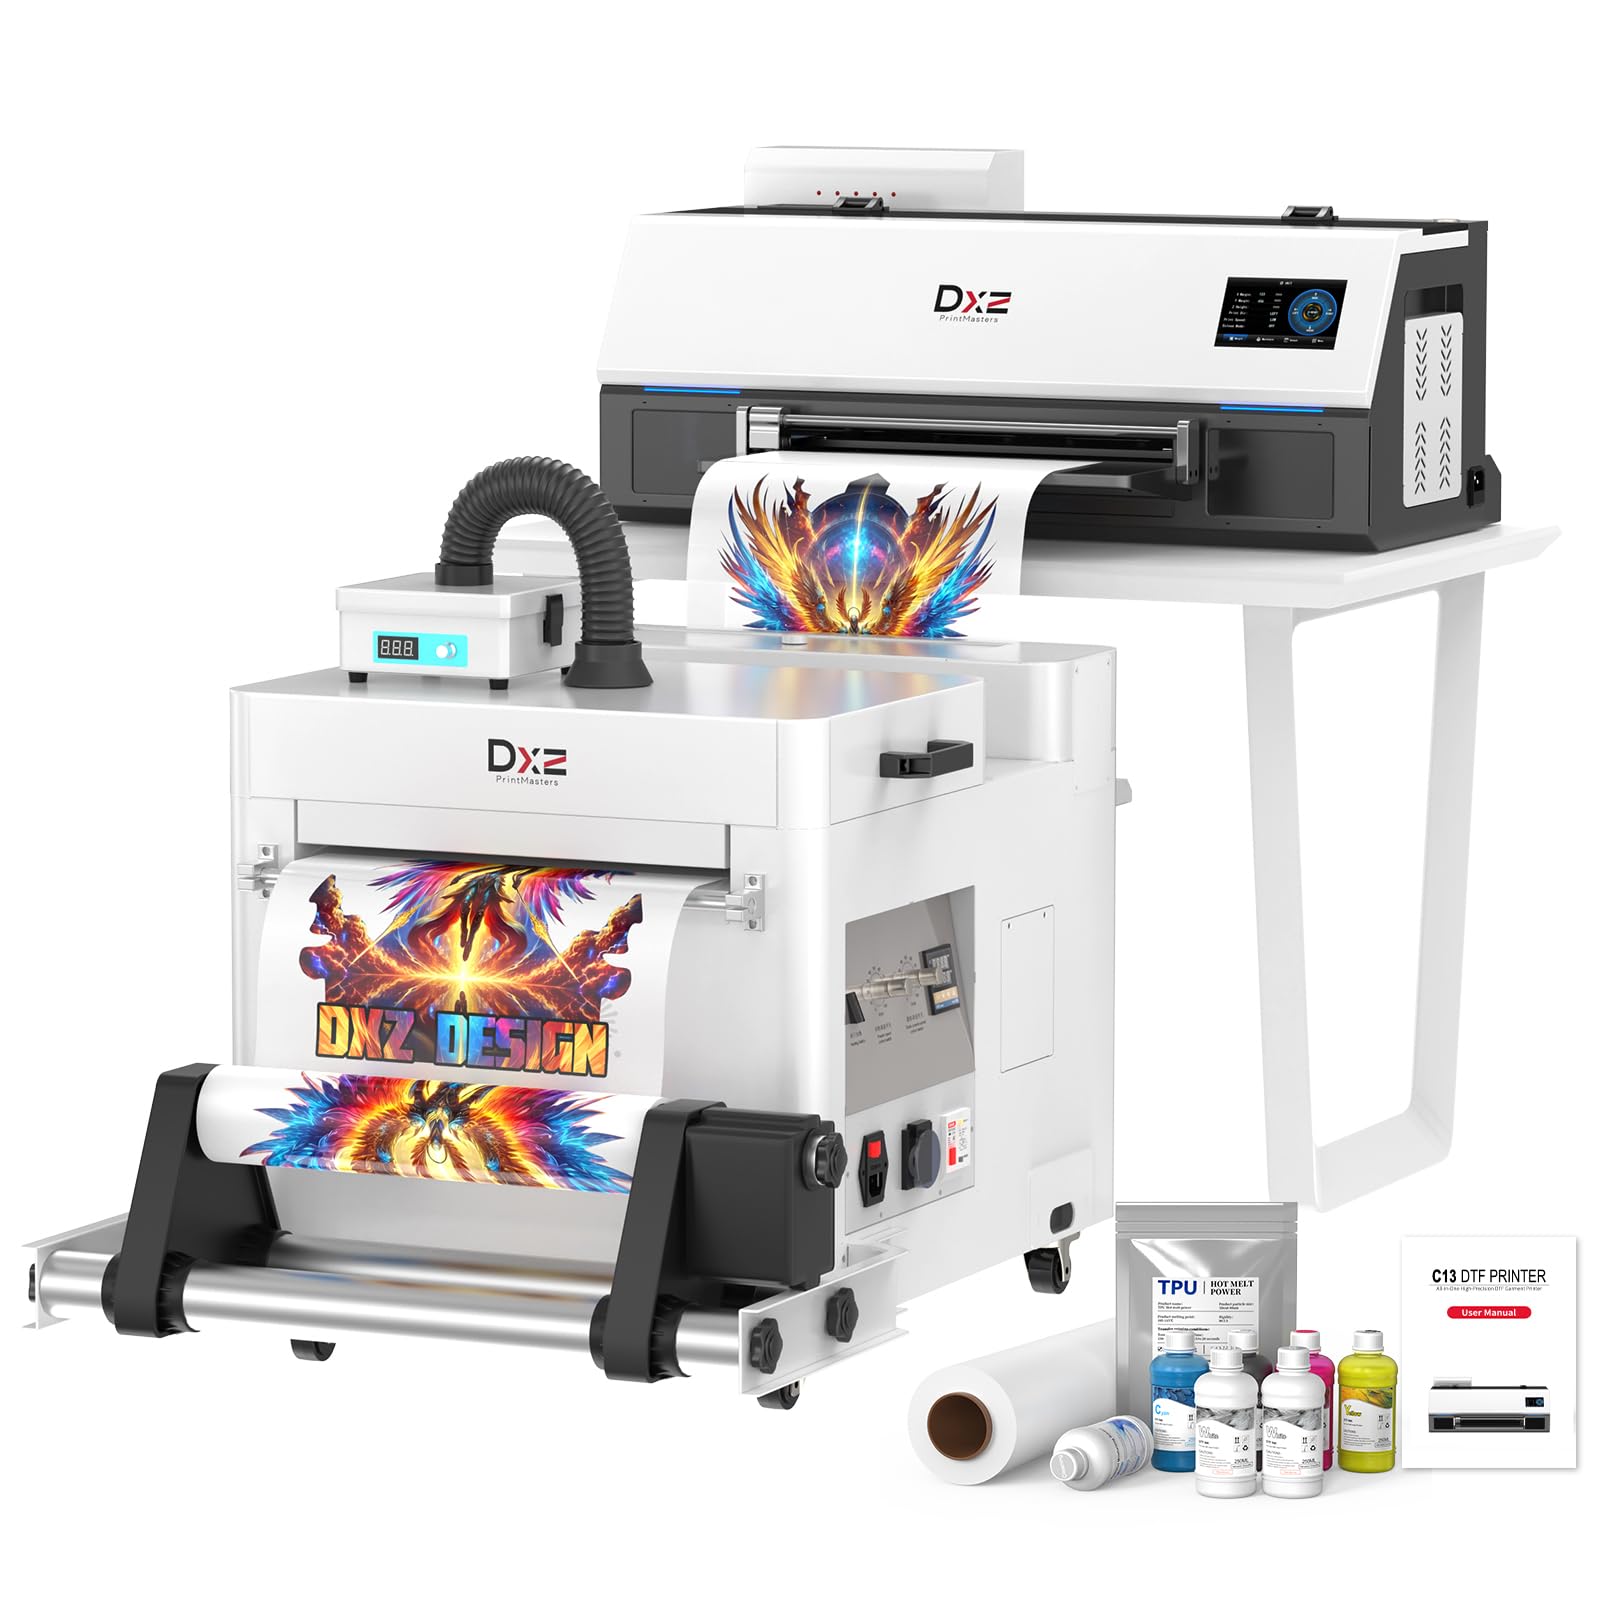
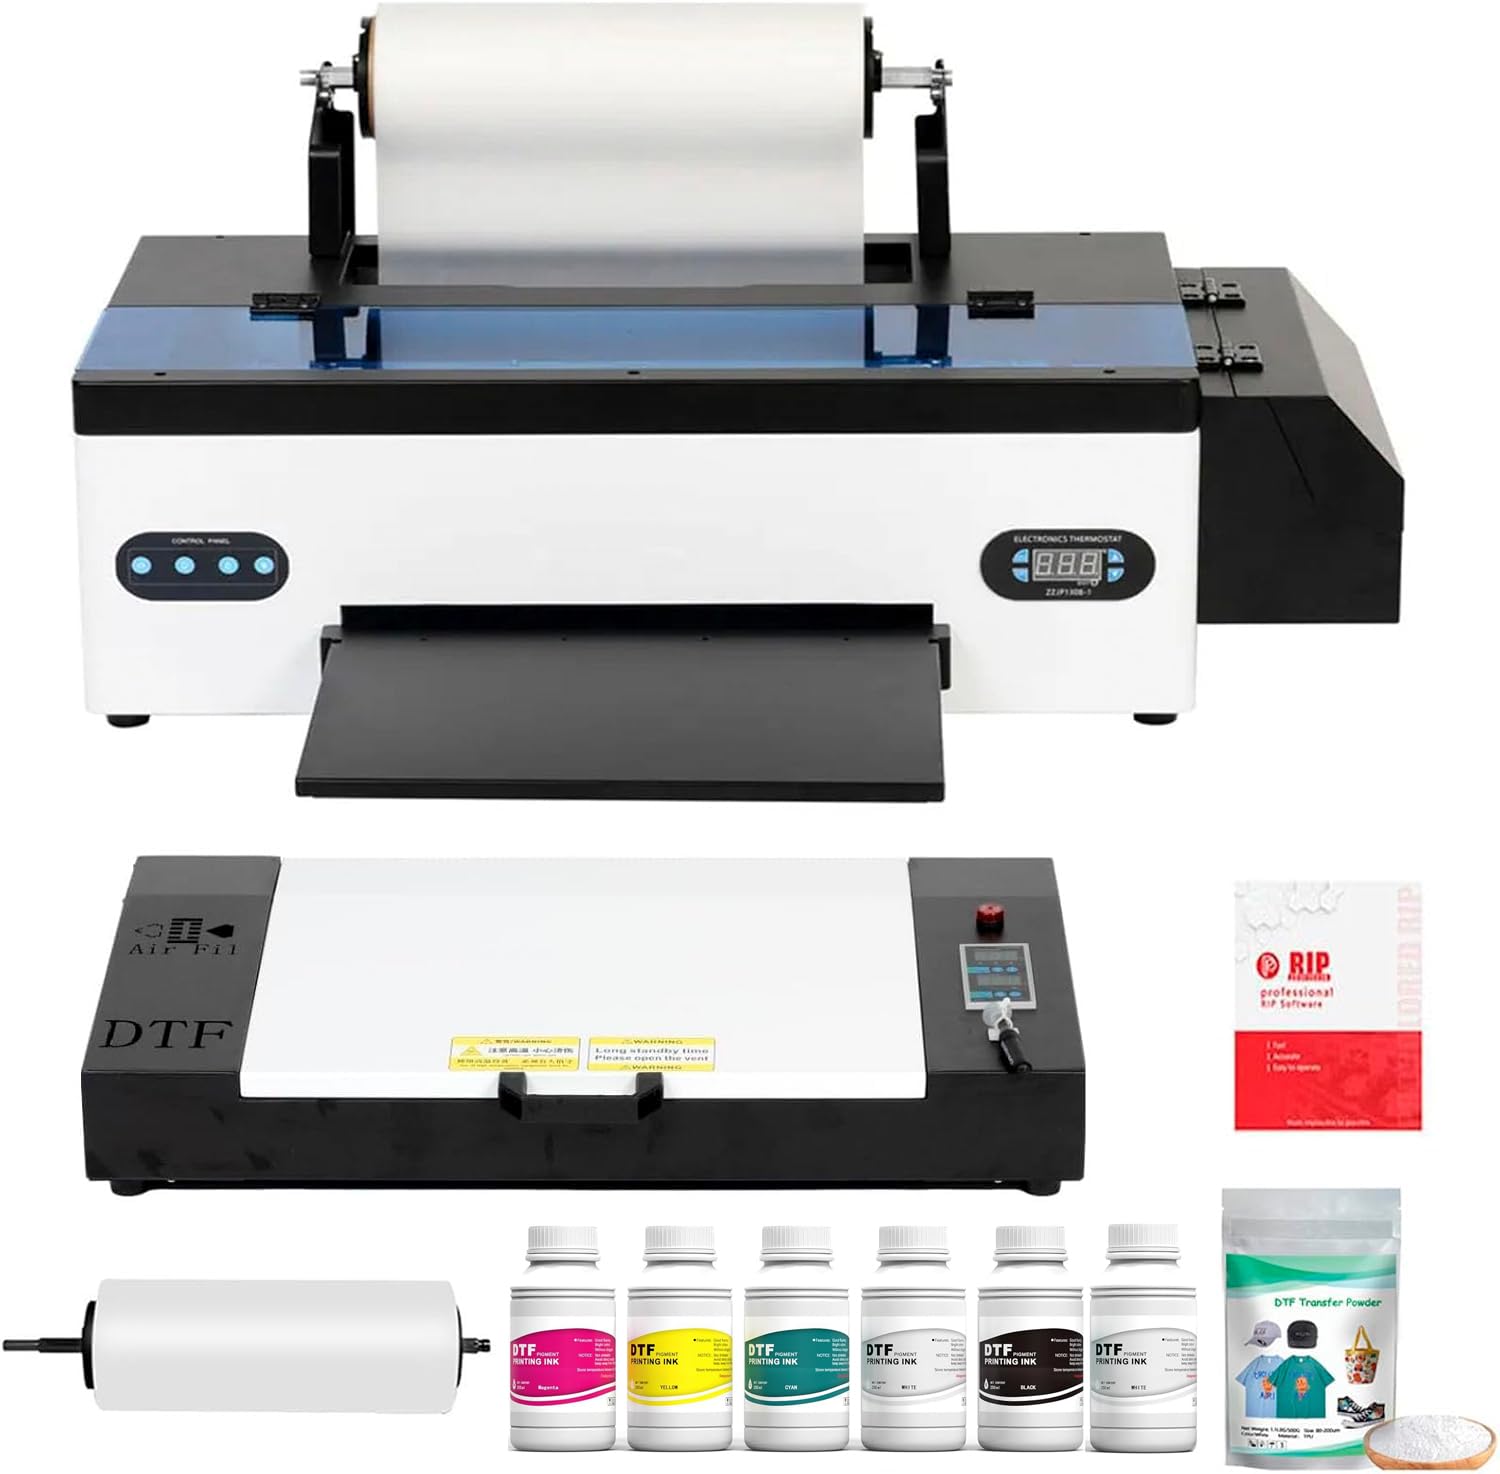
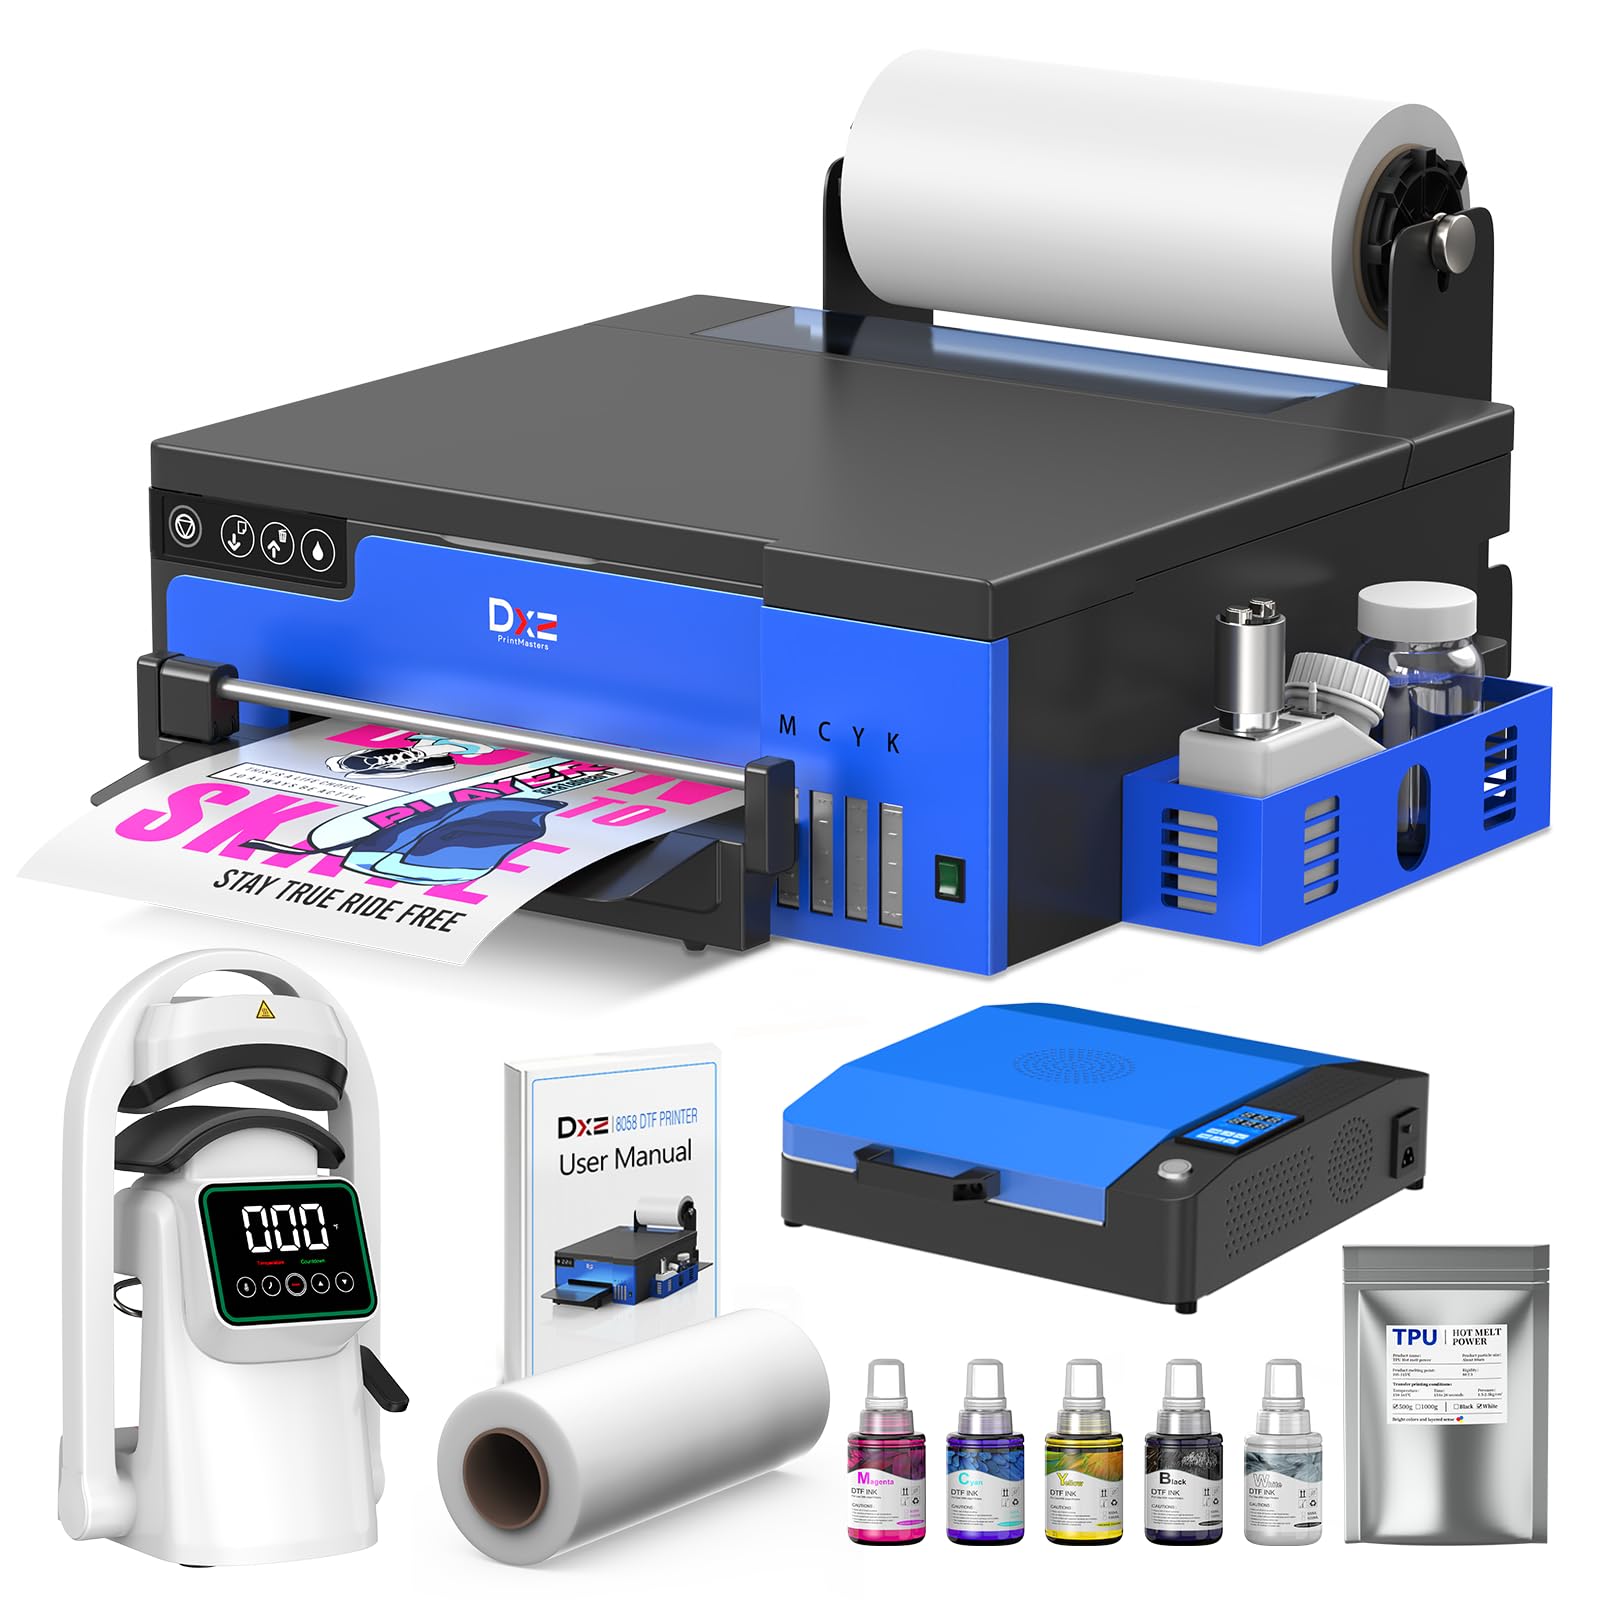
Choose this profile if you print for hobbies, gifts, team shirts in small runs, or a new side project with uncertain demand. At this level you are usually looking at heat transfer or sublimation style workflows paired with a heat press, or an entry direct to film setup. Expect a total starting cost from around $200 to $600 for a workable setup. Strengths are low risk and simple learning. Limits are slower output, more manual steps per shirt, and restrictions on fabric type or color depending on the method.
Best Midrange Profile
Choose this profile if you sell regularly, print weekly batches, or need consistent results on light and dark garments. Midrange usually means a dedicated direct to film printer or an entry direct to garment machine, often around $1,500 to $5,000 as a working setup with press and supplies. You gain larger print areas, better color, software control, and far less hand work per shirt. The trade off is maintenance. Printheads, inks, and films need regular care, and a neglected machine at this tier becomes an expensive problem.
Best Premium Profile
Choose this profile if clothing printing is a business with daily volume, tight deadlines, and customers who expect retail quality. Premium direct to garment and high throughput direct to film systems can run from around $10,000 upward, plus pretreatment, drying, and ventilation needs. You gain speed, repeatability, strong color on dark fabrics, and support and warranty coverage that matter when the machine earns money. The limit is total cost of ownership. Space, power, consumables, and service all scale up, so premium only pays when order volume is real and steady.
What Your Money Gets You at Each Price Tier
Budget Tier: What to Expect
Budget setups teach you the craft and prove demand before you commit serious money. Typical results are good on the right fabric, for example bright sublimation on light polyester or clean transfers on cotton, but each shirt takes manual alignment, pressing, and finishing. Print size is often limited to about letter or slightly larger formats, which restricts big front designs. Expect to spend time per piece rather than money on automation. For many home sellers, this tier is the correct place to start and even to stay if volumes remain small and designs are simple.
Midrange Tier: The Sweet Spot for Most Buyers
Midrange machines remove the biggest budget bottlenecks. Direct to film at this tier prints designs you can press onto cotton, blends, and many synthetics, light or dark, which solves the fabric limits that frustrate budget users. Direct to garment at this tier gives soft feel prints on cotton with detailed color. Output rises to a pace that supports real orders, and software improves color consistency across a batch. Most growing sellers land here because the step up in flexibility is large, while costs stay manageable if you print every week and maintain the machine properly.
Premium Tier: When Spending More Pays Off
Premium spending pays off in throughput, uptime, and support rather than in a magical jump in print quality alone. Faster print cycles, bulk ink systems that lower cost per print, automated pretreatment options, and priority service keep a shop running during peak seasons. If you turn away orders, redo prints often, or lose days to maintenance, premium economics can work even at high purchase prices. If your volume is a few dozen shirts a week, it will not. Be honest about monthly garment counts before you let a salesperson size your machine for you.
If garment work sits alongside paper printing in your shop, compare general print quality expectations in our guide to the best quality printers, since sharp paper output uses different strengths than fabric output.
Features Worth Paying For and Ones to Skip
Print Area and Garment Handling
Print area decides what you can sell. A small format limits you to chest logos and youth sizes, while a larger platen or film width, often about 13 inches or more, covers full front adult designs. Check the largest garment you plan to print, including hoodies with thick seams and pockets that must lie flat. For transfer workflows, your heat press size must match your print size, or your largest designs become impossible to press evenly. Buy print area for your real product list, not for a giant design you may never offer.
Printer Type and Print Method
Method is the biggest decision in this whole category. Sublimation bonds with polyester and gives durable bright results, but it does not work on cotton and needs light colored fabric. Heat transfer methods are flexible and cheap to start but vary in feel and wash life. Direct to film is versatile across fabrics and colors and is forgiving for small shops. Direct to garment prints directly on cotton garments with a soft feel, but it needs pretreatment for dark fabrics and regular printhead care. Choose the method by fabric first, then by volume.
Print Quality and Resolution
On fabric, perceived quality comes from color accuracy, fine detail holding on a textured surface, and correct curing, more than from headline resolution numbers alone. Look for a system with good color management software and reliable white ink handling if you print on dark garments, because white underbase quality decides whether colors pop or look dull. A practical know how tip is to judge by wash results. Print a sample design, wash it several times as a customer would, and check cracking, fading, and feel before you commit to selling that method.
Ease of Setup and Calibration
Daily ease matters more than first day setup. You will clean printheads, shake or circulate white ink on many systems, align platens, and manage humidity around inks and films. Machines that make routine maintenance simple, with clear access and guided cleaning cycles, save real money over a year. Budget about fifteen to thirty minutes of care on active print days for many ink based systems. If that routine sounds unrealistic for your schedule, a transfer based workflow with fewer wet ink parts may suit you better, even if each shirt takes longer to finish.
Print Speed
Judge speed by finished garments per hour, not by print cycle time alone. Pretreatment, drying, pressing, and curing are part of real output. A printer that prints in two minutes but needs five minutes of handling per shirt is a five to seven minute system in your shop. For batch work, note whether the workflow lets you prepare the next garment while one prints or presses. That overlap, more than raw speed claims, is what lets a solo operator complete a fifty shirt order in an evening instead of a weekend.
Home users who also print documents should see our guide to the best computer printers for home to keep paper printing separate, because clothing systems are poor and costly substitutes for everyday paper work.
Long Term Costs to Factor In
Ink, film, powder, transfer sheets, and pretreatment fluid are ongoing costs that vary a lot by method, so estimate cost per finished shirt at your typical design size before you buy. Add a heat press if your workflow needs one, replacement platens, cleaning supplies, and electricity for presses and dryers that run hot for hours. Our guide to the best clothing iron options is relevant only for small touch up and transfer tasks, not as a press substitute. Finally, factor in learning waste. Your first rolls and garments will include misprints, so budget practice materials as part of ownership.
Frequently Asked Questions
What does cost per page mean for clothing printers?
For clothing, think cost per print rather than cost per page. Add ink or transfer material, film and powder where used, pretreatment, and the garment finishing steps for one design at your normal size. Small chest logos may cost well under a dollar in materials on some systems, while large full front prints on dark garments cost several times more. Track your real numbers for one week of orders. Your own cost per print is the only figure that should guide pricing.
Are ink tank style printers worth it for clothing work?
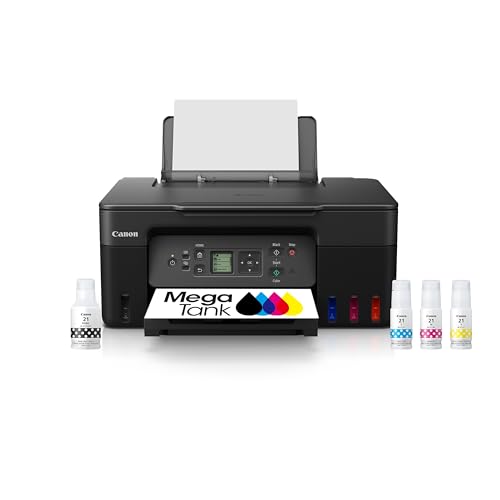
They can be worth it in sublimation and some transfer workflows, because refillable tanks lower ink cost and suit frequent small batch printing. The value depends on using the correct ink for your method and printing often enough that ink and printheads do not sit idle for long periods. Occasional users may find that a simpler transfer setup with store bought sheets costs less overall once waste, cleaning, and expired supplies are counted honestly.
Which clothing printing method is easiest for beginners?
Heat transfer and sublimation on the correct fabric are usually easiest for beginners, because the equipment is affordable, the steps are visible, and mistakes cost little. Sublimation on light polyester gives very durable results with a short learning curve for pressing time and temperature. Direct to film is the next step when you need cotton and dark garments. Direct to garment is powerful but is rarely the easiest start, because pretreatment and printhead maintenance add skills you must learn at the same time as design and pressing.
Direct to film or direct to garment: which is cheaper long term?
Direct to film is often cheaper long term for mixed fabrics and varied order sizes, because one printed film can go on many garment types and unused prints can be stored briefly for later pressing. Direct to garment can be cheaper for high volume cotton work with large designs, where its ink costs and soft feel shine, but pretreatment, maintenance, and idle time losses add up for small shops. Compare both using your actual garment mix, not a generic claim, before deciding.
The Bottom Line
Choose the print method by fabric first, the size by your largest real design second, and the tier by honest weekly volume third. Most home sellers should start at the budget tier, and most growing shops belong in the midrange. With that order of decisions, finding the best clothing printers for your work becomes a practical calculation instead of a gamble. Compare the approaches in the product table above, print and wash a sample design, and scale up only when orders prove the demand.