
Best Clipless Shoes for Bikepacking at Every Price: What Your Money Really Gets You for 2026
Disclosure: We may earn a commission when you buy through links on this page, at no extra cost to you. As an Amazon Associate I earn from qualifying purchases. Learn more

Long days in the saddle call for the best clipless shoes for bikepacking: a budget guide to walking comfort, sole traction, drying time, fit and value.
Bikepacking shoes lead a double life. They must pedal efficiently for six hours, then walk into a shop, scramble up a rocky bank to a campsite, and survive being stuffed wet into a bag the next morning. Ordinary cycling shoes are built for the first job only, which is why so many riders end a trip with sore feet and shredded soles.
Prices range from around $70 to well past $300, and the differences hide in soles, tread, and fit rather than in looks. This guide to the best clipless shoes for bikepacking shows what each tier really buys, which features matter far from home, and which upgrades you can skip, starting with the comparison table below.
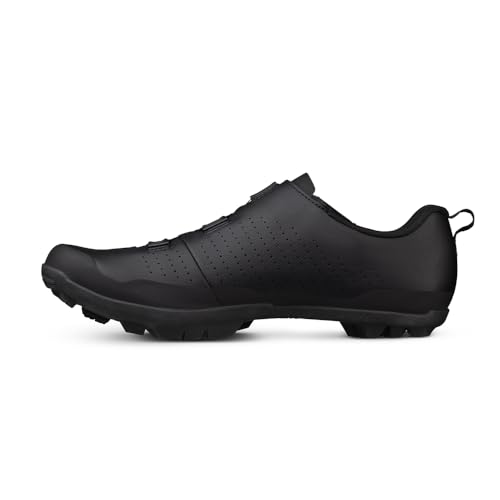


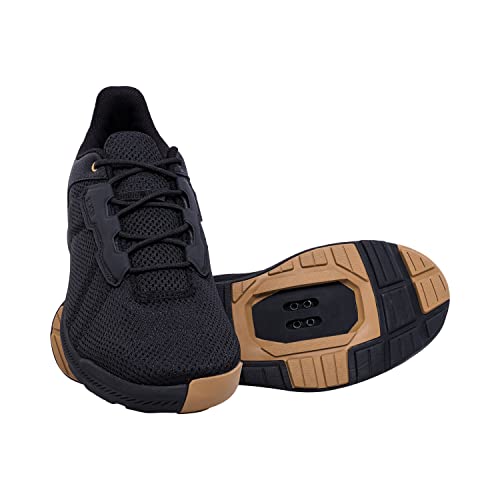


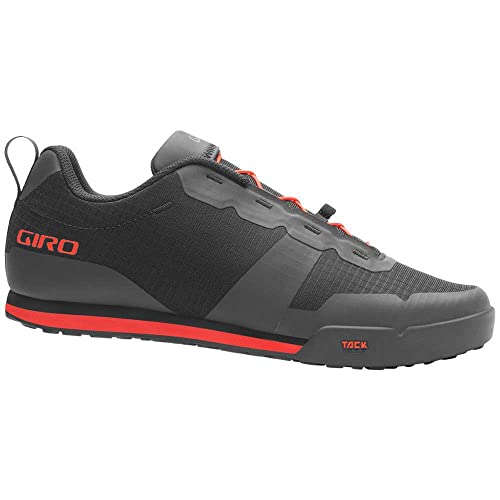

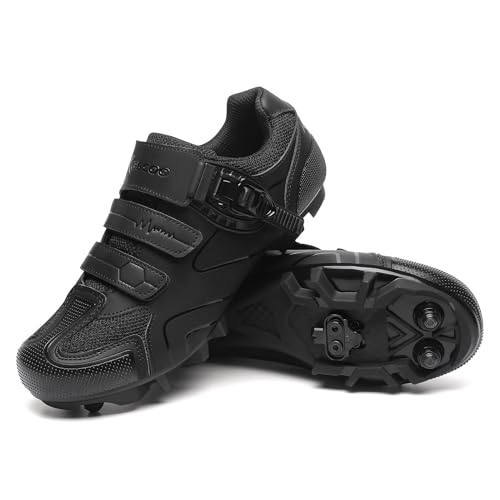
What a Strong Bikepacking Shoe Looks Like at Each Budget
Use these profiles to judge any shoe in the product table above. Each describes who the tier suits and where the compromises sit.
The Budget Profile
A budget bikepacking shoe, usually around $70 to $110, covers the essentials honestly. Expect a nylon sole with moderate stiffness, a lugged rubber outsole that walks far better than a road shoe, and a simple strap or lace closure that any rider can repair in the field. The upper is mostly synthetic and dries reasonably fast after a stream crossing.
What you give up is refinement: the fit tends to be generic, arch support is basic, and the tread compound is harder and less grippy on wet rock. For a first multi day trip on moderate terrain, this profile is a sensible, low risk starting point.
The Midrange Profile
The midrange, roughly around $120 to $200, is where bikepacking shoes become trip ready in every sense. Soles gain a better balance of pedaling stiffness and walking flex at the toe, tread compounds get softer and grippier, and uppers add real protection around the toes and heel. Dial or mixed closures adjust precisely even with gloves or swollen feet, and insoles offer shaping that budget shoes skip.
Most riders will feel the difference most at the end of long days, when support and a roomier fit keep feet happier. For week long routes with daily hike a bike sections, this tier is the natural home.
The Premium Profile
Premium shoes, often around $210 to $320, refine everything rather than reinventing it. Carbon or advanced composite soles pedal with race shoe efficiency while carefully placed flex zones keep walking tolerable. Uppers use lighter, tougher materials, sometimes with a waterproof membrane, and the fit is sculpted for riders who log very long days.
Weight drops by a useful margin, which matters when every gram rides on the bike for a week. The catch is specialization: narrow race inspired fits and delicate finishes suit experienced riders with known preferences, and the price buys little if your trips are short and gentle.
What Your Money Gets You at Each Price Tier
Budget Tier: What to Expect
Budget money buys a competent all rounder with plain materials. The sole will flex more on hard climbs, which slightly wastes energy but makes walking noticeably kinder, a trade many new bikepackers actually prefer. Waterproofing is absent, so the strategy at this tier is fast drying rather than dry feet: mesh panels, thin liners, and socks that stay warm when wet.
Durability is the open question, since budget stitching and sole bonds face a hard life on tour. Check warranty terms and treat the first pair as tuition for your second, better chosen pair.
Midrange Tier: The Sweet Spot for Most Buyers
The midrange buys the features that decide comfort on day three and beyond. Better tread grips wet roots and café floors alike, closures adjust in small steps as feet swell, and toe protection shrugs off the rock strikes that end trips early. Many shoes here add a slightly wider fit option, which matters more on tour than in racing.
You still choose between waterproof membranes and maximum breathability rather than getting both, but either version is well executed at this price. For most bikepackers planning real routes, this tier spends money exactly where feet notice it.
Premium Tier: When Spending More Pays Off
Premium spending pays off on long, demanding routes where small gains repeat thousands of times a day. A stiffer sole returns more energy on every climb, lighter shoes reduce fatigue across a week, and precise fit prevents the hot spots that become blisters by day four. Waterproof models at this tier seal better and breathe better than cheap membranes.
The tier makes less sense for occasional overnighters, who will wear out a midrange shoe from age before they exhaust its ability. Buy premium when your calendar already holds the trips that justify it.
Features Worth Paying For (and Ones to Skip)
Features That Matter for Bikepacking
Bikepacking demands a rare mix: pedaling stiffness, walking traction, quick drying, and field repairability in one shoe. Prioritize a recessed two bolt cleat so you can walk without skating on metal, laces or straps you could replace at a small town shop, and an upper without delicate coatings that crack after repeated wet and dry cycles. A shoe you can resole or repair extends a trip; a fragile shoe ends one. Our broader guide to the best bikepacking shoes compares the clipless and flat options for this style of riding.
Arch Support and Foot Type
Hours of pedaling followed by loaded walking punish poor support. Riders with flat feet need a stable sole and an insole that resists collapsing inward, while high arched riders need cushioning and an insole that fills the arch so pressure spreads evenly. Most stock insoles are thin foam liners, so budget for quality aftermarket insoles if you know your feet need them.
Pain on the outside of the foot often signals a fit or support problem rather than a fitness one. On tour there is no easy bailout, so resolve support questions on training rides near home first.
Waterproofing and Membranes
A waterproof membrane such as Gore Tex keeps feet dry in steady rain and shallow crossings, which is a genuine comfort and warmth win in cold climates. The trade off is breathability and drying speed: once water enters over the top, and on tour it eventually does, a membrane shoe dries far more slowly than a mesh shoe. In warm regions most experienced riders choose fast drying shoes and accept wet feet during the day.
Decide by climate, not by habit. Cold and wet argues for membranes; hot and wet argues strongly against them.
Outsole Traction and Terrain
Traction decides how confidently you walk a loaded bike up wet rock, mud, or loose gravel. Look for deep, widely spaced lugs that clear mud, a softer rubber compound for grip on smooth stone, and a defined heel breast that brakes on steep descents. Shallow, hard tread pedals fine and walks poorly, which is the wrong balance for bikepacking.
Riders who also tour on mountain bikes will find useful crossover thinking in our guide to the best mtb clipless shoes, since trail shoes face similar ground. Your hands are busy with the bike, so your feet need all the grip the outsole can give.
Fit, Sizing, and Toe Box
Fit for touring runs slightly roomier than fit for racing. Measure your feet in the afternoon, when they are largest, and choose a size that leaves space for thicker socks and the swelling that builds over consecutive long days. A toe box with vertical room lets toes spread during walking sections and reduces the numbness many riders feel on descents.
Try shoes with your touring socks and insoles in place, and walk up and down a slope if the shop allows it. For more on the general clipless category, our guide to the best clipless shoes explains how fit priorities shift by riding style.
Long Term Costs to Factor In
A tour shoe budget should include more than the shoes. Cleats wear faster when you walk on them daily, so carry a spare set and budget for replacements each season. Quality insoles and merino socks add cost but prevent the foot problems that shorten trips, which is money well spent.
Waterproof models may need reproofing sprays to keep shedding rain. Finally, aggressive routes consume tread, and some brands in our guide to the best enduro clipless shoes share the same replaceable tread thinking; where tread cannot be replaced, the whole shoe is the consumable, so divide its price by the trips you realistically expect from it.
FAQs
What features matter most in clipless shoes for bikepacking?
Walking traction, a recessed cleat, and a fit that tolerates swollen feet matter most. Add a closure you can repair in the field and an upper that dries overnight, and you have the core of a good touring shoe. Sole stiffness ranks below these, because a slightly flexible sole that walks well beats a rigid one that ruins every off bike hour of the trip.
How long is the break in period for bikepacking shoes?
Most synthetic bikepacking shoes need two to four rides, roughly a week of regular use, before the upper relaxes and the insole settles to your foot shape. Leather models can take longer. Never start a multi day trip in new shoes: do at least one long ride and one walk heavy ride first, and carry blister care on the trip regardless, since loaded walking stresses feet in ways training rides only partly predict.
Do I need waterproof clipless shoes for bikepacking?
You need them only when cold and wet conditions combine. In cool rain, a membrane keeps feet warmer and morale higher across a long day. In warm rain, waterproof shoes fill, overheat, and dry slowly, so fast drying mesh shoes with good socks are usually the better system.
Many riders own one approach and plan routes around it, rather than buying both. Match the shoe to the climate of your biggest trip of the year.
How often should I replace my clipless shoes?
Replace them when the tread wears smooth, the sole bond starts to separate, or the upper can no longer hold your heel without overtightening. For regular bikepackers that is often two to four seasons, depending on how much walking the routes demand. Cleats need replacement far sooner, usually once or twice a year with heavy walking. A shoe that survives structurally but has lost its insole support can often gain a second life from fresh insoles alone.
How should clipless shoes fit for bikepacking?
They should feel secure at the heel and midfoot with clear space at the toes, fitted in the afternoon with your touring socks on. Your toes should never touch the front when you press downhill on foot, and the closure should hold without numbness after twenty minutes. Slightly roomy beats snug for touring, because feet swell across long days and thicker socks join the kit in cold weather. When torn between sizes, most bikepackers do better with the larger one.
Are expensive clipless shoes worth it for bikepacking?
They are worth it for long, frequent trips where efficiency and fit precision compound over thousands of pedal strokes and many walked miles. For one or two gentle overnight trips a year, a midrange shoe delivers nearly the same experience for much less money. The honest dividing line is trip length: beyond about four consecutive days, premium fit and weight savings stop feeling like luxury and start feeling like planning.
Can I wear clipless bikepacking shoes all day?
Yes, and that is exactly what they are designed for, provided the fit is right. A recessed cleat, flexible toe section, and lugged sole let you pedal, walk, eat, and set up camp in one pair of shoes, which saves the weight of spare footwear. At camp many riders loosen closures fully or swap into light sandals to let feet recover and shoes air out. If your feet ache by evening during training, fix the fit at home rather than hoping tour days will somehow feel easier.
Our Verdict
Choose for the walking and the weather first, then for pedaling stiffness. Most riders belong in the midrange, where traction, fit, and durability meet at a fair price, while budget shoes serve first trips and premium shoes reward long routes. Compare your finalists in the product table above against your route plans, and the best clipless shoes for bikepacking for your riding will be clear.


