Best Canning Sets: A First Time Buyer's Guide for 2026
Disclosure: We may earn a commission when you buy through links on this page, at no extra cost to you. As an Amazon Associate I earn from qualifying purchases. Learn more

Shopping for the best canning sets for the first time? Learn the tools, pot sizes, and safety basics in this easy checklist style buying guide.
A garden glut or a farmers market bargain can turn into a winter of homemade jam, pickles, and sauce, but only if you own the right tools before harvest day arrives. The best canning sets for a beginner are not the biggest or the priciest. They are the sets whose pot fits your stove, whose tools match the jars you plan to fill, and whose parts you understand well enough to use safely.
This guide explains what a canning set includes, what each spec really means, and which rookie mistakes waste money or ruin a batch. Keep the product table below open as you read, and check each set against your stove, your jars, and the foods you honestly plan to preserve.





Canning Sets 101: The Basics
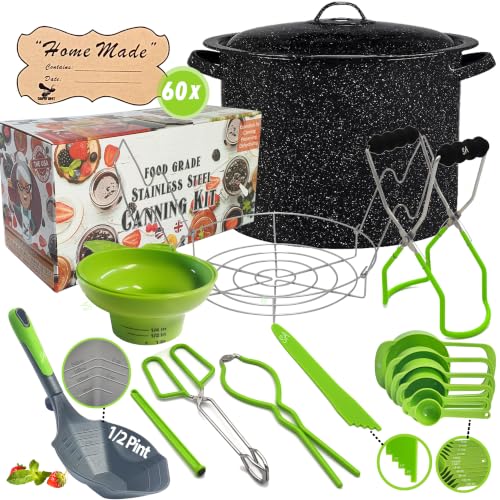
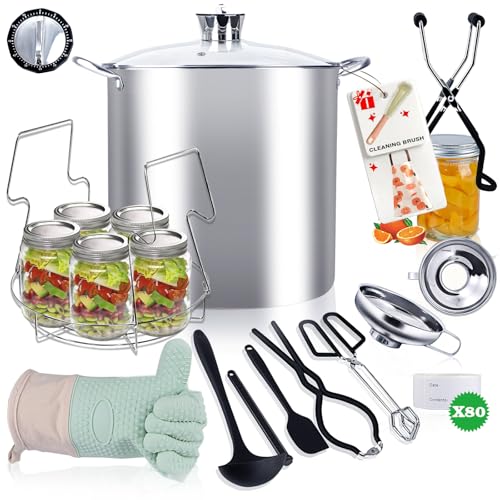
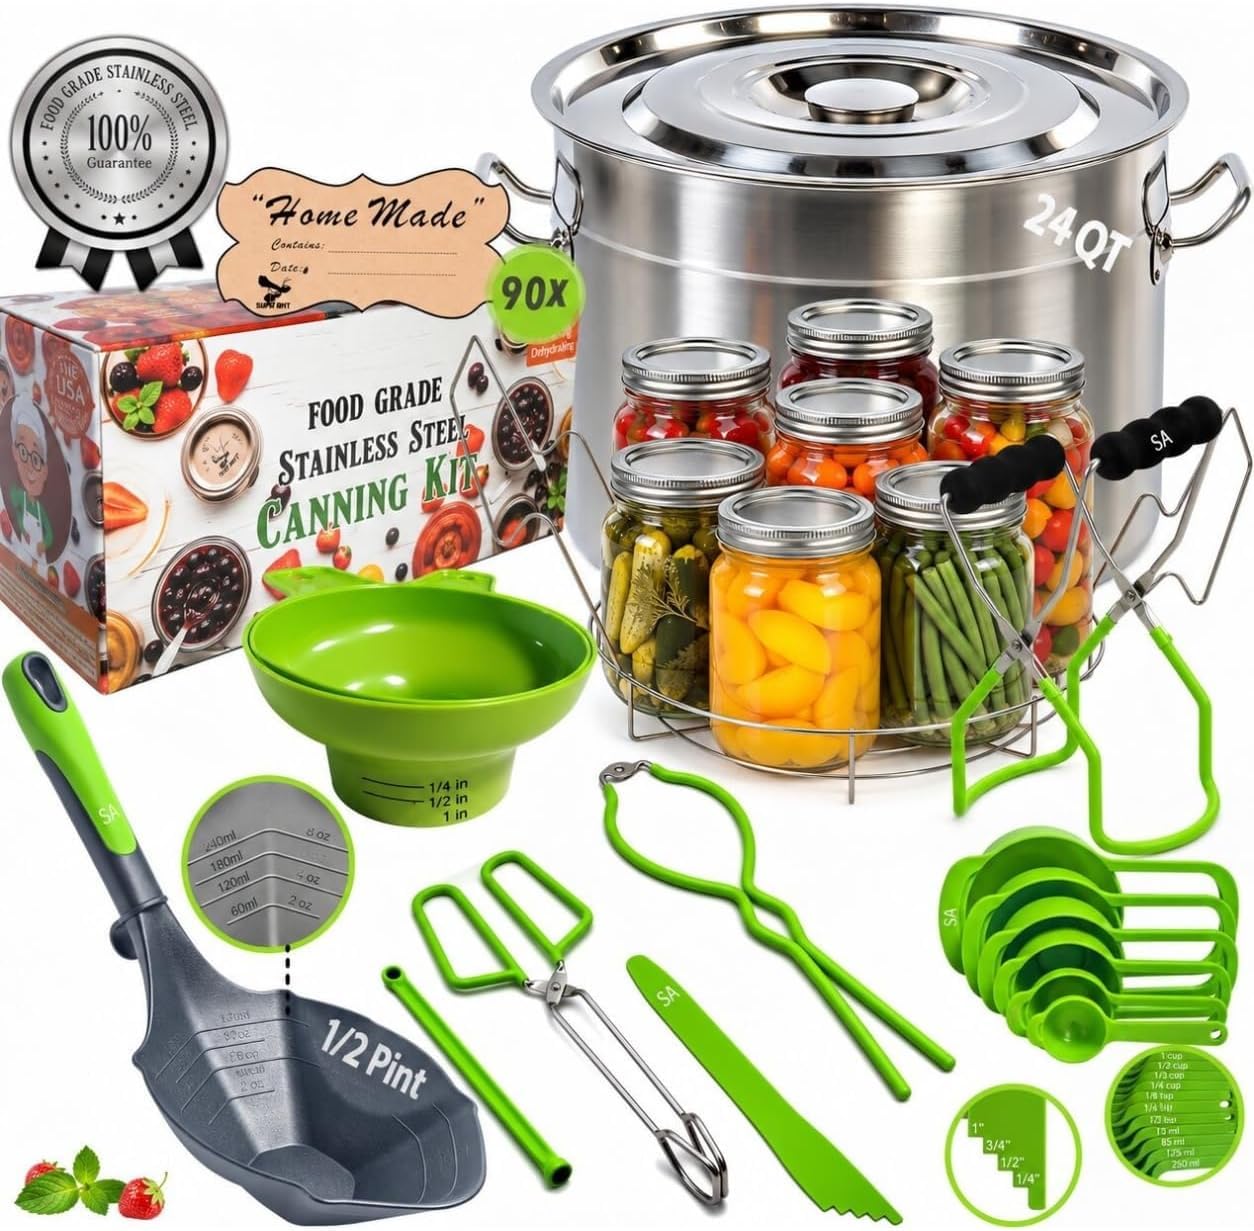
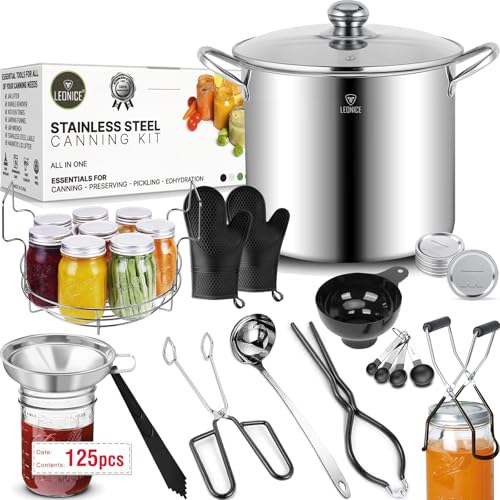
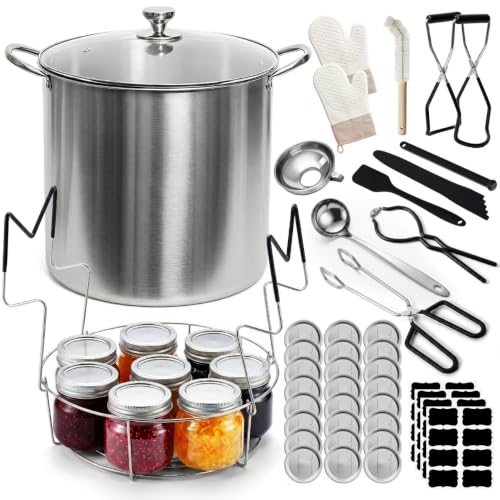
A canning set bundles the core tools for water bath canning, the method used for high acid foods such as jams, jellies, pickles, and most fruits. The heart of the set is a large pot with a fitted rack. The rack holds jars off the pot bottom, lets boiling water circulate, and lifts jars in and out without tipping. Around that pot, sets gather the small tools that make the work safe and tidy: a jar lifter with coated grips, a wide mouth funnel, a magnetic lid wand, tongs, and often a bubble remover that doubles as a headspace ruler.
Two terms matter from day one. Headspace is the gap between the food surface and the lid, and recipes specify it because too much or too little can break the seal. Processing time is the minutes jars spend in boiling water once the pot returns to a full boil, and it changes with altitude. A set does not replace a trusted recipe source. Follow tested recipes from recognized food preservation authorities, because safe acidity and timing are what keep preserved food safe on the shelf.
Note what a basic set does not do. Low acid foods such as plain vegetables, meats, and most soups require a pressure canner, which is a different appliance with a locking lid and a gauge or weight. Some deluxe kits include a pressure capable pot, but most starter sets are water bath only. Knowing that line now prevents the most dangerous misunderstanding in home canning.
Key Specs Explained in Plain English
Intended Use and Who It's For
Match the set to the food you will actually make. Jam and pickle makers need a pot deep enough to cover quart jars with at least an inch of water, plus the funnel and lifter every set includes. Tomato growers processing big batches should count how many jars fit per load, because a seven quart rack doubles the output of a small pot across a long afternoon. If you only plan a few small batches of jam each summer, a compact set stores easier and heats faster. Gardeners with pressure canning ambitions should treat a water bath set as a first step and budget separately for a pressure canner later.
Build Quality and Materials
Pots come in enamel coated steel, stainless steel, and aluminum. Enamel on steel is the budget classic and works well, but chips can expose steel that rusts, so inspect the rim and handles each season. Stainless steel resists rust, tolerates acidic splashes, and lasts for decades, at a higher price and weight. Aluminum heats fast and stays light, though it can discolor with hard water. Tool quality matters as much as the pot. Look for jar lifters with springs that feel firm, grips that will not slip when wet, and a rack made of sturdy wire that will not flex under loaded quart jars.
Key Performance Specs
Capacity is quoted in quarts and in jars per batch, and both numbers deserve a look. A pot around 21 quarts is the common full size choice, holding about seven quart jars or nine pint jars in a typical rack. Depth is the hidden spec: the pot must cover jars with one to two inches of water and still leave room for a rolling boil without spilling. Check your stove too. Glass top and induction ranges have weight and surface rules, and a huge filled pot is heavy. A flat, smooth pot bottom heats evenly and keeps the boil steady, which keeps processing times honest.
Warranty and Customer Support
Warranties on canning sets are modest, often a year on the pot and less on the small tools, but the paperwork tells you how the maker treats defects like peeling enamel or a warped rack. Keep your receipt and register the set if the maker offers it. Good support also means spare parts exist. Racks rust and lifter grips crack over the years, and a brand that sells replacements saves you from rebuying a whole kit. Before your first batch, confirm the funnel, wand, and lifter are all present, because discovering a missing tool with jars already filled is a scramble no beginner needs.
Size, Weight, and Fit for Your Space
A full size canning pot is one of the largest things in a kitchen, roughly the footprint of a small laundry basket. Measure your cabinet or shelf before buying, and think about where a hot, heavy, water filled pot will sit between stove and sink. Filled with water and jars, the load can pass 40 lb, so short, clear paths matter for safety. Smaller households sometimes choose a compact pot that doubles as a stockpot all year. If your storage already holds full size cookware from a set like the best kitchen cookware sets, confirm the canner lid and rack can nest inside your largest pot area rather than claiming new space.
Rookie Mistakes to Avoid
- Guessing at recipes or times. Safe canning follows tested recipes exactly, including jar size, headspace, and altitude adjustments, so never improvise with low acid foods.
- Buying a pot your stove cannot handle. Some glass top ranges limit canner diameter and weight, so check the stove manual before the pot arrives.
- Reusing old lids. Flat lids are single use for a reliable seal, while rings and jars can be reused if they pass inspection for rust and chips.
- Skipping the rack. Jars set directly on the pot bottom can crack from heat stress and uneven boiling, so always can on the rack.
- Starting with a huge harvest. A small first batch of jam teaches the whole process with low stakes before you commit bushels of produce.
Getting Started: Setup and First Use
Read the manual before first use, then wash every part in warm soapy water and dry the pot fully. Do a practice run with water only. Fill the pot, load empty jars on the rack, and rehearse lifting the rack with your lifter until the motion feels calm and steady. That dry run, done without heat or food, teaches you more than any video, because jar handling is a physical skill.
On canning day, lay out tools in the order you will use them: funnel, bubble remover, lid wand, lifter, and a clean towel for hot jars. Inspect every jar rim with a fingertip for chips, warm the lids as the recipe directs, and keep the pot at a gentle simmer so jars fill and process without delay. Clean and inspect the set again as you put it away, and store the pot dry with the lid ajar. If your everyday cooking gear needs the same kind of audit, our guide to the best pan sets for cooking uses a similar quality checklist.
Canning Sets: Your Questions Answered
Are expensive canning sets worth it?
They can be, mainly for the pot. A stainless pot resists rust for decades and keeps a steadier boil than a thin enamel pot that chips within a few seasons. The small tools differ far less between price tiers. A sensible path is a midrange set with a strong pot and standard tools, then replace individual tools as they wear. Paying more for extra gadgets you never use, like decorative jar labels, adds cost without adding safety or output.
How do I maintain a canning set?
Wash the pot and tools after each session, dry everything fully, and store the pot with the lid slightly open so moisture never lingers. Check the rack for rust spots each season and scrub or replace it before flakes can reach jar surfaces. Inspect lifter grips and funnel edges for cracks. A light wipe of the pot exterior keeps hard water scale from building up. Sets stored clean and dry in the fall are ready the moment the first tomatoes ripen.
What features matter most when buying canning sets?
Pot depth and capacity matter most, because jars must sit under one to two inches of boiling water for the whole processing time. Next comes a sturdy rack that lifts smoothly and a jar lifter with grips that feel secure when wet. Everything else is a supporting player. Confirm stove fit before any of it, since a perfect pot that your range cannot support is useless. Our look at the best home cookware sets explains stove fit checks that apply here too.
How long does a canning set last?
A stainless pot can last decades, an enamel pot often serves five to ten seasons before chips spread, and small tools usually last several years each. The rack is the most common early replacement because it lives in boiling water. Longevity depends less on brand than on drying and storage habits. A set put away wet each fall can rust out in two seasons, while the same set dried with care keeps working through many harvests.
How much should I spend on a canning set?
Most beginners land between about $40 and $120 for a complete water bath set, with stainless pots at the upper end. Under $40, expect thinner enamel and lighter tools that still work for occasional jam batches. Above that range, you are usually paying for a pressure canner or a very large pot, which only makes sense if your harvest volume demands it. Budget a little extra for jars, new lids each season, and a trusted recipe book.
The Bottom Line
Choose the pot that fits your stove and covers your jars with room to spare, insist on a solid rack and a lifter you trust with wet hands, and commit to tested recipes from the start. Those three choices cover nearly every beginner regret. Safety is part of the purchase too: water bath sets are for high acid foods, low acid foods need a pressure canner, and any jar with a failed seal or off odor should be thrown out, never tasted. Compare your finalists in the product table above, and the best canning sets for your kitchen will be the ones that match your harvest, your range, and your storage shelf.