Best Canning Kits by Budget: Smart Picks for 2026
Disclosure: We may earn a commission when you buy through links on this page, at no extra cost to you. As an Amazon Associate I earn from qualifying purchases. Learn more
Compare canning kit types, sizes, materials and price levels before you buy. Learn what matters for safe home preserving and what each budget level delivers.
Preserving food at home can save money and reduce waste, but the right setup depends on what you plan to preserve and how often you plan to do it. The best canning kits for a small batch maker are not the same as the setup that suits a gardener with a large harvest. This guide compares kit types, sizes, materials and price levels so you can spend where it matters most.
Use the product table below to see how the main kits differ at a glance. The rest of this guide explains each choice in plain terms, including safety, jar fit, storage and long term costs, so you can choose with confidence.
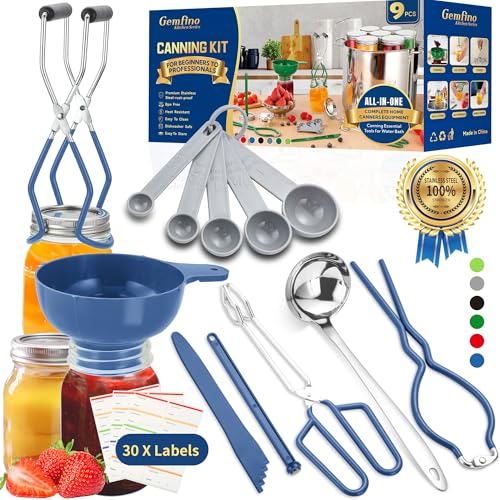
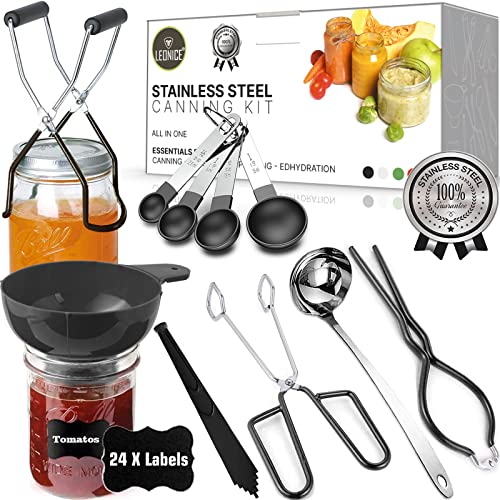

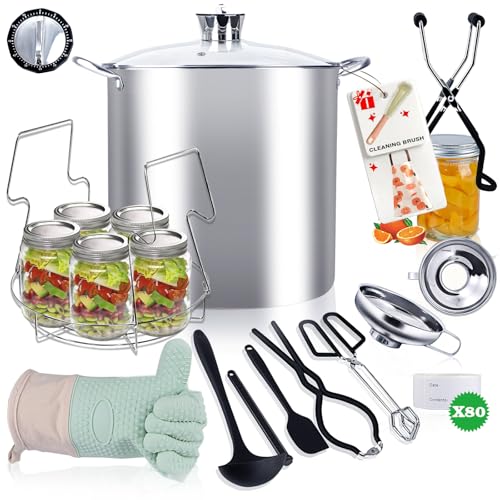


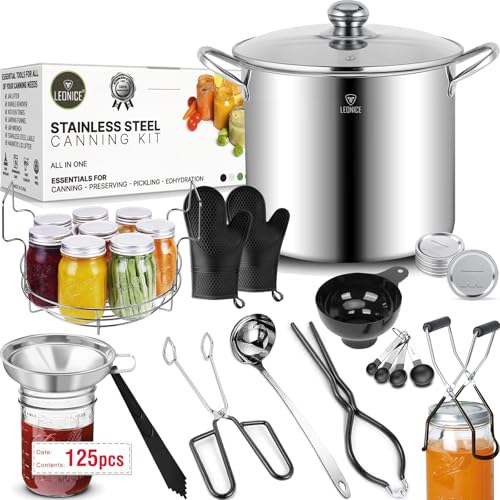
Spending Level Guidance for Canning Kits
Thinking in spending levels is more useful than searching for one perfect kit. A basic kit can work well for occasional jam or pickles, while a larger setup may suit someone who preserves every week during harvest season. The key is to match the kit to your batch size, your stove, and your storage space.
Budget Level Guidance
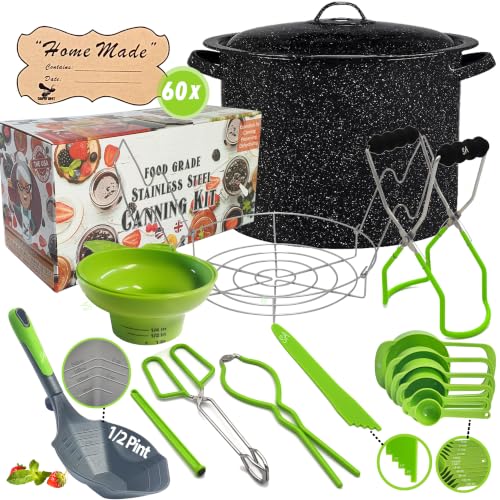
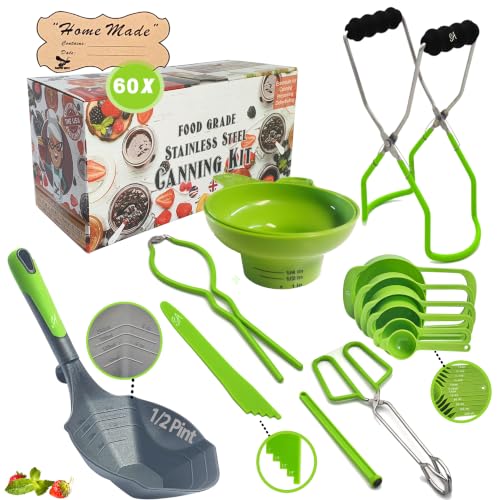
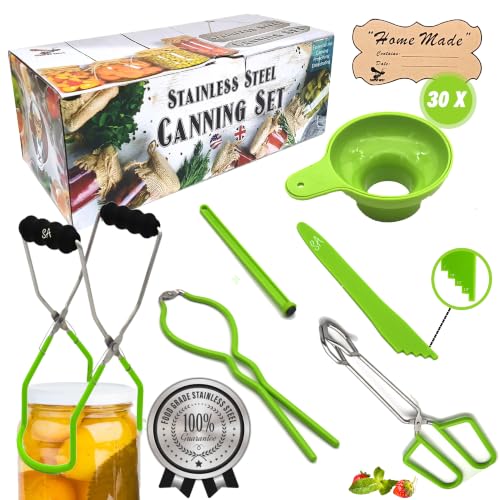
A budget level kit usually covers the basics for water bath preserving, such as a rack, a jar lifter, a funnel, a bubble remover and a magnetic lid lifter. It suits a new preserver who wants to test the hobby without a large outlay. Look for sturdy handles and a rack that fits your pot, and check that the tools feel comfortable in your hands. The trade off is often thinner tools and fewer extras, so plan to replace worn items sooner.
Midrange Level Guidance
A midrange kit often adds better materials, a wider funnel, a more stable rack and a larger or better fitting pot. It suits a regular preserver who makes several batches each season and wants tools that last. Look for heat resistant handles, clear size markings and parts that are easy to clean and dry.
Premium Level Guidance
A premium level kit may include a heavy pot, a precise rack, extra tools and stronger construction throughout. It suits a frequent preserver who handles large harvests year after year. Before you pay more, check whether the extra capacity matches your batch size, because a large pot that does not fit your stove well or is hard to lift when full is not a good buy at any price.
What Your Money Gets You at Each Price Tier
Price tiers in this market usually reflect capacity, materials and the number of included tools, rather than one single feature. A higher price does not always mean safer preserving. Safety depends on following tested recipes, using the right method for the food, and checking seals after processing.
Budget Tier: What to Expect
Expect a compact set built around water bath preserving, with basic tools and a pot that suits small batches. Prices are often about $30 to $70 for a starter set without jars. This tier works well for high acid foods such as jams, jellies and pickles, when you follow a tested recipe. Check pot diameter against your burner size, because a pot that is too wide for the burner may heat unevenly.
Midrange Tier: A Practical Middle Ground
Expect sturdier tools, a better rack and a pot that holds more jars, often at about $70 to $140. This tier suits a preserver who wants a smoother workflow, with tools that grip jars securely and a funnel that reduces spills. You may also find kits designed for both water bath and pressure preserving, but always confirm the method and the food type before you buy. A kit that claims to do everything still needs the right recipe and processing time.
Premium Tier: When Spending More Pays Off
Expect heavy construction, precise fittings and a larger capacity, often at about $140 to $250 or more. Spending more can pay off if you preserve often, process large batches, or need a pot that holds heat steadily. It does not pay off if the kit is too heavy to lift safely when full, or if you only preserve a few jars each year. In that case, a smaller midrange kit plus good jars and lids is the better use of money.
Features Worth Paying For (and Ones to Skip)
Some features make preserving easier and safer, while others add cost without helping your results. Judge each feature by how it affects your batch size, your stove, your storage and your cleaning routine.
Intended Use and Who It Is For
Start with the foods you plan to preserve. High acid foods such as fruit, jam and pickles can use a water bath method, while low acid foods such as plain vegetables and meat need pressure preserving and a tested recipe. If you only plan to make jam, a simple water bath kit is enough, while vegetable preserving needs a kit that supports pressure preserving and fits your stove. See our guide to best canning jars when you compare jar sizes, because jar height and mouth size affect rack fit and processing.
Build Quality and Materials
Look for a rack that holds jars upright and keeps them off the bottom of the pot, plus tools with secure grips and smooth edges. Stainless steel pots resist rust and clean well, while lighter pots may dent or warp with heavy use. Check handles for heat resistance and a firm grip, especially when you lift a full rack. Avoid tools that feel loose, bend easily, or trap water in joints that are hard to dry.
Maintenance and Long Term Costs
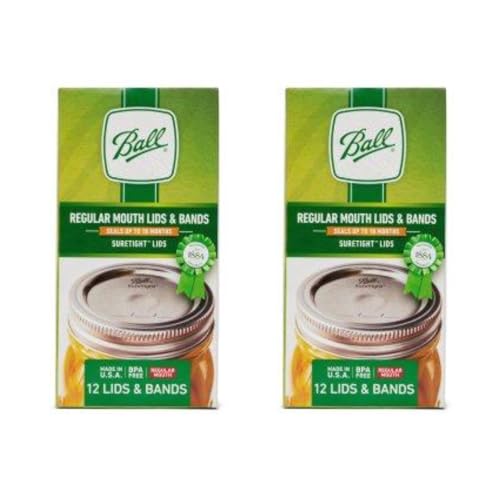
Canning tools last longer when they are washed, dried fully and stored in a dry place. Lids are a recurring cost, because flat lids are normally used once for a reliable seal, while rings and jars can be reused if they are undamaged. Factor in the cost of new lids, extra jars and replacement tools when you compare prices. See our guide to best canning lids for help choosing lid sizes that match your jars.
Safety and Certifications
Safety starts with the recipe, not the kit alone. Use tested recipes from a trusted source, follow the stated processing time and altitude adjustment, and never guess at times for low acid foods. Check that seals are firm after cooling, store jars without rings so a failed seal is easier to spot, and keep children away from hot pots, steam and sharp jar edges during processing while following maker guidance and local food safety rules. See our guide to best canning sets when you compare complete sets, because a complete set can make it easier to keep all the safety tools together.
Long Term Costs to Factor In
Beyond the first purchase, plan for jars, lids, rings and replacement tools. Fuel or electricity for long processing sessions also adds up, especially for large batches. A durable rack and lifter can reduce replacement costs, while a cheap tool that breaks may cost more over time. Store kits in a dry place and replace any tool that no longer grips jars securely.
Frequently Asked Questions
What features matter most when buying canning kits?
The most important features are correct jar fit, a stable rack, secure jar handling tools and a pot that matches your stove and batch size. A funnel that fits your jar mouth, a lifter that grips firmly and a rack that keeps jars upright will make each session smoother. Material quality matters too, because sturdy tools are easier to clean and less likely to bend. Skip extras that do not help your method, such as tools for foods you never preserve.
How do I maintain a canning kit?
Wash tools after each session, dry them fully and store them where air can circulate. Check racks for rust, lifters for loose grips and funnels for cracks before the next batch. Replace flat lids for each new seal, and inspect jars and rings for chips or dents. A short check before you start is faster than stopping mid session to replace a worn tool, and it helps keep your preserving routine safe and steady.
How long does a canning kit last?
A well made kit can last many seasons if it is cleaned, dried and stored properly. Pots and racks usually last longest, while lifters, funnels and other small tools may wear sooner with frequent use. Hard water, long soaking and damp storage can shorten the life of metal parts. Replace any tool that bends, rusts, grips poorly or no longer fits your jars, because a worn tool can make handling hot jars less safe.
Are expensive canning kits worth it?
Expensive kits are worth it when the extra capacity, durability and tool quality match your preserving habits. A frequent preserver who processes large batches will notice the difference in stability and ease of use. An occasional preserver who makes a few jars each year may get the same results from a midrange kit. Compare the kit against your batch size, stove fit and storage space, not against price alone.
How much should I spend on a canning kit?
Most new preservers can start well at about $30 to $70 for a basic water bath set, plus jars and lids. Regular preservers often spend about $70 to $140 for sturdier tools and larger capacity. Spend more only if you preserve often and need a larger or heavier duty setup. Keep some budget aside for jars, lids and tested recipes, because those items affect your results as much as the kit itself.
Our Verdict
Choose a kit that fits your stove, your batch size and the foods you actually preserve, then check rack stability, jar fit and tool quality before you buy. A midrange kit suits most regular preservers, while a basic kit suits a new preserver and a larger kit suits a frequent preserver. The best canning kits are the ones that make safe, tested preserving easy to repeat, season after season. Review the product table above before you order, and keep your recipes and safety checks close at hand.