Best Cameras for Stargazing at Every Price: What Your Money Really Gets You for 2026
Disclosure: We may earn a commission when you buy through links on this page, at no extra cost to you. As an Amazon Associate I earn from qualifying purchases. Learn more

Compare the best cameras for stargazing by budget and learn which sensor, lens, and low light features matter most for clear night sky photos.
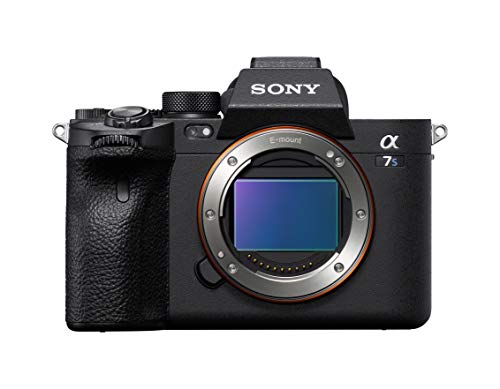
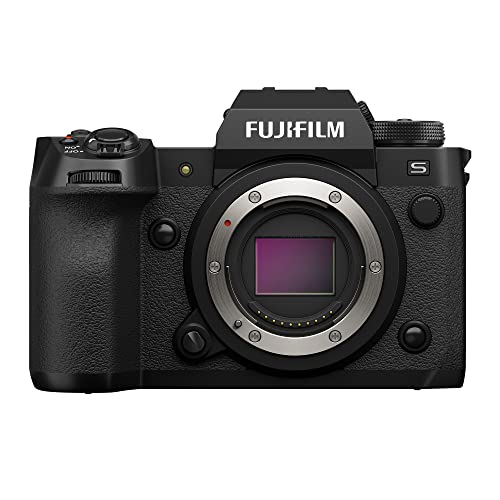
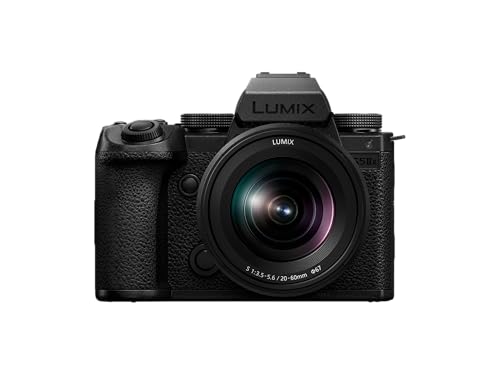
Prices for night sky cameras stretch across a very wide range, and the gap is not just about sharper pictures. The best cameras for stargazing share a few core strengths, mainly a sensor that stays clean at high sensitivity and a lens that gathers plenty of light. Everything else, from screen design to video, matters only if it fits how and where you shoot. The comparison table below gathers current options side by side so you can see how those basics change as prices rise.
This guide walks through what each budget level actually buys, which features deserve your money, and which ones you can safely skip. It also covers the extra gear a night kit needs, the setup steps that matter on your first outing, and the care habits that protect a camera used outdoors after dark.




How to Match a Budget to Your Stargazing Goals
Start with the sky you want to record, not with a price. A camera that delights a casual moon watcher may frustrate someone chasing faint nebulae, and the reverse is also true.
Casual Viewing From a Backyard or Campsite
You want bright stars, constellations, and the occasional meteor shower without a steep learning curve. A modest camera with manual exposure controls and a reasonably fast lens covers this ground well, and you can learn on it for years. If this is your first dedicated camera, see our guide to the best starter cameras for models built around simple menus and forgiving automatic help.
Milky Way Landscapes and Star Trails
You care about the glowing band of the Milky Way rising over a barn, a lake, or a desert ridge. This work rewards a larger sensor, a wide angle lens, and clean results at high ISO settings more than it rewards huge zoom. You will shoot often in remote places, so battery life, weather sealing, and a body that handles well with gloves matter too.
Deep Sky Targets Through a Telescope
You want galaxies, nebulae, and star clusters that the eye barely registers. Here the camera often attaches to a telescope, so compatibility with adapters, tethering software, and remote releases matters as much as image quality. Cooling, low read noise, and reliable power for hours in the cold become real concerns.
What Your Money Gets You at Each Price Tier
The product table above sorts options by price, but price alone hides the tradeoffs. The tiers below describe what you typically gain and give up at each step.
Budget Tier: What to Expect
At around $300 to $700, expect point and shoot compacts and older or simpler interchangeable lens bodies with smaller sensors. Images can look great for the moon, bright planets, and wide star fields, especially when you stack several frames. Noise creeps in sooner when you raise ISO, autofocus slows in darkness, and screens and controls feel basic. For learning exposure, focus, and framing, this tier teaches the fundamentals without a painful bill.
Middle Tier: Where Most Buyers Grow
At about $700 to $1,500, you get larger APS C sensors, better noise control, and lenses with wider apertures, and that jump shows clearly in Milky Way shots. Bodies add sturdier builds, clearer electronic viewfinders, and interval timers that simplify star trails. If you want one camera that also handles daily shooting well, see our guide to the best digital cameras for broader context on this class. For most hobbyists, this tier balances price, size, and night performance best.
Premium Tier: What Extra Money Actually Buys
At around $1,500 to $3,500 and above, full frame sensors deliver the cleanest high ISO files, the widest dynamic range, and the shallowest depth of field for a given framing. You also gain stronger weather sealing, dual card slots, better heat handling for long sessions, and richer 4K video for time lapse work. Readers comparing flagship build and file quality can see our guide to the best quality cameras for how top tier bodies differ.
Features Worth Paying For and Ones to Skip
When you compare the best cameras for stargazing, listings push megapixels and zoom numbers because they are easy to print. Night shooting rewards a different set of strengths, and a few headline features add cost without adding stars.
Sensor Size and Image Quality
Sensor size is the single biggest driver of night image quality. A 1 inch sensor in a compact beats a tiny phone style sensor, an APS C sensor gathers more light still, and a full frame sensor leads the group. Larger sensors use larger pixels that collect more light per pixel, so images stay cleaner when sensitivity rises. Megapixel count matters far less, because a crowded small sensor can look noisier than a modest count on a larger one. Choose size first, then resolution.
Low Light Performance
Low light performance describes how usable a file stays at ISO 1600, ISO 3200, and beyond, where most night work happens. Look for samples shot in true darkness rather than bright city scenes, and favor cameras known for smooth shadows instead of smeared detail. For a camera, the honest clues are sensor size, lens aperture, and real sample images.
Ease of Use for Your Skill Level
Night shooting punishes fussy controls, because you work by touch under a dim red light. Favor clear buttons, a screen that tilts for low tripod angles, and menus you can navigate half asleep. Automatic modes help for the moon, but manual exposure and manual focus matter more after dark, since autofocus often hunts when stars are the only subject. App transfer over WiFi is a pleasant extra for sharing, yet it should never outweigh sensor and lens quality. If you also shoot plenty of daylight scenes, see our guide to the best cameras for photography for handling traits that carry over.
Features That Matter for Stargazing
A few features separate a true night camera from a general one. Manual exposure up to 30 seconds or longer, a bulb mode for very long frames, and RAW files that hold faint detail are essential. An interval timer or a remote release port lets you capture sequences without touching the camera and shaking it. Focus aids such as magnification of the live view and focus peaking make pinpoint stars far easier. A silent electronic shutter also helps when you shoot near sleeping campers.
Lens and Zoom Range
For landscapes, a wide angle lens around 14 to 24 mm on full frame, with an aperture of f/2.8 or wider, is the classic choice. Aperture matters more than optical zoom here, because a fast lens gathers far more light than a slow zoom at the same focal length. Long optical zoom and high magnification help isolate the moon and planets, but those shots need steadier support and faster shutter speeds. Interchangeable lens bodies give you both paths over time, while fixed lens compacts trade flexibility for simplicity and lower cost.
Long Term Costs to Factor In
The camera body is only the first purchase. A sturdy tripod often runs around $80 to $250, spare batteries about $20 to $70 each, and fast memory cards under $60 for most buyers. Add a remote release, a headlamp with a red mode, and a padded bag, and a starter kit grows by about $150 to $400 beyond the body. Telescope shooters should also budget for adapters and a tracking mount later.
Setup Basics for Your First Night Out
Good setup beats expensive gear on a clear night. Use the steps below as a starting point, then adjust after you review your first frames.
- Scout a dark spot away from porch lights and arrive before full darkness so you can arrange the tripod on firm ground.
- Mount the camera, set the lens to its widest aperture, and switch both the lens and body to manual focus.
- Focus on the brightest star or a distant light using magnified live view, turning the focus ring slowly until the point of light looks smallest and sharpest.
- Start near ISO 3200 with a shutter speed near 15 to 25 seconds, then review the shot at full magnification and adjust.
- Use a self timer or remote release for every frame so your hands never shake the camera at the moment of exposure.
A useful guide for shutter speed is the rule of 500, where you divide 500 by your focal length to estimate the longest exposure before stars begin to trail. It is a starting estimate, not a law, and high resolution sensors often need shorter times.
Common Mistakes to Avoid
- Buying on megapixels alone, because a high count on a small sensor often means noisier night photos.
- Shooting handheld after dark, because even small shakes turn pinpoint stars into short streaks.
- Trusting autofocus on an empty sky, because the system may hunt and settle on a soft focus without warning.
- Raising ISO to its maximum by default, because the noisiest files often come from settings the scene never needed.
- Judging sharpness on the rear screen at small size, because soft stars look fine until you view the file at full size.
- Ignoring the moon phase when planning, because a bright full moon can wash out faint stars across the whole sky.
Care and Maintenance for a Stargazing Camera
Night gear faces dew, cold, and dust more than most cameras ever do. When you come indoors after a cold session, place the camera in a sealed bag before entering warm air so condensation forms on the bag instead of inside the lens. Wipe the body dry, remove the battery if the camera will sit unused for weeks, and store everything with the lens cap on in a dry cabinet.
Clean the front element of the objective lens only when needed, using a blower first and then a fresh lens cloth with gentle circular strokes. Check the tripod socket, lens contacts, and firmware updates a few times a year, and inspect seals for grit after beach or desert trips. Cold drains batteries faster, so keep spares in an inside pocket during long sessions.
Frequently Asked Questions
What features matter most in a camera for stargazing?
The features that matter most are a large sensor, a fast lens, full manual exposure, and RAW file support. Together they decide how much faint light you can record cleanly in a single frame. One point buyers often miss is total kit weight, because a lighter setup travels to dark sites more often. A camera you carry happily will gather more good nights than a heavier one left at home.
How much should a beginner spend on a first camera for stargazing?
A beginner can start well with about $500 to $900 spent on the camera and lens together. That range buys manual controls and a sensor large enough to show real progress as skills grow. Keep roughly a third of your total budget aside for the tripod and small extras described above. Spending everything on the body and nothing on support gear is the most common budgeting error new buyers make.
Which sensor size is better for a stargazing camera in low light?
A full frame sensor is better in low light because its larger pixels gather more light and hold cleaner shadow detail at high ISO. APS C remains a strong value choice and beats smaller formats clearly. The gap narrows when you stack multiple frames, since stacking averages out much of the noise. If you already own an APS C body, better lenses and darker skies will improve results more than an instant body upgrade.
Is a smartphone enough instead of a camera for stargazing?
A smartphone is enough for casual snaps of bright constellations, the moon, and sharing quick shots with friends. Modern phones stack frames automatically and can surprise you under dark skies. Their limits show in faint detail, large prints, and manual control, where small sensors and fixed lenses run out of light. Many photographers start with a phone, learn the sky, and buy a dedicated camera once they want cleaner Milky Way files.
What specs matter most for beginners buying a camera for stargazing?
Beginners should prioritize sensor size, the widest lens aperture, manual exposure to at least 30 seconds, and a tilting screen. Those four specs shape nearly every early result. A tilting screen deserves special mention because low tripod positions are standard for sky landscapes, and a screen that angles upward saves your neck during long sessions. Ignore giant digital zoom numbers, because cropping at home gives the same result with more control.
Final Thoughts
Match the camera to your sky first, then let the budget tiers above set realistic expectations for sensor size, lens speed, and build. The product table above is a handy shortlist once those priorities are clear. Chosen with care, the best cameras for stargazing for your goals will reward you on the very first clear night and keep improving as your skills grow. Pick a dark evening, set up early, and start with one bright constellation.