Best Cameras for Self Tape Auditions: What Actually Matters Before You Buy for 2026
Disclosure: We may earn a commission when you buy through links on this page, at no extra cost to you. As an Amazon Associate I earn from qualifying purchases. Learn more

A simple checklist for actors choosing a camera for self tape auditions: eye autofocus, clean audio, a flip screen and value.
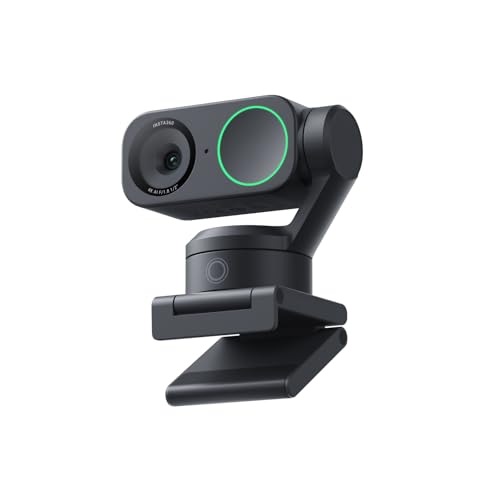
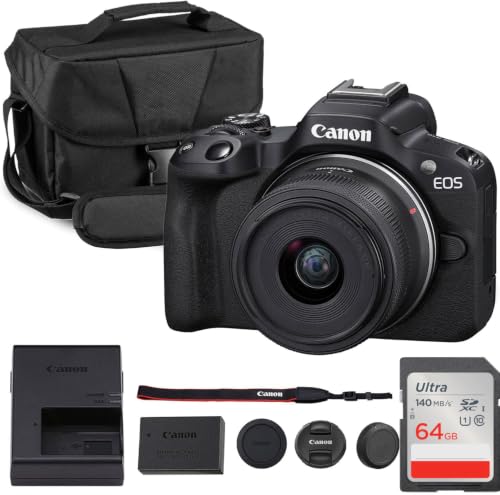
A casting director watches your eyes, your listening, and the truth of each line, not the price tag on your gear. Choosing best cameras for self tape auditions means finding a camera that keeps your face sharp, your skin tones honest, and your voice clear while you work alone. The comparison table below gives you a quick starting point before you weigh the details that follow.
This guide uses a simple checklist built for actors rather than for travel or sports shooting. You will learn how to judge focus, sound, screens, and file handling for a small room and a tight deadline.




How to Evaluate Cameras for Self Tape Auditions
Start with the job the camera must do in your taping space. Judge every model by whether it holds focus on your eyes, records clean speech, shows you the frame while you work alone, and sends a finished file to your computer without a long wait.
Features That Matter Most for Audition Tapes
Three features do most of the work for an audition tape. Reliable eye autofocus protects your performance when you shift your weight or look down and back up. A microphone input lets you place a mic near your voice instead of relying on a mic built into the camera body across the room. A screen that flips toward you lets you check framing, focus warnings, and recording status without walking back and forth between takes.
Sensor Size and Image Quality
Sensor size shapes how your face and background look under the soft indoor light most actors use. A one inch sensor can give a clean, pleasing image in a bright room and keeps the camera small. APS C and full frame sensors gather more light, so they hold detail and natural skin tones better when your room is dim. Sharp focus, even exposure, and smooth skin rendering without waxy smoothing matter far more.
Video Capabilities That Casting Teams Actually See
Good 4K video gives you room to crop slightly in editing and still deliver a crisp 1080p file, which is the format most submission platforms prefer. A frame rate of 24 or 30 frames per second suits dialogue scenes well and keeps file sizes manageable, while higher rates rarely improve an audition tape. Log profiles are optional, since a natural standard profile with correct exposure usually looks better on a fast turnaround.
Size, Weight, and Ergonomics for Solo Taping
Most audition tapes are made by one person working alone, so handling matters as much as image quality. A compact body is easier to raise to eye level on a tripod, easier to pack for a hotel room tape, and less tiring to adjust between takes. Buttons and dials you can understand without a manual keep your attention on the scene.
Autofocus and Stabilization During a Performance
Continuous autofocus with eye detection is the single most valuable focus tool for this work. It should find your nearer eye, stay with it through small head turns, and avoid drifting to a poster, a plant, or the reader behind the camera. Look for face priority settings and a focus point you can place with a touch on the screen.
Ease of Use for Your Skill Level
If you are new to dedicated cameras, strong automatic exposure and white balance will serve you better than deep manual menus. App based transfer and remote control add real value when you work alone, since starting from your phone saves trips back to the tripod. For stills framing ideas, see our guide to the best cameras for self photography.
Buying Guidance Beyond the Camera Body
When you compare the best cameras for self tape auditions side by side in the product table above, remember that the right choice also depends on your room, your lens, and how you record sound. Planning the whole small setup at once prevents the common mismatch of a costly body paired with a lens that frames you too tightly.
Matching a Lens and Framing to Your Room
Your room decides which focal length frames you well. In a small space where the camera sits about six to eight feet away, a moderate wide lens lets you show head, shoulders, and some torso without pressing against the wall behind you. In a larger room you can step back and use a longer lens for a flatter, more flattering view. Optical zoom lets you adjust framing without moving furniture.
Planning Audio, Lighting, and Background Together
Dialogue carries an audition, so budget for sound before you budget for extra resolution. A small shotgun mic on the camera or a lavalier mic clipped near your collar will usually improve clarity more than stepping up a whole camera tier. Keep the mic close to your mouth, turn off fans while you record, and listen to a test take with headphones. Our guide to the best cameras for self tapes covers related setup choices.
Budget Tiers and Where the Money Should Go
Around $500 to $800 is a sensible range for a body with a kit lens that covers most regional theatre and student film submissions, with good 1080p or basic 4K video and a flip screen on many models. Spending more, around $1500 for a stronger body and lens pairing, usually buys noticeably better eye autofocus and audio monitoring. If your total is fixed, put the camera first, a suitable lens second, and a microphone third.
Quick Buyer Checklist Before You Order
Run through these questions before you buy, and treat any no answer as a reason to look at another model while you compare listings and the product table above.
- Does the camera track eyes continuously in video, not only in still photos?
- Does the screen flip fully toward you so you can frame yourself alone?
- Is there a microphone input, and can you monitor audio levels on screen?
- Will the kit lens frame a waist up shot at the distance your room allows?
- Can you lock exposure and white balance so window light cannot shift them mid take?
- Does the camera record at least thirty minutes without an awkward time limit?
- Can you transfer files to your phone or computer quickly on a deadline?
- Does the total cost still leave room for a tripod and a microphone?
If a model passes every question, it is likely a sound fit even without headline features built for other kinds of shooting. Action cameras and weatherproof designs shine outdoors, yet their wide lenses and limited audio options rarely suit a quiet dialogue scene.
Red Flags to Watch For When Comparing Listings
Some warning signs show up again and again in camera listings aimed at beginners, and spotting them protects your budget during a busy casting week.
- A listing leads with huge digital zoom numbers but never states the sensor size, which usually means the core image quality is weak.
- Autofocus is described only for photos, with no mention of video tracking, so your eyes may drift soft during a take.
- There is no microphone input and no hot shoe, leaving you stuck with distant room sound you cannot improve.
- Battery life and recording limits are missing or vague, which can hide overheating or short clip limits during longer scenes.
- The bundle adds many cheap accessories while the camera itself lacks a flip screen, shifting value toward items you will never use.
Also be wary of praise for still portraits that never mentions video focus or audio, a distinction explored in our guide to the best cameras for self portraits.
How to Get the Most From Your Camera Once It Arrives
Set up a repeatable taping corner so every session starts from the same good position. Mark your tripod height, your standing spot, and your light placement with small pieces of tape on the floor. Before each real take, record ten seconds of your first lines and play them back, checking focus, voice levels, and shadows while errors are still cheap to fix.
For care, wipe the lens with a clean lens cloth rather than a shirt, which can drag grit across the glass. Keep a spare charged battery and a spare memory card in your taping bag, and store the body in a dry padded bag away from bathroom steam and kitchen grease. Update the camera firmware only between projects, never the night before a deadline submission.
Frequently Asked Questions
What features matter most in a camera for self tape auditions?
Eye autofocus, a flip screen, and a microphone input matter most in a camera for self tape auditions. Together they keep your face sharp, let you frame yourself alone, and capture dialogue clearly. One extra point many actors miss is the recording limit, because some cameras stop at thirty minutes. Check that limit if your scenes run long or you like to record several takes in one continuous file.
Which camera for self tape auditions works best in low light?
A camera for self tape auditions works best in low light when it pairs a larger sensor with a bright lens and clean performance at higher ISO settings. Full frame models usually lead here, with APS C models close behind. Adding one soft LED light often improves a dim room more than buying a larger sensor, and it costs far less. Place that light near the camera rather than raising ISO until skin looks noisy and blotchy.
What specs matter most for beginners buying a camera for self tape auditions?
Beginners buying a camera for self tape auditions should prioritize simple menus, reliable automatic exposure, and a kit lens that covers wide to moderate framing. Those basics prevent technical mistakes while you learn. Look for a guided display mode that explains settings in plain language, since it shortens the learning curve without limiting you later. Skip advanced color profiles at first, and spend practice time on framing, slate delivery, and consistent lighting instead.
Is a smartphone enough instead of a dedicated camera for self tape auditions?
A smartphone is enough instead of a dedicated camera for self tape auditions when its rear camera is sharp, your room is bright, and you add an external microphone. Many working actors book jobs from phone tapes. A dedicated camera earns its cost when you need dependable eye focus across a whole scene and controls that stay locked where you set them. Consider how often you tape, and how tight your deadlines are, before deciding which route fits your career stage.
How should actors frame a self tape audition shot on any camera?
Actors should frame a self tape audition shot with the camera at eye level, the eyes on the upper third of the frame, and head and shoulders filling most of the shot. Leave a small space above your head and keep the eyeline just off lens unless the brief asks for direct address. Film a short test after any move, because a shift of even one step can change focus distance, background clutter, and how much of your torso the casting team can see.
Final Thoughts
The right camera disappears into the background of your work. It holds focus on your eyes, renders your face honestly, records your voice with clarity, and lets you frame, slate, and submit without fighting menus or cables. Compare your short list against the comparison table above, and choose the model that fits your room, your routine, and your budget.
For most actors, the best cameras for self tape auditions are simply the ones that remove every technical worry before you say your first line. Pick the setup you can run calmly and consistently, and let your performance be the only thing the casting team remembers.