
Best Cameras for Scuba in 2026: A Complete Buying Guide
Disclosure: We may earn a commission when you buy through links on this page, at no extra cost to you. As an Amazon Associate I earn from qualifying purchases. Learn more

A guide to the best cameras for scuba, covering housings, depth ratings, seal care, lenses and lights so your camera survives the dive and keeps its color.
Most cameras sold as waterproof are only rated for the surface, a snorkel session, or a shallow reef in bright water. Scuba takes you far below that, and the part that decides whether the camera survives is the housing, not the camera inside it. When you shop for the best cameras for scuba, you are really shopping for a sealed case with a depth rating, and the camera is the second decision.
This guide walks through the full purchase in the order that matters. It starts with housings and depth ratings, moves through setup classes and the specs that change your pictures, and ends with light, safety and the seal care that keeps water out. The comparison table below groups the main setup classes side by side so you can see where your budget lands before you read further.




Start With the Housing, Not the Camera
A camera on its own, even one marketed as waterproof, carries a shallow rating meant for rain, splashes and brief dips near the surface. A scuba housing is a rigid case with a rated seal, and that rating is the number your dive plan has to respect. Buy the housing class first, then choose a camera that fits inside it and fits your hands.
Depth Ratings and What They Really Mean
Depth ratings are given in feet or meters, and they describe the deepest point the case is built to seal against, not a working depth with room to spare. Sensible buyers choose a housing rated well beyond their planned maximum depth, because pressure rises steadily and seals age. A housing rated to about 130 feet suits recreational limits, while deeper rated cases serve divers who regularly go past that. Treat the printed rating as a ceiling you stay under, never a target you aim for.
The Seal Check Before Every Dive
Almost every flooded housing traces back to the main seal, the soft ring that the case closes against. A single hair or a grain of sand trapped on that ring leaves a channel for water under pressure, and the leak usually shows up at depth where nothing can be done. The habit that prevents it is simple and slow. Open the case in a clean, dry place, run a fingertip around the ring, remove anything you feel, and add the thin film of grease the maker specifies. Close the case and look along the seam before the camera ever leaves the boat.
Three Ways to Build a Scuba Camera Setup
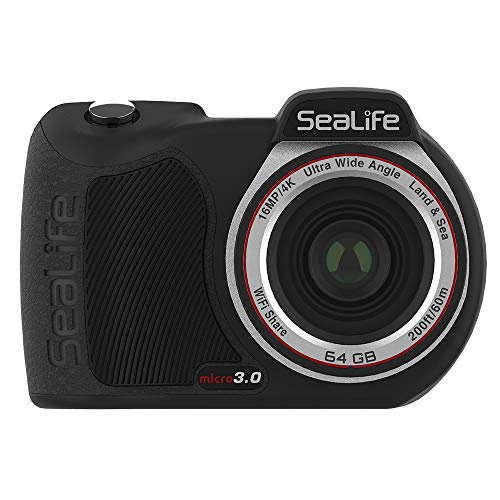
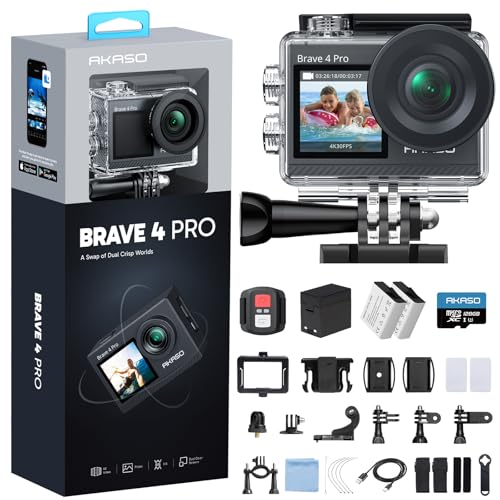
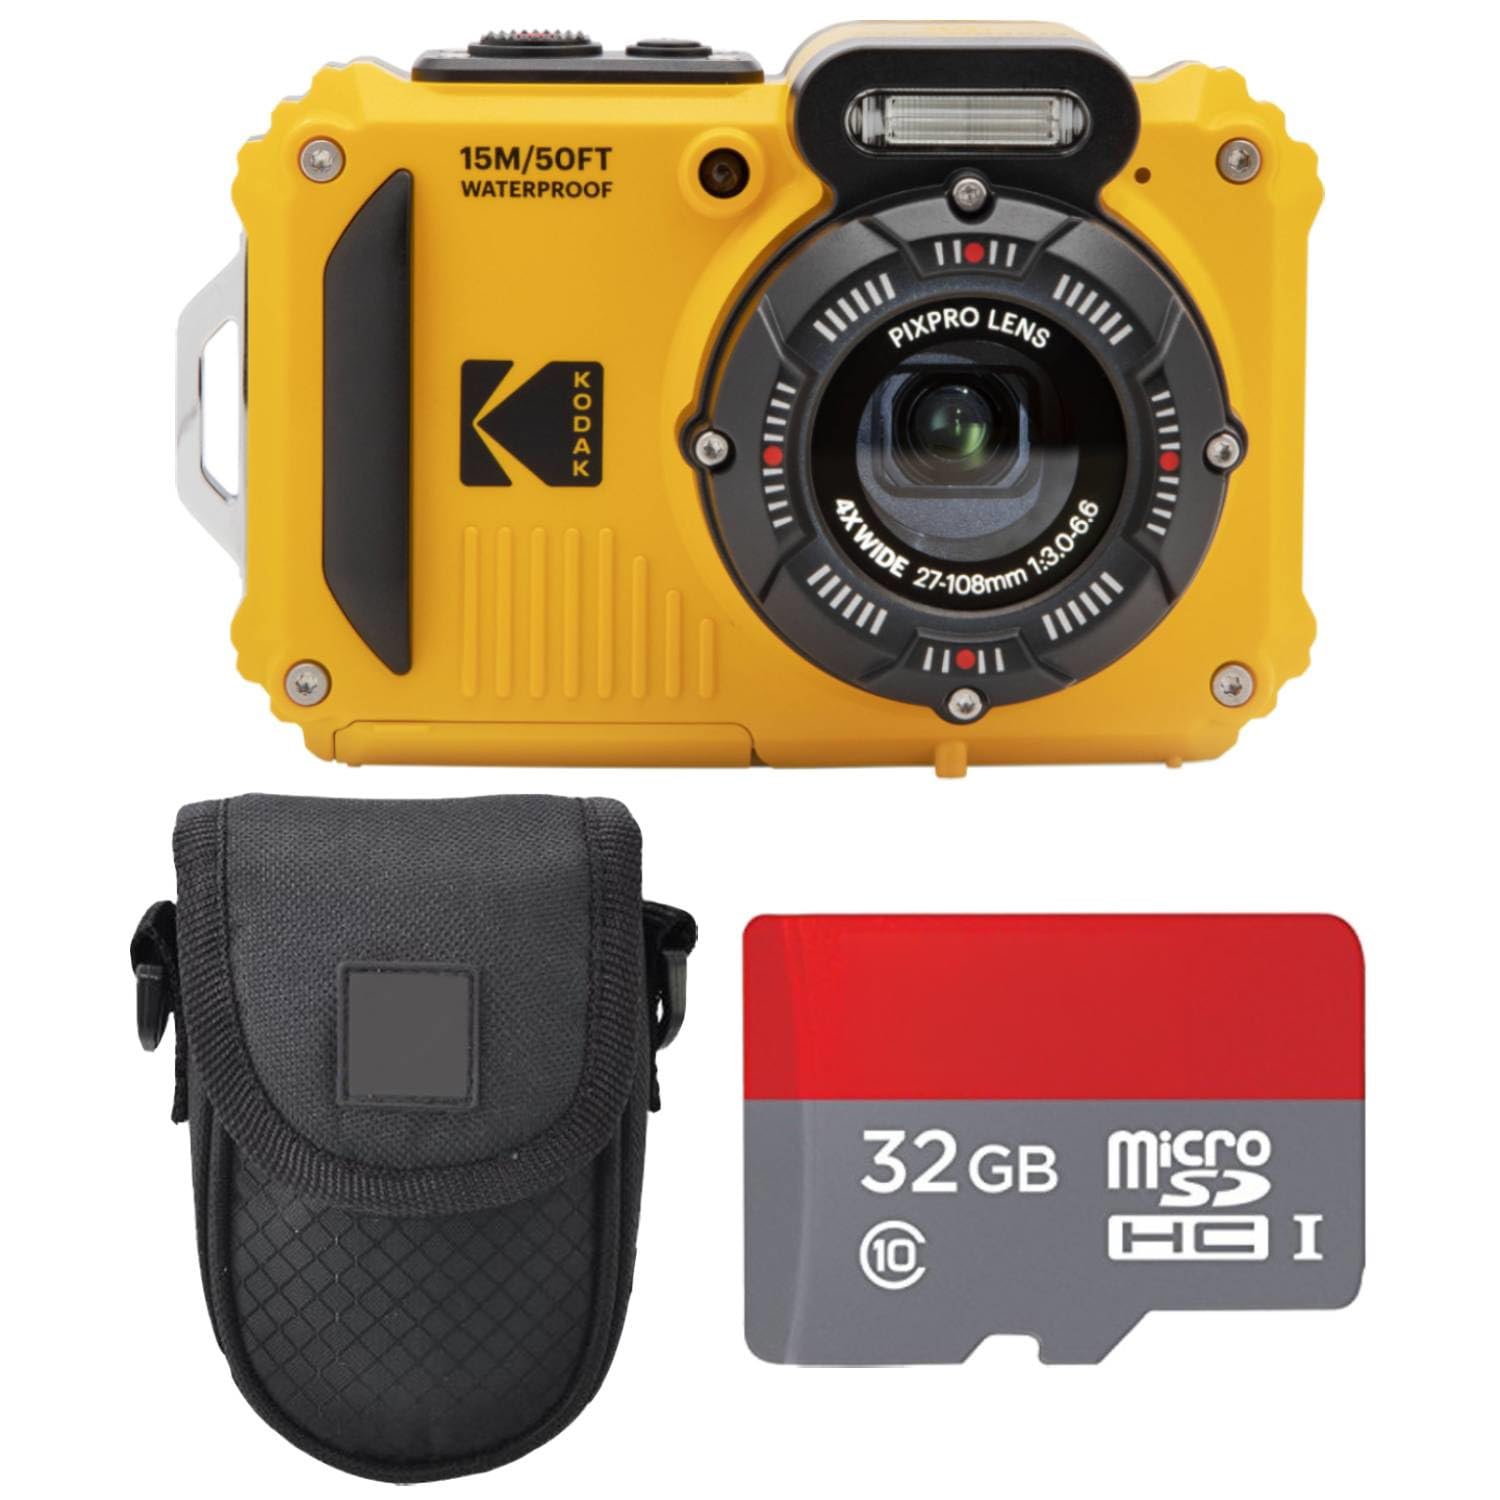
Every scuba setup falls into one of three broad classes, and the classes differ more in handling and upgrade path than in the pictures they can take on a good day. The product table above lays the classes out together. Pick the class that matches how you dive now, because housings rarely carry over when you change camera families later.
Sealed Compact Cameras
Compact cameras built for the water are the simplest route down. The camera itself handles shallow water, and a matched housing takes it to full scuba depth with buttons that line up with the controls. The whole rig is small enough to clip to a wrist or a chest strap, and the total cost often lands around $300 to $700 with the housing included. The trade is a fixed lens and a smaller sensor, which shows most in dim water and in close shots of small animals.
Action Cameras in Dive Housings
Action cameras are tiny, wide and built around video, and their makers sell dive housings rated for recreational depths. Mounted on a tray with two handles, they become steady little film rigs that shrug off knocks on the boat. Expect to pay about $350 to $600 for the camera and housing together. The wide fixed view is honest about its limits. It flatters reefs and big animals, and it is the wrong tool for shy subjects that keep their distance or for small print detail on a wreck.
Interchangeable Lens Systems in Housings
The top class puts a mirrorless or similar camera with changeable lenses inside a machined housing, with ports that swap for each lens. This is where wide and macro shooting both reach their best, and where the bill climbs fast. A working system with housing, ports and one lens commonly runs about $2,500 to $6,000, and arms and lights add more. Buyers here are paying for control and for glass, and they accept a rig that needs two hands and real care on every dive.
How to Choose: The Specs That Matter Underwater
Once the class is chosen, five factors do most of the work in separating a good buy from a frustrating one. Specs written for land shooting still matter, but water changes their order. Read this section against the product table above and the shortlist you build will mostly pick itself.
Sensor Size and Image Quality
Sensor size decides how a camera copes when the light fades, and underwater the light always fades. A 1 inch sensor is the honest starting point for stills, because it gathers clearly more light than the small sensors in basic compacts. Larger formats in housed systems do better again in caves, wrecks and deep reef walls. Megapixel counts matter less than this. A modest count on a bigger sensor beats a huge count on a tiny one once you drop below about 30 feet and the water turns green and dim.
Controls You Can Work With Gloves On
On land you judge a camera by its menus. Underwater you judge it by its buttons, because you will work them through the housing with cold fingers or gloves while your other hand holds a light or a line. Big, well spaced housing controls that map to the shutter, the mode dial and the exposure settings are worth more than a clever touch screen that the case blocks anyway. Check that the housing gives you the controls you actually use, not just the power button and the shutter.
Lenses, Ports and Zoom Range
Water bends light, and it makes every lens behave as if it were longer than it is on land. Wide lenses are the reef standard because they let you get close, and getting close is what restores color and cuts the haze between you and the subject. For small subjects, a macro lens or a close up add on lens that threads onto the port does the opposite job. Zoom range on a spec sheet matters less than this choice of view. Plan your lens around the subjects you dive for, and read widely on best cameras for photography if you also shoot on land, because the glass logic differs above the surface.
Autofocus and Stabilization
Fish do not pose, and surge moves you as much as it moves them. Autofocus that locks quickly in low contrast water saves more frames than any resolution figure, and subject tracking earns its keep on turtles and rays. Stabilization helps video most, smoothing the slow drift that makes footage feel queasy. Neither feature can fix a bad approach. Slow movement, good buoyancy and patience still decide whether the animal stays in the frame at all.
Best Video Cameras for Scuba
Video underwater has its own short list. Frame rates of 60 frames per second let you slow a fin kick or a feeding strike without stutter, and a flat color profile gives you room to restore color later on a computer. Heat is the hidden limit, since a sealed case traps the warmth a hard working sensor makes, and some cameras shorten their clips on long dives for that reason. If film is your main reason for diving with a camera, weigh runtime and color tools over stills features, and compare the classes gathered as best underwater cameras for scuba before you settle on a rig.
Color and Light Below the Surface
Water is a filter, and it strips color in a fixed order as you descend. Red goes first, within the first stretch below the surface, then orange and yellow, until everything settles into blue and green. No camera setting changes that physics. What you can buy is light, and the right response to it, which is why this section sits in a buying guide at all.
Why Your Photos Come Up Blue
The blue cast in a new diver's photos is not a broken camera. It is sunlight with its warm half absorbed by the water column above the subject. The deeper the subject and the further you stand from it, the more water the light crosses and the bluer the result. This is why the oldest advice in underwater photography is to get close, then get closer. Shortening the water path does more for color than any menu setting, and it costs nothing.
Video Lights and Strobes Restore Color
Bringing your own light puts the missing colors back, because the beam only crosses a short stretch of water. Strobes fire a brief burst for stills and freeze motion well, while video lights burn steadily and serve both film and aiming. Output figures are class figures, measured in the open, and they shrink fast underwater. Buy light for the distance you will actually shoot at, usually an arm's length or two, rather than for a number on the box. Readers comparing broader camera families will find the wider context in guides to best quality cameras, though the light logic there assumes air, not water.
White Balance and Filters
Filters are the low cost answer in shallow, bright water. A red toned filter in front of the lens balances the blue of a sunny reef down to about 50 feet and needs no batteries. Manual white balance does a similar job inside the camera when you set it against the water itself or a pale slate. Both approaches fail as depth grows, because they balance light that no longer contains red at all. Past that point, carried light is the only fix, which is why filters belong to the shallow kit and lights belong to the deep one.
Dive Safety Comes Before the Shot
A camera is task load. It occupies a hand, narrows your attention and adds a reason to drift from your buddy and your depth plan. The rule that governs every setup in this guide is plain: the camera never comes before the dive. Air, depth, time and your buddy outrank any photograph, on every dive, without exception.
New divers should leave the camera on the boat entirely. Buoyancy, trim and air awareness take a season of dives to settle, and a camera during that season slows all three down and can turn a small problem into a rushed ascent. When you do start carrying one, clip it short, keep it out of the way during entry and exit, and put it down the moment a dive stops going to plan. Divers weighing the fuller version of this purchase against a general kit can also look at best cameras for scuba diving for a criteria first view of the same decision. Broad roundups of best digital cameras cover the parent family these systems come from, and they say nothing about housings, which is exactly the gap this guide exists to close.
Care and Maintenance Tips
- Rinse the closed housing in fresh water after every dive day and work each button under the tap, because salt crystals grow in the button shafts and hold seals open.
- Store the main seal ring with the case open or the ring removed in a clean bag, since a ring left compressed for months takes a flat set and seals poorly.
- Drop a small desiccant pack inside the housing before closing it, as trapped humid air fogs the port from the inside on cold deep water.
- Charge batteries the night before and carry a spare, because a battery change on a boat means opening the case in the worst conditions of the day.
- Keep a small seal kit with spare rings and the correct grease in your dive kit, so a nicked ring found at the dock ends a photo plan rather than tempting a risky dive.
Questions Answered About Scuba Cameras
Can a camera rated waterproof go scuba diving without a housing?
No, not beyond shallow snorkeling depths. A camera's own waterproof rating covers splashes, rain and short dips near the surface, and it is tested in still water rather than under the pressure changes of a descent. Scuba depth needs a rigid housing whose seal and structure are built for that pressure. Taking a bare camera to recreational depths risks both a flooded camera and a ruined trip, and makers exclude that use from warranty cover.
How deep a housing rating do recreational divers need?
A housing rated to about 130 feet covers the full recreational range with the margin that seal age and pressure spikes call for. Divers who stay on shallow reefs can use lighter rated cases, but the rating should always sit well beyond the deepest dive you plan. Remember the rating is a limit the case survived in testing, not a promise about an old seal, so maintenance and a pre dive vacuum or leak check where fitted matter as much as the number.
Should a beginner buy a compact setup or an action camera first?
A sealed compact is usually the better first buy for stills, and an action camera is the better first buy for film. The compact gives you a real shutter button, zoom and flash control through its housing, which teaches framing and light. The action camera gives you almost no control and a very wide view, which suits reef scenes and big animals. Either is a sound start, and both hold their value better than a full housed system bought before you know your style.
Why do underwater housings cost as much as the cameras inside them?
A housing is a pressure vessel with a control shaft or button for nearly every function on the camera, each one sealed and each one aligned to a fraction of a millimeter. Makers sell them in small numbers for one exact camera shape, so design and machining costs spread across few buyers. That is also why a housing rarely fits the next camera you buy. Budget for the pair as one purchase, and price the housing first when you compare systems.
Do red filters work as well as lights for color?
Filters work well in shallow sunlit water and cost almost nothing, but they cannot replace light at depth. A filter balances the colors that remain in the sunlight reaching your subject, and it also steals some of that light, which can slow your shutter. Once you pass the depth where red has left the sunlight entirely, there is nothing for a filter to balance. Lights put the full spectrum back at any depth, which is why deeper divers carry them despite the cost and bulk.
Final Thoughts
Everything in this purchase flows from two facts. The housing rating is the real depth figure, and the seal is a habit rather than a feature. Choose the setup class that matches your diving today, buy controls you can work with gloves on, and plan light for the depths you actually visit. Work through the product table above once more with those three filters in mind and the best cameras for scuba for your kind of diving will be the obvious one left standing.


