
Best Cameras for Motovlogging Made Simple: A Clear Buying Guide for 2026
Disclosure: We may earn a commission when you buy through links on this page, at no extra cost to you. As an Amazon Associate I earn from qualifying purchases. Learn more

Compare the best cameras for motovlogging by mount, stabilization, wind audio and battery life, with plain English specs and safe first ride setup steps.
Your first motovlog camera has to survive vibration, wind, weather, and your own learning curve, all while you keep both hands on the bike and your eyes on the road. This guide explains the terms in plain English and walks you from the basic camera classes to a shortlist, so you can pick the best cameras for motovlogging for the riding you actually do. You will learn why the mount matters as much as the sensor, and why sound is what most first channels get wrong.
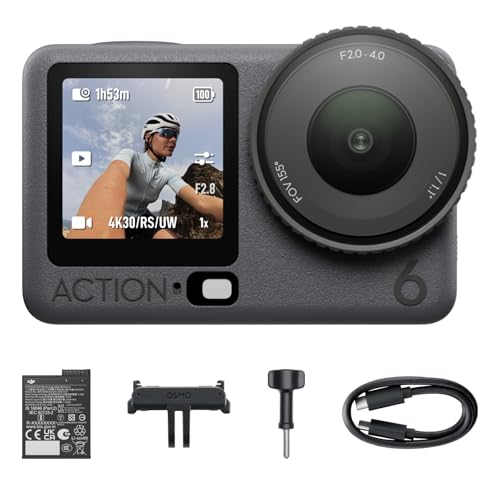
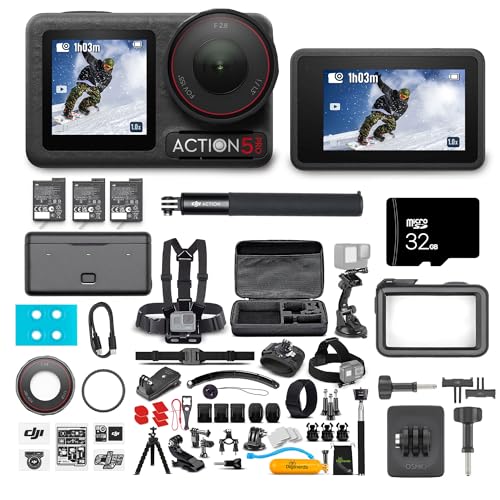
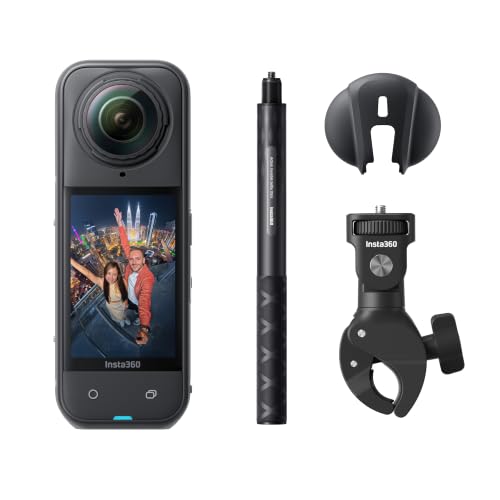
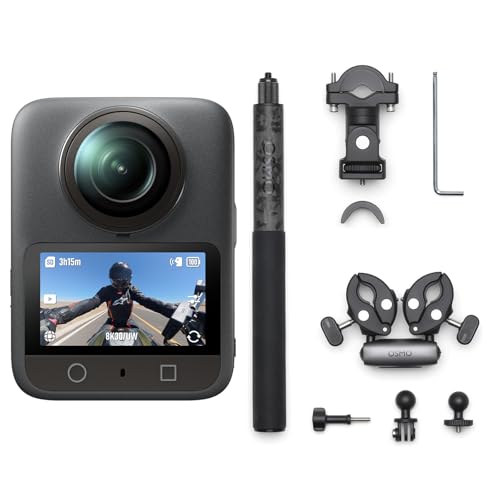
Start with the comparison table below for a quick view of the main classes, then read on for the specs that decide footage quality.


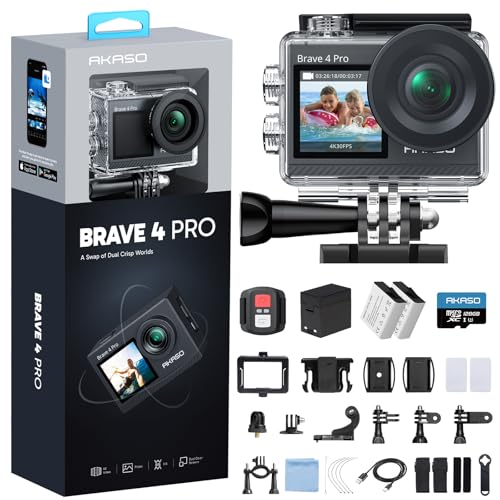


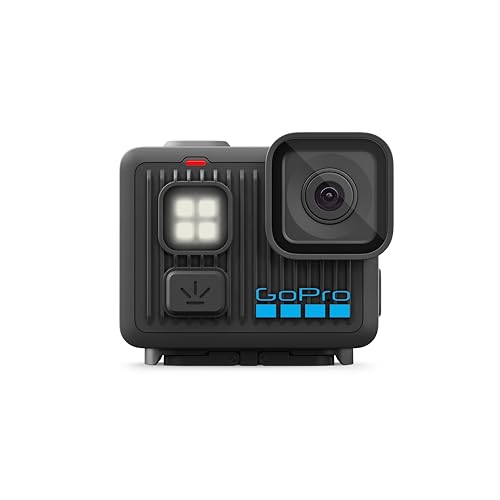
Cameras 101: The Basics
Motovlogging means filming from a moving motorcycle, usually with a small camera mounted on your helmet or chest. The main classes are action cameras, which are small, tough, and fixed focus with a wide view; 360 cameras, which capture every direction and let you choose the framing later; and mirrorless cameras, which give the best image quality but are bulky for daily riding. Most riders start with an action camera. If you want the wider landscape first, our guide to the best digital cameras maps the full family these classes come from.
One rule sits above every spec in this guide: the camera is set up completely before the ride starts, and no control is touched while the bike is moving. Buttons, mounts, and angles are checked only at a full stop, with the bike parked and the engine off, because a second of looking at a screen is a second of not looking at traffic. A door camera belongs to a different class entirely, fixed to a home and watching a doorstep, and guides to the best door cameras cover that home security job, not a moving bike.
Key Specs Explained in Plain English
Features That Matter for Motovlogging
The mount and the field of view decide your footage before the sensor gets a say. A helmet mount follows your head, so viewers see what you look at, including mirror checks and scenery, while a chest mount shows the bars, tank, and road ahead in a steadier frame. Neither is better in general; they simply tell different stories. What matters is that the mount locks solidly, because a mount that creeps downward over an hour of vibration hands you an hour of footage of your own front wheel.
Wind is the audio problem at speed, and it decides whether your voice survives the ride. A bare camera microphone mostly records rushing air once you pass city speeds, while a microphone tucked inside the helmet keeps speech clear. Treat the microphone input and the in helmet microphone plan as part of the camera purchase, not as an accessory you will sort out later.
Sensor Size and Image Quality
Action cameras use small sensors, which keeps them tiny and gives a deep focus where almost everything is sharp, and that is a fair trade in bright daylight. The cost shows at dusk and on shaded forest roads, where small sensors add grain and lose detail. Mirrorless cameras carry far larger sensors and cleaner low light files, which is why some riders use one for parked walk around segments and an action camera for the riding itself. Riders who also shoot travel stills can compare the best cameras for photography for that separate job, and step up bodies with cleaner files are compared in our guide to the best quality cameras.
Autofocus and Stabilization
Stabilization does the heavy lifting on a bike, because engine vibration and road bumps never stop. Modern electronic stabilization smooths that shake well, and it gets better the wider the field of view, since the software needs spare picture at the edges to work with. Autofocus matters less than riders expect: action cameras are fixed focus and sharp from arm length to the horizon, which removes one whole failure mode. On a mirrorless camera used at stops, autofocus speed matters for faces, but that camera should never be adjusted while rolling.
Battery Life and Charging
Record time per charge shrinks fast at high resolutions and frame rates, and cold weather shrinks it further. For a full day of riding, plan on swappable batteries rather than one long recording: most riders film in segments, swapping a battery when they stop for fuel or coffee. USB charging is genuinely useful here, since a battery can top up in a tank bag from a power bank. Carry at least one spare, because a dead camera twenty minutes into the best road of the trip is the standard beginner story.
Video Capabilities
Resolution and frame rate set the look of the footage: higher frame rates give smoother motion and let you slow a moment down in editing, while 4K recording gives room to crop and still deliver a sharp result. Two features matter more than headline resolution for this job. A microphone input is the first, for the in helmet audio described above. A flip screen is the second, earning its place at parked stops, where you frame a piece to camera before setting off again.
Lens Choice and Field of View
On action cameras the lens is fixed, so the field of view setting is your lens choice. A wide view captures the road, the bike, and your hands, and it hides vibration well, which is why most riding footage uses it. Narrower views crop in for a calmer picture of the road ahead, at the cost of more visible shake. Either way, field of view is a storytelling choice first and a spec second.
Rookie Mistakes to Avoid
- Touching controls or remounting while riding or waiting at a light, when your attention belongs entirely on traffic; every change waits for a parked stop.
- Trusting a loose or worn mount, so the camera slowly tilts down and films the tank instead of the road.
- Recording one ride on one battery and one card, then losing the best hour to a full card or a flat battery.
- Ignoring wind audio until the edit, when an hour of speech turns out to be rushing air.
- Buying a large mirrorless rig first, then leaving it home because setup takes ten minutes at every stop.
Getting Started: Setup and First Use
Do the whole setup at home, parked, before your first filmed ride. Mount the camera, put your helmet on, and record a short clip in the driveway to check the angle, because a view that looks right on a bench can point at the sky once the helmet is on your head. Set the resolution and frame rate, format the card in the camera, and connect the in helmet microphone, then ride a slow street near home and listen to the audio before you trust it on a trip. Simpler bodies with forgiving menus, like the ones gathered in guides to the best starter cameras, make this stage easier.
Build a stop routine and keep it: at every fuel or coffee stop, check the mount has not crept, wipe the lens with a lens cloth rather than your shirt, swap the battery, and glance at the remaining card space. Clean the lens after dusty or wet rides and store the camera dry, since grit in a mount joint makes the next mount loose. That two minute habit protects more footage than any spec upgrade.
Cameras: Your Questions Answered
What features matter most in cameras for motovlogging?
A solid mount system, strong stabilization, and a microphone input matter most, because they decide whether the footage is steady and the speech is audible. Resolution comes after those three. One point spec sheets never mention is the quick release mount: a base that lets you click the camera off the helmet in seconds makes cafe breaks far easier, and it is worth choosing a camera family whose mounts are cheap and easy to find.
Which camera class is better for low light on evening rides?
Larger sensor cameras are better in low light, and among small cameras the ones with the brightest fixed lens and the largest sensor in their class do best. Evening riding is the hardest light you will film in, so expect some grain from any action camera. A practical trick is to lock the exposure under steady street lighting, because riding between bright lights and dark stretches makes automatic exposure pump up and down, which looks worse than a little grain.
Is a smartphone enough for motovlogging?
A smartphone is enough to test whether you enjoy filming your rides, and its picture quality in daylight is genuinely good. The problems are practical: vibration is hard on phone camera hardware over long miles, the phone is exposed to weather and to a fall, and it is also your navigation and emergency contact. Most riders who keep filming move the phone to the tank bag and let a tough action camera take the risk on the mount.
What specs matter most for a beginner motovlogging camera?
For a beginner, simple controls and one button recording matter most, because you will start and stop the camera with gloves on, at a standstill, often in a hurry. After that, look for swappable batteries, a screen you can read in sunlight to check the angle, and mounts that stay put. Skip the highest frame rates at first: standard settings give longer record times and smaller files while you learn what footage you actually use.
How much should I spend on my first motovlogging camera?
Most beginners start with an action camera at about $200 to $400, which covers the camera and the basic mounts. A step up to about $400 to $800 buys better stabilization, cleaner low light footage, and a microphone input on more models. A mirrorless based rig with a lens runs about $800 to $1,500 and suits parked segments more than daily riding. Set aside about $50 to $150 for mounts, a helmet microphone, and spare batteries and cards.
Wrapping Up
Choose in this order: a mount position that tells the story you want, stabilization strong enough for your roads, and an audio plan that beats the wind. Sensor size and resolution refine the picture after those three are settled, and every setting is dialed in parked, never rolling. The product table above sets the main classes side by side for a quick comparison. Pick the best cameras for motovlogging for your routes and your budget, run the driveway test before your first real ride, and your early footage will already sound and look better than most first channels.


