
Best Cameras for Hiking by Budget: A Trail Guide for 2026
Disclosure: We may earn a commission when you buy through links on this page, at no extra cost to you. As an Amazon Associate I earn from qualifying purchases. Learn more

See what the best cameras for hiking cost at each budget tier, and how weight, weather sealing, battery life, and zoom change as the price climbs.
The price spread on cameras sold for trail use is wide enough to confuse anyone. One shelf holds pocket models at about the cost of a pair of boots, and the next holds bodies that cost more than a full backpacking kit. The gap is not about prestige, because it comes down to weight, weather tolerance, lens reach, and how long the battery lasts between charges. This guide sorts the best cameras for hiking into three budget tiers built around a single day on foot, and it shows what each step up in price really changes.
Start with the shape of your usual hike, because a camera that suits a two hour ridge walk can be the wrong tool for a ten hour loop. The comparison table below lines the main classes up side by side. The sections after it walk through the tiers, the features that matter on a trail, and the running costs that listings rarely mention.






Start With the Day You Actually Hike
Before prices, sort your walking into one of three day shapes. The honest tier for you depends on how long the camera stays out of the bag, how much climbing the route holds, and how often the weather turns. A model that feels light in a shop can feel very different at hour six.
Short Morning and Afternoon Walks
Short outings forgive almost everything, because the camera rides in a jacket pocket or the top of a daypack, comes out at viewpoints, and goes home the same afternoon. Battery life barely matters, because a single charge covers a few hours of shooting with room to spare. Weather sealing matters least here too, since you can wait out a shower or head back early. For this class of hike, the entry tier below is usually enough, and the money saved is better spent on a spare card and a padded case that keeps dust off the lens.
Full Day Routes With Real Climbing
Full day routes change the math, because the camera hangs on your body for eight hours or more, so every extra hundred grams registers on your shoulders by the descent. Battery planning matters as well, because a long day of summit photos, video clips, and screen reviews can drain a small cell before the last viewpoint. If your walking stretches toward overnight routes, the priorities in our guide to the best cameras for hiking trips shift further toward spare batteries and pack friendly shapes. For a single long day, the middle tier usually hits the balance of stamina and weight.
Wet and Windy Shoulder Season Days
Cold wind and steady drizzle test a camera differently from summer rain. Seals that shrug off a light shower can still fog when a cold body meets warm damp air, and numb fingers make small buttons hard to work. Gloves change which controls you can reach, so physical dials and a grippy body matter more than touch screens in this class. Routes like these push you toward the upper end of the middle tier or beyond, where sealing, glove friendly controls, and stronger batteries are standard rather than rare.
What Each Budget Tier Buys
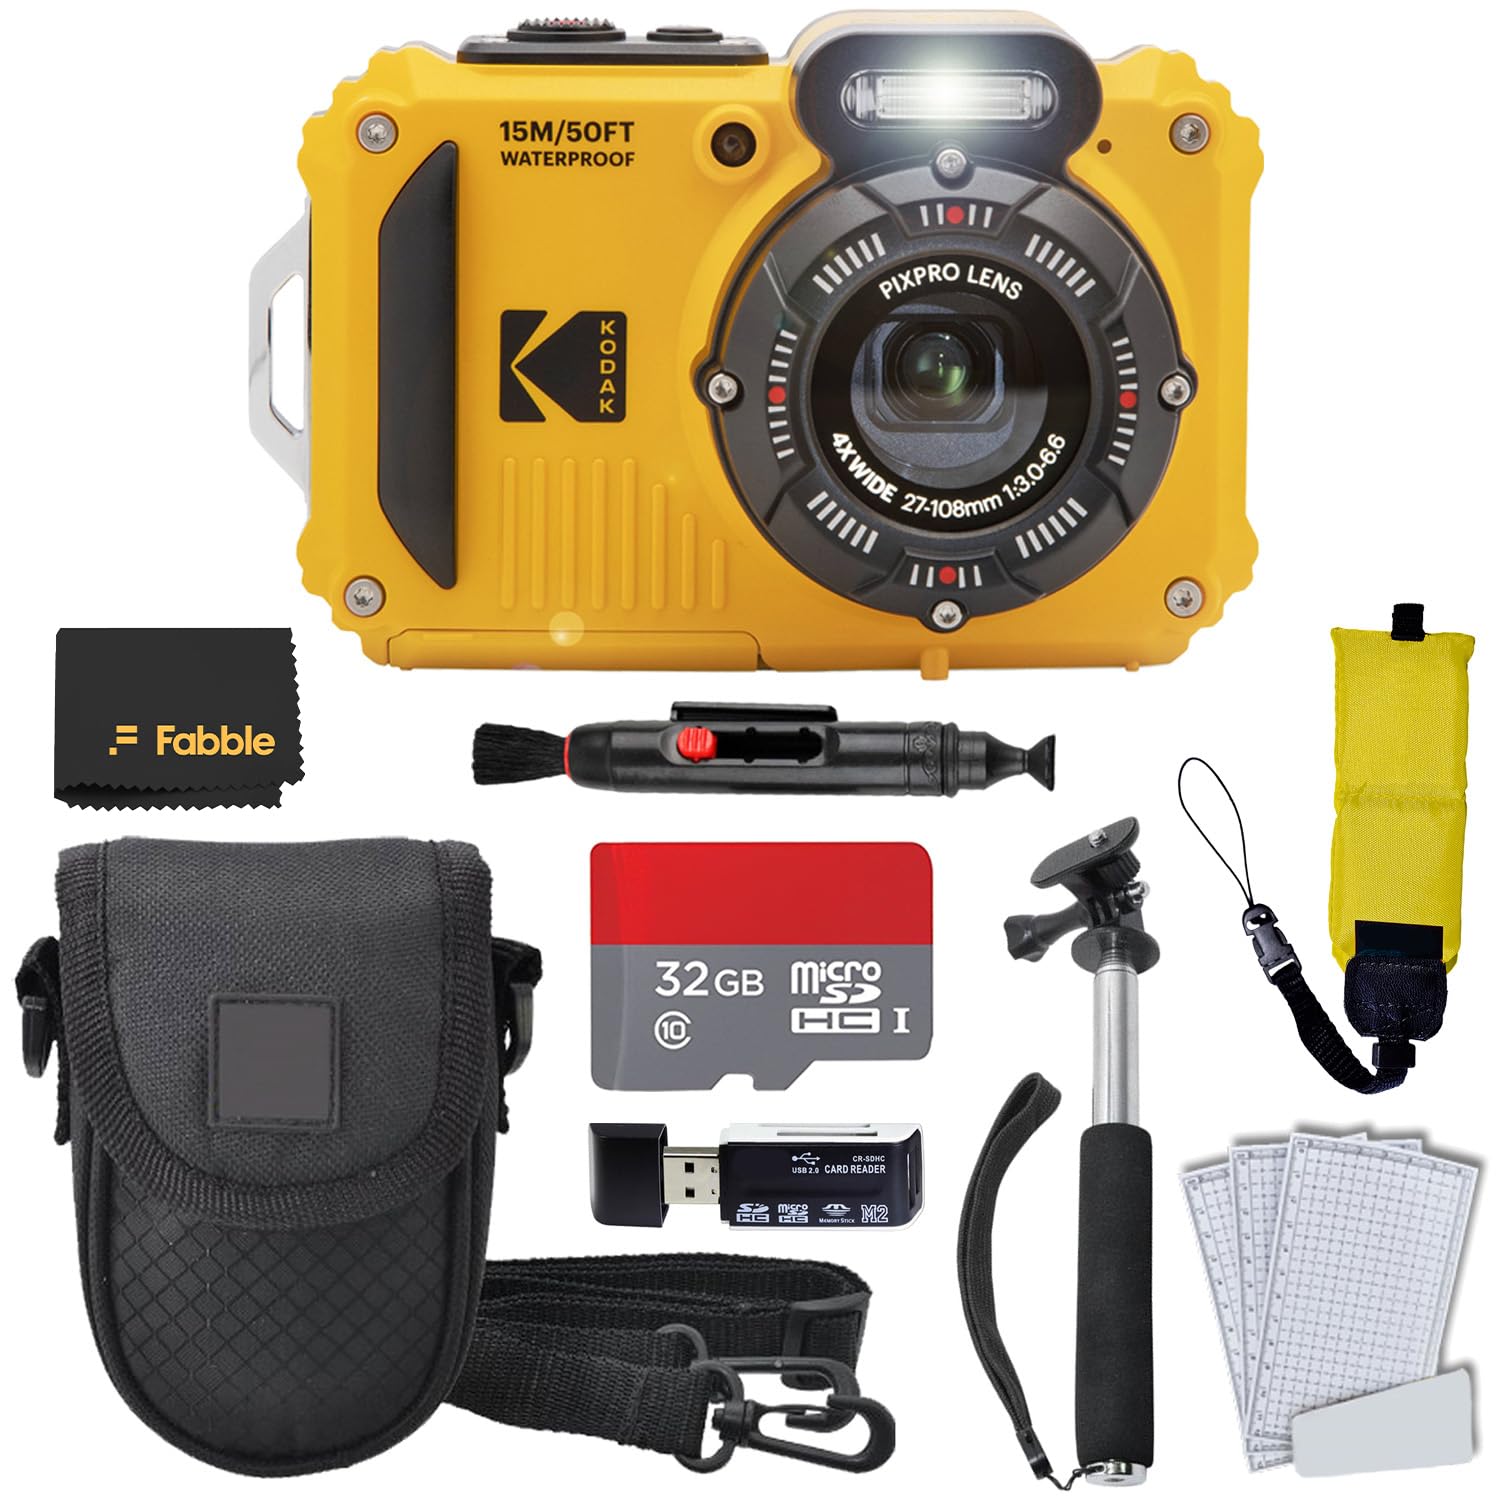
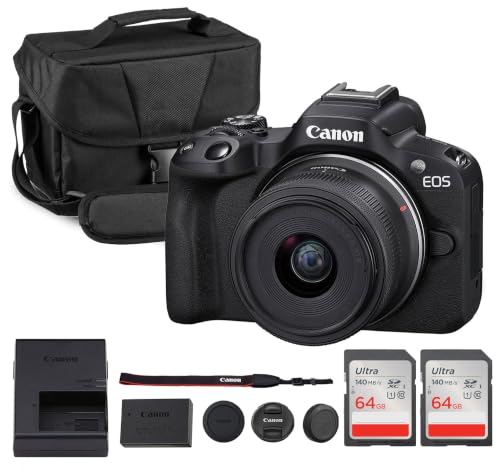
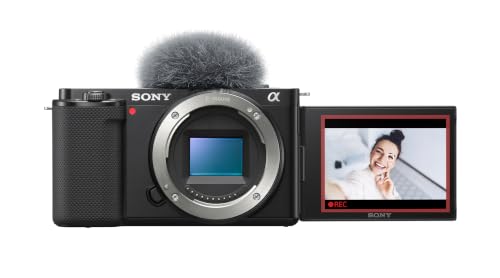
Prices move, so treat the bands below as the usual street ranges for each class rather than a quote on any one listing. The product table above shows the current models in each band. What follows explains what the extra money buys and what it does not.
| Tier | Typical price | What defines it |
|---|---|---|
| Entry | about $150 to $300 | Fixed lens compacts and basic action cameras for short walks |
| Middle | about $300 to $700 | Larger sensors, longer zoom, first weather sealing |
| Upper | about $700 to $1,500 | Big sensors, strong sealing, sharp long lenses |
Entry Tier: Simple Cameras for Easy Days
Expect simple compacts and basic action cameras at about $150 to $300, with a fixed lens, a modest sensor, and controls aimed at automatic shooting. That is a fair trade for short walks and family outings, where the goal is a clear record of the day rather than prints for the wall. The limits show up in dim forest light, where small sensors smear detail, and in zoom range, which runs out long before a distant summit fills the frame. Battery life is the other ceiling, and most models in this band expect a charge every night at home.
Middle Tier: The Working Sweet Spot
At about $300 to $700 the class changes character. Larger sensors clean up shaded trails and early starts, zoom lenses reach across valleys, and weather sealing starts to appear on bodies built for outdoor use. This is also where interchangeable lens models enter, which lets one body serve a wide trail lens today and a longer lens later. For most day hikers this band is the honest sweet spot, because the gains are things you feel on every walk: steadier shots, faster focus, and a battery that survives a long loop, and the weight stays reasonable too, especially with a compact lens fitted.
Upper Tier: When the Camera Is the Point
Above about $700, and running past $1,500 for full outfits, you pay for sensor size, sealing you can trust in real rain, and lenses that stay sharp at the long end. Low light performance jumps, so dawn starts and dark forests stop being a compromise. The catch is mass, since a premium body with a long lens can add well over a kilogram to your load, and that weight competes with water and layers on a long climb. Shoppers chasing the best quality cameras regardless of weight are solving a different problem and should expect expedition level loads, so choose this tier when photography is a main reason for the hike itself.
Features That Decide a Trail Camera
The tier tells you the budget. These five factors tell you whether a specific model inside that tier suits the way you walk.
Weight and the Way You Carry It
A camera you leave in the pack takes no pictures, so the carry matters as much as the sensor. A basic neck strap swings and bangs against your chest on steep ground, which is why many walkers switch to a cross body sling or a clip that mounts the camera on a shoulder strap. Those mounts cost about $20 to $60 and change the whole experience, because the camera sits still while you walk and lifts free in one motion. Weigh the full setup, strap, case, and spare battery included, and be suspicious of any total you have not held in one hand for a full minute.
Weather Sealing Is a Splash Rating, Not a Promise
Sealing on a hiking camera means gaskets at the doors and dials that shed splashes and light rain. It does not mean the camera can sit in a stream or ride out a storm uncovered, and makers test under controlled conditions rather than on a wet ridge. Treat sealed models as rain tolerant, keep a dry cloth in a pocket, and dry the body before you open any door or change a battery. True waterproof models that can submerge exist as their own class, and they trade lens reach and sensor size for that toughness, as the waterproof section below explains.
Battery Life and Card Space
A short walk forgives a weak battery, but a long day does not. Screen reviews, video clips, and cold air all pull charge faster than the shot counts printed on the box, which are measured with the screen used sparingly. Plan on one spare battery for a full day in the middle tier and two in cold weather, and carry them in an inside pocket where body heat helps. Cards follow the same logic: a single large card is simpler, but two smaller cards mean a failure costs you half a day of photos instead of all of them.
Zoom Reach and Steady Shots
Trails ask for two kinds of reach, since wide views capture the ridge and the valley in one frame, while the long end picks out a summit marker, a waterfall, or wildlife across a slope. Optical zoom does this work honestly, because the lens itself magnifies the scene. Digital zoom only crops the picture you already have, so it adds nothing you could not do later on a computer. Stabilization matters just as much, since most trail photos are taken standing, breathing hard, with no tripod, and in body or in lens stabilization keeps shutter speeds usable when the light drops under trees.
Sensor Size Without the Hype
Sensor size sets the ceiling for dim light and fine detail, and pocket cameras use small sensors that shine in bright sun and struggle at dusk. One inch and APS C sensors, common in the middle tier, hold detail in forest shade and print well at moderate sizes. Full frame sensors sit at the top and ask for bigger lenses and bigger budgets. Buyers browsing the wider field of best digital cameras will see the same ladder, but on a trail the smaller formats often win, because the best sensor is the one you are willing to carry uphill.
Matching the Camera Class to a Style of Shooting
Some hikers buy for one job above the rest. These three classes bend the budget rules in specific directions.
Best Video Cameras for Hiking
Video spends money differently, because smooth footage on rough ground needs strong stabilization, and a screen that flips forward helps anyone filming themselves on a summit. Microphone input matters more than raw resolution once wind enters the picture, because trail wind ruins more clips than a modest sensor ever will. Look for a model with a mic jack, a wind muff option, and a battery rated for at least an hour of continuous recording. Weight still rules, so compact bodies with good stabilization beat bulky rigs for most walkers.
Best Mirrorless Cameras for Hiking
Mirrorless bodies earn their place when you want lens choice without the bulk of older designs. The savings are real but easy to overspend: the body may be light while the lens you actually want is not, so price the pair together. Focus speed and tracking have become strong in this class, which helps with moving subjects on the trail. If most of your shooting happens at home instead, the priorities in our guide to the best cameras for photography matter more than pack weight, and a larger kit may serve you better.
Best Waterproof Cameras for Hiking
Waterproof models are built to submerge, usually to depths around 10 to 15 meters, and to survive drops onto rock that would crack a normal body. That toughness suits river crossings, wet scrambles, and hikes where the camera will live outside the pack in any weather. The trade is image range: fixed lenses are shorter, sensors are small, and low light results trail the middle tier. Buy this class when water is a certainty on your routes, not as insurance for a shower you can simply wait out under a tree.
What Ownership Costs After the Purchase
The body is only the first payment. A protective case, a carry mount, spare batteries, and a fast card add about $80 to $200 in the first season, and a longer lens can cost more than the camera it mounts on. Lenses hold value well, while bodies age faster, so a system built around a lens you love is cheaper over five years than a new body every two. Budget the way you would for the rest of the kit, where the best hiking shoes matter more than a second jacket: the gear you use on every trip is where money earns its keep.
Mistakes That Waste a Trail Camera Budget
Most wasted money on trail cameras follows a few repeat patterns.
- Buying reach you cannot hold steady, because a long zoom on a windy ridge blurs more photos than a modest lens used well.
- Trusting the box battery rating, because the rated shot counts assume light screen use and a plan built on them runs dry by mid afternoon.
- Ignoring the carry, because a camera that stays zipped inside the pack photographs nothing, no matter how good its sensor is.
- Chasing megapixels, because pixel counts past the middle range add file size faster than they add visible detail on trail subjects.
- Skipping the weather plan, because one wet descent without a dry cloth or a sealed bag can end a camera that cost real money.
Questions Answered
How much should a first hiking camera cost?
About $300 to $500 buys the class most first time buyers keep for years. That range covers a larger sensor, a useful zoom, and sealing that shrugs off trail weather. Spend the first slice of the budget on the carry setup and a spare battery before you stretch for a costlier body, because a camera that rides comfortably gets used, and a camera that annoys you gets left at home. Bodies below this range still serve short walks well, so match the spend to your shortest typical route rather than your most ambitious one.
Is a smartphone enough for day hikes?
For many walkers, yes, a current phone handles bright trail scenes well and weighs nothing extra. The honest catch is that the phone is also your map, your weather check, and your emergency line, so a day of heavy shooting can drain the one battery that does everything. A dedicated camera protects that battery and adds real zoom, a grip that works with gloves, and sealing a phone case only imitates. If your hikes are short and your phone battery ends the day comfortably, spend nothing until that changes.
Do hiking cameras need full waterproofing?
No, most hikers need splash tolerance rather than a camera that can submerge. Sealed bodies handle rain and spray, which covers the weather a normal route delivers. Full waterproofing earns its trade offs only when the camera will go under water or live outside the pack through storms. One caution applies to both classes: after a cold morning, let the camera warm up slowly inside its bag, because condensation forms when cold gear meets warm damp air, and fog inside a lens can spoil a whole afternoon.
How many spare batteries should a hiker carry on a long day?
One spare covers most full day routes in mild weather, and two spares are the safer plan in cold or wind. Rotate them rather than running each one flat in turn, and mark charged spares with a rubber band or a turned battery door so you never grab a dead cell at a viewpoint. Turn off wireless features you are not using, since a camera hunting for a phone signal drains quietly all day. A small power bank in the pack lid is cheap insurance on the longest routes.
What memory card size suits a day of trail photos?
A 64 GB card holds a full day of stills for most walkers, and 128 GB is the comfortable pick once video clips join the mix. Card speed matters more than raw size if you shoot bursts or 4K video, because a slow card stalls the camera while it writes. Format the card in the camera before a big day rather than deleting files on a computer, since in camera formatting clears the file structure the camera expects. Carry the spare card in a hard case, not loose in a pocket with coins and keys.
Final Thoughts
Match the tier to the day, not to the scenery. Short walks are served well by the entry band, full day routes reward the middle, and the upper tier only earns its weight when photography is the point of the trip. Whatever you choose, the best cameras for hiking are the ones that ride outside the pack, survive the weather you actually meet, and still have charge at the last viewpoint. Check the product table above once more with your usual route in mind, and let the carry decide any close call.


