
Best Cameras for Birders in 2026: What Each Budget Tier Buys You
Disclosure: We may earn a commission when you buy through links on this page, at no extra cost to you. As an Amazon Associate I earn from qualifying purchases. Learn more
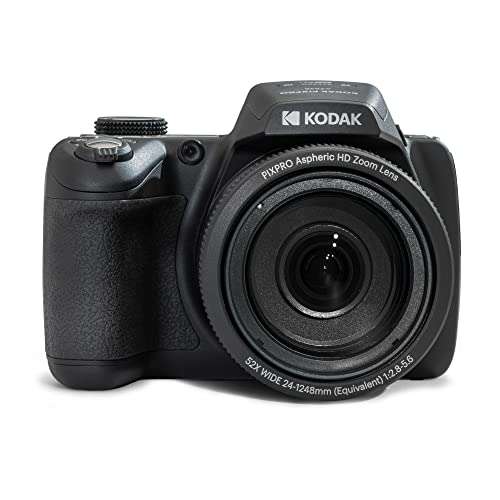
Compare the best cameras for birders across three budget tiers, from record shot superzooms to serious fast glass, and spend on reach first.
Birds are small, distant, and rarely patient, so birding gear spans a huge price range, from a few hundred dollars to the price of a used car. The good news is that most birders do not need the top of that range. What they need is enough reach to fill the frame, autofocus that keeps up with a moving bird, and a kit light enough to carry all morning. This guide walks through the best cameras for birders in three budget tiers, so you can see exactly what each step up buys and what it costs in money and weight.
Be honest about your standard before you shop. At the first two tiers the realistic goal is a photograph sharp enough to identify the bird and confirm its field marks, and that goal is far cheaper than flight shots in dawn light. The comparison table below sets the three tiers side by side, and the sections after it explain each tradeoff in plain terms. One rule runs through every tier: the lens usually matters more, costs more, and stays with you longer than the body.


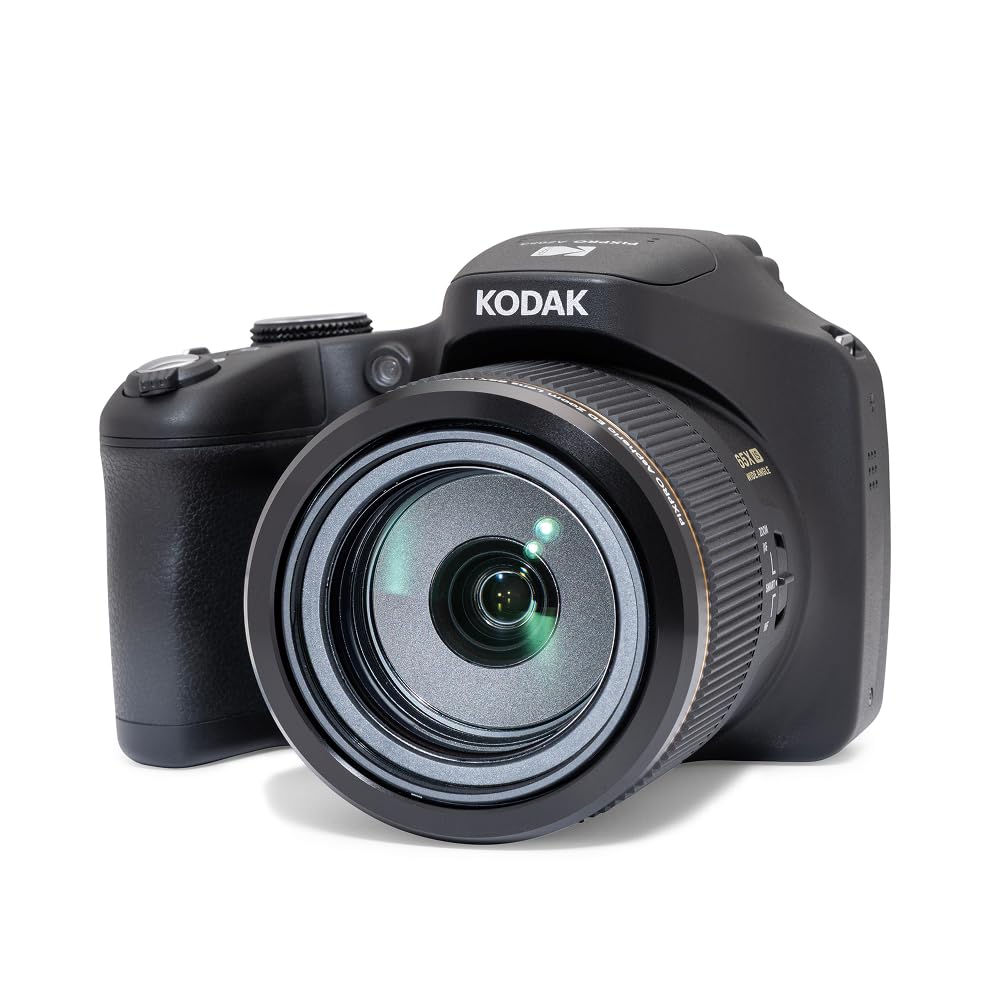
Three Tiers, Three Different Promises
Every option in these tiers is a digital camera, and the wider market covered in our guide to the best digital cameras shows how unusual birding demands are by comparison. A general camera is judged on portraits, travel, and family shots. A birding camera is judged on one hard task: putting enough sharp pixels on a small subject that will not come closer. That single task is why the tiers below are organized by reach and speed rather than by brand or body style.
| Tier | Camera class | What it does best | The honest tradeoff |
|---|---|---|---|
| Record shot | Bridge and superzoom cameras with a fixed long lens | Identification photos at long range for the least money | Small sensor, so detail softens in shade and at dawn |
| Step up | Interchangeable lens body with a telephoto zoom | Cleaner files, real tracking, room to grow | The lens costs more than the body and adds weight |
| Serious | Fast body with a bright long lens | Flight shots, low light, fine feather detail | Price and carry weight climb steeply |
What Your Money Buys at Each Tier
The best cameras for birders change a lot from one tier to the next, so read each tier against your own standard.
The Record Shot Tier: Reach per Dollar
Bridge and superzoom cameras fold a very long zoom into one sealed unit, and complete outfits land at about $300 to $800. Nothing else is required beyond a card and a case, which makes this the simplest entry into bird photography. In decent light at feeder, marsh, or shoreline distances, these cameras deliver the identification standard that most birders actually need: bill shape, wing bars, and eye rings read clearly enough to confirm a species.
If this is your first dedicated camera of any kind, the setup basics in our guide to the best starter cameras will help you get started. The limits are real: the small sensor struggles in shade, autofocus slows as light drops, and bursts are short.
The Step Up Tier: The Lens Becomes the Purchase
Step up outfits pair an interchangeable lens body with a telephoto zoom in the 100 to 400 mm class, and the honest total runs about $1,200 to $2,500. Notice where the money sits: the lens is usually the larger half of that bill, and that is correct. A larger sensor cleans up shade and dawn files, tracking autofocus holds a flying bird far better, and the files survive moderate cropping.
Bodies depreciate and get replaced, while a good telephoto stays in the bag through two or three bodies. Budget for the lens first and let the body be the part you compromise on.
The Serious Tier: Speed and Brighter Glass
Serious outfits start around $3,000 and climb well past it, and most of that money buys two things: brighter long lenses and faster bodies. A bright telephoto gathers light at dawn and dusk, when birds are most active, and holds shutter speeds that freeze wings. Fast bodies add rapid bursts and smarter subject detection, plus sealing for wet mornings.
This is also the tier where the best quality cameras justify themselves through shutter durability and support rather than headline resolution. The cost is not only money. A serious kit with its long lens can pass ten pounds, and you will feel every pound by the third hour.
The Specs That Decide Whether the Photo Works
Reach Is Real, Cropping Is Not Free
A bird photo succeeds or fails on how many pixels land on the bird. Cropping a frame throws away most of the file, and what remains cannot show feather detail that the lens never captured. Digital zoom figures on the box are worse than cropping, because the camera discards the pixels before you ever see them.
Judge reach by the lens class and the sensor size working together, not by the zoom ratio a maker prints in large type. Ratios compare a lens only to itself, so a big ratio on a small sensor can still deliver a small, soft bird.
Autofocus That Hunts Less in Brush
Modern subject detection classes can find a bird and lock onto its eye in open sky, and that genuinely helps with flight and perched shots against clean backgrounds. The same systems still get fooled by twigs, reeds, and branches crossing the frame, because the camera cannot know which thin shape you meant. Expect to help it: use a small focus area, aim at the bird rather than the flock, and learn the manual override on your lens for birds sitting deep in cover. Autofocus figures and detection claims vary by maker and are not measured the same way, so treat them as rough guidance rather than a ranking.
Sensor Size versus Lens Brightness
A larger sensor handles shade, dawn light, and high sensitivity settings more gracefully, which matters because birds keep bankers hours in reverse and feed hardest in dim light. A brighter lens helps in a different way: it admits more light at every setting, so shutter speeds stay fast enough to freeze movement. At a fixed budget, one bright telephoto on a midsize sensor often beats a slow lens on the largest sensor for bird work specifically.
What you cannot do is compare sensitivity or noise figures across brands, because each maker measures and processes differently. Use sensor size as a class decision, not a scoreboard.
Weight You Will Carry for Four Hours
Add up the whole system before you buy: body, long lens, spare battery, water, and the bag itself. A kit that feels pleasant for five minutes in a store can end a walk early once it hangs from one shoulder for a morning. A monopod is the honest middle path for step up and serious glass, taking the weight off your arms while you wait for a bird to move. The longest lens in the world has no reach at all on the days it stays home, so choose the heaviest kit you will genuinely carry.
Costs That Arrive After the Camera
The purchase price is the start, not the total. Burst shooting and cold mornings drain batteries faster than the ratings suggest, so a spare battery belongs in the first order, not the fifth. Fast, large memory cards cost real money at the serious tier, and a bag that fits the long lens mounted is a purchase of its own.
Birding is one specialty inside the wider craft, and the broad view in our guide to the best cameras for photography is a useful reminder that a second, wider lens will eventually serve everything else you shoot, from habitat landscapes to the people on the walk. None of these costs are reasons to overspend on day one. They are reasons to leave room in the budget instead of spending every dollar on the body.
Mistakes That Waste a Birder Budget
- Buying megapixels instead of reach, when a high pixel count cannot add detail the lens never delivered to the sensor.
- Spending the whole budget on the body, when the telephoto is the tool that actually reaches the bird.
- Trusting the zoom ratio on the box, when that ratio compares one lens only to itself and says nothing about image quality.
- Ignoring carry weight, when a kit that feels fine in the store can end a birding walk early at hour three.
- Skipping the spare battery, when cold weather and burst shooting drain packs far faster than the rating suggests.
Cameras for Birders: Questions Answered
How much zoom does a birder need for identification photos?
Judge the need by reach class rather than zoom ratio. In general terms, the class around 600 mm equivalent is where distant songbirds become large enough in the frame to identify with confidence, while feeder birds at close range need far less. Field craft closes more distance than money does, so patience, a quiet approach, and a known perch will improve your photos more than the next lens size up. Buy reach for the distances you cannot close on foot.
Can a birder use a phone with a clip on lens for bird photos?
At feeders, parks, and boardwalks where birds tolerate people a few paces away, a phone gives honest record shots, and it is always in your pocket when a rarity appears. Clip on lenses are the weak link, because their extra glass softens edges and shrinks the sharp center of the frame. Use the phone for documentation and quick records, and expect a dedicated camera to win as soon as distance, shade, or flight enters the picture.
Does a birder need weather sealing on a camera?
Sealed classes shrug off drizzle, dust, and damp grass better than unsealed ones, which suits a hobby that starts before breakfast in wet fields. The bigger enemy is condensation: a cold camera carried into a warm car or house can fog inside and out. Let the kit warm up slowly inside its closed bag before you open it, and sealing becomes a comfort rather than a necessity. Below the serious tier, a rain cover and that habit protect you nearly as well.
Why do long lens bird photos still look soft on bright days?
Heat shimmer is usually the cause, not your gear. Sun warmed ground, water, and mudflats bend the light traveling across long distances, so a bird a few hundred yards away wavers as if seen through water. A faster shutter cannot repair bent light, and stopping down does not help either. Shoot earlier in the morning, shorten the distance when you can, and accept that some long range softness is physics rather than a fault in the lens.
Is 4K video worth paying for on a birding camera?
For many birders, yes, because video records calls, feeding behavior, and flight style, which are identification evidence that a still photo cannot carry. A 4K frame can also be pulled out as a usable still when a bird moves at the wrong moment. The costs are storage and battery: video fills cards quickly and drains packs faster than stills. If your goal is a life list with solid records, video earns its place in the budget.
Final Thoughts
Match the tier to your standard and the whole decision gets simpler. If identification records are the goal, the record shot and step up tiers deliver them honestly, and the serious tier only earns its price when you chase flight, dawn light, and fine detail. Spend on reach and glass before body features, carry the weight honestly, and compare the best cameras for birders in the product table above against the tier that matches how you actually spend your mornings.


