
Best Boots for Standing on Concrete at Every Price: What Your Money Really Gets You for 2026
Disclosure: We may earn a commission when you buy through links on this page, at no extra cost to you. As an Amazon Associate I earn from qualifying purchases. Learn more

Compare boots for standing on concrete by price, cushioning, fit and grip, and learn which upgrades are worth paying for during long work shifts.
Concrete gives your feet almost nothing back. Every hour on it, pressure builds in your heels, your arches tire, and your knees and lower back share the load. Prices vary a lot, and a higher price does not always buy more comfort. Choosing the best boots for standing on concrete starts with knowing what each price level actually changes under your feet.
This guide walks through the tiers in the comparison table below, the features that earn their cost, and the extras you can safely skip. You will also learn how fit, grip, and long term costs shape real value.






How to Shop by Budget Without Guessing
Start With Your Shift, Not the Price Tag
Standing in one spot is harder on boots than steady walking. When you walk, your weight rolls forward and your calf muscles help circulation. When you stand still at a bench, a register, or a machine, pressure stays parked on the same small areas. If most of your shift is spent in one place, put more of your budget into cushioning and stability and less into tall shafts or heavy lug soles built for mud.
Decide Which Jobs the Boot Must Do
Some buyers need a plain soft toe boot for a warehouse or a kitchen. Others need a protective toe, puncture resistance, or electrical hazard ratings set by their employer. If your workplace sets safety rules, see our guide to the best work boots for standing on concrete for the safety focused view, then check your employer handbook before you buy. A boot that fails a required rating is a wasted purchase, however soft the insole feels.
Set a Total Budget That Includes Insoles and Socks
The boot is only part of what you will spend. Good work socks, a spare pair of insoles, and basic upper care all add to the first year cost. Many buyers do better with a midrange boot plus fresh insoles than with a premium boot worn with thin socks and a tired insole for a year.
What Your Money Gets You at Each Price Tier
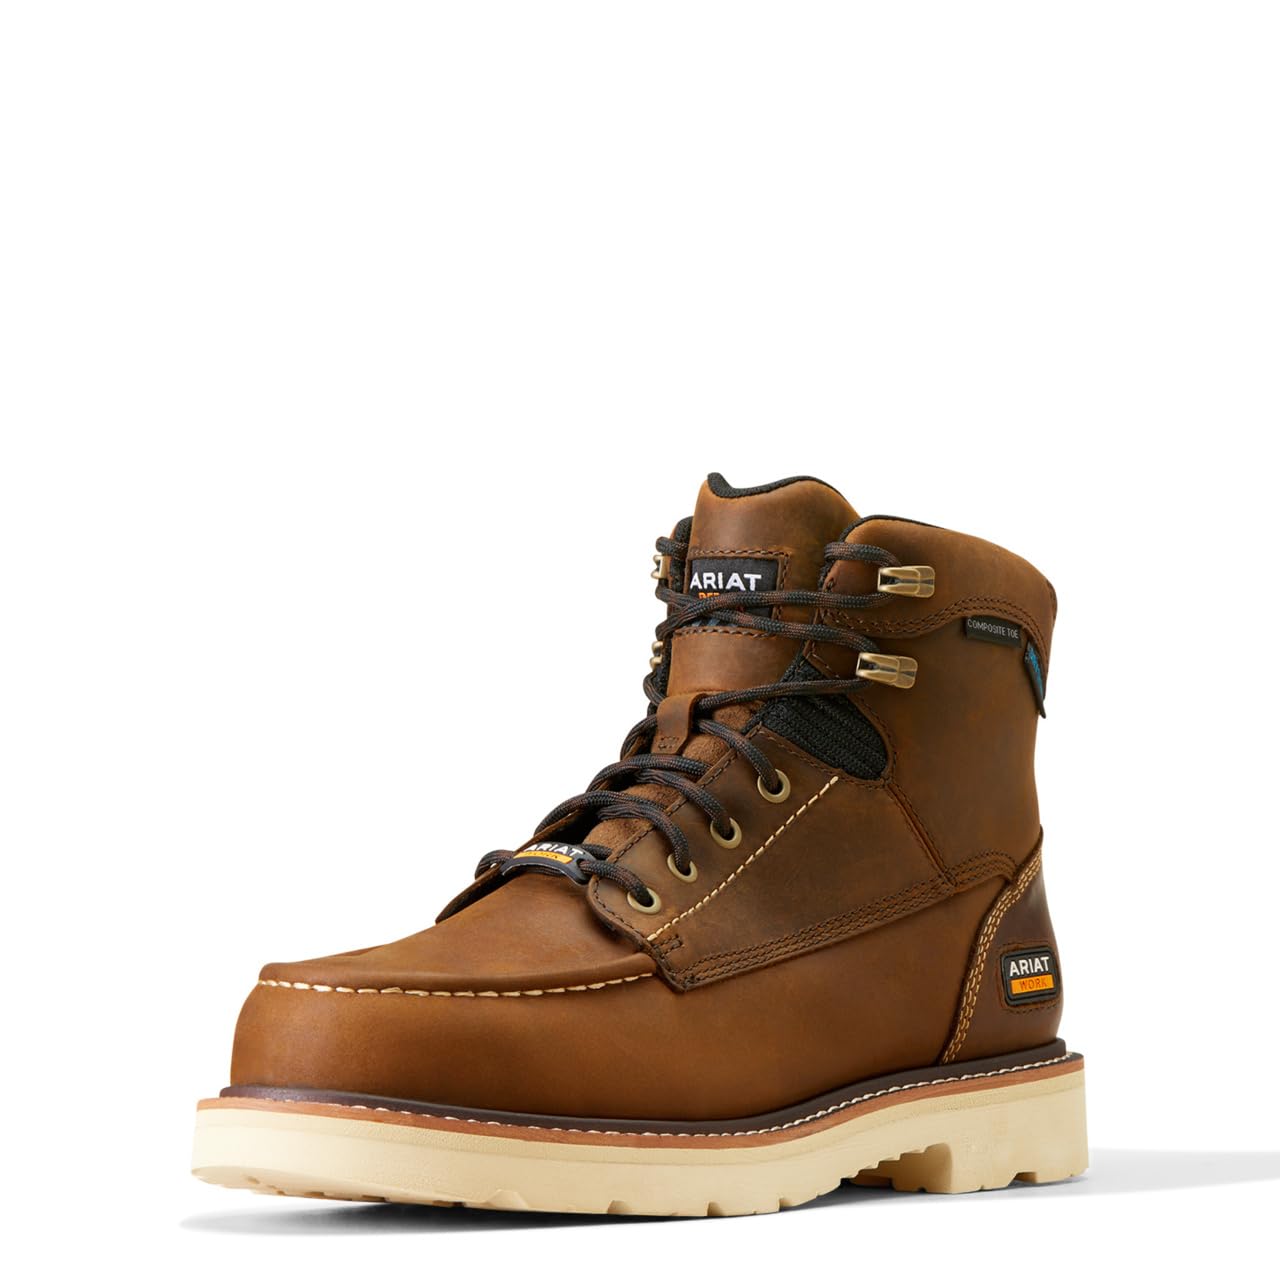
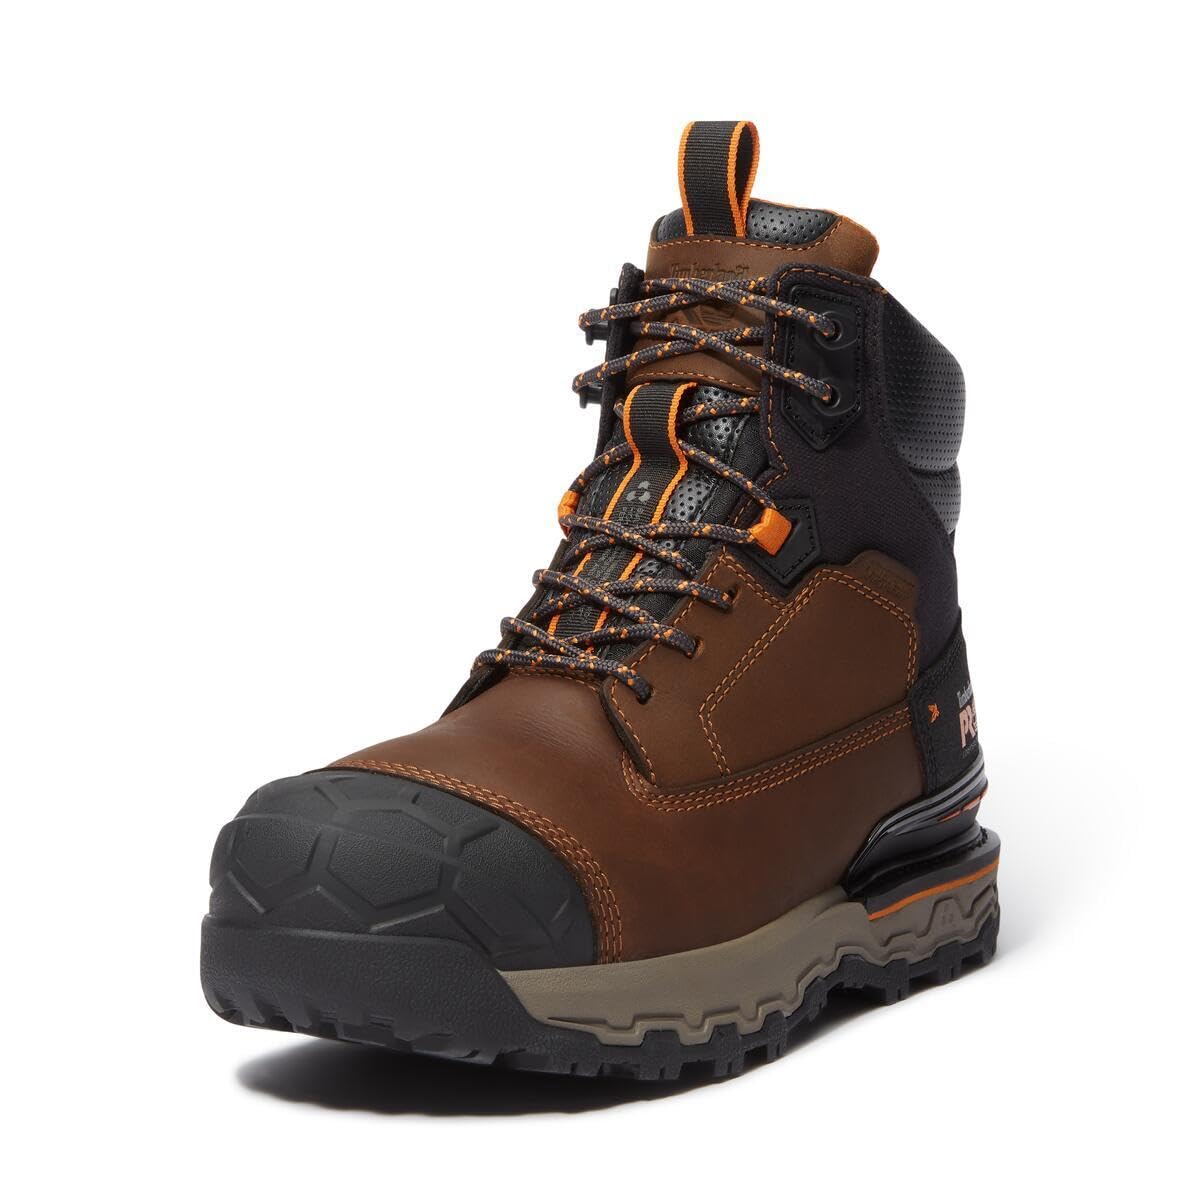
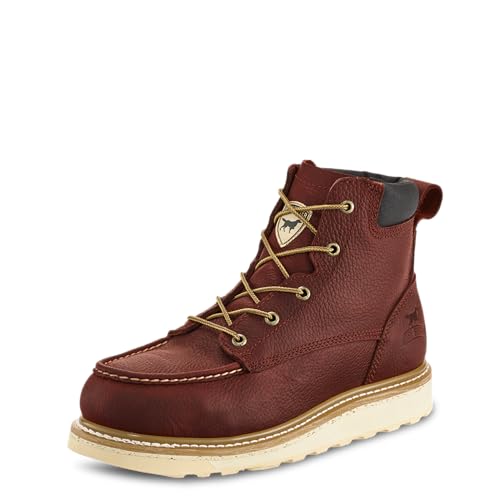
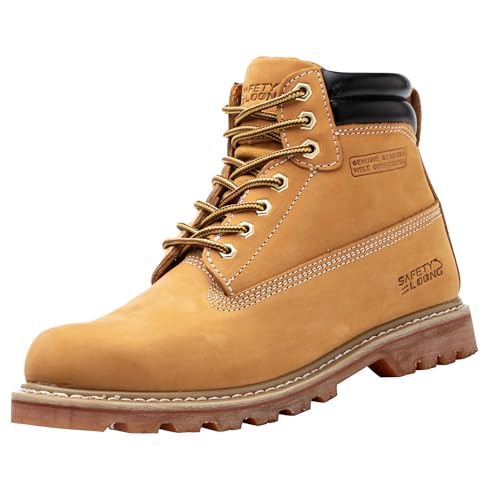
The product table above groups boots at very different prices, and the gaps between tiers are real but uneven. Moving up usually buys a better midsole foam, stronger stitching, and a more durable outsole.
Budget Tier: What to Expect
Budget boots are often priced under $100, and they can serve part time workers, seasonal staff, and anyone on a short assignment. Expect a simpler foam insole, a thinner midsole, and an upper that creases and softens quickly. Cushioning feels fine at first, then packs down sooner than in pricier boots. You pay less now, but you may replace the pair sooner. For shifts of four to six hours, that trade off can still work in your favour.
Midrange Tier: Where Most Buyers Get Better Value
Midrange boots often cost about $150 on average, and they usually add a firmer, more supportive midsole, a shaped insole, and better stitching in high stress areas. This is the tier where full shift comfort becomes realistic for most people. If your day runs eight hours or longer, see our guide to the best boots for standing on concrete all day for advice aimed at the longest shifts.
Premium Tier: When Spending More Pays Off
Premium boots often cost around $250 on average, with denser cushioning that resists packing down, tougher leather or advanced fabrics, and outsoles that keep their grip longer. Some use waterproof membranes such as Gore Tex, which help on wet loading docks and in cold storage. Spending more pays off when you work five or six long shifts a week, carry extra weight or loads, or find that cheaper midsoles go flat on you within months.
Features Worth Paying For (and Ones to Skip)
Features That Matter for Standing on Concrete
A midsole that is soft yet stable spreads pressure across the heel and forefoot instead of letting your foot sink and roll inward. Look for a firm heel cup, a supportive arch area, and a heel to toe drop that feels natural when you stand, often a moderate drop rather than a flat or very high one. Stability is the partner of softness. A wide base and a shank that limits twisting, much like stability support shoes in boot form, help your feet tire more slowly than a soft and narrow sole.
Fit, Sizing, and Toe Box
Measure both feet late in the day, when they are at their largest, and wear your work socks while you do it. Your toes need room to spread, since feet swell during long shifts and a tight toe box crowds the forefoot and raises pressure on the ball of the foot. Leave about a thumb width in front of your longest toe, and check that the heel stays seated when you walk.
Outsole Traction and Terrain
On concrete, a broad and fairly flat outsole contact area grips better than tall, widely spaced lugs built for trails. Look for rubber that stays flexible, tread with many small edges, and a slip resistant rating if your floor gets wet or greasy. Indoor polished floors and outdoor rough slabs ask for slightly different tread, so if most of your standing happens inside, see our guide to the best boots for standing on concrete floors for the indoor view.
Upper Materials and Breathability
Full leather uppers shrug off scuffs and hold their shape, but they run warm and need more care. Mesh and knit panels feel breathable and light, much like lightweight shoes, yet they offer less protection from dropped items and spills. Many boots blend the two, with leather at the toe and heel and fabric at the sides. For off duty hours on hard home floors, some readers also compare open options, so see our guide to the best sandals for standing on concrete for that context.
Features You Can Usually Skip
Tall shafts add cost and heat if you work indoors on flat floors and need no ankle coverage for brush, gravel, or debris. Heavy insulation is a poor buy for a heated building, and decorative stitching and metal hardware add price without support. Very thick and very soft soles can also be a skip for steady standing, since they may wobble and make your ankles work harder. Spend that money on fit, spare insoles, or a higher tier midsole instead.
Long Term Costs to Factor In
The purchase price is only the first payment. Insoles often need replacing every six to twelve months, laces wear out, and leather uppers need cleaning and conditioning to stay supple and resist cracking. Waterproof membranes can lose performance if the outer fabric stays dirty, so basic cleaning protects that upgrade too. Add these small costs to each tier before you decide which one is truly cheaper over a full year of work.
Warranty terms and return windows also change value. A midrange boot with a generous return window can be a safer buy than a premium boot you cannot return after wearing it at work. Rotating two pairs later, if your budget grows, lets each midsole recover between shifts and can extend the life of both.
Common Mistakes to Avoid
- Buying by your shoe size without measuring, so swelling turns a snug morning fit into an aching afternoon fit.
- Choosing the softest sole on the shelf, so your feet sink, roll inward, and tire faster despite the plush first impression.
- Ignoring employer safety rules, so a comfortable boot gets sent home for lacking a required rating.
- Spending the whole budget on the boot itself, so worn insoles and thin socks undo the comfort you paid for.
- Keeping a pair long after the midsole has packed flat, so heel and knee aches build up shift after shift.
- Picking deep trail lugs for smooth indoor floors, so the contact area shrinks and each step feels less steady.
How to Make Your Boots Last Longer
Wipe dust and concrete grit off the uppers after dusty shifts, since grit works into creases and stitching and wears material from the inside. Let wet boots dry at room temperature away from direct heat, and loosen the laces fully so air reaches the insole.
Inspect the outsole and heel every few weeks for smooth worn patches, cracks, or a heel worn down on one side. Clean tread grooves with an old brush so packed dirt does not reduce grip on wet floors. Condition leather only as the maker directs, since too much softener can weaken support. If pain is new, severe, or paired with numbness, swelling that does not fade overnight, or pain that changes how you walk, talk with a clinician about your feet and your job demands.
Frequently Asked Questions
What features matter most in boots for standing on concrete?
The most important features are a stable and cushioned midsole, a supportive arch, and a fit that leaves room for swelling. One detail many buyers miss is the flex point of the sole. The boot should bend where your foot bends, at the ball of the foot, rather than in the middle of the arch. A boot that folds in the wrong place makes your forefoot work harder with every step.
Are expensive boots for standing on concrete worth the cost?
Expensive boots are worth the cost only when stronger midsoles and tougher uppers match your hours and floor conditions. Judge by cost per shift: a pricier pair that stays comfortable for a year of full time work can cost less per day than a cheap pair replaced twice. Some premium boots can also be resoled by a cobbler, which spreads the first cost further.
Can boots for standing on concrete be worn all day?
Yes, the right pair can be worn all day, but a gradual start helps your feet adjust. Wear a new pair for a few hours on the first day, then add time across the week while you check for hot spots or rubbing at the heel and toes. This slow start matters most when the new boot has a firmer arch or a different drop than your old pair. If soreness keeps growing instead of easing during that week, the fit is wrong and more hours will not fix it.
How often should boots for standing on concrete be replaced?
Boots for standing on concrete should be replaced when the midsole no longer springs back and the tread has worn smooth in the areas you load most. Press your thumb into the heel cushioning and compare it with a new pair in a store, since packed foam feels firm and dead rather than springy. Uneven heel wear that tilts your stance is another clear sign. Many full time workers reach this point between six and eighteen months, depending on weight, hours, and care.
How should boots for standing on concrete fit?
Boots for standing on concrete should fit snugly at the heel and midfoot, with clear space and width for your toes. Test the fit while standing, not sitting, because your feet lengthen and spread under your full weight. If you can, walk down a gentle slope or a set of steps and check that your toes do not strike the front of the boot. Laces should hold the heel in place without being pulled painfully tight across the top of the foot.
The Bottom Line
Price tiers tell a real story, but fit tells the final one. Use the comparison table above to shortlist boots in the tier that matches your hours, then judge them on stable cushioning, a toe box with room to spread, and an outsole that grips your kind of floor. Skip extras that add heat, weight, or cost without helping you stand, and budget a little extra for insoles and socks.
Spend up only when your shift length, floor conditions, and past experience with flat midsoles say the upgrade will earn its keep. Chosen that way, the best boots for standing on concrete for you may sit in any tier, and they will prove their value quietly, shift after shift, in feet that feel ready for the next day.


