Best Binoculars for Wildlife Photography in 2026: Which Type Is Right for You?
Disclosure: We may earn a commission when you buy through links on this page, at no extra cost to you. As an Amazon Associate I earn from qualifying purchases. Learn more
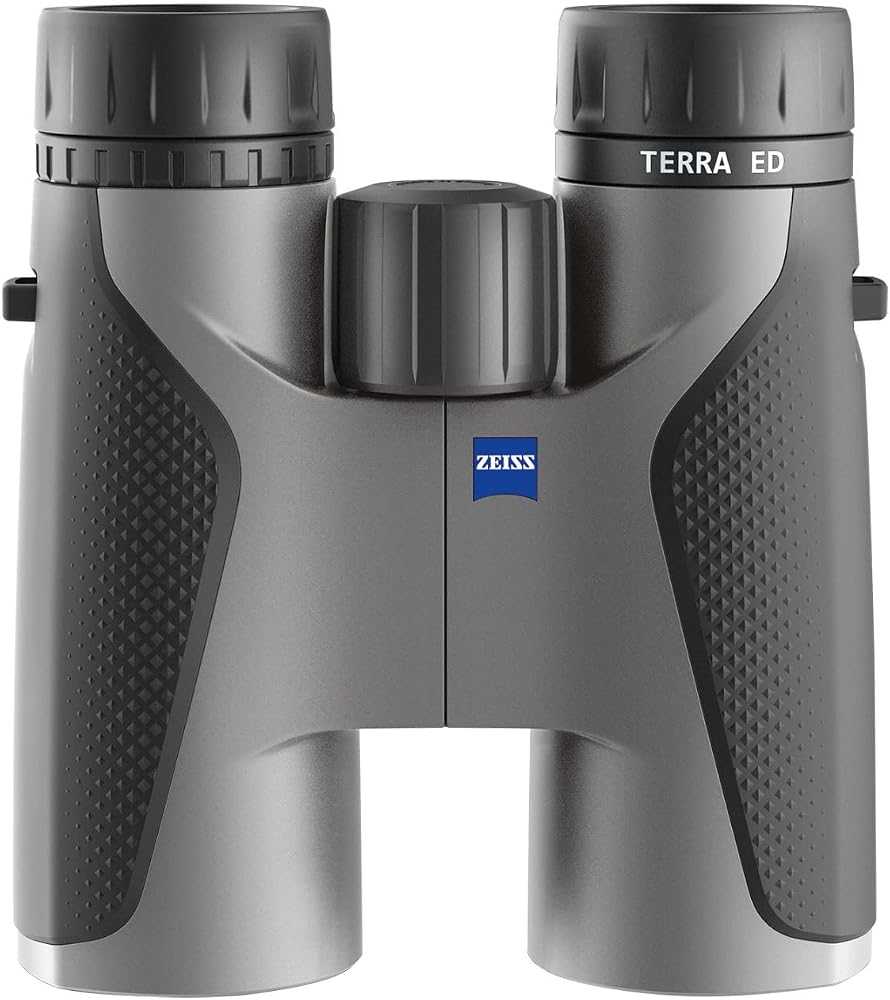
Compare binocular types for wildlife photography, with guidance on magnification, lens size, field of view, low light use and carrying weight.
Binoculars help you find, identify and follow an animal long before it is close enough to photograph. Choosing the best binoculars for wildlife photography means matching magnification, brightness and carry weight to your usual subjects. Use the comparison table below to compare types first.
Your main subject should drive the choice. Birds in flight reward a wide view and fast focusing, while deer at dawn reward brightness. A pair that stays steady and comfortable beside your camera will help more than the highest number on a box.
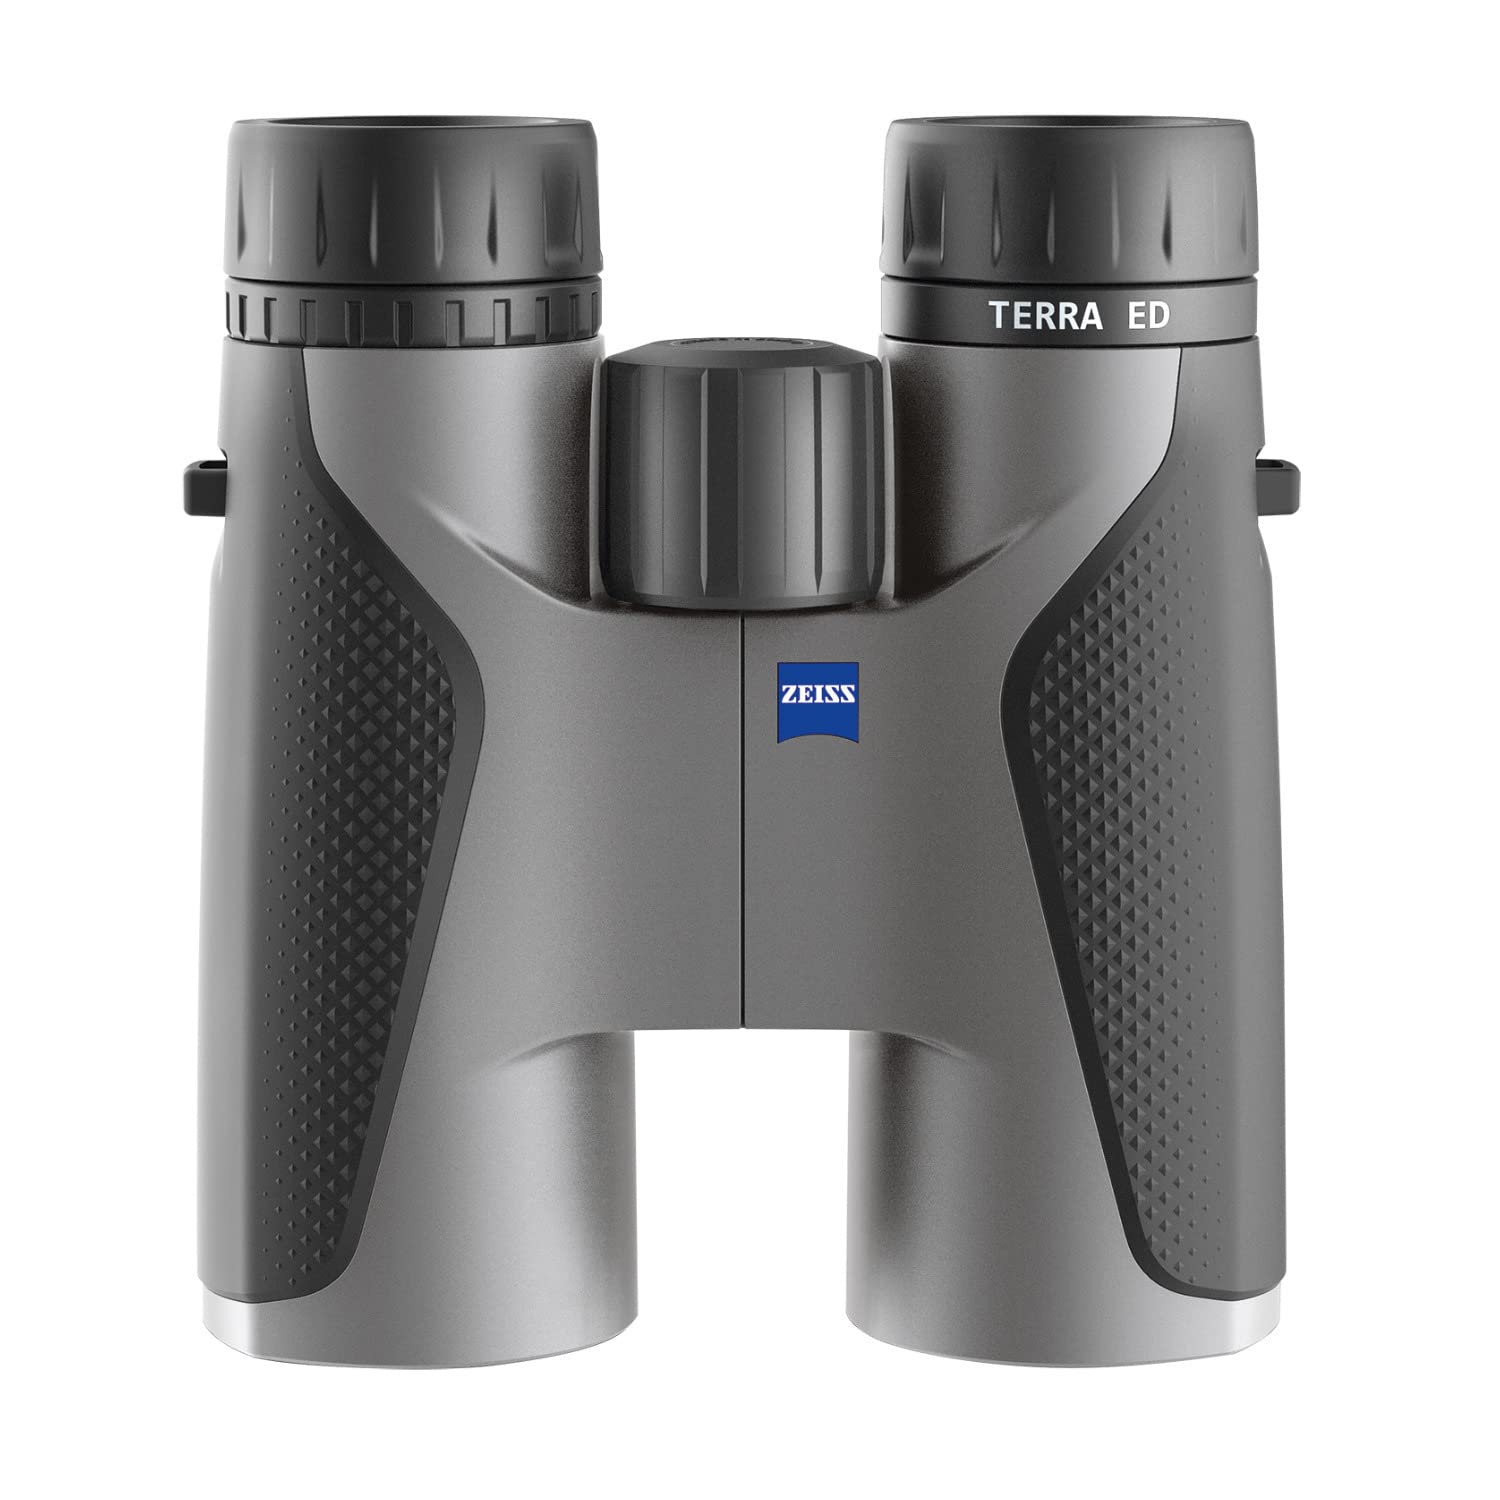


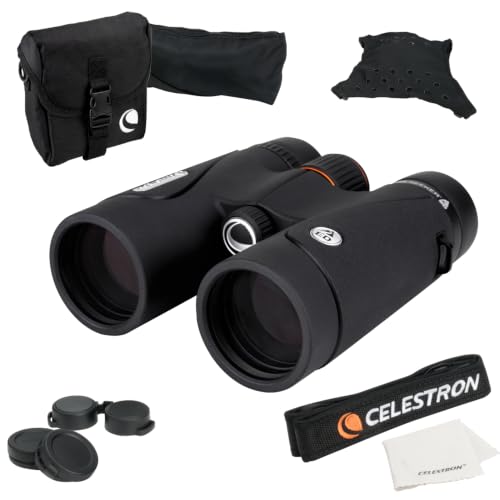
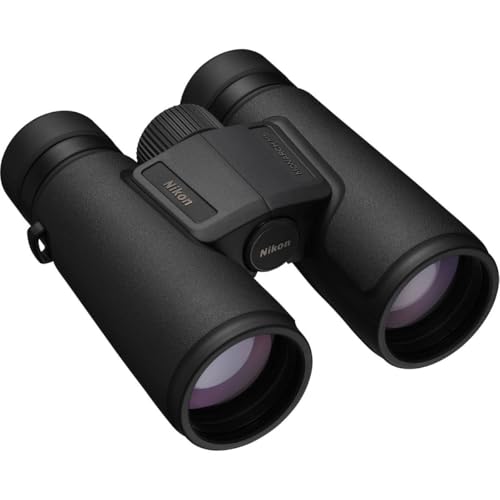


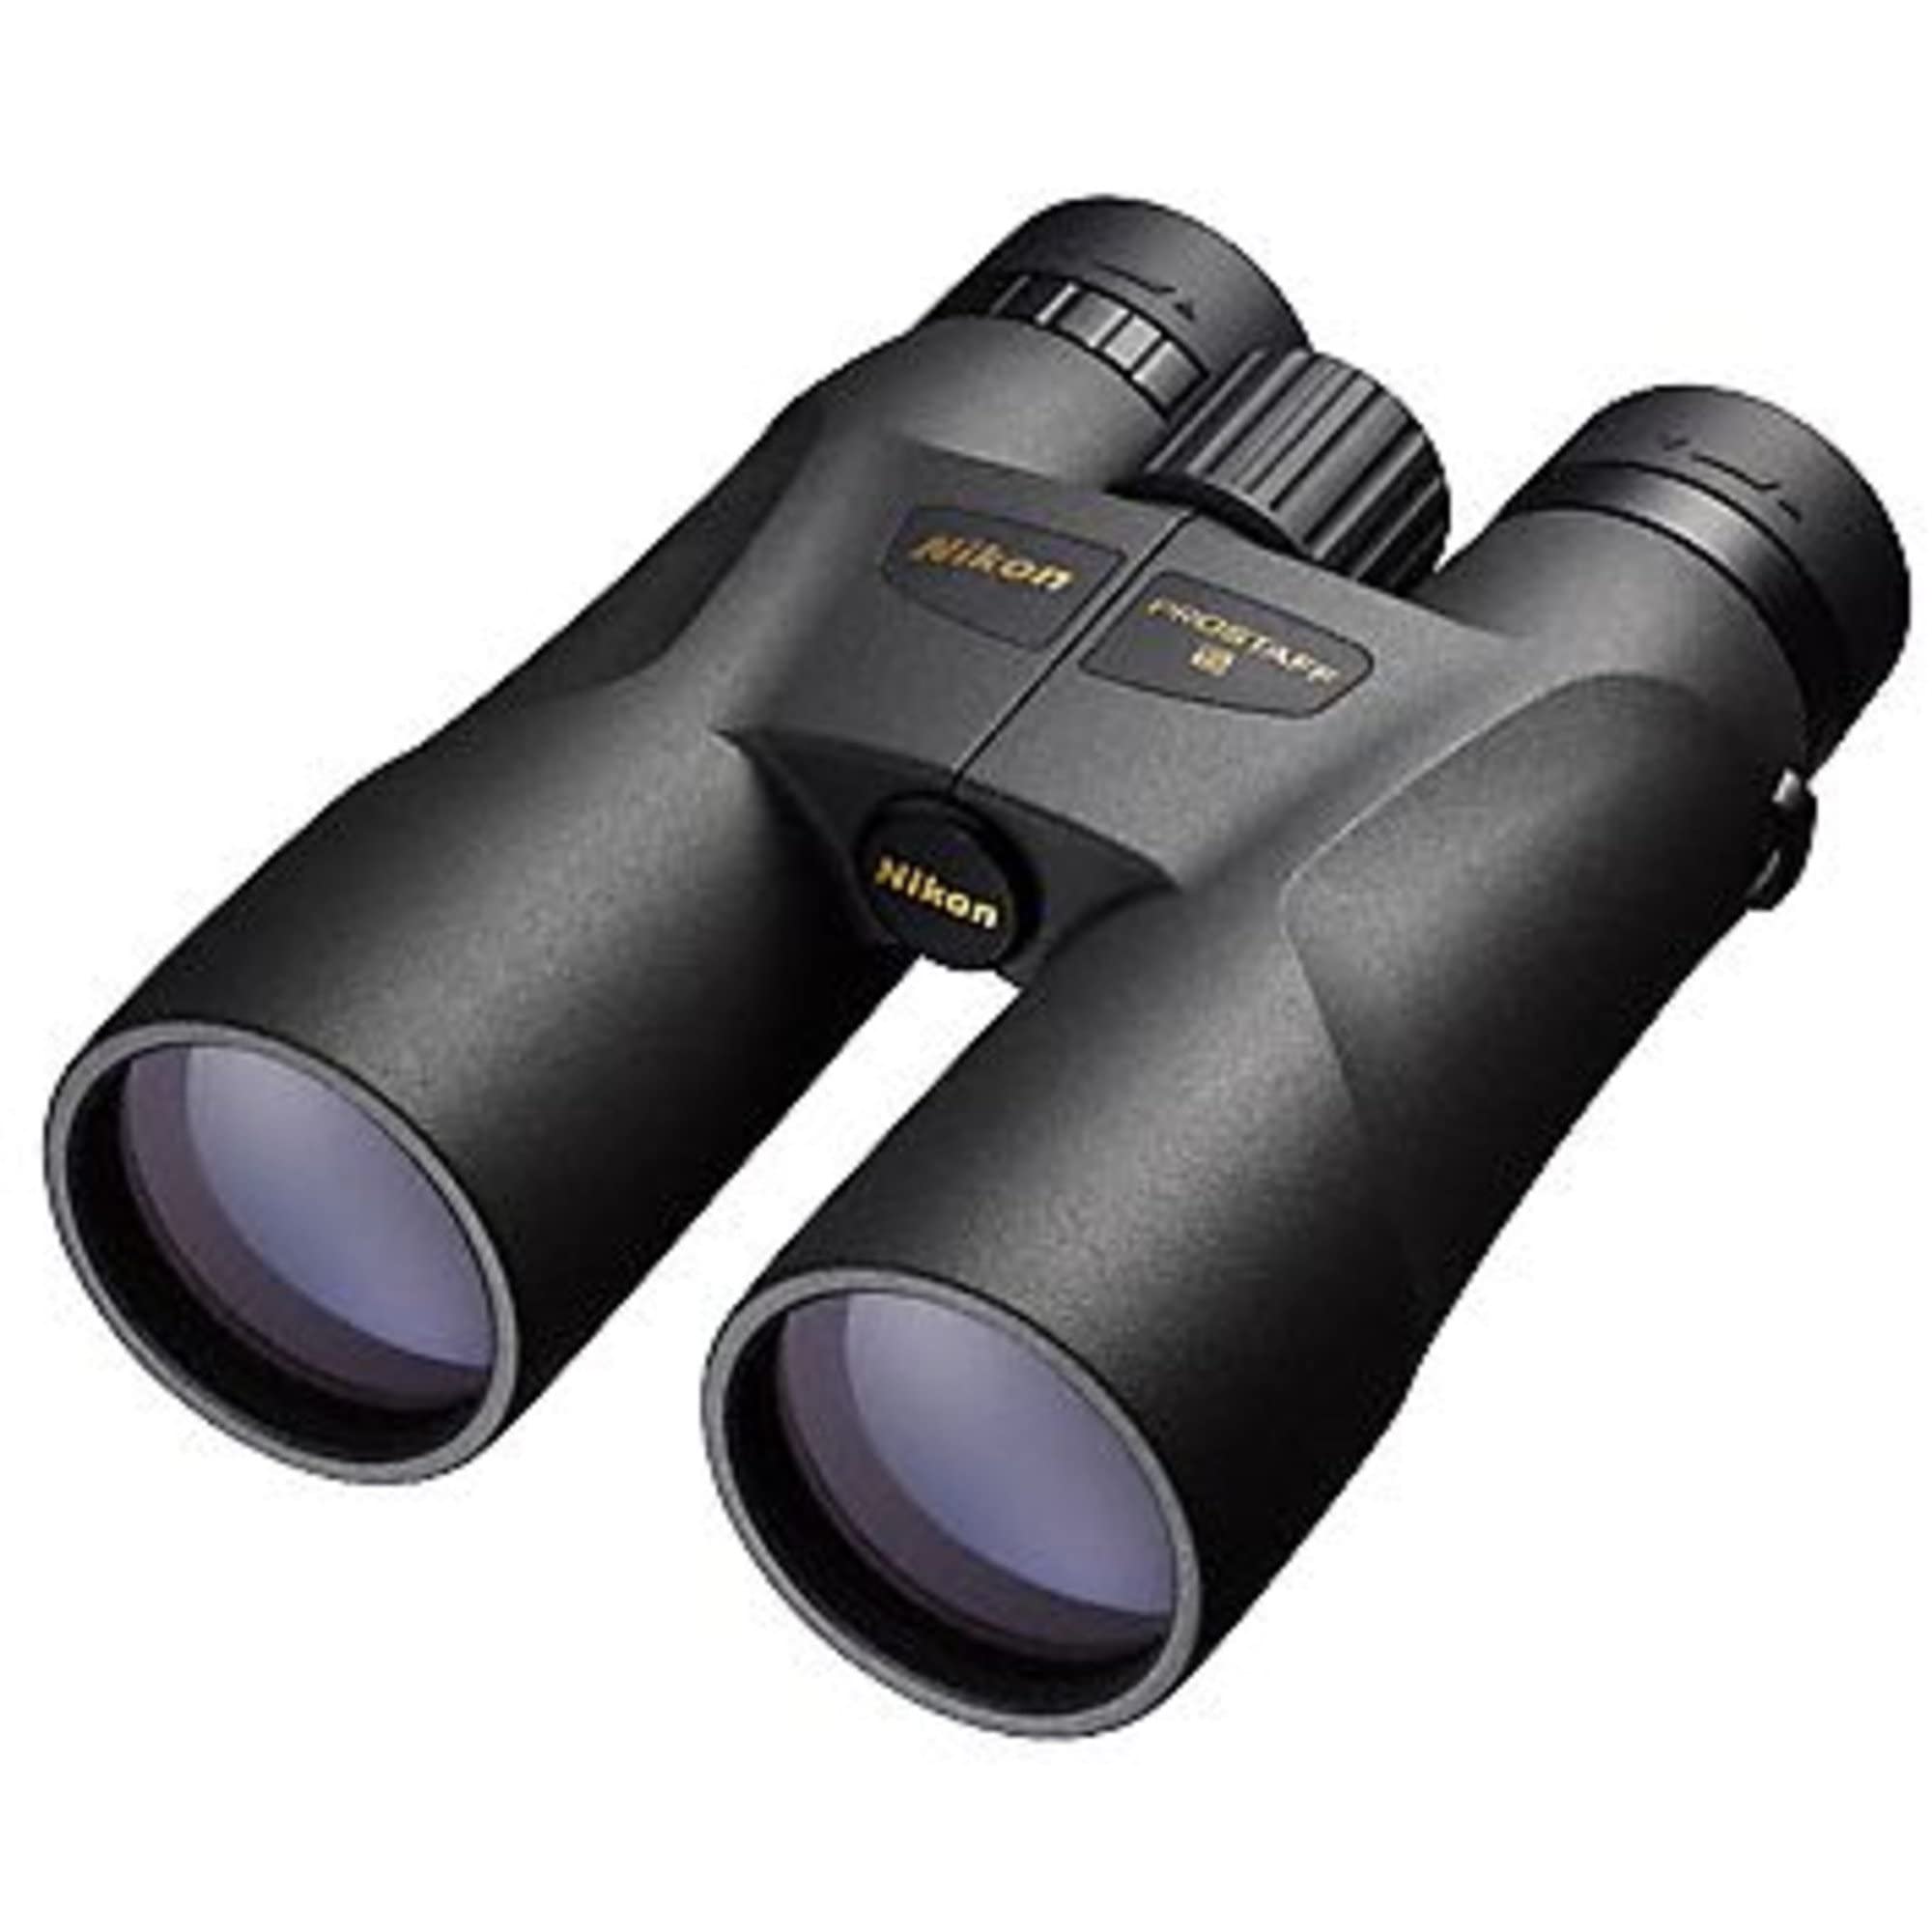
Who Should Buy Binoculars for Wildlife Photography Outings?
Start with the animal you photograph most and the light you work in. Readers who also spend long sessions simply watching may want to see our guide to the best binoculars for viewing wildlife.
Bird Photographers Who Track Fast Moving Subjects
You need to find a bird in open sky or branches, then keep it centered while it moves. Choose 8x magnification with a wide field of view, because a wider scene makes the first sighting easier and the image calmer. A smooth focus wheel matters too, since small turns should sharpen the bird without pushing past it.
Mammal Photographers Who Wait in Fading Light
You often watch deer, foxes or bears at dawn and dusk, when identification still matters. Choose a full size pair with a 42 mm or 50 mm objective lens for a brighter view. Weight matters less for you, since you may wait in one place with the pair resting on a tripod or your knees.
Traveling Photographers Who Carry a Camera Kit
You already carry a camera, a long lens, water and layers, so every extra pound competes with needed gear. Choose a compact or mid size pair that fits a jacket pocket or camera bag top, on a chest harness. For wet coastal trips, see our guide to the best binoculars for alaska wildlife.
Types of Binoculars Compared
Types differ mainly in lens size, body size and brightness. Pick the one you will still hold happily at the end of a session.
Compact Binoculars for Light Camera Bags
Compact binoculars usually pair 8x or 10x magnification with an objective lens of about 25 to 32 mm. They slip into a small bag and suit travel days when photography gear already fills your pack. Their view is narrower and less bright at dusk. Choose this type when portability decides the purchase.
Mid Size Binoculars for a Balanced Carry
Mid size binoculars usually use an objective lens of about 32 to 36 mm and offer a useful middle ground. They feel brighter than compacts in shade and weigh less than most full size pairs, so they suit photographers who walk between viewpoints. Choose this type for both hiking and hide based sessions.
Full Size Binoculars for Maximum Brightness
Full size binoculars usually use a 42 mm or 50 mm objective lens and give the brightest, most relaxed view of the three types. They suit long watches at dawn, woodland shade and open water. Their cost is weight and bulk. Choose this type when image quality matters more than pack space.
Key Features to Compare
Compare these features in order, since a strong score in one area cannot fix a weak score in another.
Magnification and Handheld Steadiness
Magnification tells you how much larger a subject appears, with 8x and 10x the common choices for wildlife work. A 10x view brings distant animals closer, but it also magnifies hand shake and narrows the scene you can search. An 8x view feels calmer for birds in flight and long handheld watches. Choose 10x mainly for open country and still subjects.
Objective Lens Size and Low Light Brightness
The objective lens is the front lens, and its size in millimeters is the second number in a name like 8x42. Divide that number by the magnification to get the exit pupil, so an 8x42 pair gives about 5.3 mm. A larger exit pupil gives a brighter view at dawn. Larger lenses add weight, so match size to your usual light.
Field of View for Finding and Following Animals
Field of view is the width of the scene you see, often stated as feet at 1000 yards or as degrees. A wide field helps you locate a moving animal quickly and keep it in view while you decide when to raise your camera. Around 7 to 8 degrees is a practical target for bird work.
Close Focus, Eye Relief and Focus Wheel Control
Close focus is the shortest distance at which the image stays sharp, and about 6 to 8 feet suits insects and tame birds near a hide. Eye relief is how far your eyes can sit behind the eyecups while still seeing the whole view, and glasses wearers usually need about 15 mm or more.
Glass, Coatings and Image Clarity for Identification
Clear glass helps you separate fine plumage marks, antler points and eye stripes that decide an identification before you take a photograph. ED glass reduces color fringing around bright edges, and phase coated roof prisms improve contrast in flat light. Better clarity matters most when subjects are small, distant or partly hidden in shade.
Weather Sealing, Weight and Carry Comfort
Wildlife photography often means dew, drizzle and cold mornings, so look for a waterproof body that is fogproof inside, usually filled with nitrogen to stop internal misting. Rubber armor adds grip with gloves. Weight ranges from under a pound for compacts to about two pounds for large pairs.
Compact Binoculars vs Full Size Binoculars: Which Should You Choose?
Choose compact binoculars if you walk far or travel light, and accept a dimmer view at dusk. Choose full size binoculars if you watch from a hide or vehicle and want the brightest image. That balance is what makes the best binoculars for wildlife photography different from a general travel pair, because yours must work beside a camera for hours. See our guide to the best cameras for wildlife photography to match the two tools.
Session length is a useful tiebreaker. For a full morning of scanning, the relaxed view of a full size pair reduces eye strain and missed subjects.
Common Mistakes to Avoid
These errors cost photographers sightings, comfort and money.
- Choosing 12x or higher magnification for handheld use makes the image shake so much that fine detail is lost.
- Buying a very small objective lens for dawn work leaves the view too dim to judge plumage or antler detail.
- Ignoring eye relief as a glasses wearer means you see a cropped circle instead of the full field of view.
- Carrying a heavy pair on a thin neck strap causes neck pain that shortens your time in the field.
- Skipping the diopter setup leaves one eye slightly soft, so long watches cause headaches and tired eyes.
How to Set Up and Care for Wildlife Binoculars
Set the distance between the barrels so you see one round image with no black edges, then set the diopter. Cover the left lens, focus on a still branch with the center wheel using your right eye, then cover the right lens and turn the diopter ring until the left eye view is sharp. Leave the ring in place for normal use.
Clean lenses with a soft lens cloth, never your shirt, because grit in fabric can scratch a coating. Use lens caps between sessions and store the pair in a dry padded bag away from car heat. If the pair gets wet, let it dry at room temperature with the caps off.
FAQ
What features matter most in binoculars for wildlife photography?
A bright image, a wide field of view and a fast, smooth focus wheel matter most. Together they let you find an animal, confirm its identity and judge the moment before you switch to your camera. One point buyers often miss is focus speed from near to far.
What does 8x42 or 10x42 mean on wildlife binoculars?
The first number is magnification and the second is the objective lens size in millimeters. So 8x42 magnifies a subject eight times through a 42 mm front lens. The numbers also hint at bulk, since a 42 mm pair is larger than a 32 mm pair. Then compare actual listed weight.
What specs matter most for beginners choosing binoculars for wildlife photography scouting?
Beginners should start with 8x42, a field of view near 7 degrees or wider, and eye relief that suits any glasses they wear. That mix is forgiving to hold and easy to learn. Noting habitat and hour after each outing helps you return to the same subjects for practice.
Is a smartphone enough instead of binoculars for wildlife photography scouting?
No, a smartphone is not enough for serious scouting. Phone zoom crops the image and loses the fine detail you need to identify species or judge distance. Binoculars give a steady, bright view with both eyes, without draining a phone battery. Binoculars also keep your hands warmer in cold weather than holding a bare phone.
How much should a first time buyer spend on binoculars for wildlife photography?
A first time buyer can expect to spend about $100 to $300 for a pair with good clarity, sealing and a solid warranty. Keep a little of that budget for a harness and a padded case. Renting or borrowing a pair for one outing can also confirm the size you prefer before you pay.
Which binocular format is better for low light wildlife viewing?
A full size format with a large exit pupil is better for low light wildlife viewing. An 8x42 or 8x50 pair gives a brighter image than a 10x32 pair at dawn because more light reaches your eyes. Arrive early, let your eyes adjust, and scan field and water edges first.
Our Verdict
Match the format to your subject and light first, then compare field of view, eye relief and carry comfort. Most photographers who walk and shoot will be happiest with a mid size or full size 8x42 pair, while travel focused users can accept a compact pair. Use the product table above to confirm size, weight and price.
Chosen with those points in mind, the best binoculars for wildlife photography become a scouting tool you trust before every shot. Buy the pair you will carry all morning, and keep it set up for your eyes.