
Best Binoculars for Hiking: 2026 Guide to Your First Purchase
Disclosure: We may earn a commission when you buy through links on this page, at no extra cost to you. As an Amazon Associate I earn from qualifying purchases. Learn more

Best binoculars for hiking made simple: magnification, weight, sealing and fit explained for first-time buyers, plus mistakes to avoid.
If you are shopping for best binoculars for hiking for the first time, the numbers on the box can feel confusing. This guide explains those terms in plain language, shows how weight and size affect a long walk, and helps you avoid the mistakes new buyers make most often. Use the product table to compare the main styles side by side before you dig into the details.
Hiking glass is a balance act. You want a view bright enough for shaded trails and dawn wildlife, yet light enough that you still enjoy carrying it at mile eight. The right pair for you depends on your pack weight, your trail style, and whether you stop often to watch birds, peaks, or distant ridges. Read on with your own trails in mind.


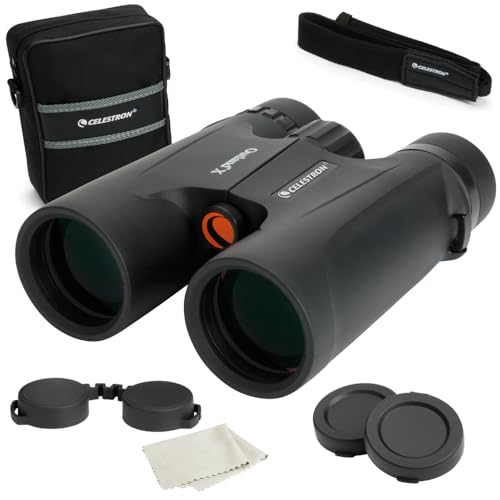

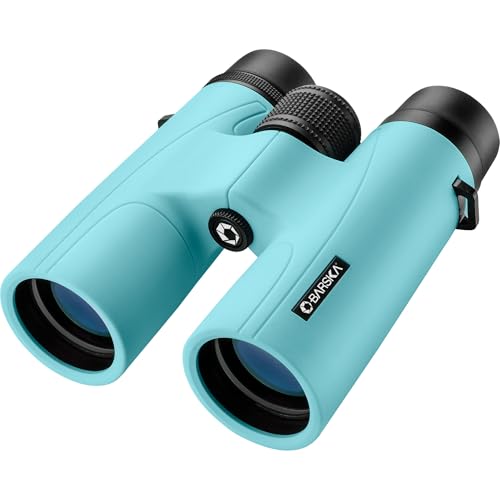

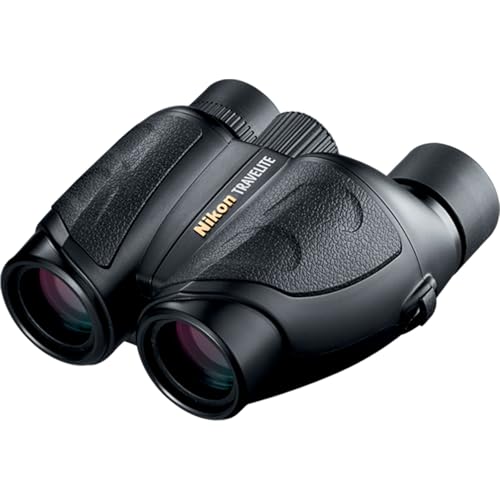


Binocular Basics for New Hikers
A pair of binoculars joins two small telescopes side by side so both eyes see a magnified, three dimensional view. Light enters the front lenses, passes through prisms that fold the path into a compact body, and reaches your eyes through the eyepieces. That folded path is why modern roof prism pairs can stay slim while still offering strong magnification. You do not need to master optics to buy well, but a few core terms will make every later choice easier.
Start by thinking about how you hike. A day hiker on gentle trails may value comfort and simplicity, while a backpacker counting every ounce may value a compact body above all else. A birder who stops at every overlook may value a wide view and close focus for nearby birds. Keep those habits in mind, since they shape which trade offs are worth making and which features you can safely skip.
Choosing the Best Binoculars for Hiking: Key Specs Explained
The specs below cover what actually changes your trail experience. Skip any number that does not connect to weight, view, comfort, or durability, and focus on the handful that do. Each section ends with a practical takeaway you can use while comparing pairs.
Features That Matter on the Trail
Trail use rewards a wide view, quick focus, and a body that stays comfortable in your hands. A wide field helps you find a bird in a tree or a peak through a gap without sweeping back and forth. Smooth focus lets you shift from a nearby flower to a distant ridge in seconds.
Good grip, balanced weight, and eyecups that fit your face matter on uneven ground, where you may glass while standing on a slope. Rain resistance and fog resistance matter too, since mountain weather can change fast.
Magnification in Everyday Terms
Magnification tells you how much closer a subject appears. An 8 power pair makes a distant ridge look eight times closer, while a 10 power pair makes it look ten times closer. Higher power sounds better, but it also narrows your view and makes hand shake more obvious, which can tire you on a long hike.
Most new hikers find 8 power easier to use, since it offers a steadier image and a wider scene. Choose 10 power only if you often glass open ridges and can brace your elbows or use a rest.
Objective Size and Brightness
The objective lens is the front lens, and its size is the second number in a label such as 8x42. A larger front lens gathers more light, which helps in shade, forest cover, and early morning light. The trade off is size and weight, since larger lenses need larger bodies.
Compact pairs with 25 mm or 32 mm lenses travel light and still work well in daylight, while 42 mm pairs offer brighter views in dim forest. Match the size to your light conditions and to how much weight you accept.
Size, Weight, and Pack Fit
On a hike, every ounce counts, and so does how a pair packs. A compact pair may slip into a jacket pocket or a small hip belt pouch, while a full size pair usually needs a chest harness or a padded case. Try the pair with your actual pack, since shoulder straps and hip belts change how a harness sits.
For weight sensitive trips, see our guide to best lightweight binoculars for hiking for options built around low pack weight. Also check folded size, since a slim pair leaves more room for water, food, and layers.
Low Light on Shaded Trails
Forest trails, canyons, and dawn starts all challenge low light performance. Exit pupil, coatings, and glass quality shape how bright the image feels when light is scarce. A larger exit pupil can help, but only if your eyes can use it, and coatings matter as much as lens size for contrast.
Look for clear detail in shadow, not just a bright overall image, since washed out shadow hides birds and trail markers. If you hike mainly in open daylight, low light gains matter less than weight and comfort.
Focus, Eye Relief, and Glasses
Focus speed matters when wildlife appears for only a moment. A center wheel should move smoothly without stiff spots, and a diopter control should let you adjust one side for your own vision. Eye relief is the distance from eyepiece to eye that still shows the full image, and it matters most if you wear glasses.
Twist up eyecups should hold their setting and feel comfortable during long stops. Try these controls with gloves on, since cold mornings and rain make small controls harder to use.
Rookie Mistakes to Avoid
- Buying the highest magnification first, which narrows the view and magnifies shake on the trail.
- Judging glass only indoors, where bright light hides weak low light performance.
- Ignoring weight and pack fit, then leaving a heavy pair behind on longer hikes.
- Skipping weather sealing, which leaves glass vulnerable to rain, fog, and dust.
- Forgetting glasses fit, which can cut off the edges of the view if eye relief is short.
Getting Started: Setup and First Use
When your pair arrives, adjust the eyecups first, then set the diopter for your own eyes before your first hike. Practice focusing on near and far subjects in your yard so the motion feels natural on the trail. Learn how the strap or harness adjusts, and try it with your pack loaded as it will be on a real hike.
Use a lens cloth, not your shirt, to clean glass, since grit on fabric can scratch coatings. Store the pair in a dry, padded case between trips, and check covers and hinges before each season.
On your first hike, start with easy subjects such as trail signs, trees, and distant ridges. Scan slowly, keep both eyes open when you raise the pair, and rest your elbows against your body for a steadier view. Take short glassing breaks rather than holding the pair up for minutes at a time. Over time you will learn how far you can walk with the pair ready, and when it is better packed away for steep or rough sections.
FAQs
What features matter most in hiking binoculars?
Weight, a wide view, smooth focus, and weather sealing matter most for hiking. You need glass light enough to carry all day, wide enough to find subjects quickly, and tough enough for rain and dust. Low light clarity helps on shaded trails and at dawn, while eye relief matters if you wear glasses.
Magnification matters too, but 8 power often beats higher power for steadiness. Choose the balance that fits your pack weight and trail style rather than chasing one headline number.
What specs matter most for beginners?
Beginners should focus on magnification, objective size, weight, and eye relief before worrying about advanced terms. An 8x32 or 8x42 pair is a friendly starting point for most hikers, offering a steady view and useful brightness. Check total weight with strap included, since listed body weight alone can mislead.
Try the focus feel and eyecup comfort in person when you can. Once those basics feel right, coatings and sealing become the next useful comparison points.
How much should I spend on my first one?
A first hiking pair often costs about $75 to $200, which usually buys coated optics, sealed housing, and comfortable handling for daylight and shaded trails. That range suits day hikers and new backpackers who want reliable glass without a large outlay. Spend more if you hike at dawn, watch wildlife often, or need stronger low light detail. Spend less only for short, bright, easy trails where weight and simplicity matter more than optical refinement.
Which hiking binoculars are better for low light?
Larger objectives and high quality coatings usually help in low light, but contrast matters as much as brightness. A well coated 8x42 pair can outperform a poorly coated larger pair in shade, since detail in shadow is what you actually need. Try pairs in dim conditions when you can, and look for birds or signs in shadow rather than judging by sky brightness. For mainly daylight hikes, a lighter 8x32 pair may serve you better despite its smaller lens.
What does 8x42 or 10x42 mean?
The first number is magnification and the second is the front lens size in millimeters. An 8x42 pair magnifies eight times with a 42 mm front lens, while a 10x42 pair magnifies ten times with the same front lens. Higher magnification narrows the view and magnifies hand shake, so it suits open ridges and rested viewing.
Lower magnification gives a wider, steadier view that many hikers prefer on forest trails. Pick the pair that matches your distances and steadiness.
Is a smartphone enough instead?
A smartphone works for photos of subjects you already found, but it is a poor tool for finding them. Phone zoom loses detail, struggles in shade, and is hard to hold steady at distance. Binoculars offer a brighter, wider, and steadier view for scanning ridgelines, treetops, and lakeshores.
Many hikers carry both, using glass to spot wildlife and a phone to record it. Keep the phone dry and charged, since cold and rain drain batteries faster on the trail.
Final Thoughts
Start with an 8 power pair that fits your pack, your hands, and your budget, then check weight, eye relief, and sealing before you buy. A small pair may suit ultralight trips, while a full size pair may suit dawn wildlife watching. For related reading, see our guide to best small binoculars for hiking if pocket size matters, our guide to best rated binoculars for a broader comparison, and our guide to best binoculars for birdwatching if birds are your main trail interest.
Check the product table above once more, then choose best binoculars for hiking that you will actually carry on every walk. Never look at the sun through binoculars, and follow local wildlife rules on every trail.


