Best Backyard Ninja Course: A Complete Buying Guide
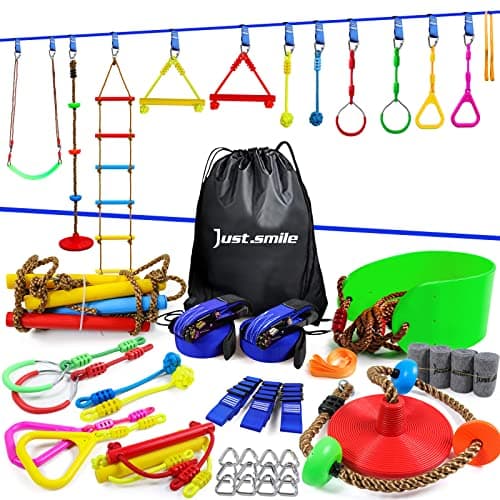
Watching your kid beg to turn the backyard into an obstacle course is fun, right up until you're standing between two trees trying to figure out if the kit you bought will actually fit, hold, or hold up. Finding the best backyard ninja course for your space comes down to a handful of specs that rarely get explained clearly on a product page: how many obstacles are actually included, how much weight the line is rated for, how far apart your anchor points need to be, and whether the setup is safe for the age and skill level of the kids using it. This guide walks through each of those factors so you can shop with a tape measure in one hand and a clear idea of what matters in the other.
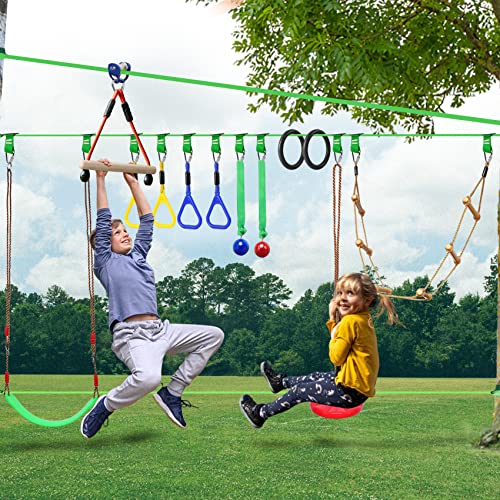
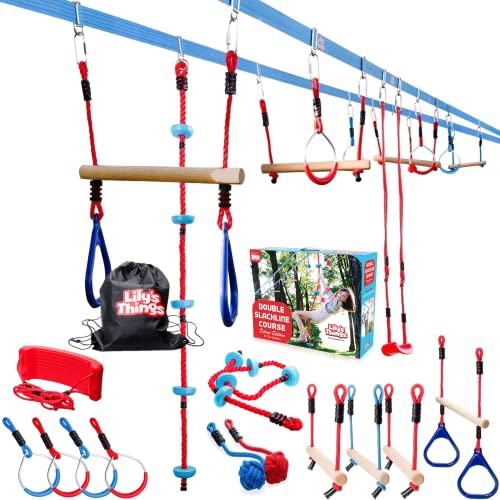
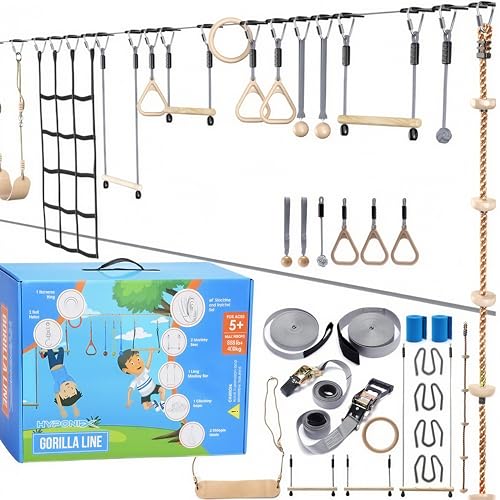
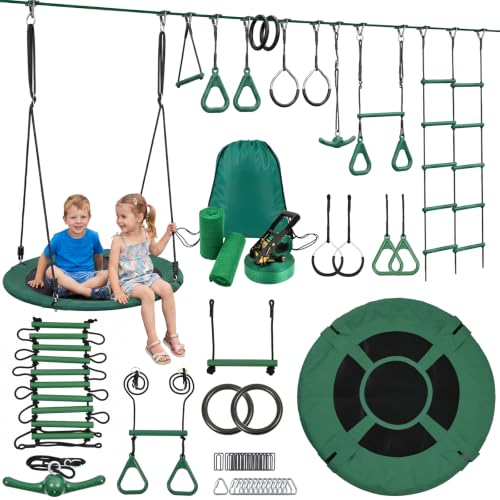
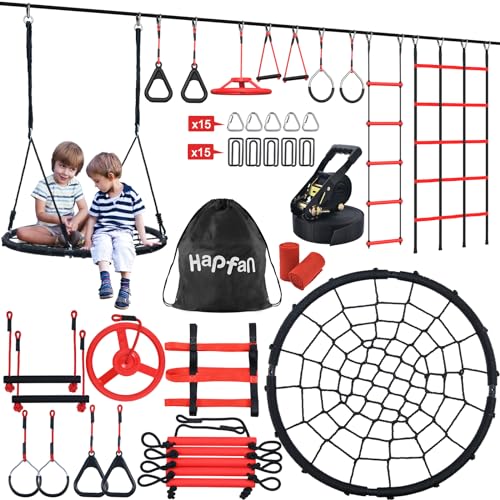
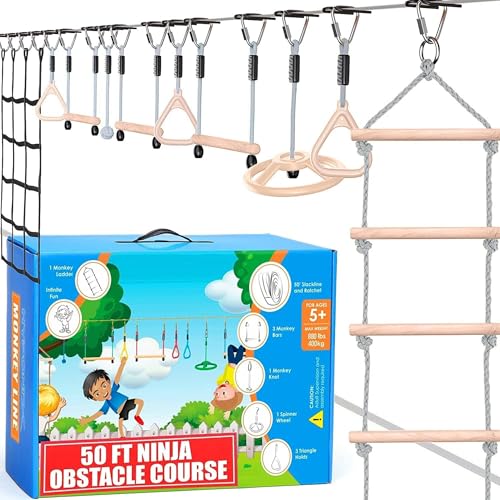
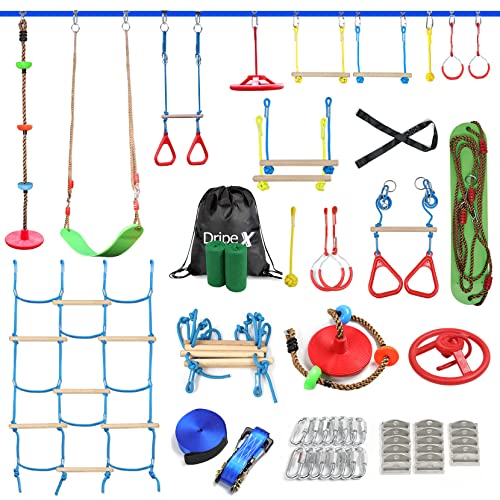
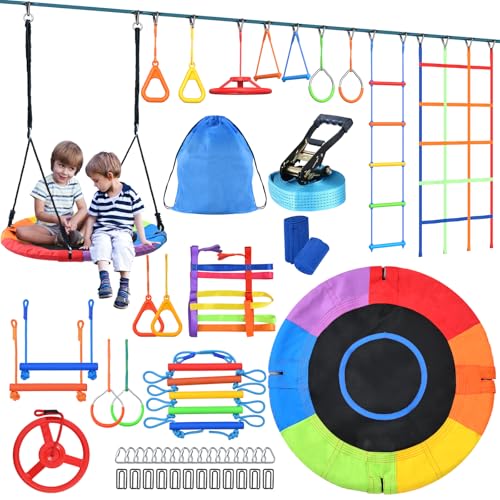
What Actually Determines Whether a Course Holds Up in Your Yard
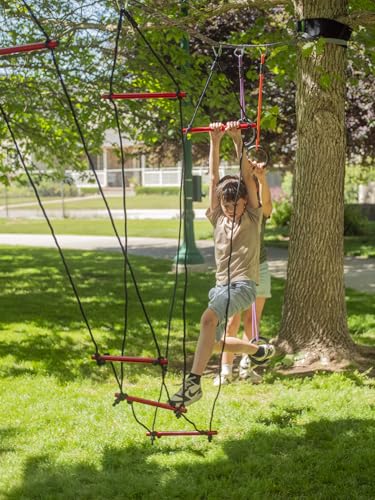
Marketing copy tends to lead with obstacle count and slackline length, but those numbers only tell part of the story. What decides whether a kit survives a summer of daily use is a mix of obstacle difficulty, hardware quality, and a weight rating that matches who is actually going to be hanging from it.
How Many Obstacles (and How Hard) Actually Matters
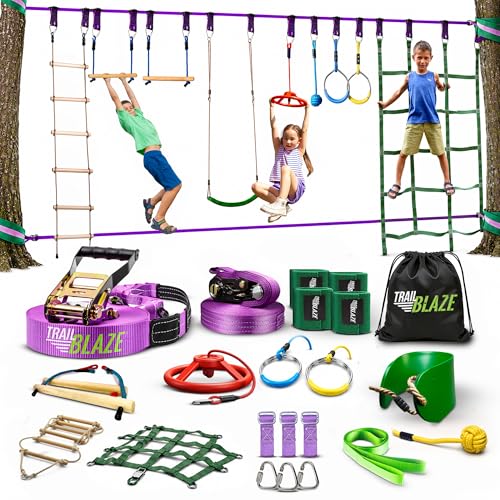
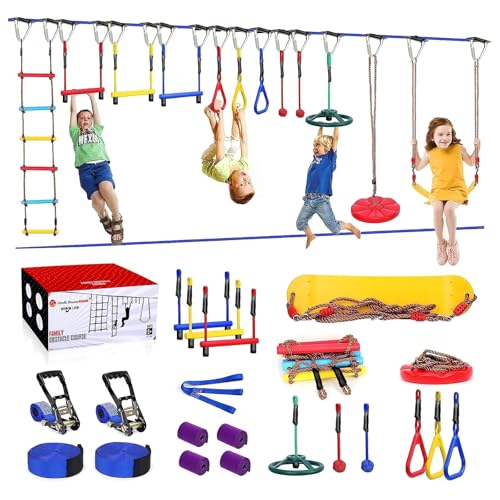
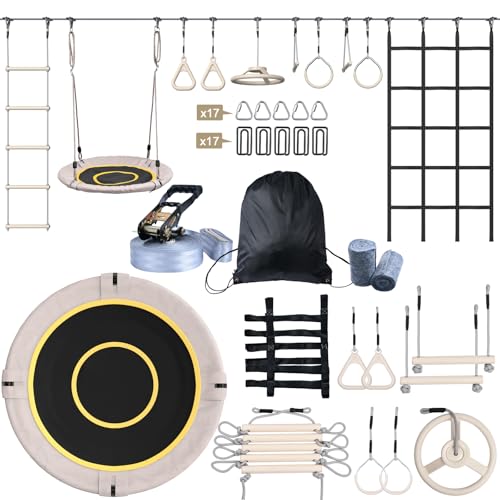
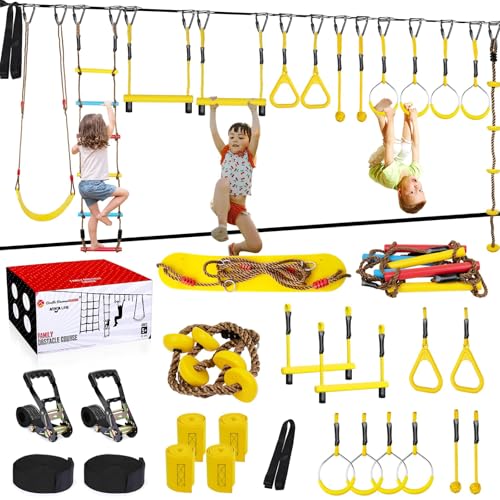
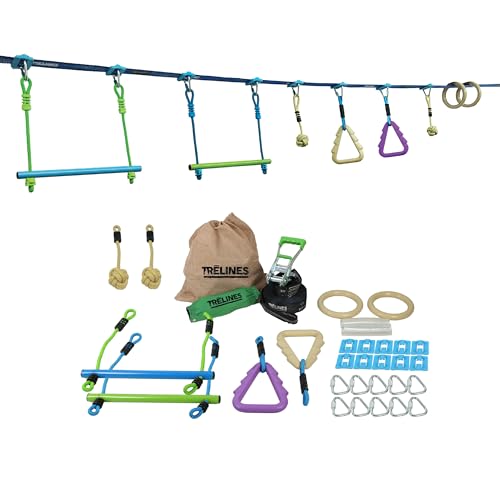
A course listing "ten obstacles" can mean ten genuinely different challenges, or it can mean the same ring and loop repeated with different colors. Look past the total count and check what's actually included: a mix of grip-based obstacles (rings, monkey bars, rope), balance obstacles (the slackline itself, a wobble bridge), and at least one climbing or swinging element. Choosing the right mix works a lot like picking out building toys for kids: too advanced and they lose interest out of frustration, too repetitive and the novelty wears off in a week. Getting that balance right is a big part of what makes the best backyard ninja course feel worth the money past the first weekend.
Weight Capacity: Reading Past the Marketing Number
Weight ratings you'll see printed on the packaging usually describe the maximum load the slackline webbing itself can handle when it's brand new and properly tensioned, not the practical limit once a kid is bouncing, swinging, or landing on it with force. As a rule of thumb, look for a stated capacity that's at least double the heaviest user's weight, and check reviews for how the line performs after a season outdoors, since sun exposure and repeated tension cycles gradually reduce webbing strength. This single spec, more than obstacle count or price, tends to separate the best backyard ninja course from one that sags and stretches by midsummer.
Measuring Your Yard Before You Buy a Kit
Nothing sinks even the best backyard ninja course faster than ordering one, unboxing it, and discovering your trees are ten feet too close together. This is the step most buyers skip, and it's the one that determines whether you're happy with your purchase the same afternoon it arrives.
How Far Apart Your Anchor Points Need to Be
Most kits are built around a minimum and maximum span, often somewhere in the range of fifteen to fifty feet between anchors, though the exact figures vary by product. Measure the actual distance between your two trees, posts, or a tree and a fixed structure before you shop, and lean toward a kit whose range comfortably includes that measurement with room to slacken the line rather than stretch it to its limit. A course pulled taut to its maximum rated span puts far more strain on the hardware than one with a little give built in.
What to Anchor to When You Don't Have Two Perfect Trees
Not every yard has two mature trees spaced conveniently apart. If you're working with a single tree and open space on the other side, look for kits sold with a freestanding post or A-frame anchor option, and confirm the post's base is rated to sit in the ground without a concrete footing if you'd rather not make the setup permanent. Anchoring to a fence, deck post, or shed wall is usually discouraged by manufacturers, since those structures aren't built to absorb repeated lateral pulling, and picking the wrong anchor point is one of the fastest ways to turn the best backyard ninja course into a warranty claim.
Matching the Course to Your Child's Age and Skill Level
The same course that's perfect for an eight year old can be genuinely unsafe, or just boring, for a four year old. Age and skill matter as much as any spec on the box.
Obstacles That Work for Younger Kids
For preschool and early elementary ages, look for kits that let you lower the slackline closer to the ground and include obstacles with a wider margin for error, like a broad balance beam instead of a narrow rope. Sizing the course to a child's real ability is a lot like choosing a balance bike for a 4 year old instead of jumping straight to a pedal bike: you're matching the equipment to the skill they have today, not the skill you're hoping they'll grow into. This is exactly the kind of adjustment that turns a good kit into the best backyard ninja course for your specific kids rather than a generic one-size-fits-all setup.
When to Size Up to a Longer, Harder Line
Once kids are confidently clearing the basics, a longer line with more transitions between obstacle types keeps things interesting. Look for kits that let you add extension sections or swap obstacles rather than forcing you to buy an entirely new kit every time skills improve, since that modularity ends up being the difference between a course that lasts one summer and one that lasts several.
Keeping Kids Safe When They Fall (Because They Will)
Falls aren't a possibility with a backyard ninja course, they're a certainty, and even the best backyard ninja course can't prevent every one. Planning for them is what separates a safe setup from one that ends a fun afternoon with a trip to urgent care.
Ground Surface and Fall Zone
Before you anchor anything, walk the stretch of yard you're planning to use and mow it as short as your riding lawn mower allows, then clear away rocks, exposed roots, and low branches that could turn an ordinary fall into an injury. Grass alone offers some cushioning, but a layer of rubber mulch or a set of interlocking foam mats under the busiest obstacles adds real protection, and either option is worth the extra cost. Keep at least six feet of clear space on all sides of the line so a fall doesn't end with a landing on a fence, patio edge, or another obstacle.
Line Height and Tension
Set the slackline low enough that the tallest user's feet clear it by only a foot or two when standing, not high enough that a fall means dropping from shoulder height. For younger or less coordinated kids, some families layer on the same knee and elbow padding, or even a skateboard helmet, that they'd already have on hand for scootering, since a fall onto packed dirt lands very differently than a fall onto a padded gym floor. Recheck tension every few weeks, since webbing stretches and hardware loosens with regular use.
Frequently Asked Questions
How many obstacles should a beginner backyard ninja course have?
Somewhere between five and eight obstacles is plenty for most beginners. A shorter, well-spaced course with a good mix of grip, balance, and climbing challenges holds attention better than a long line packed with repetitive elements.
How much weight can a backyard ninja course hold?
It depends heavily on the specific kit, but most home slacklines are rated somewhere between 300 and 900 pounds when new and properly tensioned. Check the manufacturer's stated capacity directly rather than assuming, and build in a safety margin above your heaviest expected user.
How far apart do the anchor points need to be?
Most kits work within a range of roughly fifteen to fifty feet, though shorter and longer options exist. Measure your yard first, then shop for a kit whose range comfortably fits that distance without needing to stretch the line to its absolute maximum.
What age is a backyard ninja course appropriate for?
Many kits are designed for kids around five and up, with some adjustable enough to work for both younger children and teens or adults. Adjustability, like lowering the line height or swapping easier obstacles in, matters more than a single printed age range when you're deciding what counts as the best backyard ninja course for your household.
What should go on the ground under the course?
Rubber mulch, interlocking foam mats, or thick playground-grade turf all work well under the busiest sections. Avoid hard surfaces like concrete or packed dirt, and steer clear of loose materials like pea gravel that can shift underfoot.
Do you need two trees, or can you use posts instead?
Trees work well if they're healthy, mature, and spaced correctly, but plenty of kits include freestanding posts for yards without the right trees. A single tree paired with one post is also a common setup when only one side of the yard has a suitable anchor.
Getting the Setup Right the First Time
The best backyard ninja course earns its keep when the anchor spacing fits your yard, the weight rating matches who's actually using it, and the ground underneath is soft enough to forgive the inevitable fall. Measure before you buy, size the obstacles to your kids' current skill level rather than their ambitions, and treat the ground surface as part of the purchase, not an afterthought. Get those three things right and the course will get used for years instead of gathering leaves in a garage corner by fall.