
Best ATX PC Cases for Airflow for 2026: What Each Budget Buys
Disclosure: We may earn a commission when you buy through links on this page, at no extra cost to you. As an Amazon Associate I earn from qualifying purchases. Learn more

Compare ATX PC cases for airflow by budget, with guidance on mesh panels, fan mounts, radiator space, graphics card clearance and dust filters.
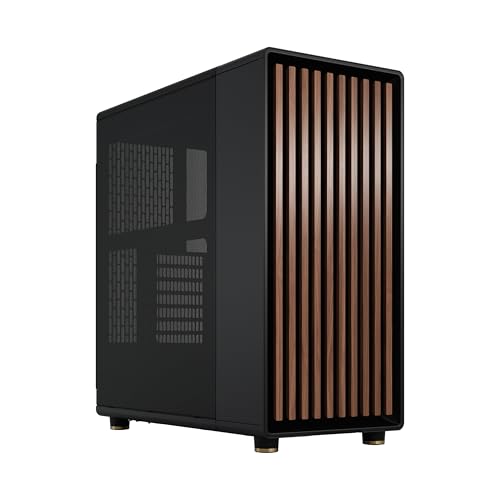
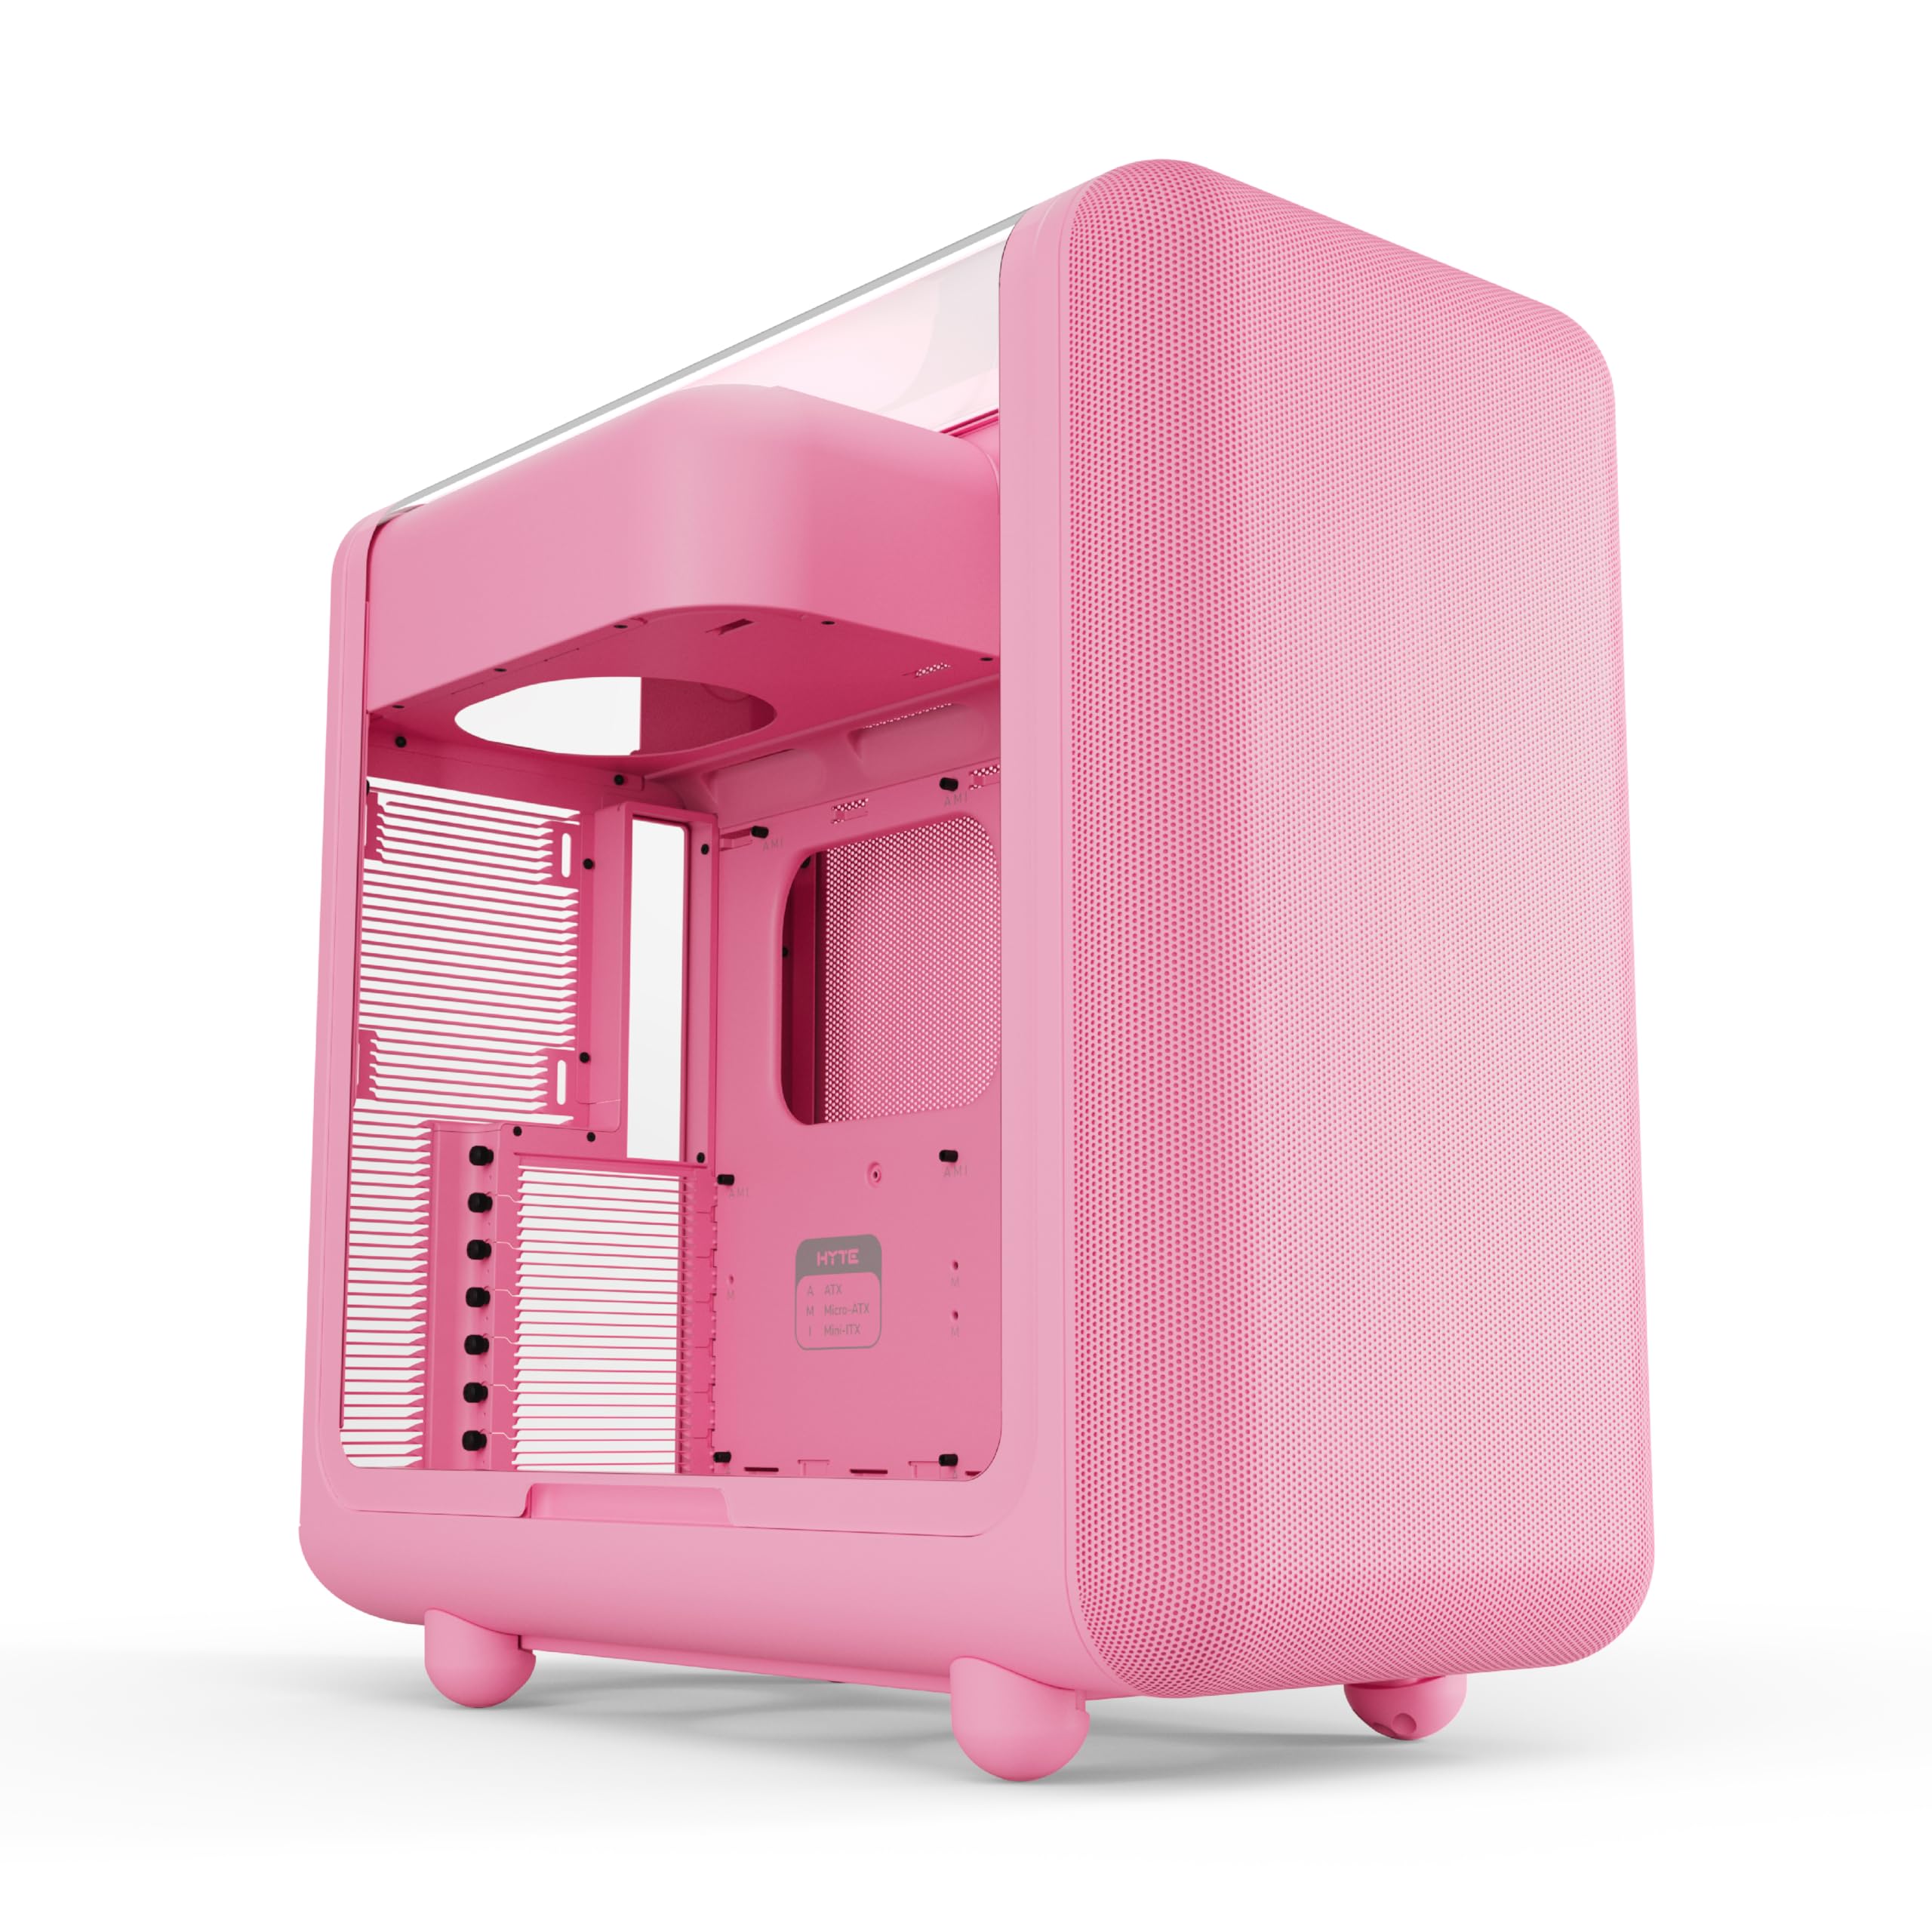
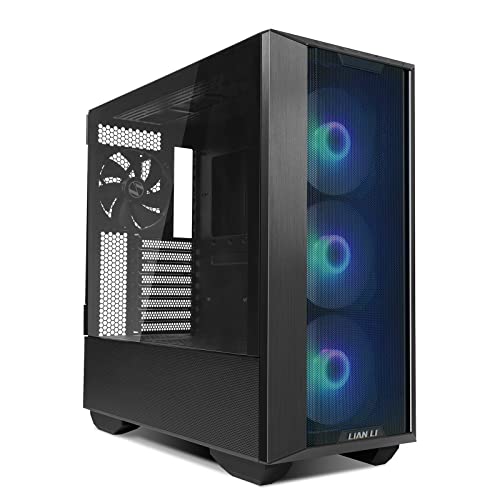
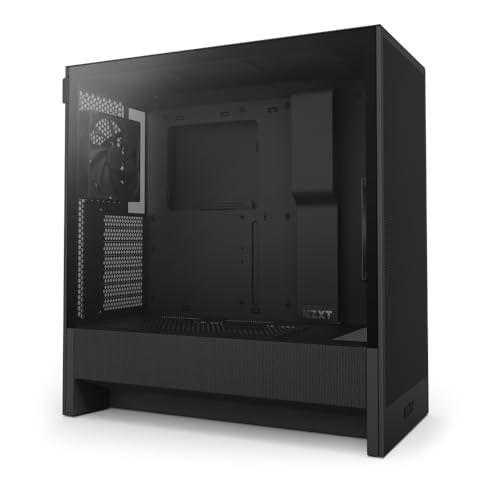
ATX cases span a wide price range, and extra money only helps when it buys a clearer path for air. The best atx pc cases for airflow pair an open front with enough fan mounts, room for your parts, and filters you can clean. Use the product table below to match those points to your budget.
Start with the parts you already own or plan to reuse. Measure your graphics card, your cooler, and any radiator, then note how many fans you expect to run.


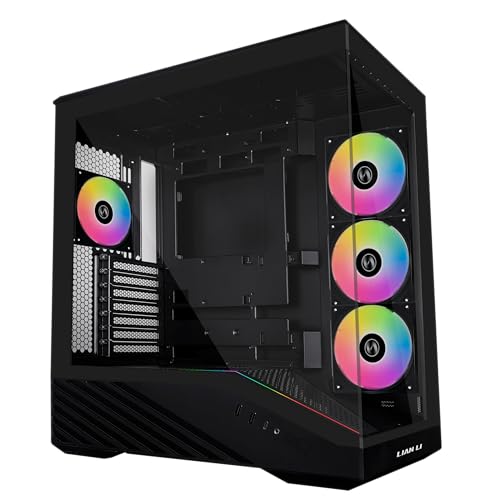


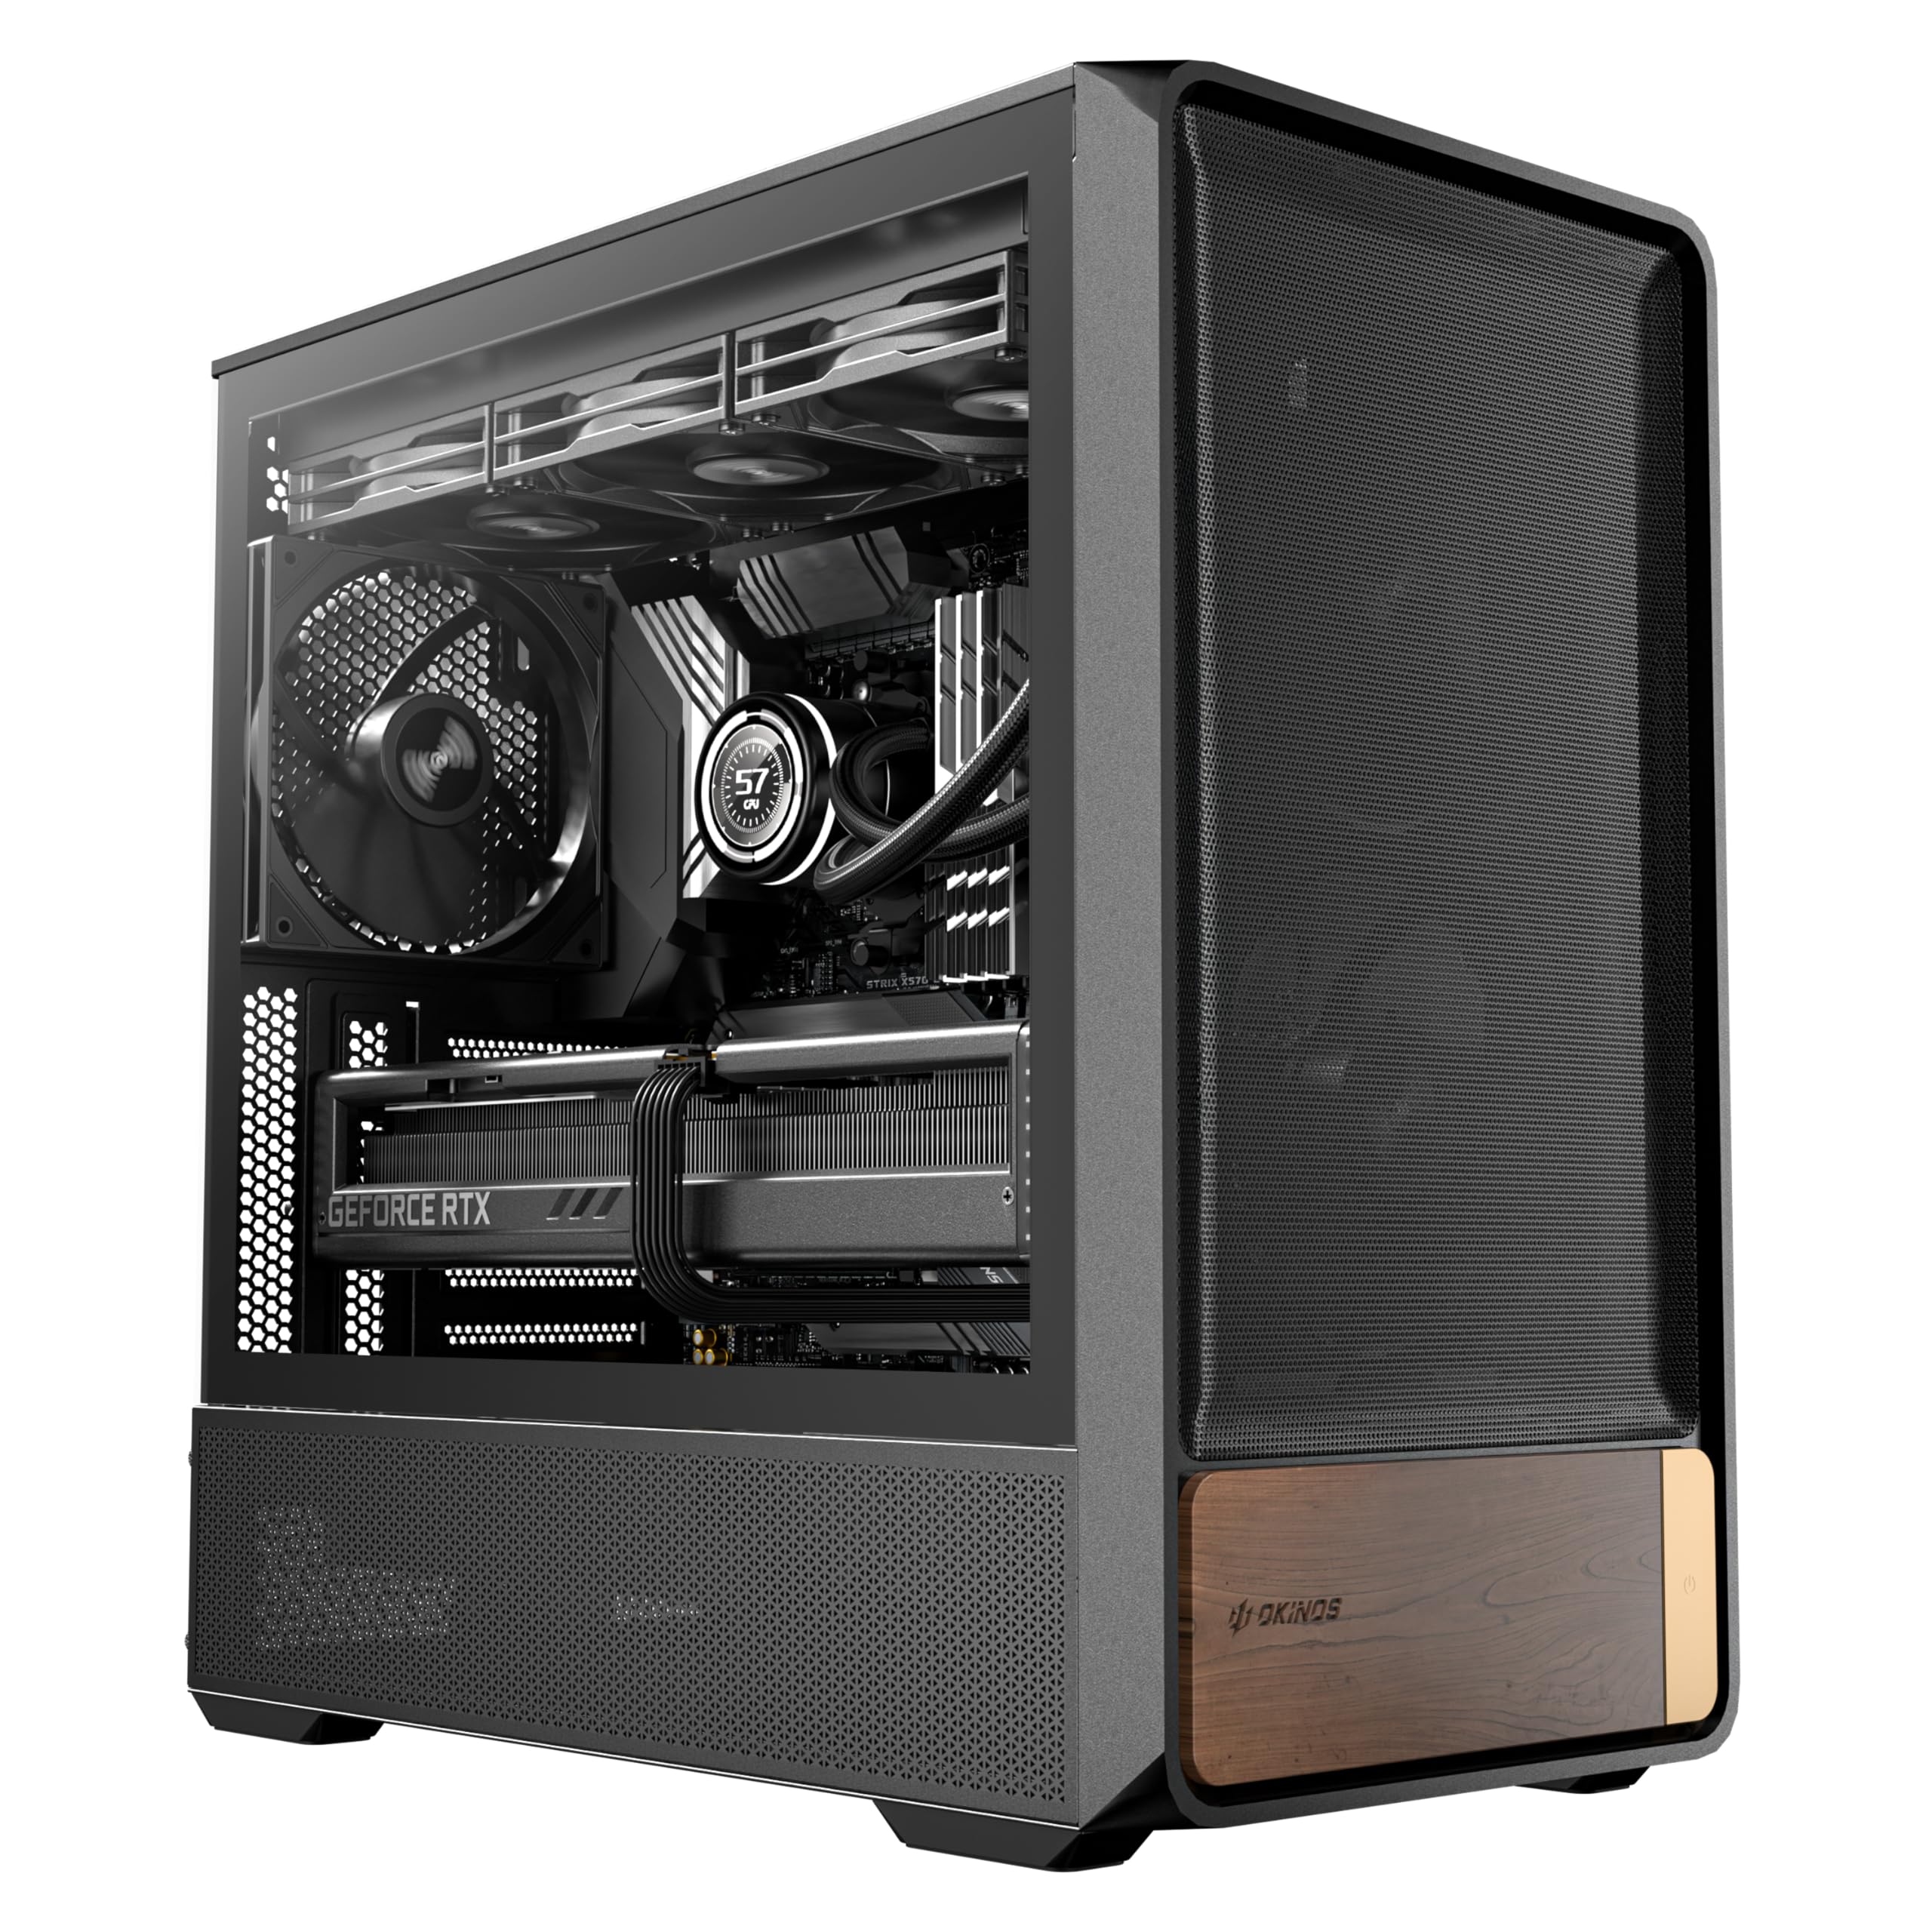
Who Should Buy an ATX Case Built for Airflow?
Airflow matters most when heat has nowhere easy to go. Your load, cooling style, and desk setup decide how open the case needs to be.
Builders With Graphics Cards That Run Hot
You run long gaming or rendering sessions and your card raises the air temperature inside the case. Choose a mesh front, at least two intake mounts, and clear space in front of the card so it can pull in cool air.
Builders Who Prefer Air Cooling
You cool the processor with a tower cooler and want steady air from front to back. Choose a case with a straight path from the front mesh to the rear exhaust and enough height for tall coolers. Avoid fronts of solid glass or metal with only narrow side slits.
Builders Who Want Lower Noise at a Desk
You sit close to the PC and hear every change in fan speed. A more open case can move the same air with fans turning slower, and slower fans usually sound softer. Choose room for larger 140 mm fans where mounts allow them, because larger fans can move air gently.
What Each Price Tier Buys You in an Airflow Case
Price tiers differ mainly in included fans, filter quality, and building room. The air path itself should be sound at every tier, so do not pay more to fix a closed front.
Budget Tier: Open Fronts and Basic Fan Sets
Cases at about $60 to $90 often give you a mesh front, one or two included fans, and simple filters. That is enough for a modest build with a single graphics card. Trade offs include thinner steel, fewer grommets, and less room behind the motherboard tray.
Midrange Tier: Better Filters and Room to Grow
Cases at about $90 to $140 usually add more included fans, finer dust filters, and wider cable space. Many also offer better top radiator room and sturdier side panels. This tier suits most builders, and our guide to the best atx pc cases shows how these models compare with ATX cases built for other priorities.
Premium Tier: Larger Vents and Easier Building
Cases at about $140 to $220 may offer larger mesh areas, more flexible fan layouts, and panels that remove without tools. Some add extra room for thick radiators. Pay this much for space and ease you will use, not for looks alone.
Key Features to Compare
Compare these factors in order, since the first ones decide how much air can move. Finish with the details that affect cleaning and daily use.
Mesh Front Panel and Open Intake Path
The front panel sets the limit for intake air. Fine mesh with a large open area lets fans draw air with less effort, while a solid panel forces air through small side gaps and raises noise at the same speed. For a broader view of intake designs, see our guide to the best pc cases with good airflow.
Fan Mounts and Fans Included
Count both the mounts and the fans in the box, because an empty mount adds cost later. Most ATX airflow cases offer two or three front mounts for 120 mm or 140 mm fans, plus at least one rear exhaust mount. Check mount spacing before you buy spare fans, since a mount for 120 mm fans may not fit 140 mm fans.
Radiator Clearance and Top Venting
If you use liquid cooling, match radiator length and thickness to the case limits for front and top. Common sizes run from 240 mm to 360 mm, and a thick radiator with fans needs more depth than length alone suggests. Top mounting moves warm air out, but check memory clearance above the board.
Clearance for Graphics Cards and Tall Air Coolers
Measure card length against the case limit with the front fans fitted, not against an empty case. Many mid tower cases fit cards of about 300 mm to 400 mm and tower coolers of about 150 mm to 170 mm in height. Leave a margin for power cables at the end or top of the card.
Dust Filters You Can Reach and Clean
Filters on the front, top, and power supply intake slow dust buildup on fans and fins. Slide out filters are easiest to clean, while fixed mesh means wiping or vacuuming in place. Fine filters can restrict air a little, so pair them with open mesh rather than a closed panel.
Cable Routing and Building Room
Space behind the motherboard tray, often about 20 mm to 30 mm, lets you route cables clear of the main chamber. Tidy cables do not transform cooling, but loose cables in front of an intake fan can block part of its path. Builders comparing smaller layouts can see our guide to the best micro atx pc cases for what changes when the board and case shrink.
Planning a Build Around Moving Air
When you shop for the best atx pc cases for airflow, start with the heat your build makes in an hour of real use. Choose intake and exhaust mounts that can move that heat without running at full speed. Gamers with longer sessions can also see our guide to the best gaming pc cases for airflow. An open path and clean filters do more than extra fans in a closed box.
Common Mistakes to Avoid
- Choosing a solid front panel for looks leaves intake fans starved and forces them to run faster and louder.
- Buying a case before measuring your graphics card can leave no room for its power cables.
- Filling every fan mount without an exhaust plan traps warm air and adds noise with little gain.
- Ignoring filter access lets dust coat fans and fins, so temperatures creep up month by month.
- Squeezing a thick radiator into a tight top mount can press on memory and make upgrades hard.
- Routing thick cables across the front intake blocks part of the air path you paid for.
Care and Maintenance for an Airflow ATX Case
Clean the filters about once a month, or more often in a room with pets. Slide each filter out, tap loose dust away outdoors, and wash only if the maker allows it. Let a washed filter dry fully before you refit it, because a damp filter loads the intake fans and can carry odor into the room.
Every few months, open the side panel and check fans for dust on the blades and for cables that have shifted into a fan path. Wipe mesh with a dry cloth and inspect filter frames for cracks.
FAQ
What features matter most in ATX PC cases built for airflow?
Total open intake area matters most in an ATX case built for airflow. A wide mesh front with little behind it lets intake fans work at modest speeds, and that sets the tone for the whole build. One useful check is to look for daylight through the front with fans removed in maker photos.
Does a glass side panel hurt airflow in an ATX PC case?
A glass side panel does not hurt airflow in an ATX case when the front and top paths stay open. Side panels on airflow models are not meant to feed air, so glass there mainly changes the view and the weight. The exception is a graphics card mounted very close to the glass, since its fans then draw from a thin gap.
Can an ATX airflow case sit on carpet without harm?
An ATX airflow case can sit on carpet, but a bottom mounted power supply intake may draw in fibers and dust. Short case feet sink into thick pile and narrow the gap under the case. Place the case on a firm board or a low stand so the bottom filter can draw air freely.
How many case fans does an ATX build for airflow need?
Most ATX builds for airflow need three case fans, with two at the front and one at the rear. That setup covers a single graphics card and a tower cooler in most rooms. Adding a fourth fan gives smaller gains, and it helps most as a top exhaust above a hot card.
Should you replace the fans included with an ATX airflow case?
You should replace the included fans in an ATX airflow case only after you check temperatures and noise with your own parts fitted. Stock fans vary, and some sets serve a modest build well for years. If a fan clicks, rattles, or cannot run slowly without stalling, that single fan is the one to change.
Wrapping Up
Choose the case by its air path first, then by fit, then by price tier. A mesh front, sensible fan mounts, and filters you can reach will serve you well. Use the product table above to confirm clearance, included fans, and price for the models on your short list.
When the basics line up, the best atx pc cases for airflow become easy to spot in any tier. Buy the simplest case that fits your parts and your room, and your build will run cooler and quieter for it.


